
Back in July I wrote about the new video editing features in Lightroom (Lr), and there was a comment asking about editing video in Lightroom Classic (LrC), so this one’s for you.
we’ve been able to import AVI, MP4, MOV, and AVCHD video formats from our memory cards and store them right alongside of our stills in our Lightroom Classic catalogs for many years now, and with that, LrC also has some basic video editing capabilities.
Once imported you can move, rename, and delete video files in just the same way as you can with your photos. When viewing your files in Grid view of the Library module you will notice that the video files display a time code on each thumbnail indicating its duration.
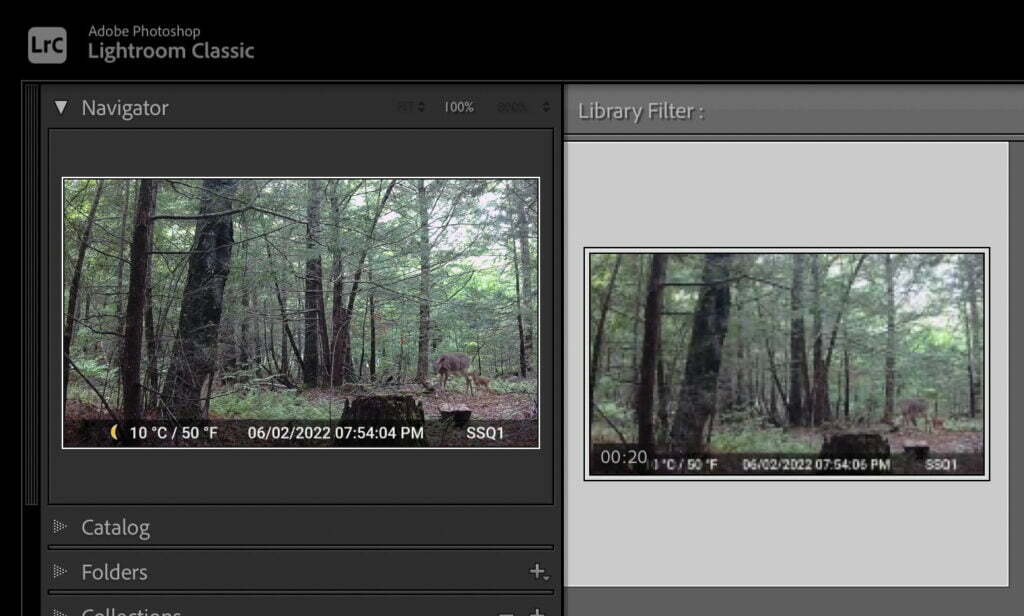
You can even scrub through a video thumbnail by moving (don’t click) your cursor left and right over a given clip to get a quick glimpse of what it contains. Double-click the thumbnail to jump to Loupe view where you can play the clip in full.
Playing and Trimming
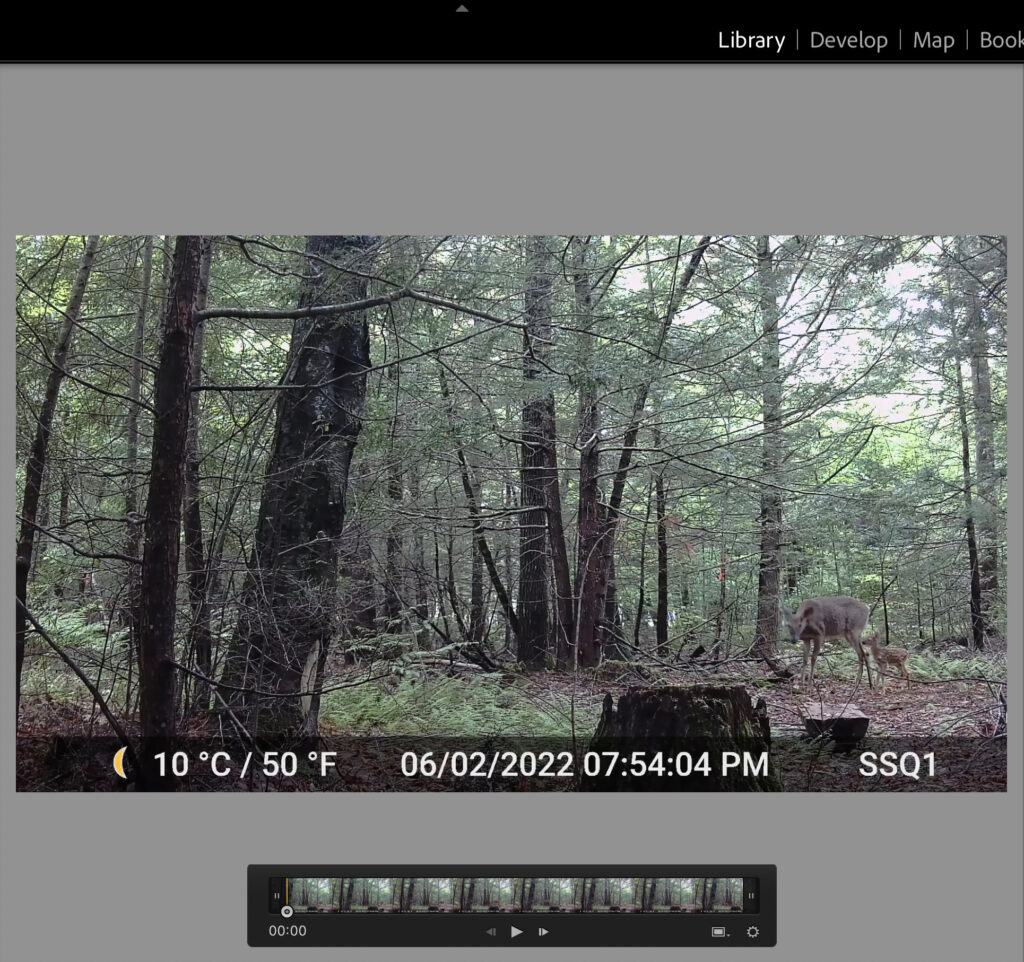
The video controls appear in a bezel under the video, and allow you to play/pause the clip, save out a still frame from the video, trim the in and out points, and set the poster frame. Click the gear-shaped icon to reveal the individual frames and the tools to trim the video. Here’s how to trim the in or out points:
STEP ONE: Click the gear icon to reveal the trimming tools. Note you can click and drag the outer edge of the video bezel outward to see more frames and fill the width of Loupe view.
STEP TWO: Click and drag the current-time indicator to find the point you want to make the new out (or in) point.
STEP THREE: Grab the end marker tucked to the right end of the bezel and drag it to the new point you want to be the end of the clip. Trimming the in point works the same way, but from the other side of the bezel.

Similar to cropping a photo, this edit is only applied to copies during export or when viewing the clip inside of LrC, which means you can change it again at any time.
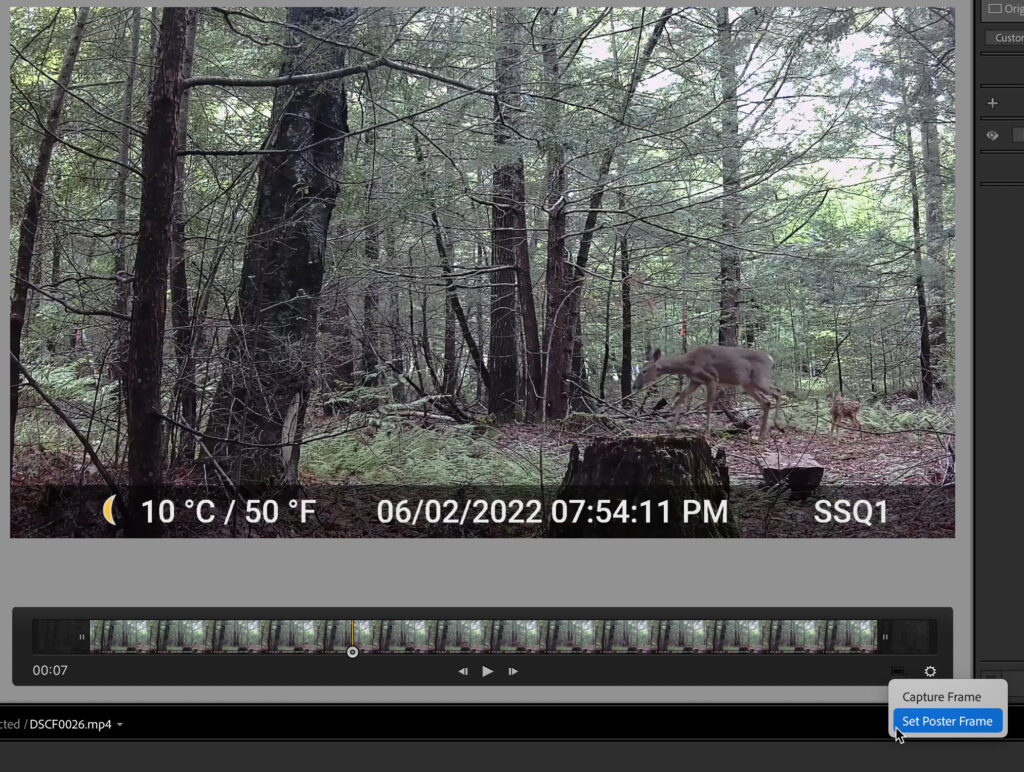
Set Poster Frame
When the video is imported the thumbnail (called the poster frame) you see is generated from the first frame of the video, but this frame is not always representative of the actual clip. Luckily it is easy to change this with a few clicks (this is not possible in Lr at this time). Here’s how:
STEP ONE: Drag the current-time indicator to a frame that you want to set as the new poster frame.
STEP TWO: Click the frame icon (left of the gear icon on the video bezel) and choose Set Poster Frame. LrC will update the thumbnail to display the selected frame from now on.
Video Editing
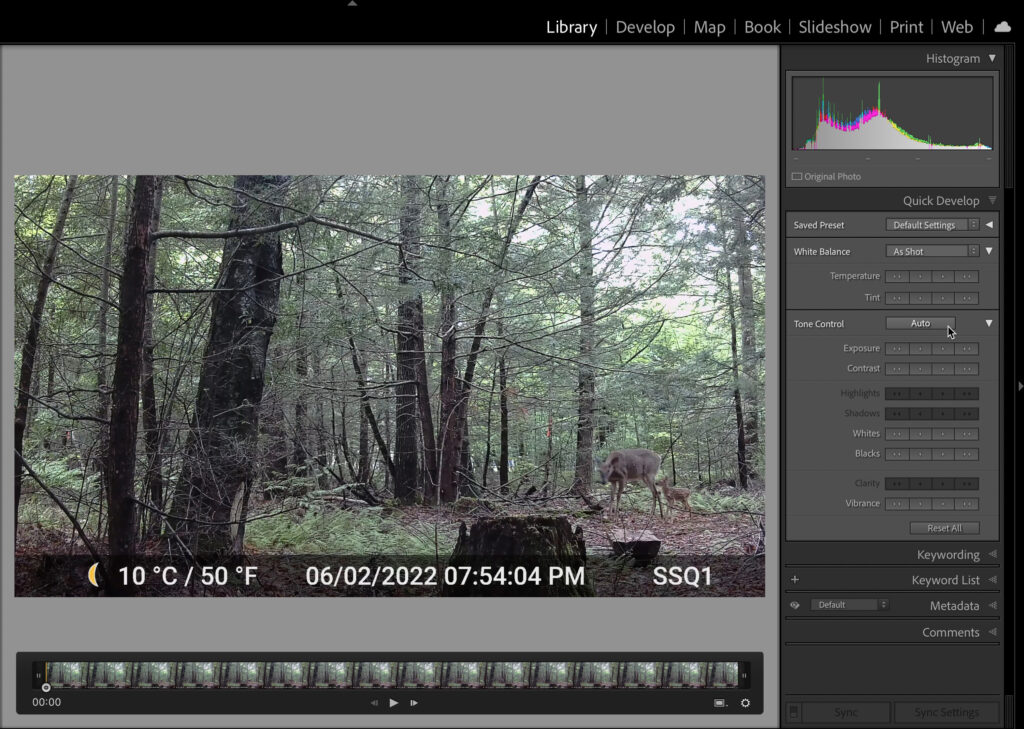
Similar to what I wrote previously about video editing in Lr, we also have a limited set of edits we can apply to videos in LrC too, such as white balance, exposure, contrast, tone curve, and color adjustments. The easiest approach to editing is to expand the Quick Develop panel and utilize any of the active controls (any controls not available for video will be grayed out) to make adjustments.
You can even apply a Develop presets to a video clip (Adobe also provides a set of video presets) but note that LrC will warn you if the preset contains adjustments that are not supported for video.

While those options work great for some adjustments the Quick Develop panel doesn’t give you access to the Tone Curve or Color Grading. However, you can’t take a video clip into the Develop module, so here’s how to work around that:
STEP ONE: Scrub through the video to find a frame you feel is a good representative of the clip.
STEP TWO: Click the frame icon and choose Capture Frame to save out a JPG still of that frame to the same folder as the video file.
STEP THREE: Select the JPG frame in the Filmstrip and press D to jump to Develop.
STEP FOUR: Adjust the JPG as desired, but keep in mind that only the adjustments supported by video can be applied back to the clip.
STEP FIVE: Hold the CMD key (PC: CTRL) and select the video clip in the Filmstrip (keeping the JPG the active image).
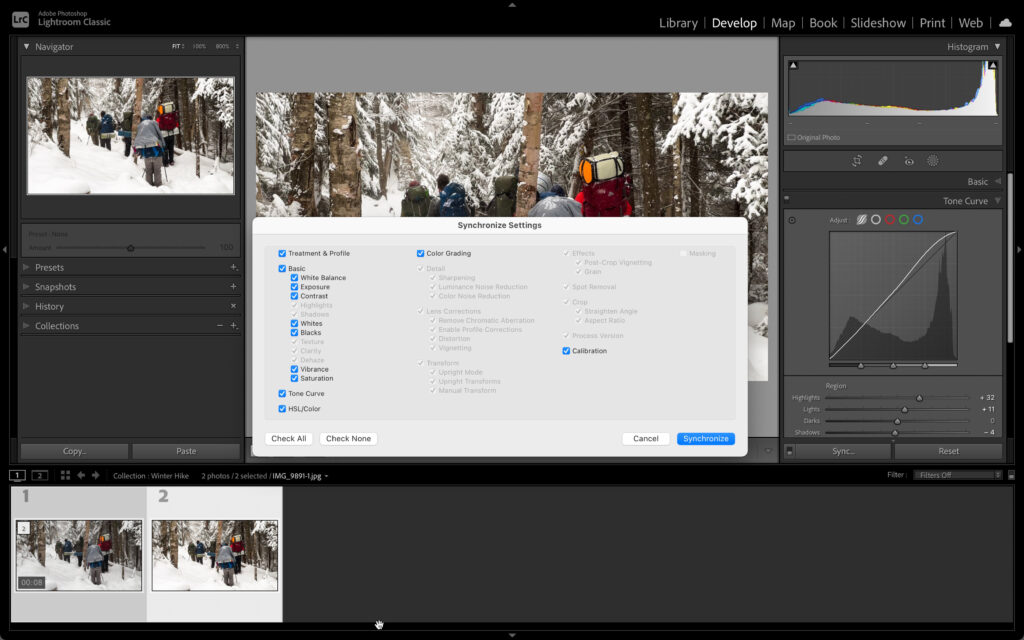
STEP SIX: Click the Sync button to open the Synchronize Settings dialog box, check the boxes next to the adjustments you want applied (note unsupported options will be grayed out), and click the Synchronize button to apply those settings to the video. Press the E key to jump back to Loupe view and view the adjusted clip.
Tip: You can also create virtual copies of your video (Photo > Create Virtual Copy) if you want to process the clip a couple of different ways and compare to see which you like better.
While LrC has some features not found in Lr (like setting capture frame or exporting stills), Lr can do a few tricks that LrC cannot (like rotating or flipping a video clip), but each has a few useful editing features that many non-video editors who have video clips can find useful.
The post Editing Video in Lightroom Classic (LrC) appeared first on Lightroom Killer Tips.