
BEFORE WE KICK THIS TIP OFF: Today over on my scottkelby.com blog I released my 16th annual “Holiday Photography Gear Guide,” which is featured each year as the cover article from Photoshop User magazine. Here’s the link if you’re looking for some cool gift ideas.
OK, on to today’s tip: This is one of those feature that might overlook but as simple as it is, it can be a big time/frustration saver. Here’s how it works (with a little masking tutorial built-in as we go).
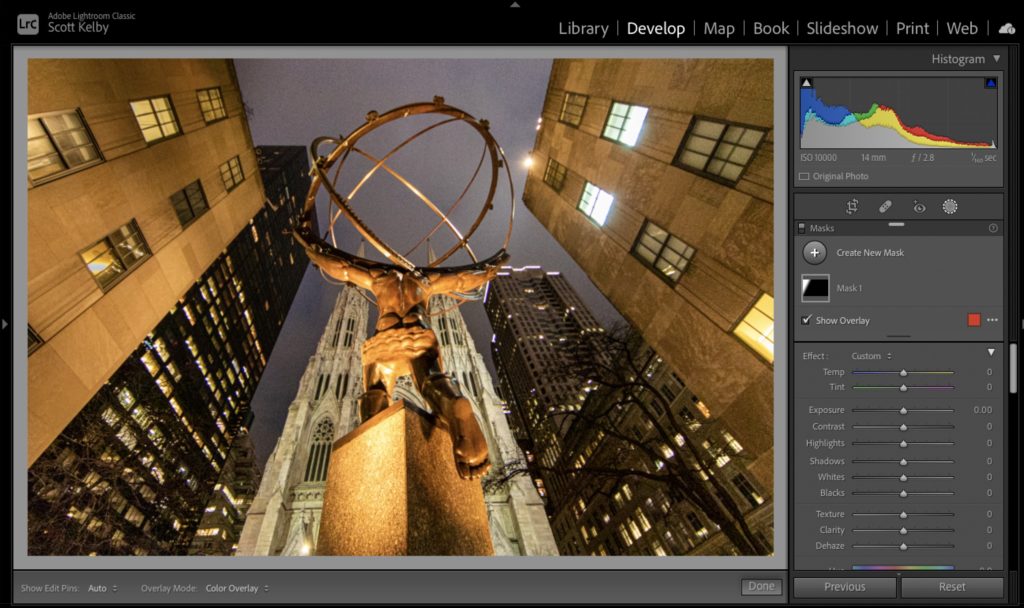
STEP ONE: Here’s our original image above. I already added a Linear gradient to the building on the left and lowered the exposure and highlights a bit because it was quite a bit brighter than the one on the right side, so this is now essentially our starting image (with that one fix applied).
STEP TWO: To make our yucky gray sky look better, we’ll have Lightroom select the sky for us. Click on the Create New Mask button at the top of the Masks panel and from the list of options that appears, click on “Select Sky” and it detects the sky areas and displays those areas with a red overlay (like you see here).
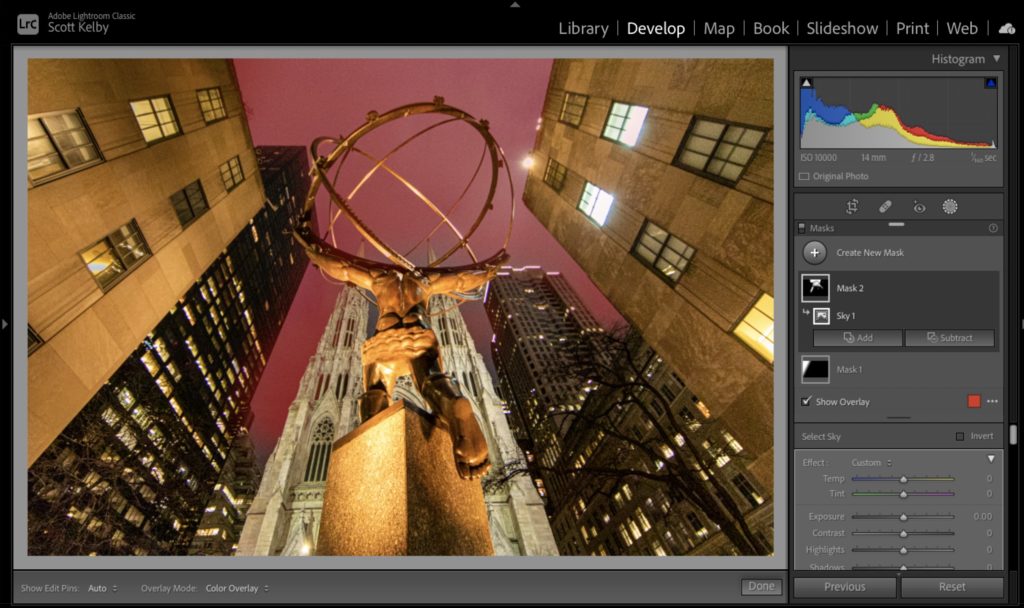
STEP THREE: To give our sky some color, we’re going to go to the sliders and draw the Temp slider to the left toward blue to make that gray sky blue (as seen here).
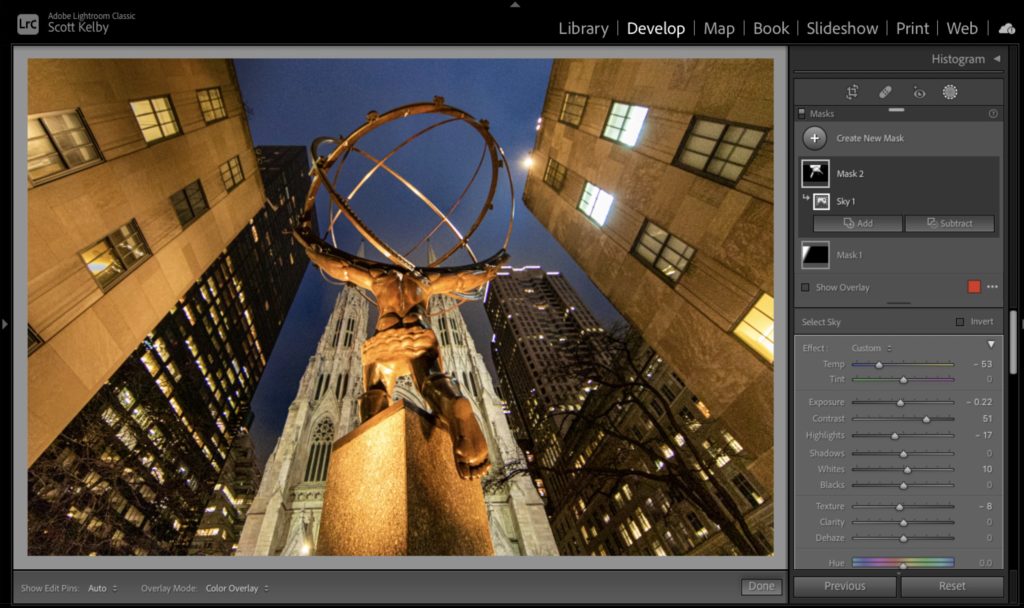
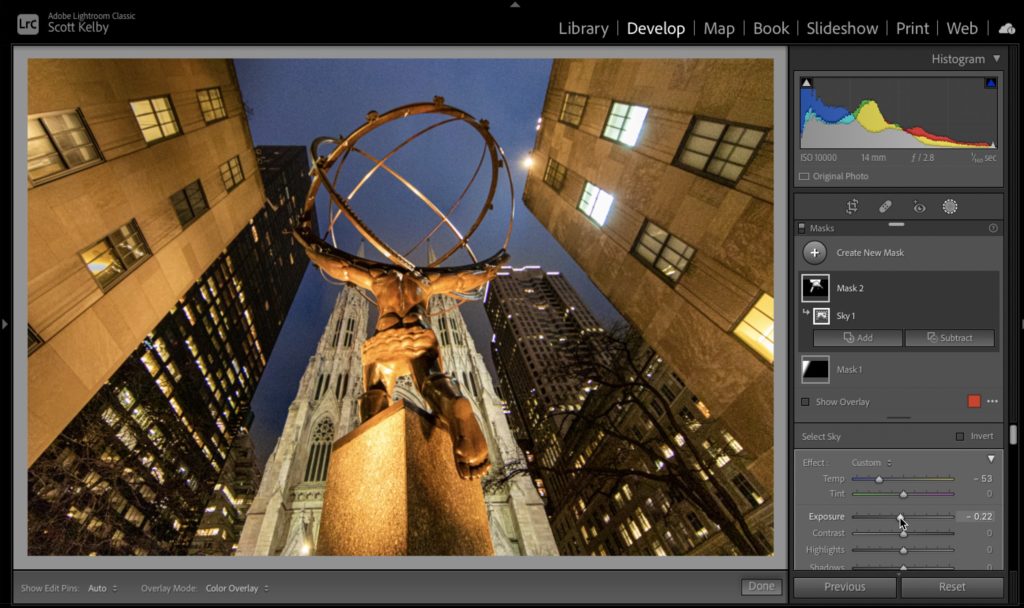
STEP FOUR: Now we’ll make the exposure a little darker in the sky (dragging the exposure slider to the left), and increase the contrast, and lower the highlights and do whatever you want to make the sky look better – for this tutorial (which isn’t really about the sky), it doesn’t much matter – just move a bunch of the sliders (as seen above).
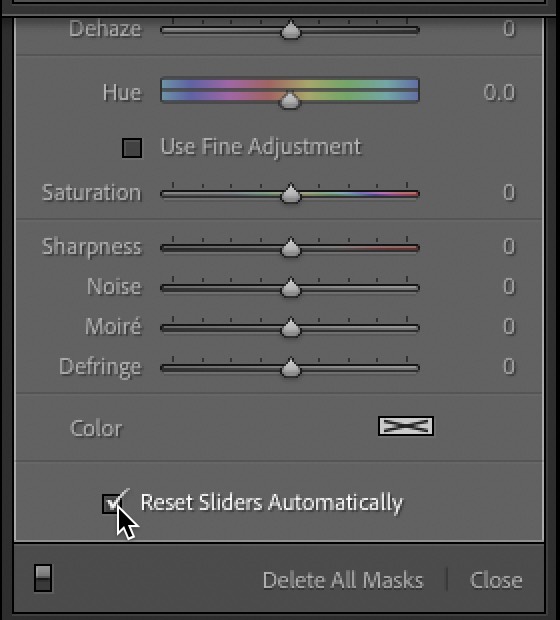
STEP FIVE: Before we add any more masks (maybe an inverted Radial gradient might be nice to darken the outside edges all around the image), go to the bottom of the sliders and turn on the checkbox for “Reset Sliders Automatically” (as seen above). This is what this tutorial is really about – this “Reset Sliders Automatically” feature.
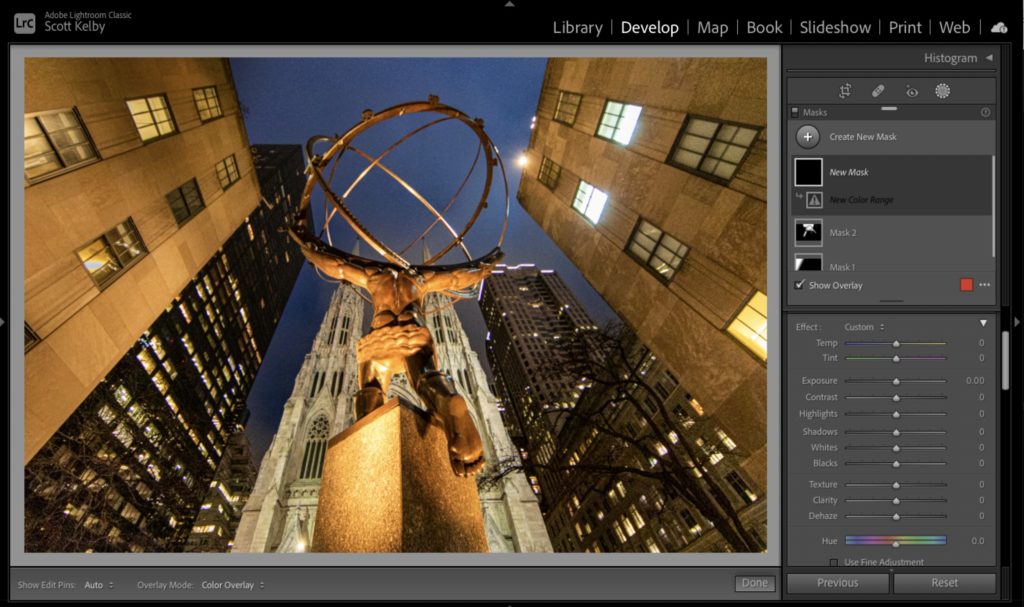
STEP SIX: Once you click that Create New Mask button, you’ll notice a very different behavior than what would have happened when you went to create a mask brush or gradient in previous version of Lightroom. Instead of the having the sliders all set to their previous positions, now they all automatically reset to zero (as seen above), so you can start with a fresh set of sliders without having to manually reset them – it does it for you automatically. What an awesome little feature. Of course, if you liked it the old way, then simply keep that checkbox turned off.
Hope you found that helpful. Have a wonderful football-filled weekend, and of course, as always, #rolltide, and #GoBucs!
-Scott
The post I Love Lightroom’s New “Reset Sliders Automatically” Feature appeared first on Lightroom Killer Tips.