How to expand control in Photoshop LUTs
Right now, I’m going to show you how to have unprecedented control over color LUTs inside Photoshop.
The Split LUT effect, by Colin Smith
(How to use LUTS in Photoshop and what they are)
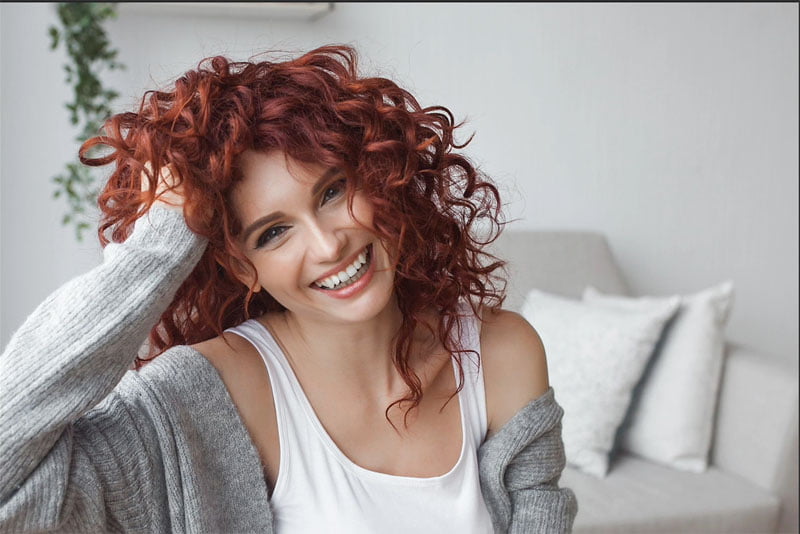
Here’s an image I grabbed from Adobe Stock.
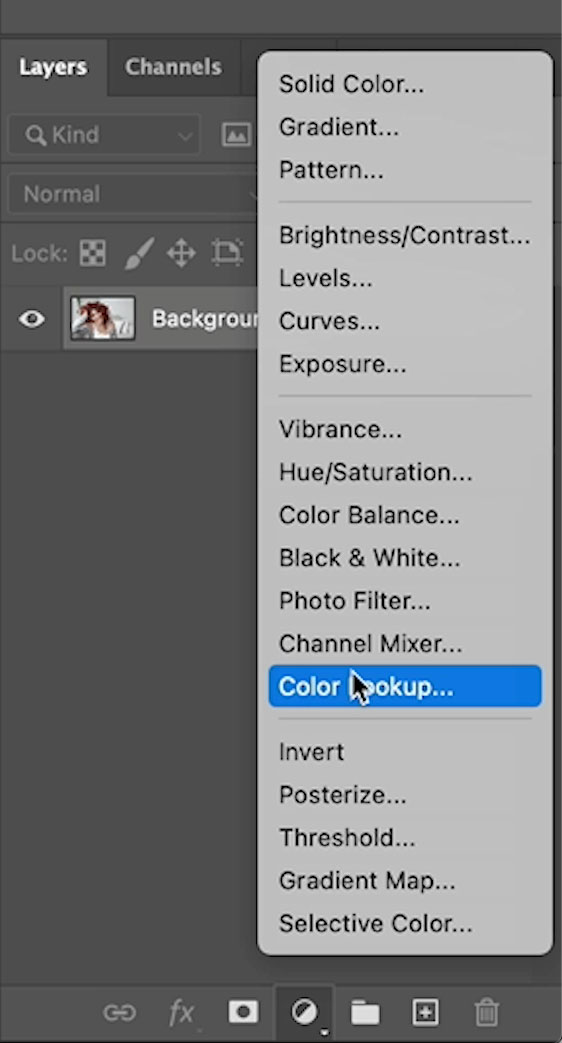
In the Layers panel, choose a new Adjustment Layer and select Color Lookup.
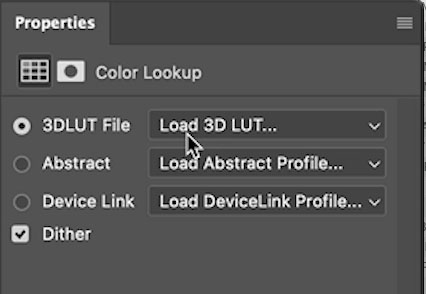
In the Properties panel, click where it says Load 3d lut,
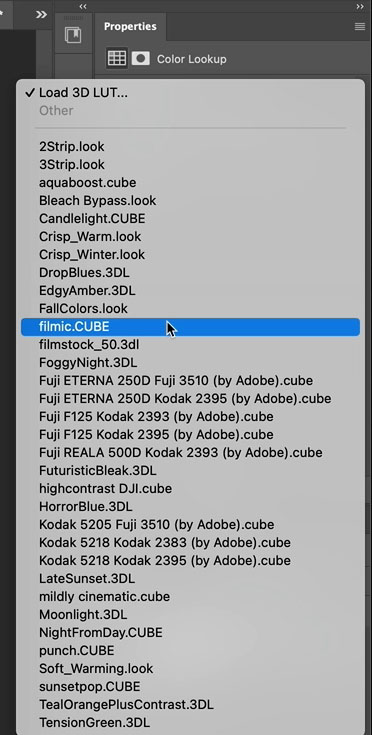
You’ll see the LUTs that come with Photoshop. I have some extras. At the end, I’ll show you how to get those.
You can use any LUT, but I’m using Filmic Cube, which is a LUT that I made. (How to make your own LUT in Photoshop)
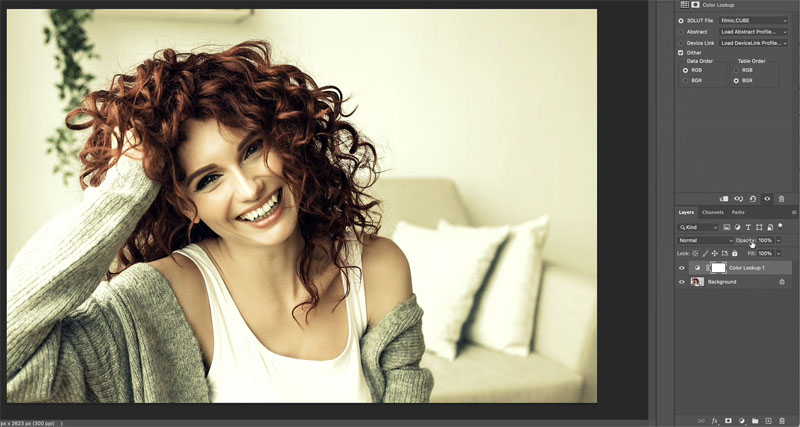
Now, here’s the problem with LUTs. If you just want to change the color or the brightness, you can’t. (I’ll show you a hack in a sec) The only adjustment I have is to change the opacity to change the strength of theLUT.
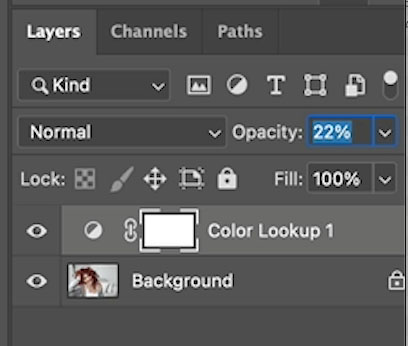
What I’m looking for is a way to control the color and the tone individually. And guess what I’ve figured out. Of course, I have. This is what I’m showing you in this tutorial. So the trick is actually quite simple. I’ve come up with a sort of frequency separation for color and tone, I call it Split LUT.
Press Ctrl/Cmd+J to duplicate the adjustment layer.
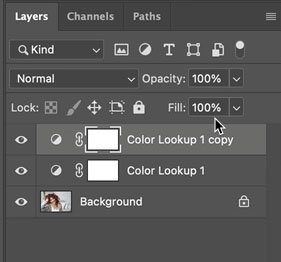
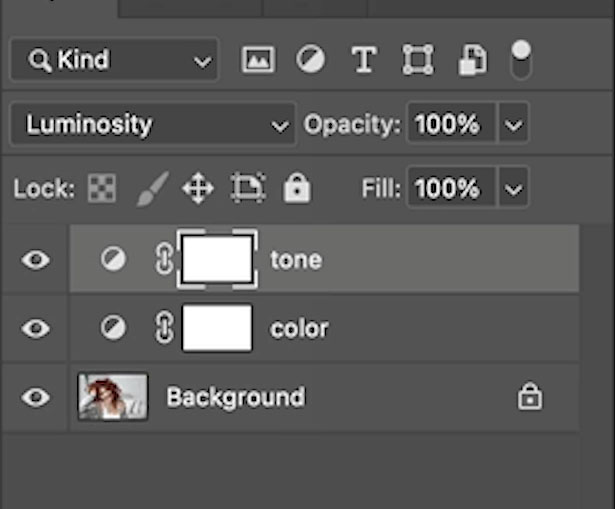
Name the top layer: tone, and then the bottom one; color. Y
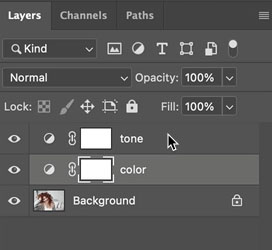
Change the blending mode of the tone layer to luminosity. (Click on “normal” and choose luminosity.)
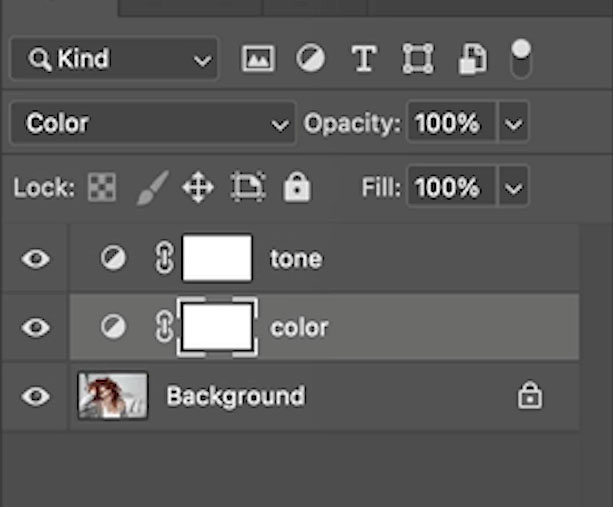
Choose the color layer, and let’s change the blend mode. Once again, click on normal, go down to color.
So what I’ve done here is essentially split that LUT into two.
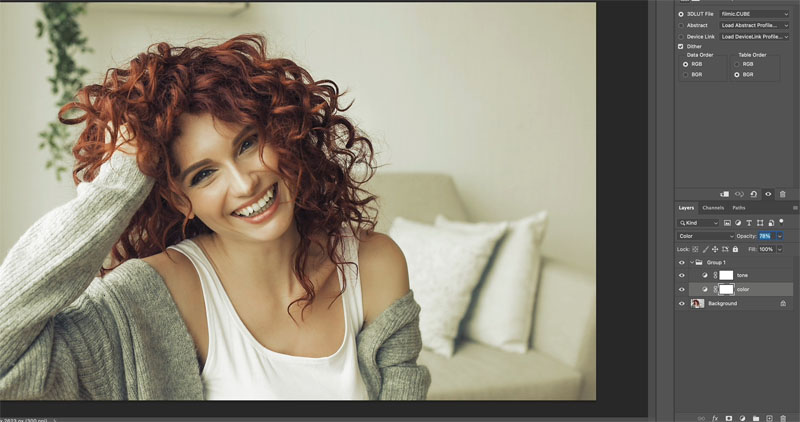
The 2 layers stacked in color and luminosity mode, should look the same as the single adjustment in normal mode.
Now you can change the opacity on the color layer, to just affect the color of the LUT.
Change the Opacity of the Tone layer to only affect the tone (or luminance).
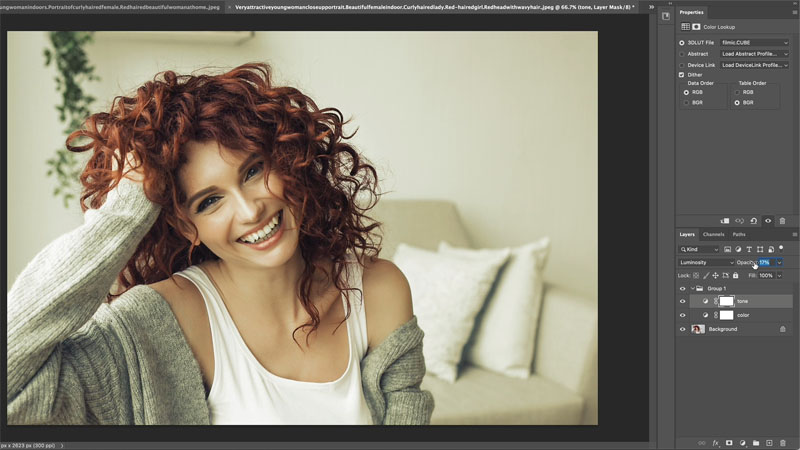
So this kind of enables us to hack in and create a separate tone and color slider. Now,
that I’ve got for you there. I also said I was going to give you some free LUTs. So if you head over to PhotoshopCAFE.com/vault,
I’ve actually got a whole bag of goodies there that you can have for free. Grab free goodies here, including Photoshop brushes, actions, presets, sky images, ebooks and a whole bunch more.
Have you guys kind of stumbled across the same thing? Let me know in the comments underneath if this is useful. And by the way, if you’re new here, welcome to Photoshop Cafe. Hit that subscribe button. Turn on notifications, and you won’t miss any of my videos.
So anyway, guys, I hope you enjoyed this.
If you are new here. Welcome to photoshopCAFE.com. Thanks for joining us.
Consider Consider joining our mailing list so you don’t miss any of my tutorials.
For more, follow us on Social Media
and until next time, I’ll see you at the CAFE.
Colin
The post Hidden controls in LUTs to color grade photos in Photoshop appeared first on PhotoshopCAFE.

