Making a selection in Photoshop with Color Range
This is the starting image, of course, you will be using the images you are working on. If you already have a selection, skip to the mask tricks in step 2.

To make a selection of the sky area, choose Selection>Color Range. (Remove background with Photoshop Color range)
Once again, it doesn’t matter what you are selecting for this Photoshop tutorial, as it will work on many types of selections.
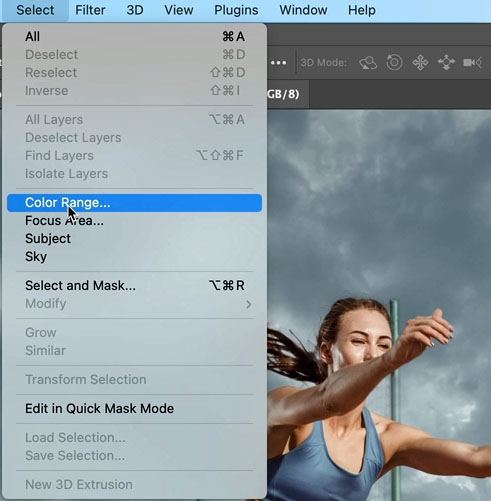
Choose the eyedropper in Color Range and click on the image to select a color on the background
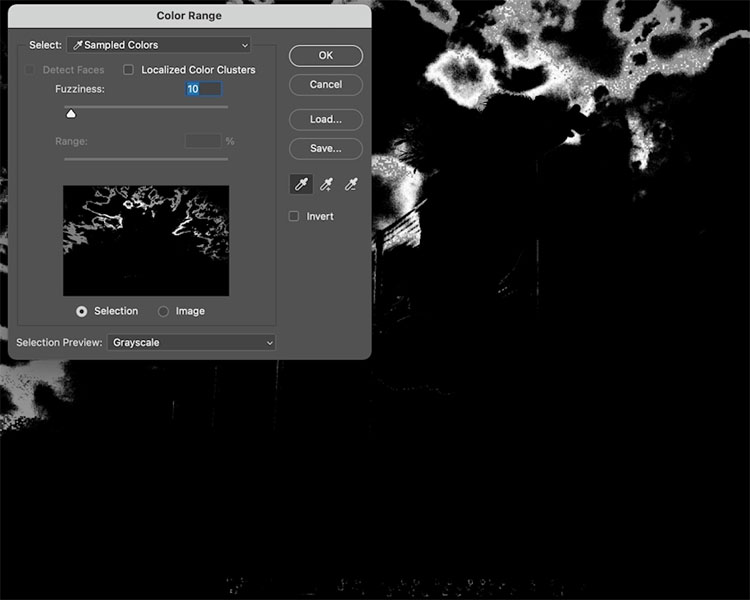
Choose the plus-eyedropper to add to the selection
Click on other colors on the background, or drag to expand the selection.
Use Fuzziness to change the sensitivity.
Click ok
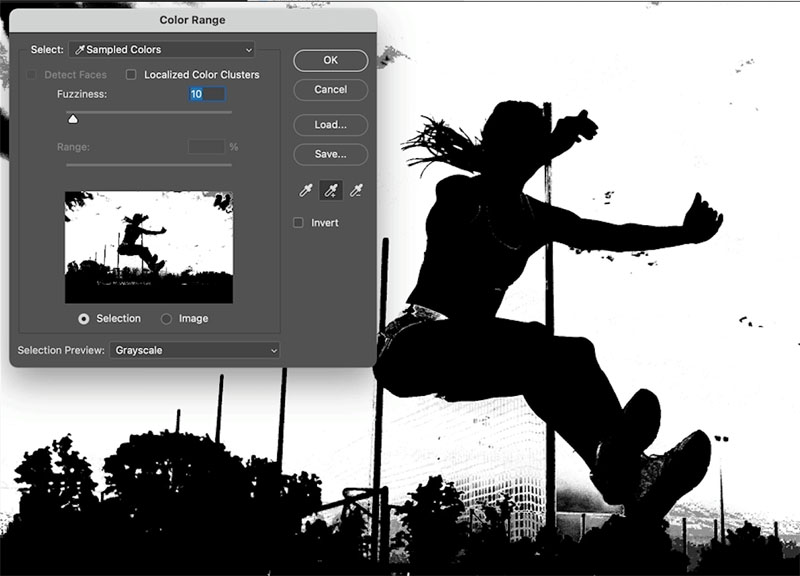
We now have a selection.

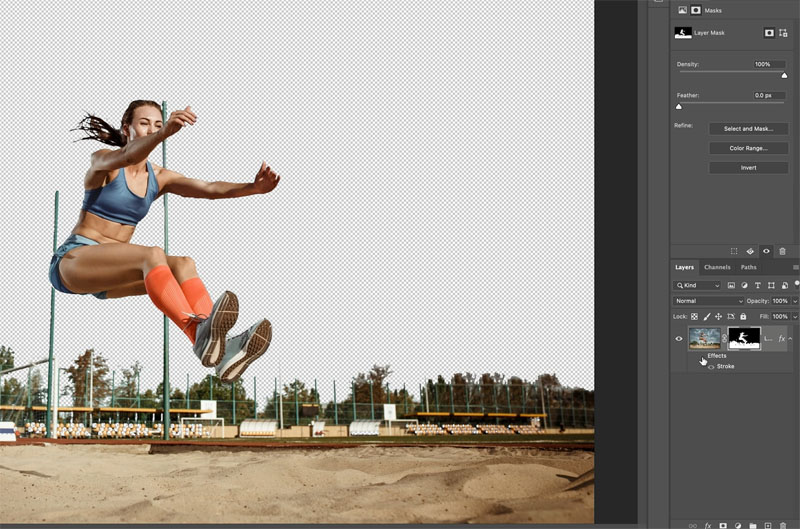
Hold down Alt/Option and click the new layer mask to transer the selection into a layer mask.
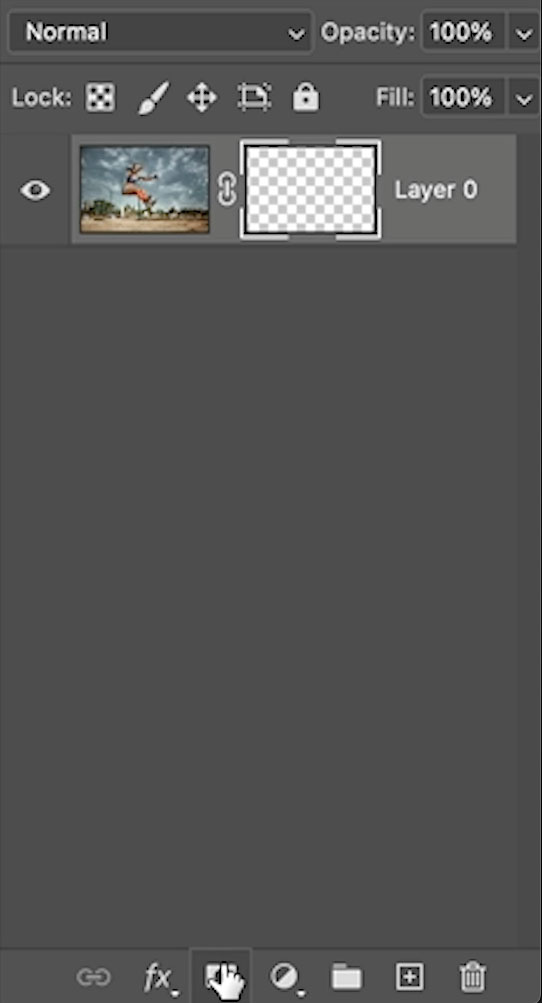
How to easily find problems in your Photoshop Layer Mask
Here is our first tip. Mask trick #1: You have a selection, it’s clear some of the problem areas, but these can easily be highlighted.

With your Layer mask selected, click fx, for layer Styles and choose Stroke.
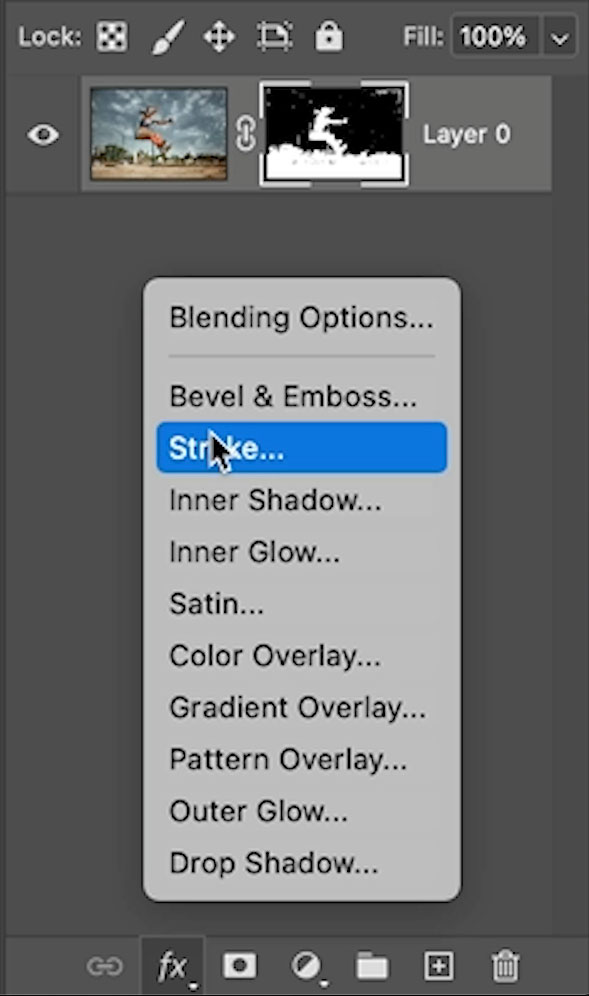
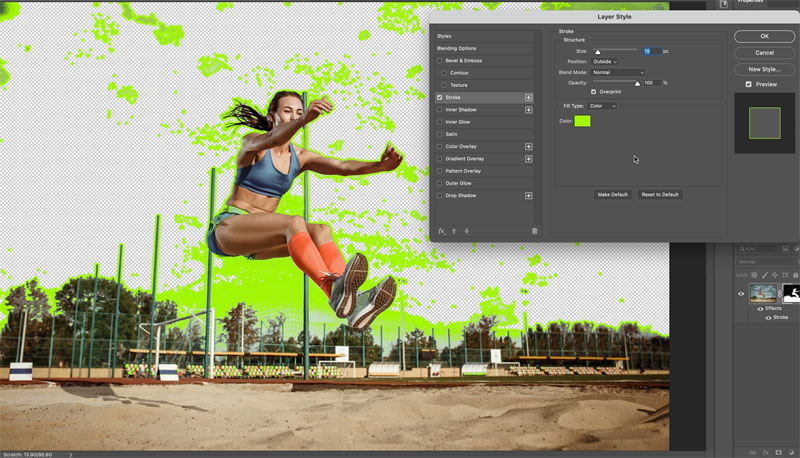
Now you can easily see all the problem areas.
Change the color and stroke amount to make it more obvious.
Click ok. We have now easily identified the problems. I often keep the stroke until I have finished refining the mask, because its super easy to see the problems.
Tip 2: Cleaning up noisy Masks in Photoshop
Now we have identified the problems, let’s clean them up.
This won’t happen on every selection, but sometimes you will get a lot of little spots everywhere. Sure you can paint them all away one at a time, but here is a quick way to get these pesky 1-2 pixel spots to go away.
With the Mask selected, press Ctrl/Cmd+L for levels.
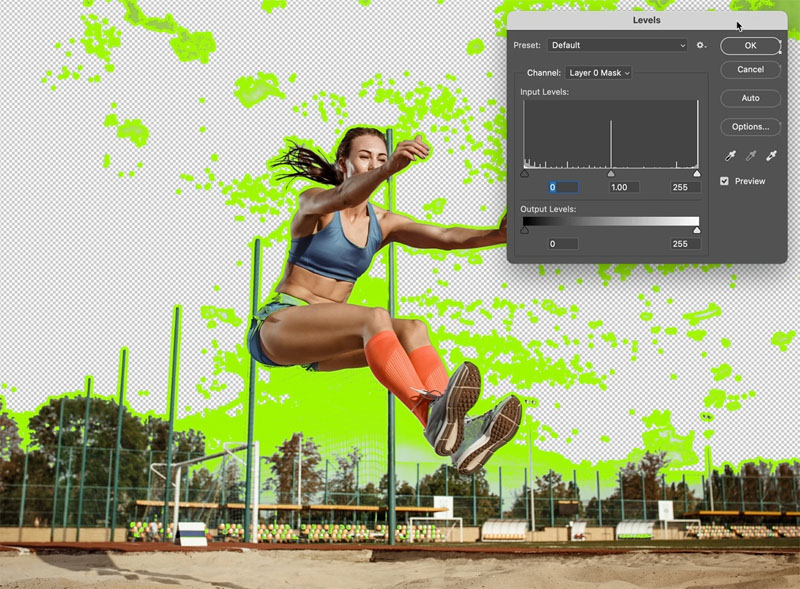
Slide the black slider to the right. Sometimes, you will slide the white slider to the left, it will be obvious which you need once you start sliding.
As you slide, you are cleaning the mask and all the tiny dots will disappear in seconds.
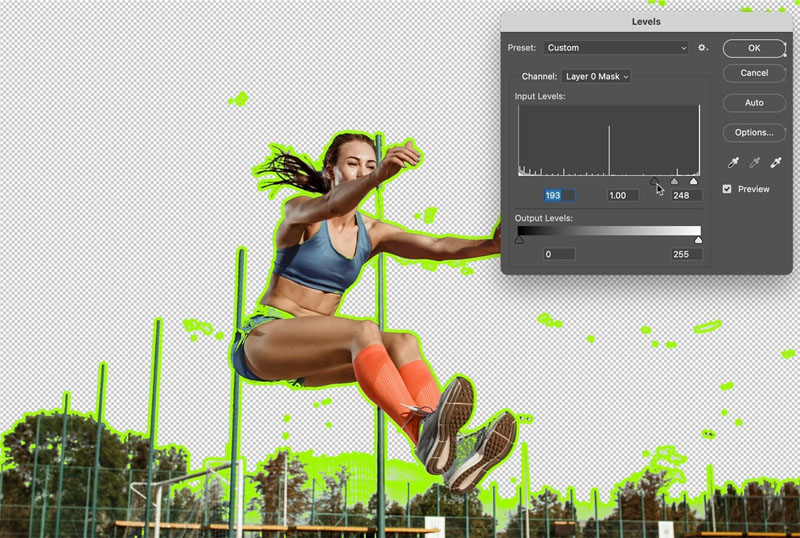
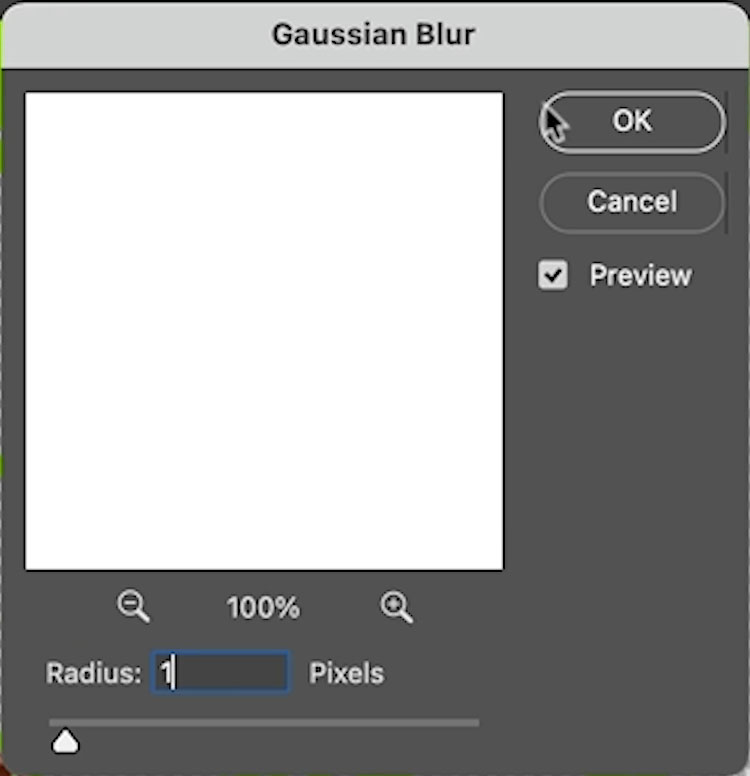
If the spots are stubborn, try adding slight (1px or less) blur to the mask before levels. Filter>Blur>Gaussian Blur. (see the video at the top)
Painting on A Photoshop mask
The tips are above, but just to round out the tutorial, here is how to manually finish the mask.
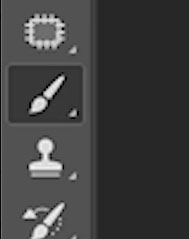
Choose the Brush tool (Make it a hard edged brush)
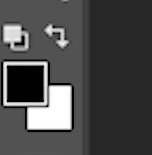
Choose black as foreground color.
With the mask selected, paint away the trouble spots.
If you want to paint anything back into the image, change to white as your painting color
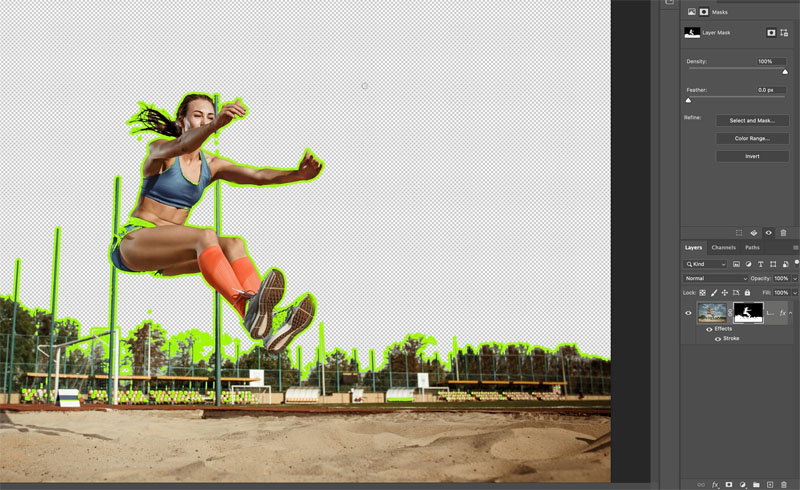
When you are done, hide the stroke layer style and you have a nice cutout.
I hope you found these masking tips helpful. There are many more tutorials here at PhotoshopCAFE on masking, selecting and refining edges, as well as every other type of Photoshop tutorial. Have a little binge on some of our tutorials, you won’t regret it 🙂
As always, It’s great to have you here at the CAFE!
Colin
I’ve got a whole bag of goodies you can have for free at the Vault. Grab free goodies here, including Photoshop brushes, actions, presets, sky images, ebooks and a whole bunch more.
Consider Consider joining our mailing list so you don’t miss any of my tutorials.
For more, follow us on Social Media
The post Photoshop refine Mask Tricks in 2022 appeared first on PhotoshopCAFE.

