I have discovered some very interesting things with Generative Fill in Photoshop. I’ll share them here. Please watch the video to see it in action. These written steps provide a reference as well as some clarity in areas where people might be confused.
We are working on Photoshop 2024 in the Mac. It works the same on Windows.
The first part is (somewhat) common knowledge, but I quickly build from there into new territory. I started with the knowledge that you can apply art effects to images if you use a 40% density with Generative Fill. I then ran with that piece of info and experimented with a number of things and came up with the tutorial you see here. Don’t worry if tou don’t understand what I just said, it will be explained.
Here is an important explanation, then we will do step-by-step, but this will help people who have difficulties getting the same result.
5 Steps to Generating Art from Photos
When we generate these effects, these are the 5 steps we will take every time. It’s actually very fast and easy once you have done it a couple of times. (This is a reference, I will walk you through it). We will start with a photo.
1. Press Q for Quick mask (Takes us into Quick Mask Mode)
2. Choose a foreground color (a shade of gray)
3. Press Alt+Backspace – Option+Delete on Mac (Fills the canvas with the Foreground color)
4. Press Q key once again (Takes us out of Quick mask and turns the Mask into a selection, You won’t see the selection because it’s filled with less than 50% gray)
5. Choose Generate and enter text into the prompt
Ok, hold on one second. This is where some people got stuck.
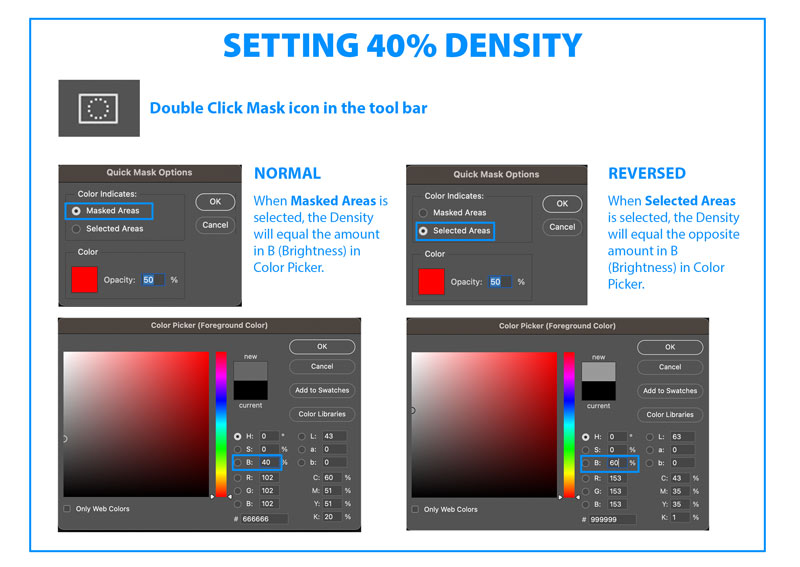
In this tutorial, I will be setting the Brightness in the color picker to set the density (transparency of mask selection)
The number depends on a Photoshop setting.
Double click the Quick mask tool. What is your Quick Mask option set to?
If you are set to Color Indicates: Masked Areas then enter the same amount as the desired density. You know like normal. If you want 40% density, enter 40 int the B box. If you want 7%, enter 7.
BUT If you are set to Color Indicates: Selected Areas then enter the opposite amount from 100 as the desired density. For example is you want 40% Density, enter 60 (100-60=40). If you want 7% density, enter 93 (100-93=7). If you wanted 20% density, enter 80 (100-80=20) (100-B=Density). Sorry if some people got confused. Hopefully this clears it up. Not everyone has the Mask options set the same, so we have to have this explanation. So depending on your preferences, choose the correct number.
I have my preference set to Color Indicates: Selected Areas in this tutorial. So either change your preference now and follow along exactly. Or make the adjustments to the B (Brightness) number. Chart below to help.
Let’s demonstrate the effect now.
Creating a Water Color Effect to a photo with Photoshop AI
Starting with a photo
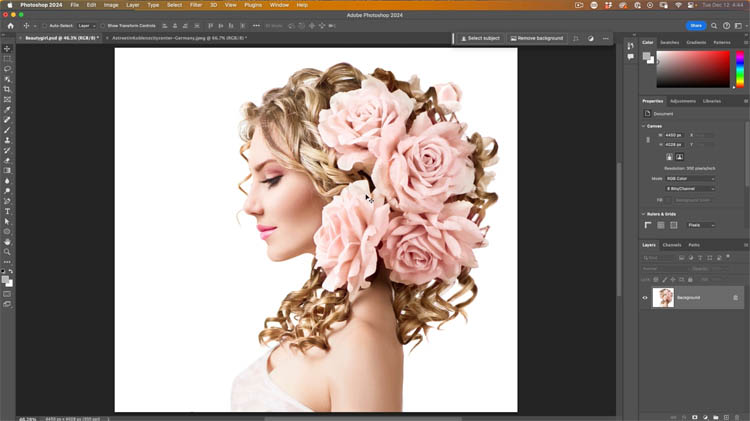
Press the Q key, or click on Quick mask to enter quick mask mode. (In quick mask you can paint or fill with color. These will be converted to selections when we exit Quick Mask).
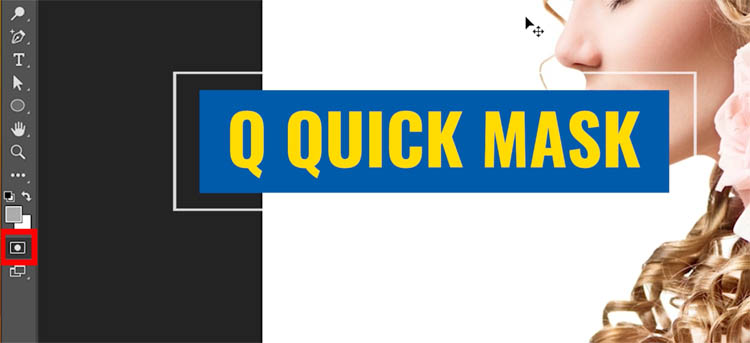
Now we want to set the density for the mask (transparency). We want to start with 40% (The number everyone uses for this effect)
Let’s choose a Foreground color
Click on the foreground color picker
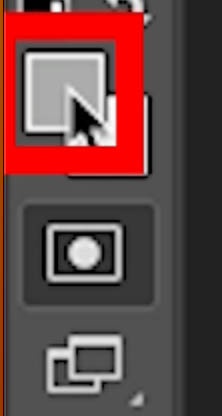
Choose the lightness from 0-100. The color doesn’t matter because masks don’t support color. Only tones.
See the 3 HSB (Hue, Saturation, Brightness) radial buttons? We will enter our number into the B field. This is the Brightness and its all we care about.
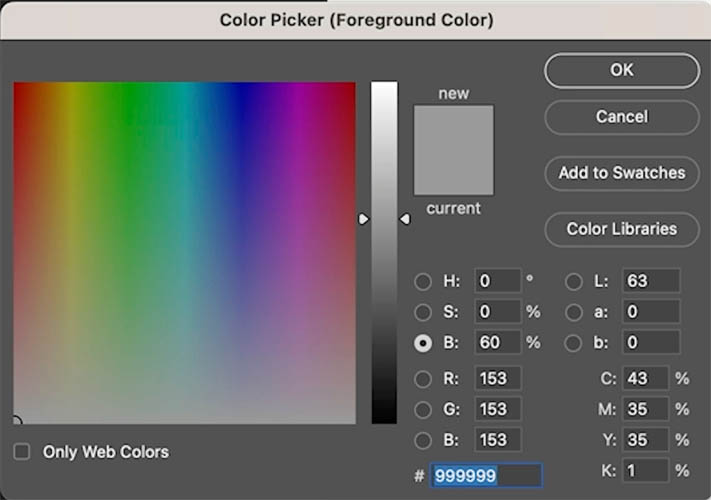
In this case I am entering 60.
This will give me 60% brightness, but 40% density because my Quick Mask mode is set to selected. (If yours is set to Masked, then just enter the desired density as the same Brightness amount (the opposite). If this doesn’t make sense, read the part above labeled “ok hold on one second…”
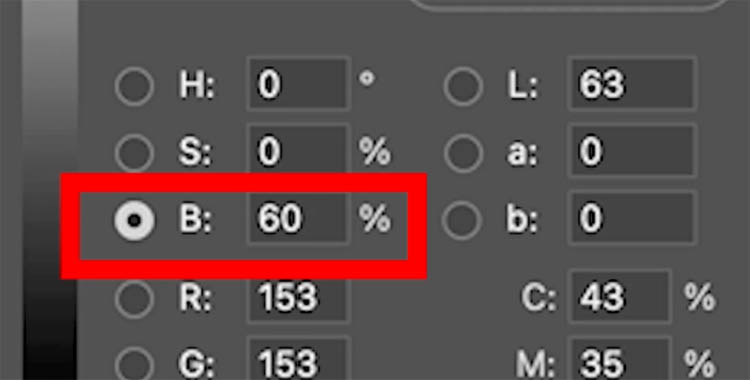
Click ok
Now fill the quick mask with the foreground color
Press Alt/Option+Backspace, You will see a pink color overlaying (this is the mask)
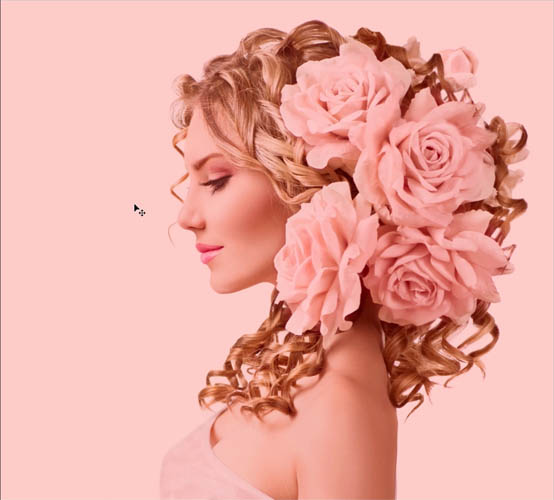
Press Q once again, or click Quick Mask to convert the mask to a selection and leave Quick mask.
You might see a warning saying selection won’t show because there is nothing selected over 50%. This is expencted. You won’t see the marching Ants selection, but the selection is active and everything is selected at 40% density (transparency).
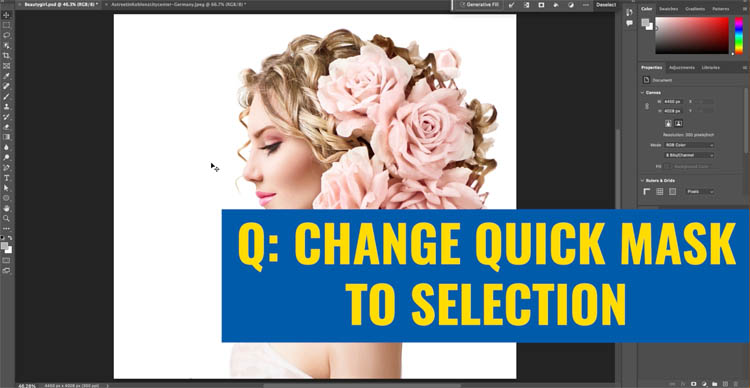
Now, click the Generative Fill button on the taskbar

In the field, enter Watercolor into the prompt.

You will see a result, that looks like water color and takes on the shape and form of your photo. (We are about to make it look a whole lot better.. hold on)
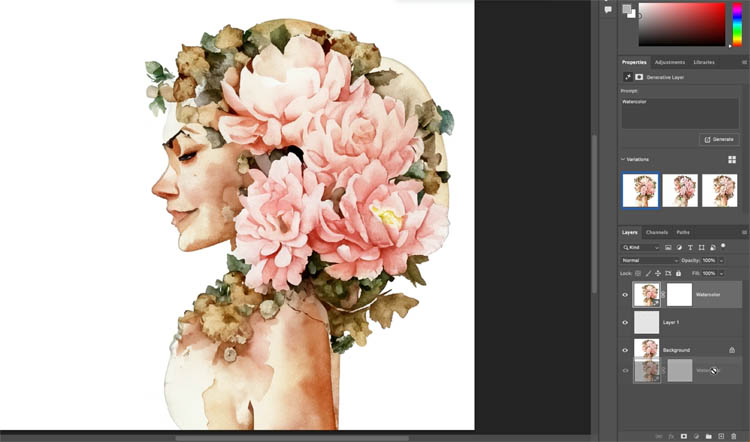
Ok this is where most people stop with converting photos to art in Generative fill and getting just ok results.
Lets see what I have discovered that makes it a whole lot better.
Lets start with changing the density (This isn’t even the good bit yet.. stay with me)
Much Better results with lower density
I wondered, why does everyone who does this stick to 40%? Surely there must be other numbers that work too? And sure there are, here is the result of my first discovery (more coming as this tut progresses).
Let’s do these steps again
1. Press Q for Quick mask (Takes us into Quick Mask Mode)
2. Choose a foreground color (a shade of gray)
This time we only want 7% density: enter 93% (or 7% depending on your mask setting)
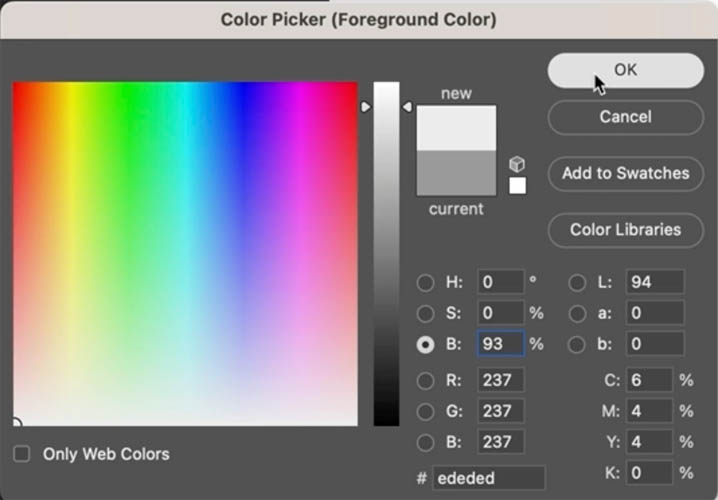
3. Press Alt+Backspace – Option+Delete on Mac (Fills the canvas with the Foreground color)
4. Press Q key once again (Takes us out of Quick mask and turns the Mask into a selection, You won’t see the selection because it’s filled with less than 50% gray)
5. Choose Generate and enter watercolor into the prompt
Now look at this much better result. (This still isn’t even the good bit)
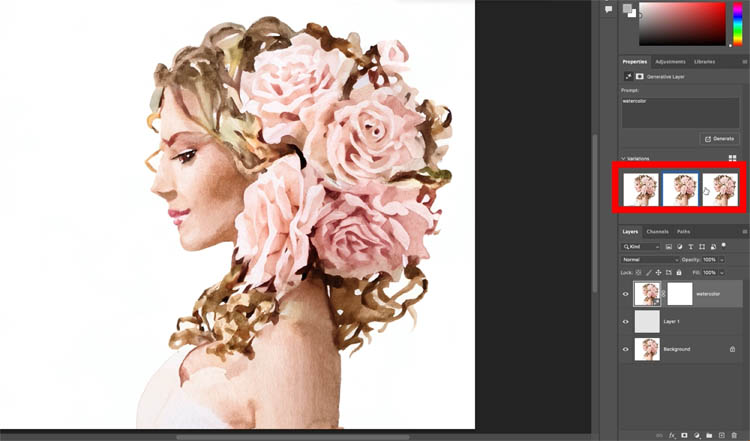
What I have discovered here is the density changes the result
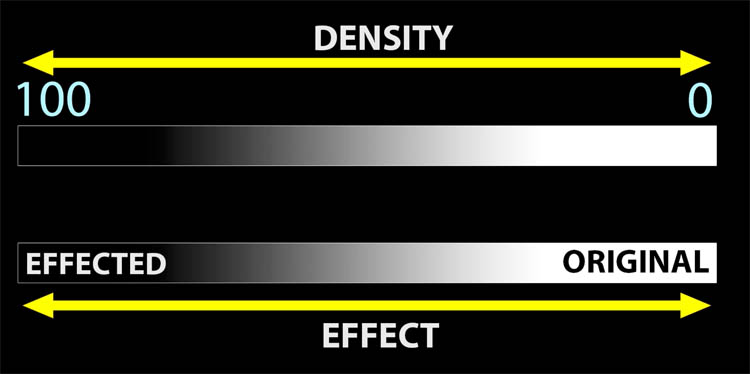
The lower the density, the closer the result is to the original image. The Higher the density, the more the result will stray from the original.
THIS IS A HIDDEN AMOUNT SLIDER (The Density) But when you see why in a second, the lights will come on.
Here I performed the same 5 steps, but changed the text prompt to watercolor instead of watercolor and got an oil painted result.
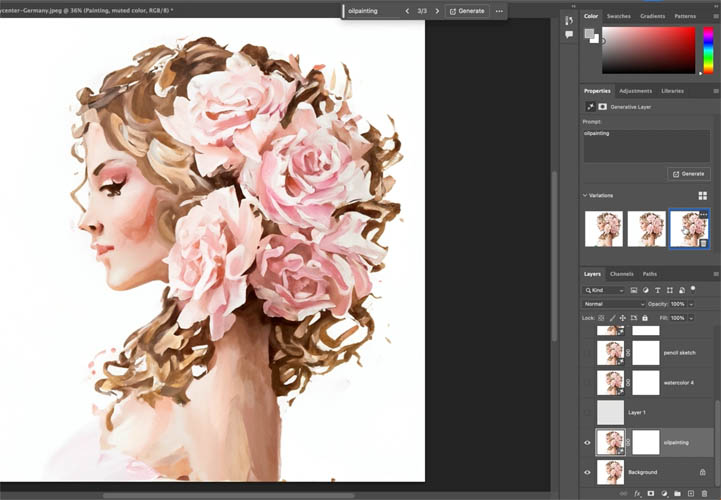
We also tried it with Pencil Sketch for another art effect, this is at 30% density.
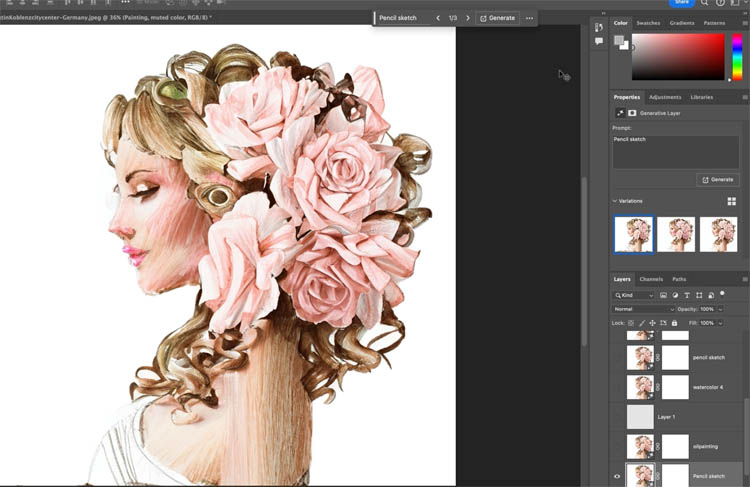
Here I used the same Pencil sketch prompt, but at 10% density. Experiment with different densities for different results.
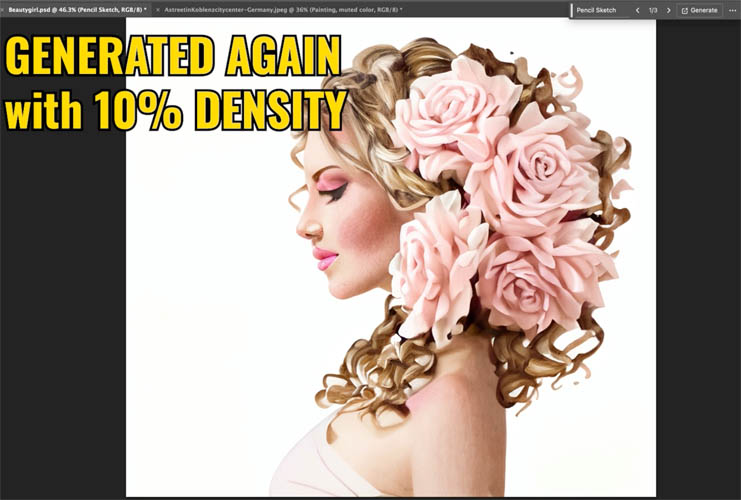
Ok, if you stuck with me this far (And didn’t assume you already knew this and bounced) get ready for a huge payoff.
It struck me that Photoshop uses Firefly as the engine that runs Generative fill. So therefore, it seems Generative Fill must understand the Firefly settings? Let’s see.
Go to Firefly.adobe.com
Click on Text to Image
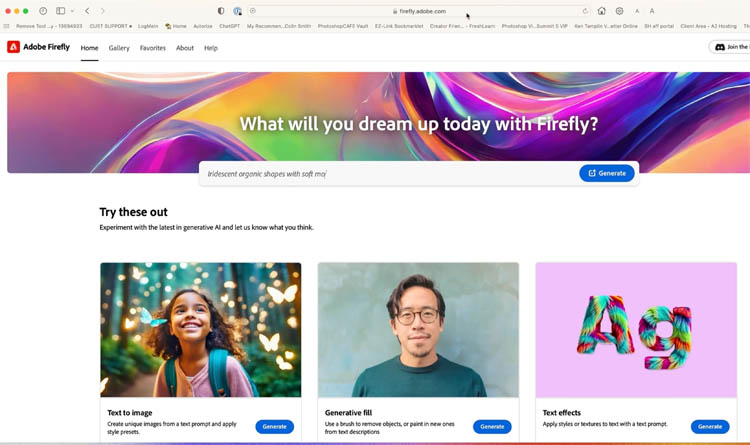
Just to get something going to populate the interface, I entered Street and Firefly generated these images. (Firefly is now on Model Version 2 and vastly improved image generation – No V2 isn’t in Photoshop yet).
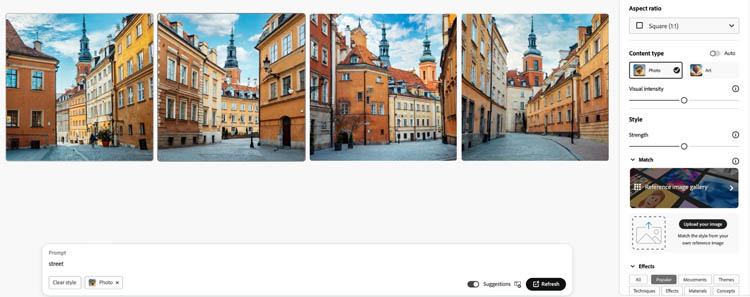
Look at the settings on the right side of the interface, this is the magic.
Notice a strength slider? We are emulating this by changing the density back in Photoshop.
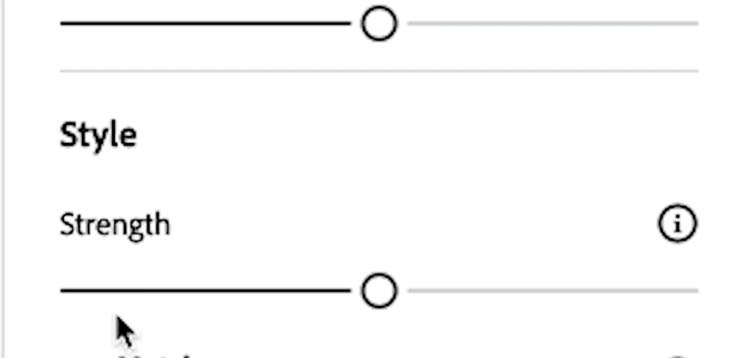
Scroll down and see more settings.
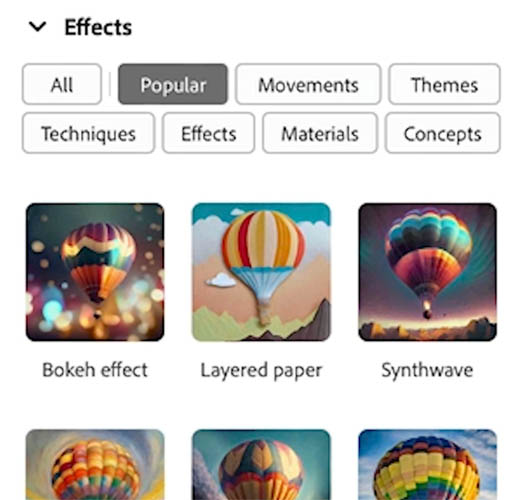
Let look at Movements (These are art styles or movements such as Art Deco, Art Nouveau (predecessor to Art Deco), Steampunk, cyberpunk etc)
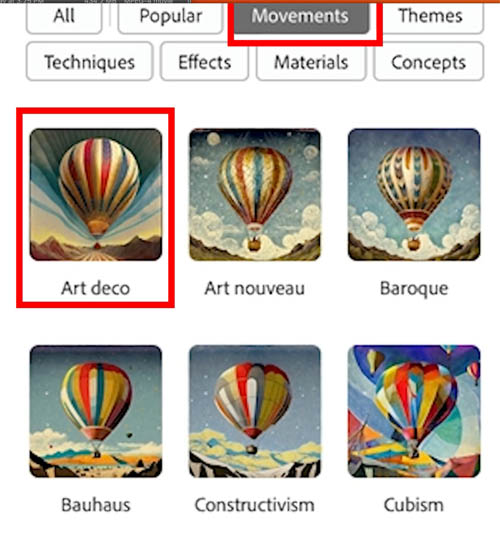
Ok, lets go back to Photoshop.
Open a Photo of a street.
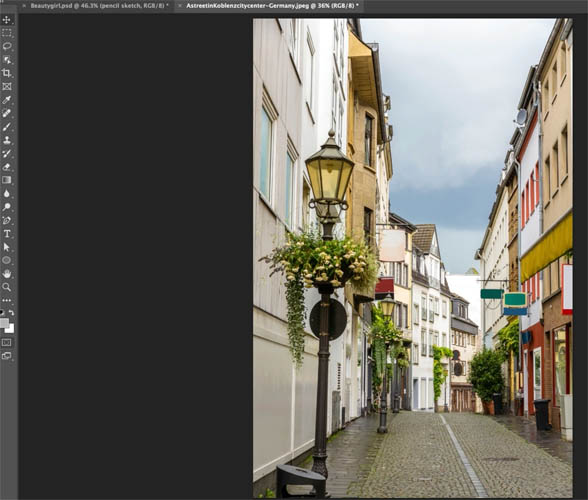
Q for Quick mask
Choose foreground color. Choose 40% density. Either 60 or 40 into your B box depending on your Quick masks settings
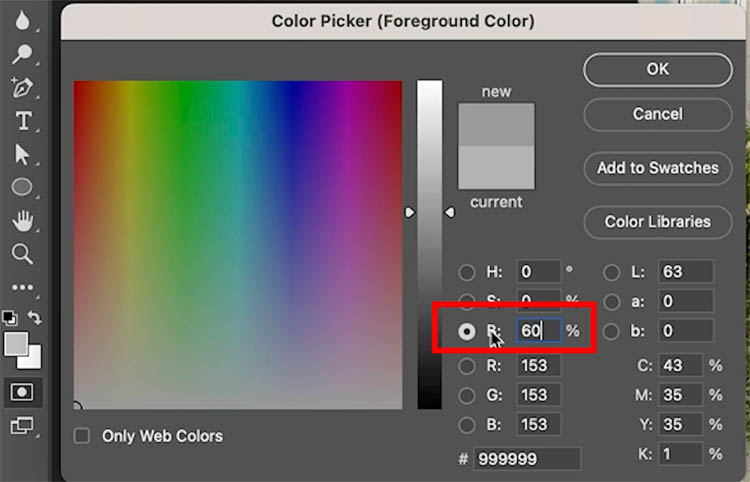
Click ok
Fill with foreground color Alt/Option+Backspace
Press Q to convert to selection
Remember the movements in Firefly?
Enter Art Deco

Now our photo is converted to exactly the same scene, but in an art deco style! Mind blown!
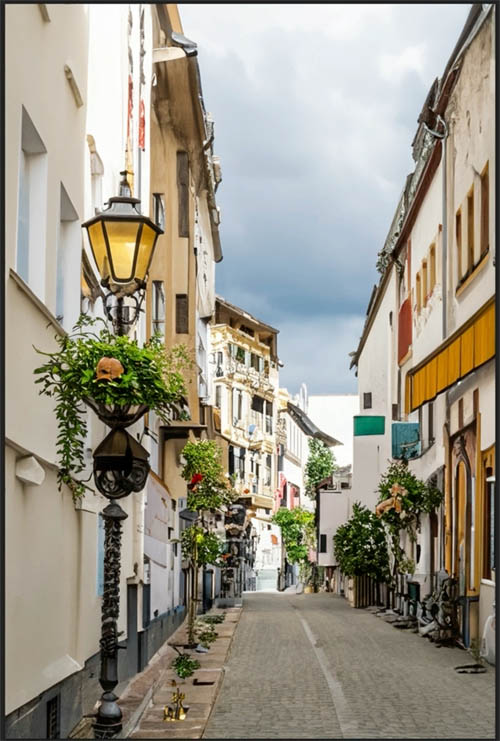
Let’s try a different one. Steampunk.

Yes! This works beautifully too.
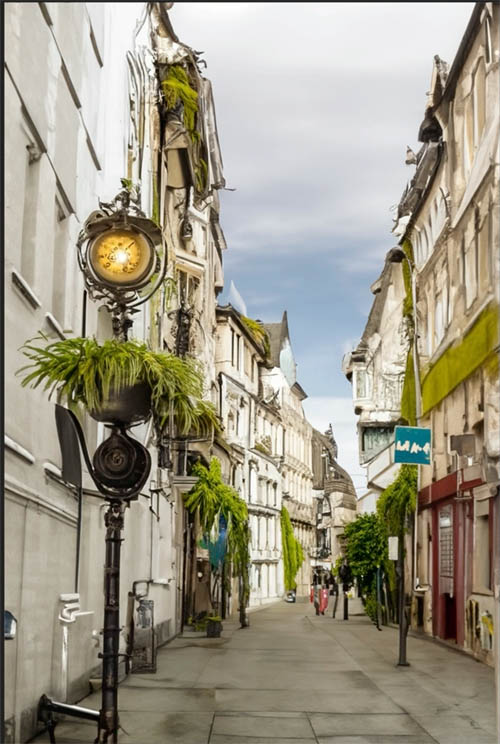
So, all the movements work. Lets try a different category.
Back in Firefly I see a concepts tab
Ohh futuristic looks interesting. Lets try that
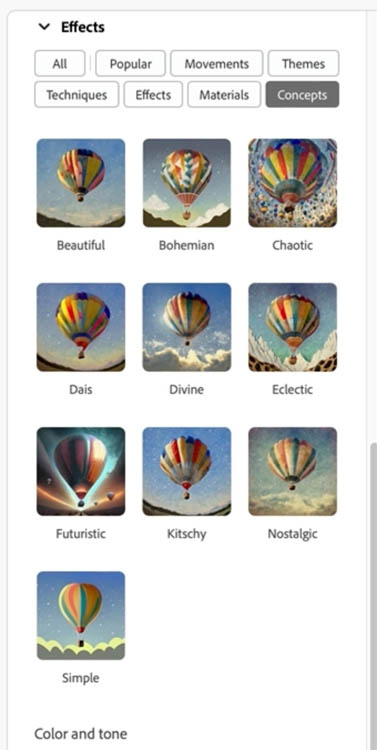
I entered Futuristic in the prompt in Photoshop and Generative fill gave me exactly what I wanted.
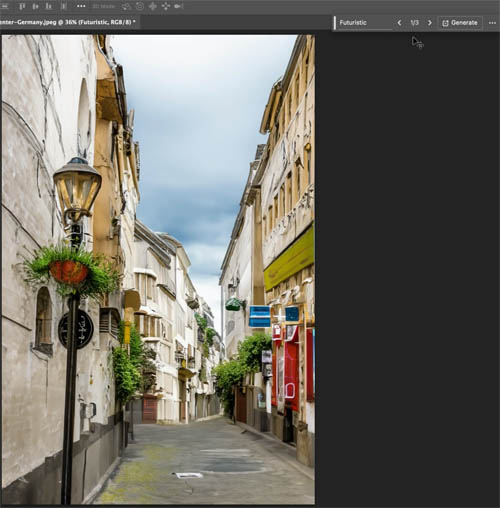
Just for fun I opened another of my images I shot a while back
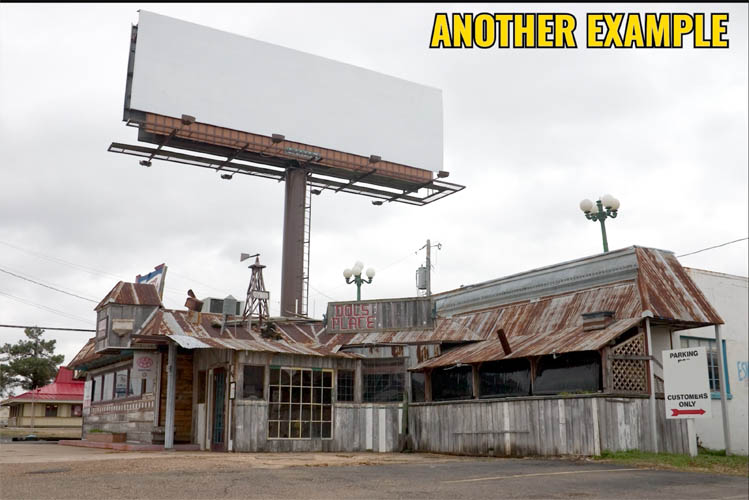
Entering Futuristic into the Prompt transformed this exact scene into a futuristic diner concept. Ok, it’s far from perfect. But start to think about the possibilites!
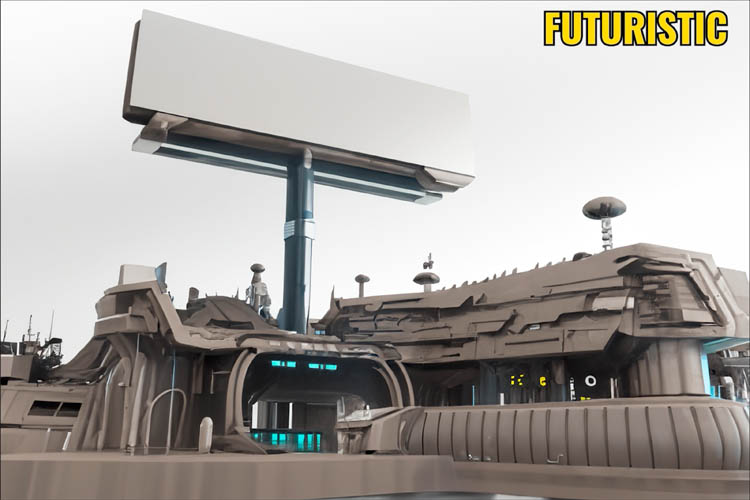
I encourage you to experiment with this and see what you can do. Go to Firefly for inspiration and see what you can generate.
I hope you found this tutorial helpful!
If you want to learn more about Generative Fill, check out my course here
Great to see you here at the CAFE
Colin
The post Revealing hidden features in Photoshop Generative Fill to convert photos to art and more appeared first on PhotoshopCAFE.
