
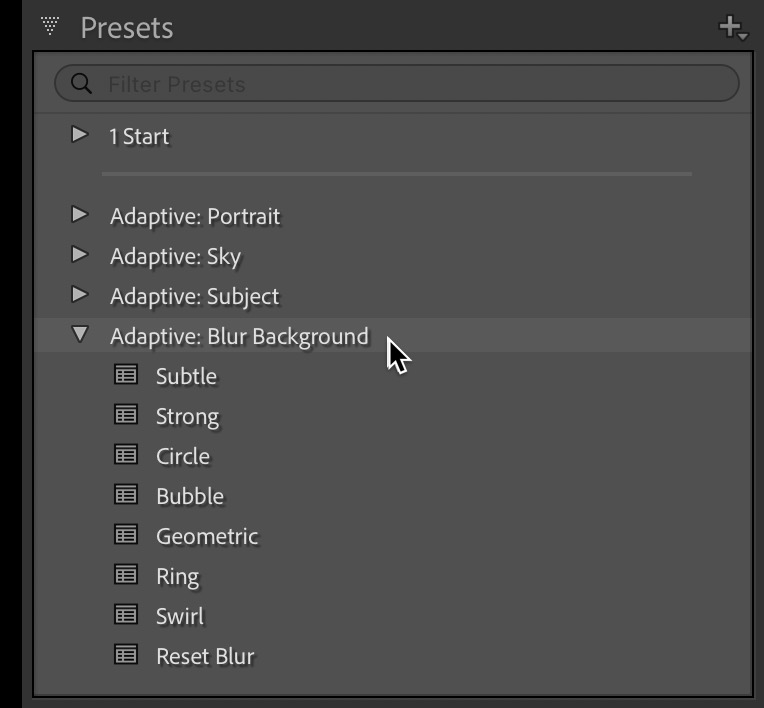
In the May update we saw the Lens Blur feature graduate from early access to a full-fledged feature, and with that came a set of adaptive presets for applying lens blur. We’ve seen other forms of adaptive presets in the past, such as those for portrait, sky, and subject. Added to the Presets panel is a new group for blurring the background.
Adaptive presets utilize the AI-based subject detection capabilities to select or mask the target subject and then apply settings to the masked area. With the new lens blur presets it will attempt to detect the subject and then apply lens blur settings to the background to simulate the type of blur you’d get from a lens. Like all adaptive presets, the quality of your results will depend on how well your subject can be detected and how well it may already be separated from other elements in the image.
While I don’t think it is intended to replace the quality of blur from a quality portrait lens shot wide open, I do think it is a useful addition to our editing toolbox when we want to enhance the existing shallow depth of field or to add some blur to further separate our subject from the background. Like most edits, this is subjective, and season to your own tastes.
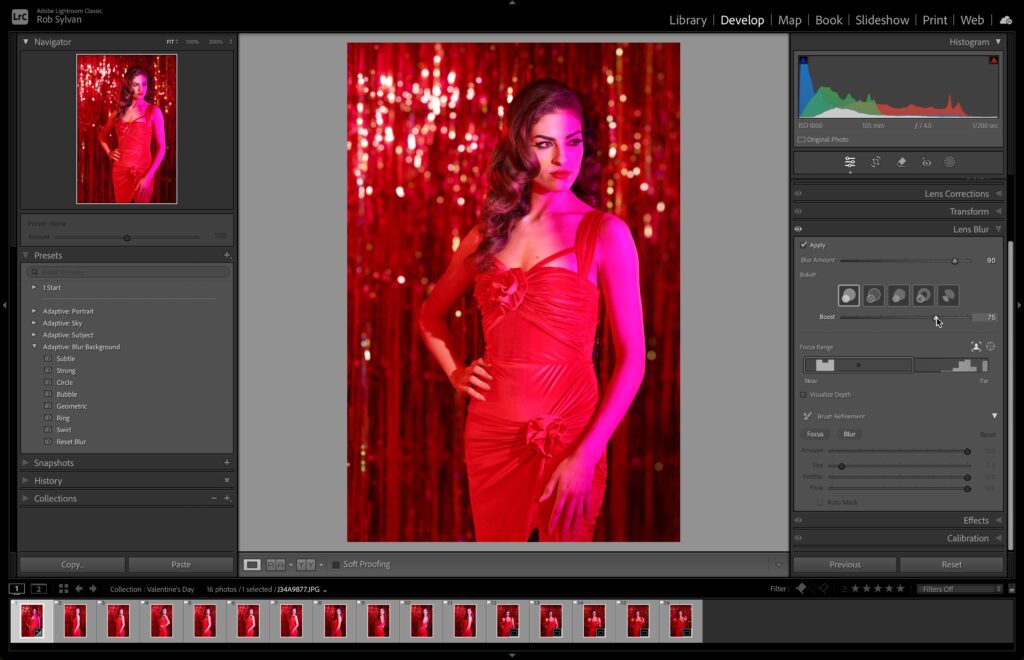
You can use these presets in a couple of ways, with the first being to have the photo in Develop that you want to edit, then simply clicking the desired preset to have it detect the subject and apply the Lens Blur settings in the given preset. To get to learn what each preset can do, one can simply move your cursor over each preset in turn and see the settings preview on the photo (it will first have to detect the subject to build the mask, but once that is done it will preview quickly for each of the other presets).

Once you’ve found a preset you like, click to apply. This will activate the Lens Blur panel with the settings contained in the preset and you can tweak as desired.
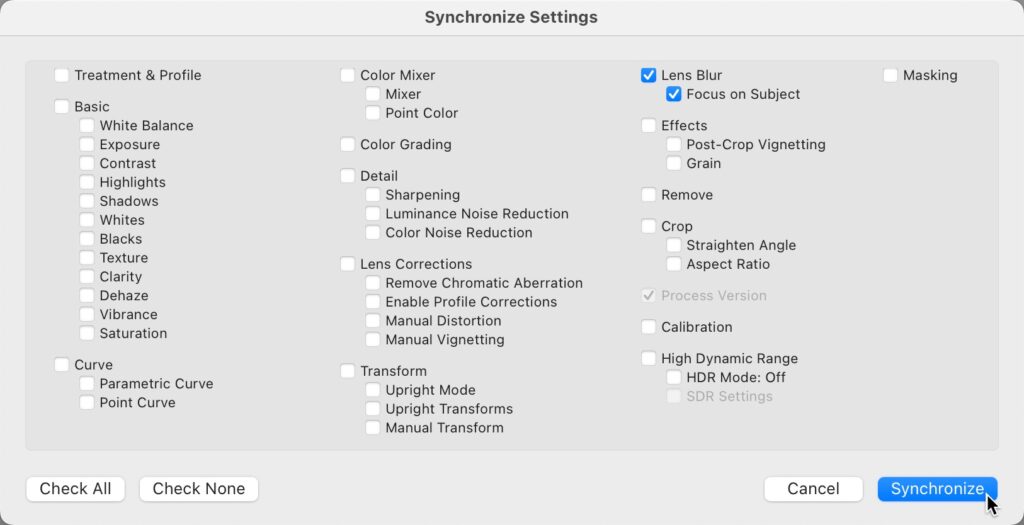
If you have similar images you want to apply the same settings to, you can select them in the Filmstrip and click the Sync button to synchronize settings across the selected photos. Check the Lens Blur box (and the boxes for any other settings you want to sync).
You can also batch apply an adaptive preset right from the Library module. Start by selecting all of the photos you want to be affected by the preset, then in the Quick Develop panel, click the Saved Preset drop-down menu and choose the desired adaptive preset.
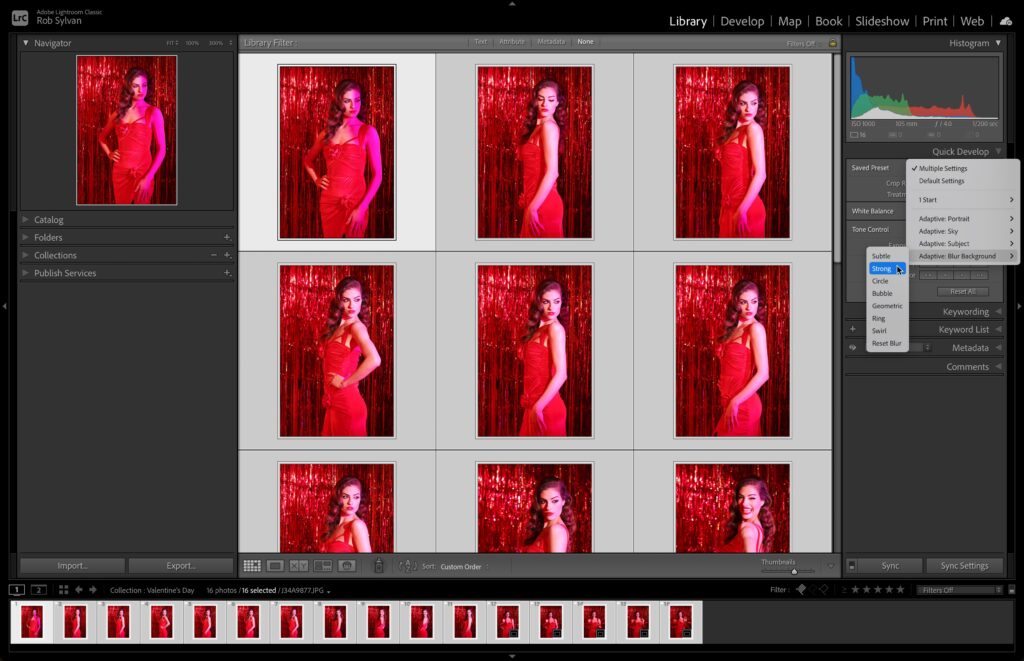
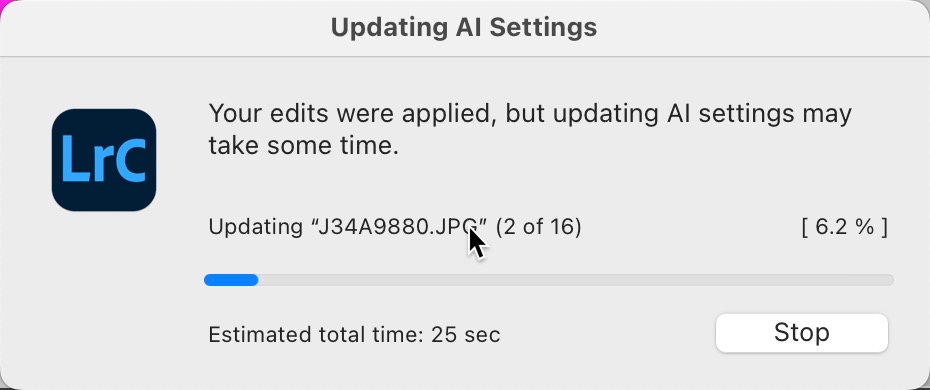
Lightroom will create an AI mask for each selected photo and apply the preset’s settings. This can take a little while depending on how many photos you selected and your system’s hardware.
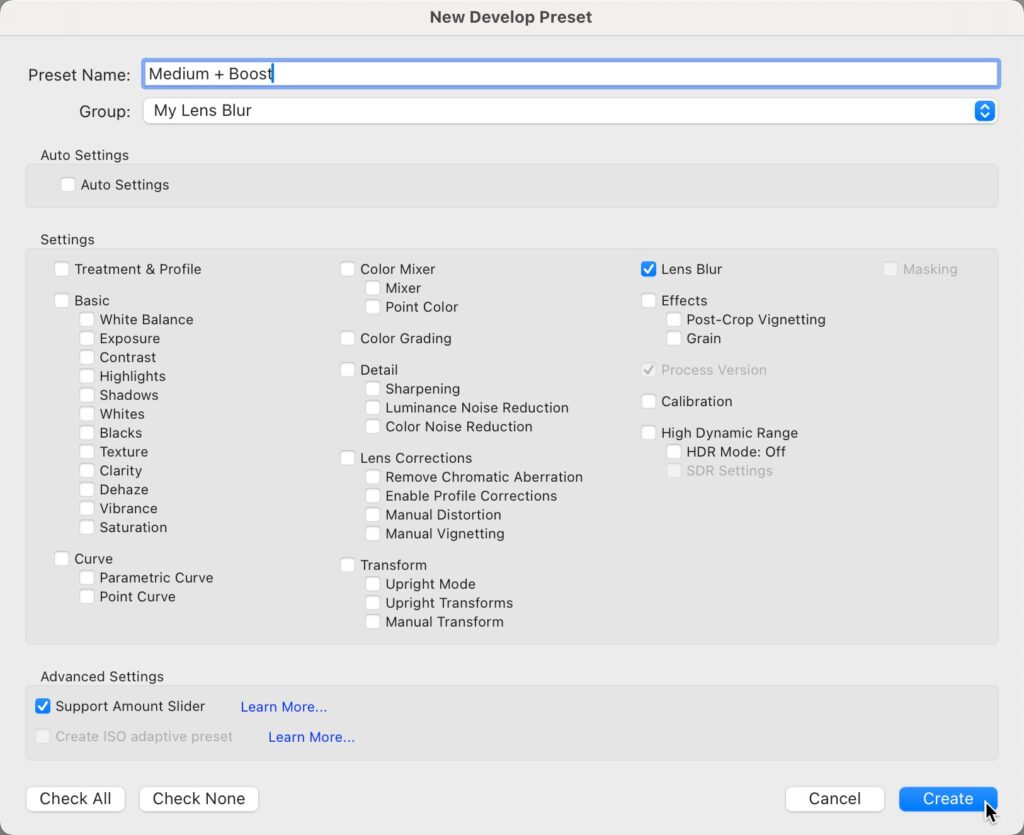
Once done, switch to Develop and adjust settings on each photo as desired. You can consider these presets, like any preset, as just a starting point to move you further down the road, or if you like the look of the settings in the preset, you are done. If you’ve tweaked the settings in a preset, or just customized Lens Blur settings from scratch, you can save those settings as your own adaptive preset by clicking the + sign in the Presets panel, checking Lens Blur, and giving it a meaningful name. Now you can create your own set of adaptive presets and make the most of this cool new tool.
The post Adaptive Presets for Lens Blur appeared first on Lightroom Killer Tips.