
The June 2024 update to Lightroom for iOS slipped in a new feature that finally gives us the ability to directly import presets into Lightroom mobile. This capability already existed for Android and the desktop (Mac/Win) versions of Lightroom. According to the release notes from Adobe you can now, “Seamlessly import or export a single preset or multiple presets in a zip file.” Here’s how it works.
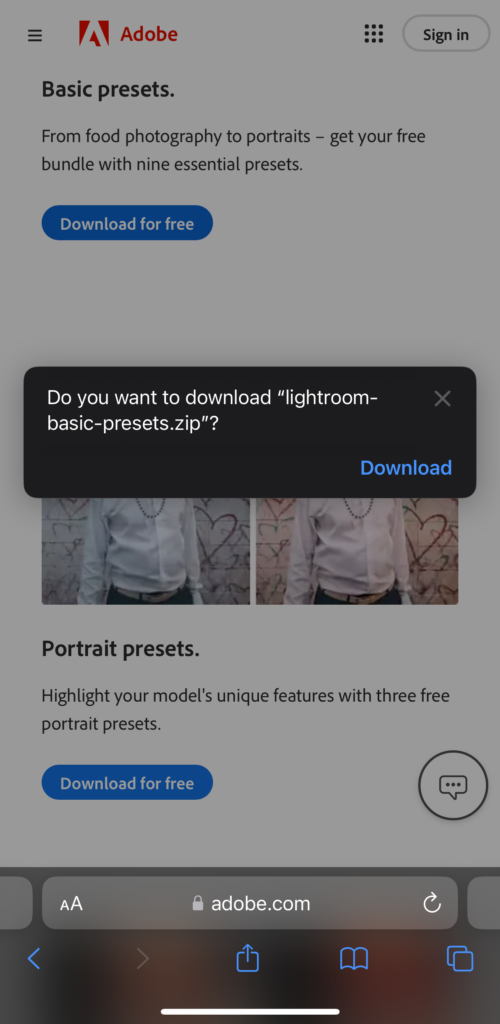
First, you need to download presets to your iOS device. Most commonly, you will be downloading a zip file containing the presets. If you don’t already have a zip file of presets on your device, you can test this with these free presets provided by Adobe (scroll down near the bottom) by opening that link on your iPhone or iPad. The zip file will land in the downloads folder for the browser you use on your device.
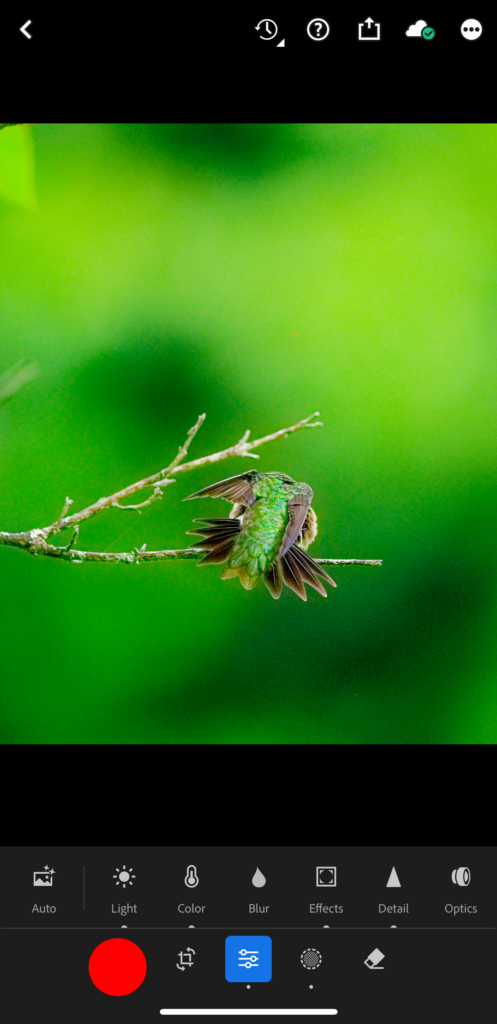
Next, open the Lightroom app on that device, select a photo, and enter edit mode. Tap the Presets icon to open that interface.
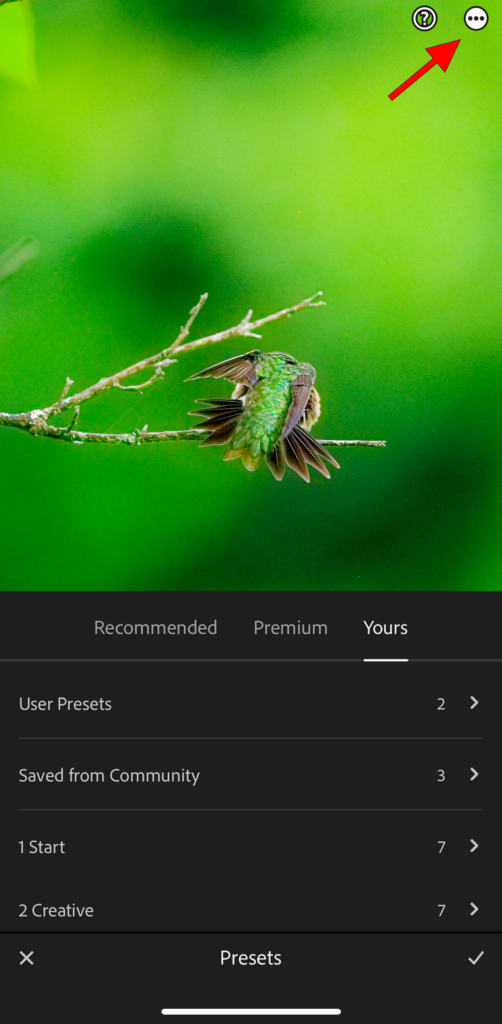
With the Presets panel open, tap the Yours category, and look for that three-dot menu in the upper-right corner.
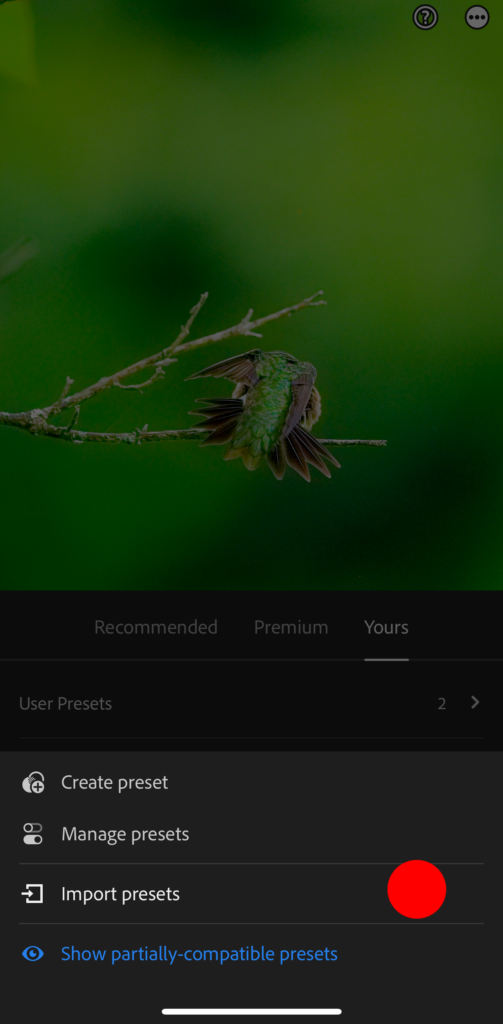
Tap the three-dot menu and look for Import Presets in the menu that appears at the bottom.
Then navigate to the location on your device where the zip file you downloaded is located (like the Downloads folder for your web browser).
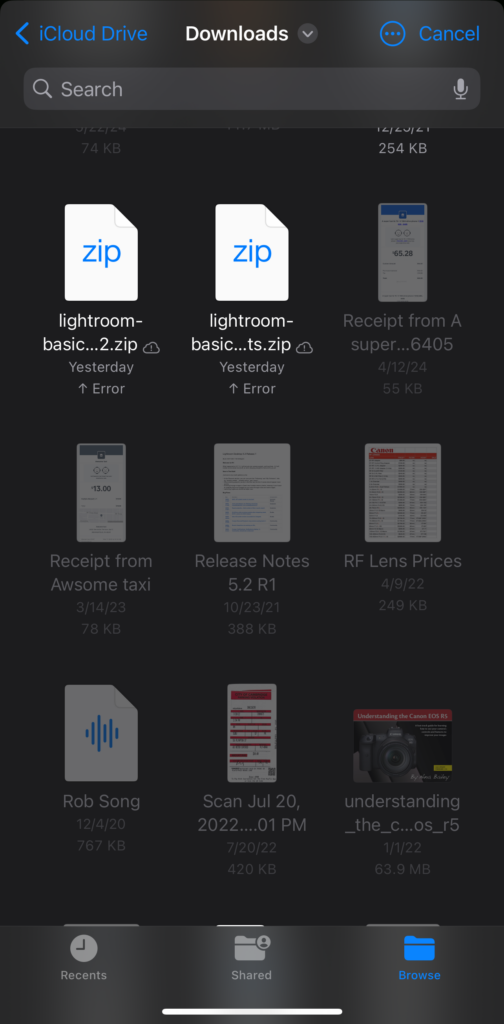
Then tap that zip file to start the import process.
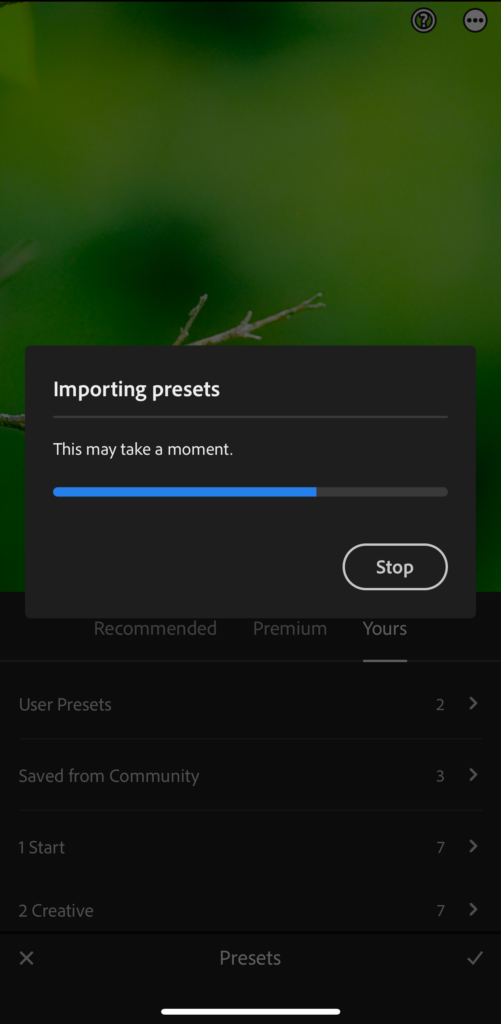
That’s all there is to it. You should now see a new preset group containing those downloaded presets in the Yours section of the Preset panel. In time, those presets will sync across any other Lightroom apps you have on other devices.
The post Importing Presets in Lightroom iOS appeared first on Lightroom Killer Tips.