
Try these 4 levels of background blur in Photoshop
There are many ways to do things in Photoshop! But they are not all equal. This isn’t just a fun challenge, its a very in depth tutorial on different ways to blur the background of a photo in Photoshop
In this Photoshop tutorial, you will learn 4 different ways to blur the background in a photograph. Find out how advanced you are, how far can you go? For some people, the pro method may be too much work, then choose one of the other methods. These aractually a 5th method hidden in here .
Level 1. The most simple way to blur the background in a photo. (beginner)
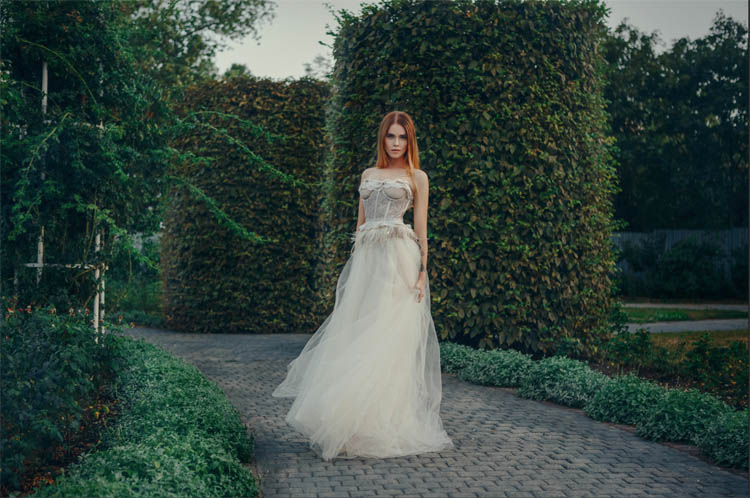
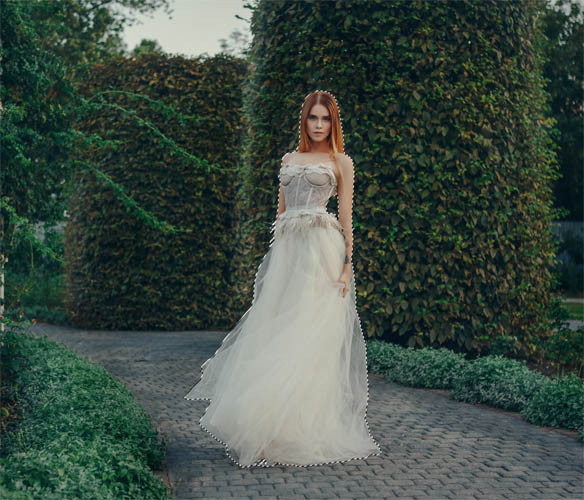
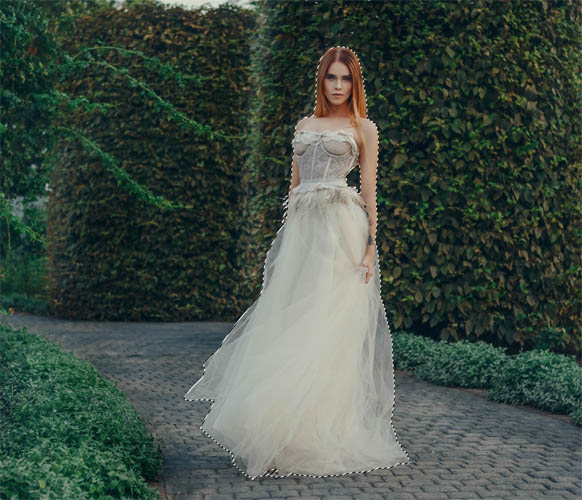
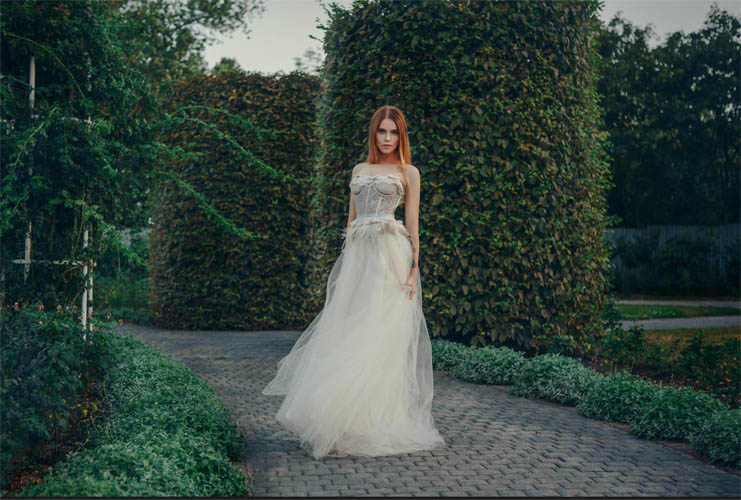
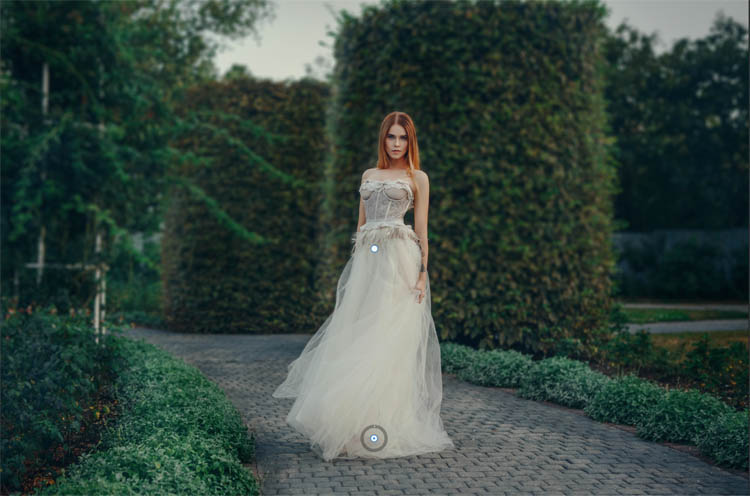
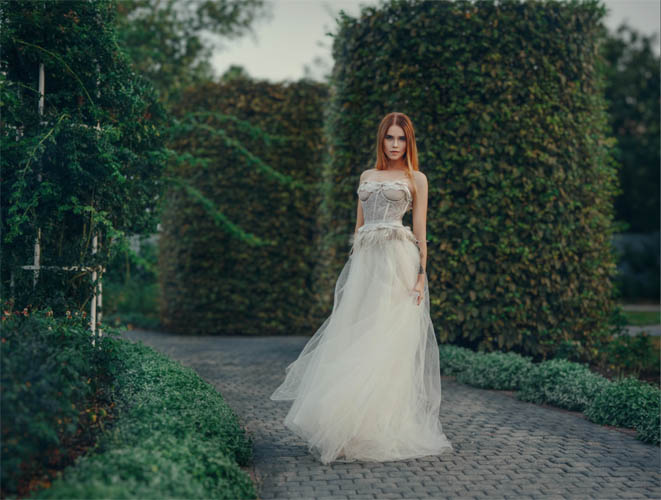
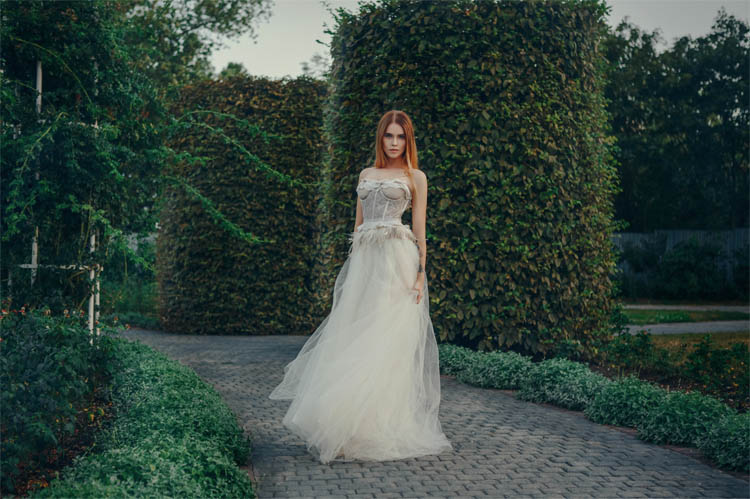
Here is the photo I’ll be using for this entire tutorial.
The photo I’m using is from Kateryna at the free collection on Adobe Stock. (Download it for yourself and follow along).
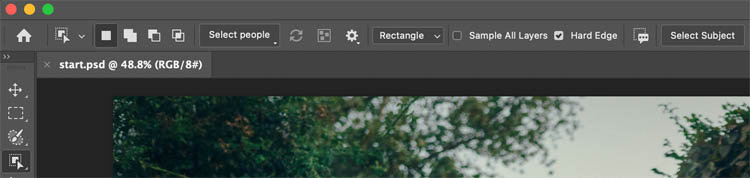
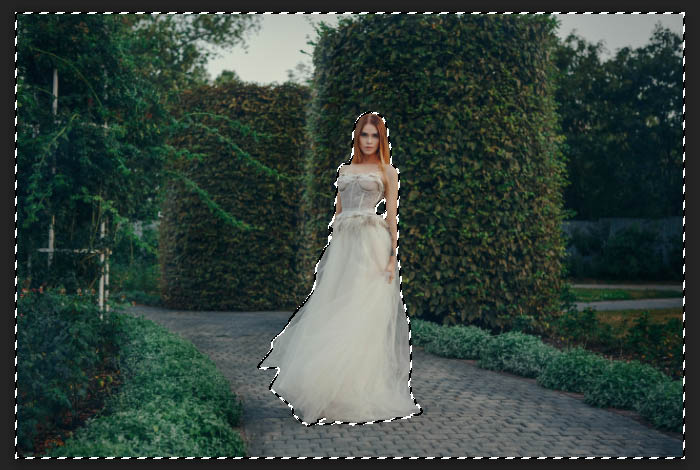
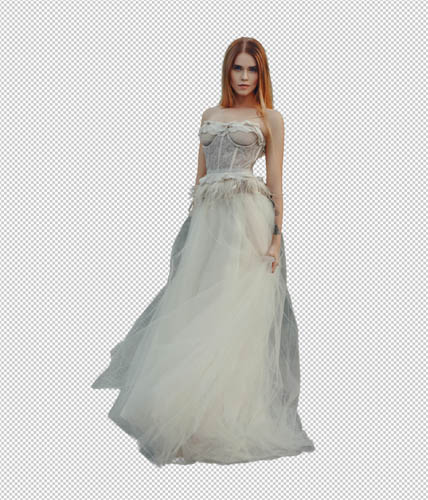
Choose the object Selection tool in the toolbar.
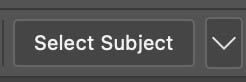
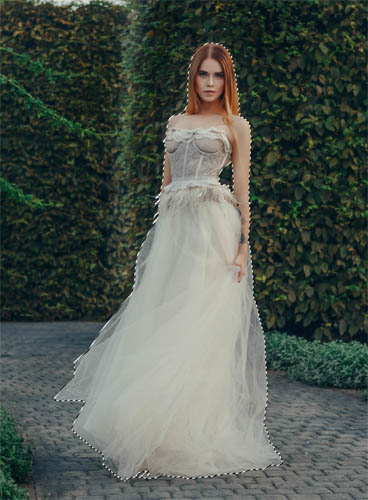
Click select Subject
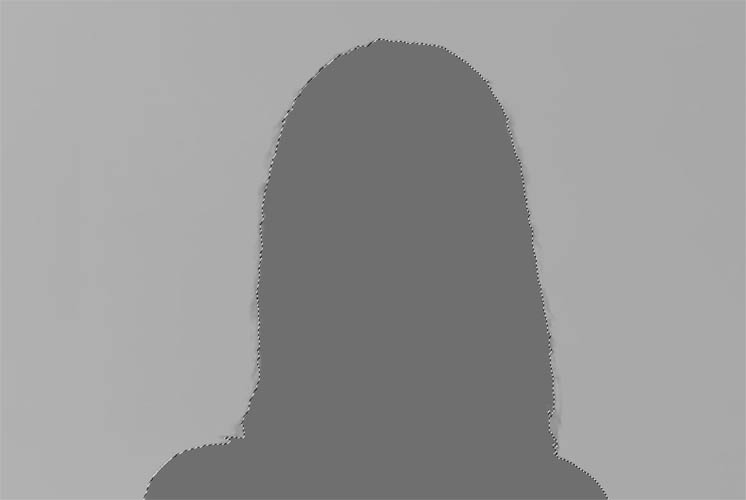
Now the woman is selected
We need to swap the selection so everything but the woman is selected.
Select>Inverse or use the shortcut: Press Cmd+Shift+I on mac, Ctrl+Shift+I on Windows (Written Ctrl/Cmd+Shift+I from now on).
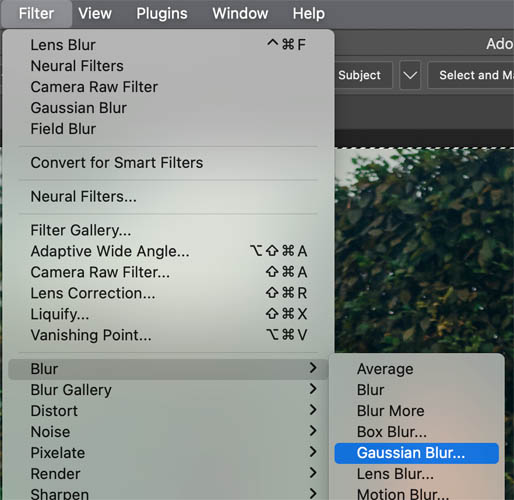
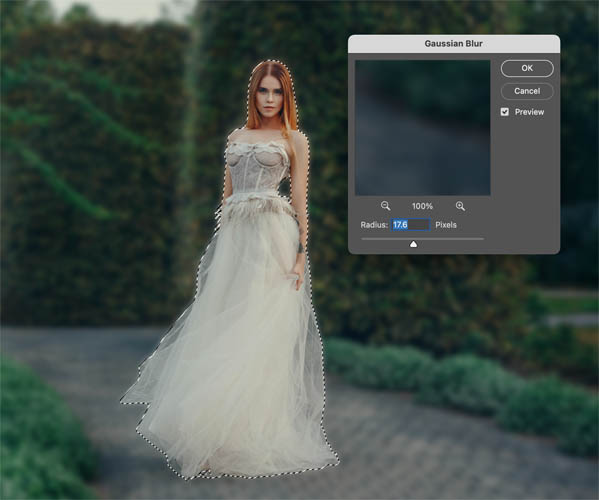
Lets add the blur
Filter>Blur>Gaussian Blur
Adjust the amount of blur to suit your tastes.
Press Cmd/Ctrl+D to deselect.
A couple of notes on this method. I wanted to show the most basic way possible. It’s best to put the woman on her own layer, so that we have more flexibility. (In Level 2 this is shown).
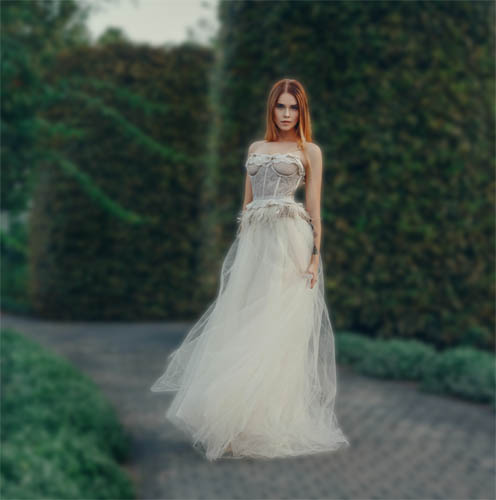
This isn’t a great result for 2 reasons,
1. The ground under the woman’s dress is blurred and looks fake. If this was cropped and not a full body, that wouldn’t matter.
2. You can see a halo around the woman where the edges were blurred. Even if she was on a separate layer, this would happen. Most Photoshop blur techniques I see suffer from this, even the built-in Action in Photoshop for Adobe.
Level 2. Getting a Believable result. (Intermediate)
In some ways, I think 2 and 3 could be switched around, as 3 is easier to do, you judge the results.
Use select subject as we did in the previous level to select the woman.
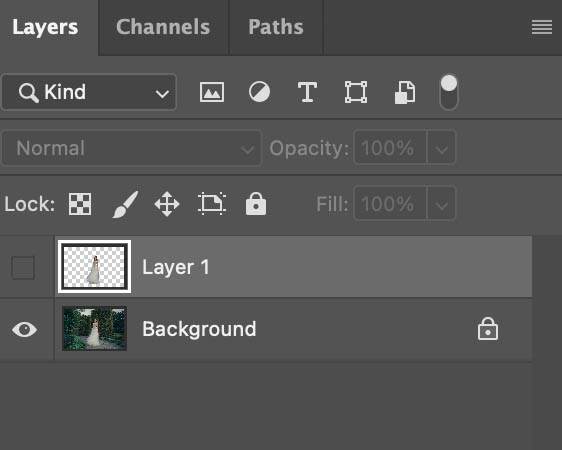
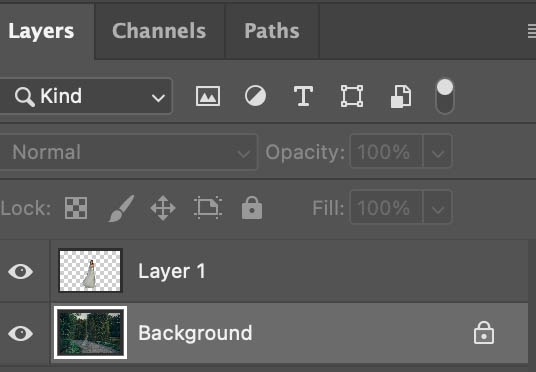
This time, Press Ctrl/Cmd+J to copy her to a new layer.
This keeps the original photo as the background and copies just the woman to the top layer.
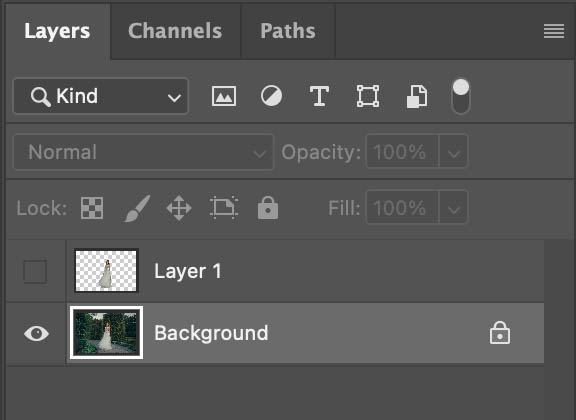
Click the eye, to hide the woman on Layer 1
Click on the background layer to make oit active. You won’t see anything different on the image as you do this.
Ctrl/Cmd+Click on the Thumbnail on Layer 1 to lead the selection.
Background should still be active.
We have loaded the selection.
Choose select>Expand and enter 3. This makes the selection a little bigger (Shown on the video).
Choose Edit>Fill (or press Shift+Delete / Shift+Backspace on Windows to open the FIll dialog box)
Change contents to Content aware and click ok.
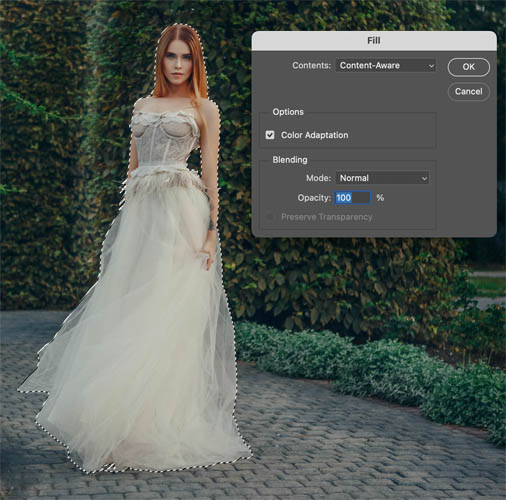
Its should completely, or mostly remove the woman. If it looks ghosty, thats fine. We are removing the solid edge to avoid the fuzzy outline (halo) we got in Level 1.
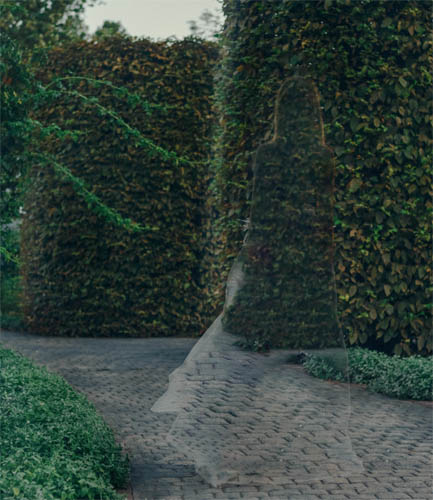
Show Layer 1 (click the eyeball).
You should see something that looks like the original image. But we are ready for the blur now.
With Background selected>
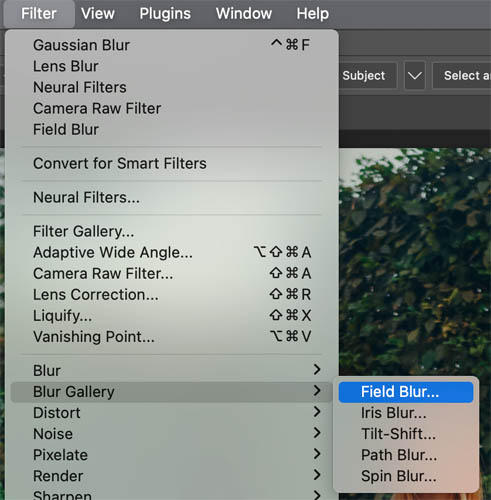
Choose Filter?Blur Gallery>Field Blur
You will se a pin. As you drag the outer circle you can adjust the amount of blur.
Notice, no halo!
But the blur at the feet is still off. We will now fade the blur.
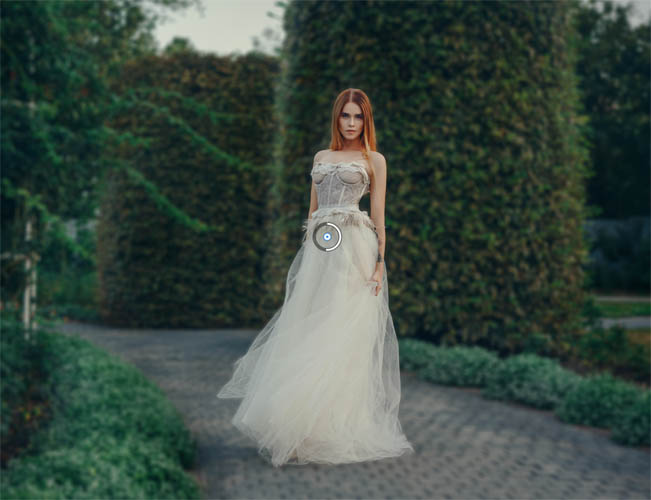
Click near the bottom of the dress to add a second pin.
Reduce the blur to zero. Tip Ctrl+Double click on the pin to quickly set it to zero.
Now we have a believable result.
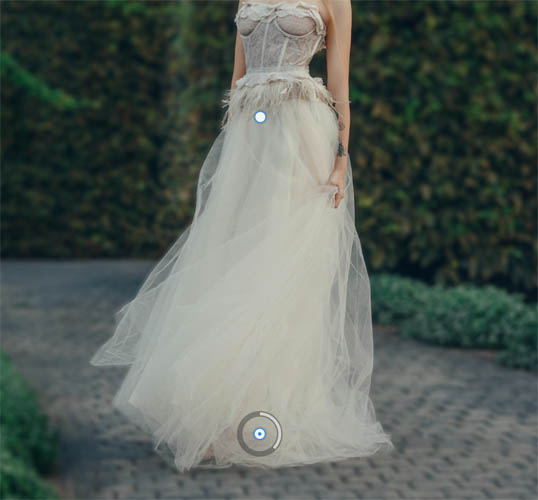
Change the fall-off by moving the top pin closer of further from the bottom one.
This is a result that we can use and is a quick technique that I use often.

Level 3 Lens Blur in ACR (Intermediate)
I’m going to also call this one intermediate, because its a actually easier than 2 in its basic form. But it does have some pretty advanced features.
I’ll keep this brief, because you can check out the other Lens Blur tut for more advanced features, including refining.
Choose Filter>Camera RAW
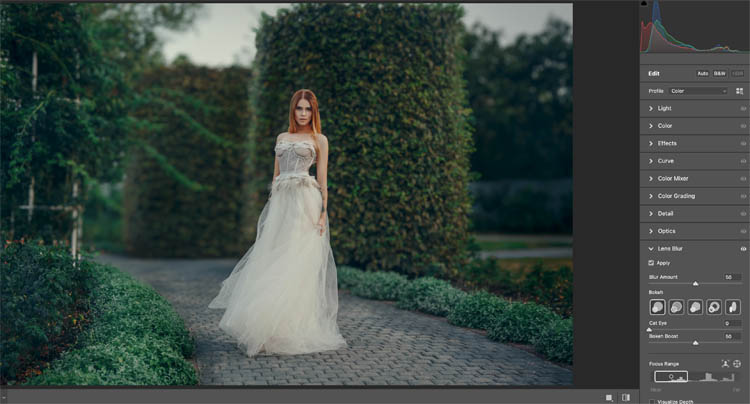
Scroll down to Lens Blur
Click Apply
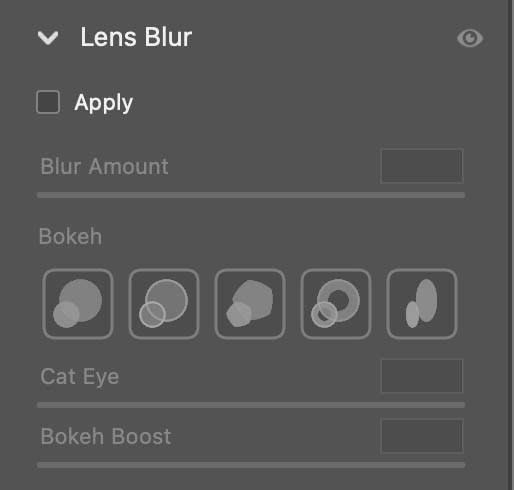
You can change the amount and different types of Bokeh to change the look. Also experiment with the focus range.
Level 4. Very realistic background blur, with a depth map. (Pro)
We are going to start with the the ai Neural filter. Although this filter can blur the background on its own, we will just use it to harverst the depth map. Confused? Read on and all will be made clear.
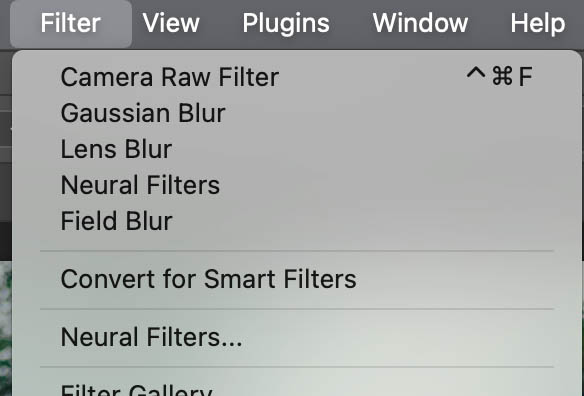
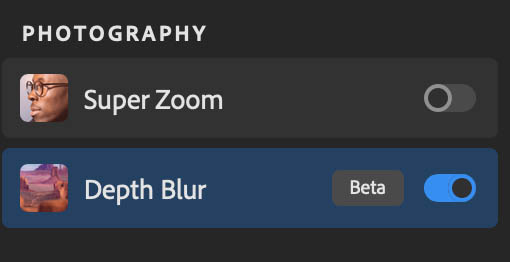
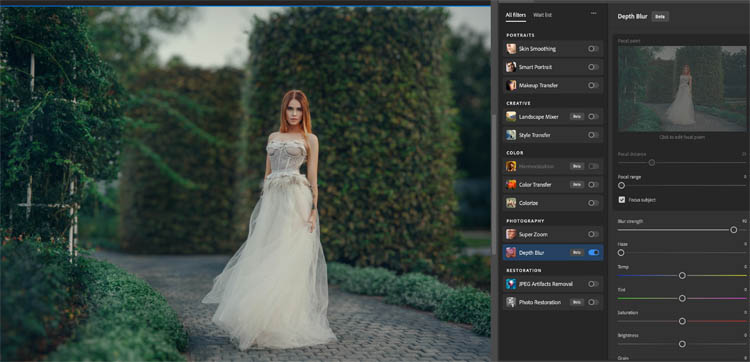
Choose Filter>Neural FIlters
Look for Depth Blur and Slide the blue button to apply it.
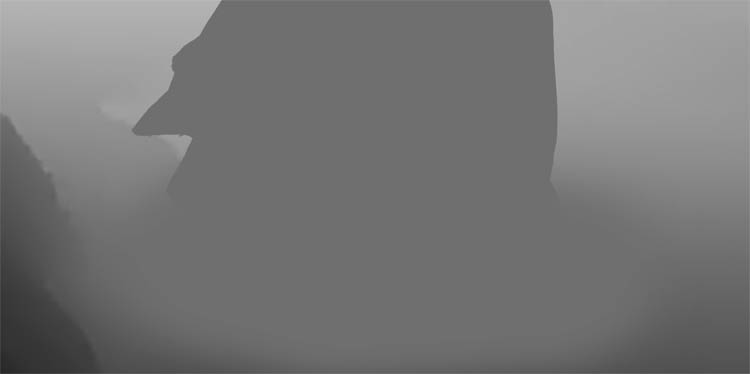
Notice the ai automatically blurs the background. Sometimes it works well, but often the edges aren’t good and other objects on the same focal plane (distance from the camera) don’t get the same amount of focus.
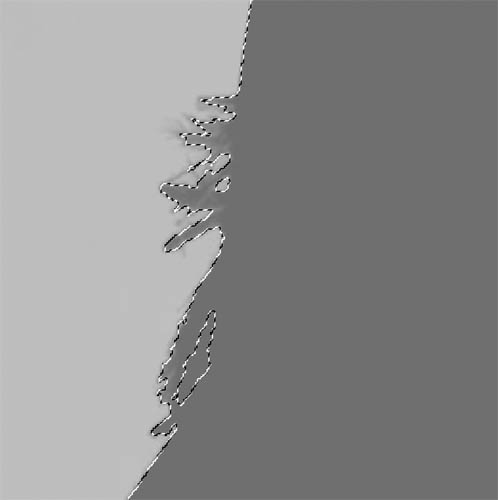
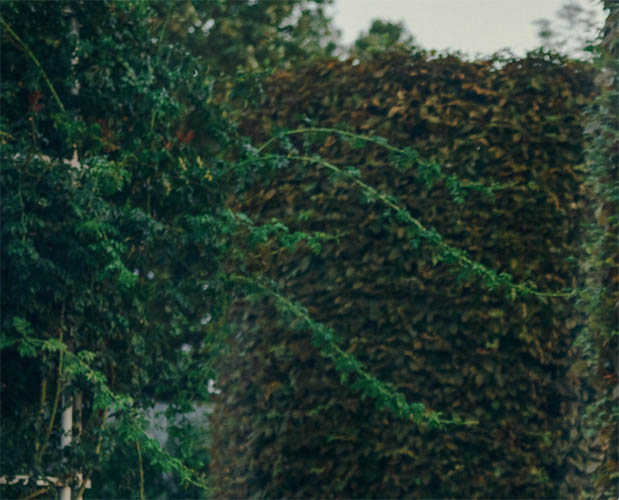
Look at the branches on the tree on the left. None of the methods so far have adressed them (but this method will). Also look at the frills in the middle of her dress, not great edges.
You can change the blur amount. For some photos, this may be all you need for the background blur. But keep going for the ultimate background blur technique (invented by myself ;))
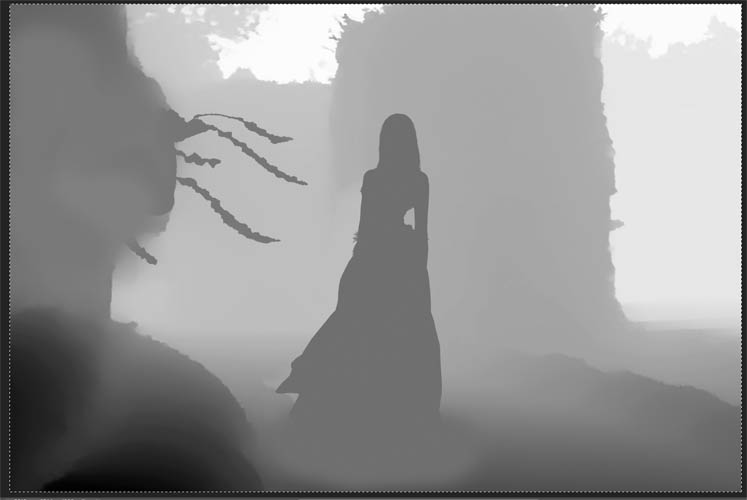
At the bottom of the settings, you will see Output depth Map only. Click it and apply.
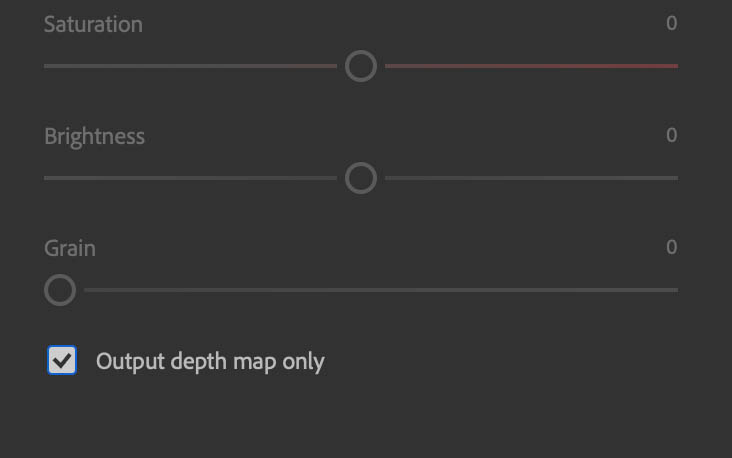
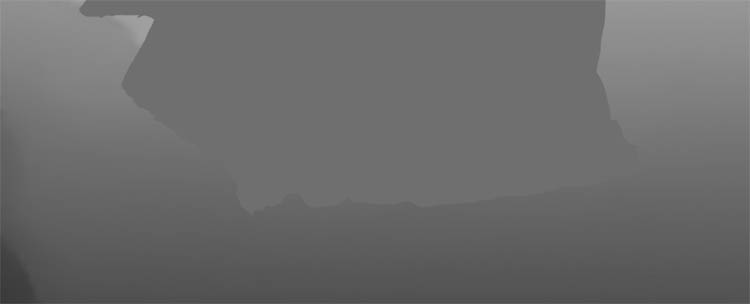
You will see a flat gray image. This is a depth map. A Dmap is how 3D space is described. Darker areas are closer to the camera, lighter areas are further away.
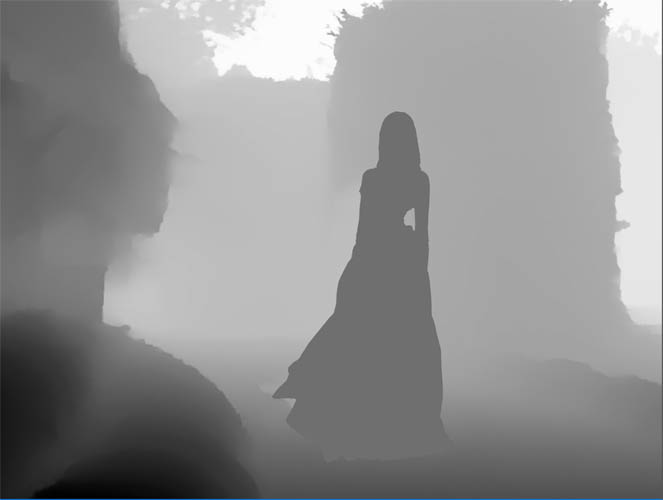
We are going to refine and edit the depth map.
Choose select subject (from the bottom layer to load the selection of the woman), as we have done in the other tuts.

Choose the brush tool (b) and use a soft round brush.

Zoom into the selection. You will see where the neural filter wasn’t as accurate as the selection in Photoshop.
Hold Alt/Option key and the brush will become an eyedropper. Click into the dark gray to sample the color,
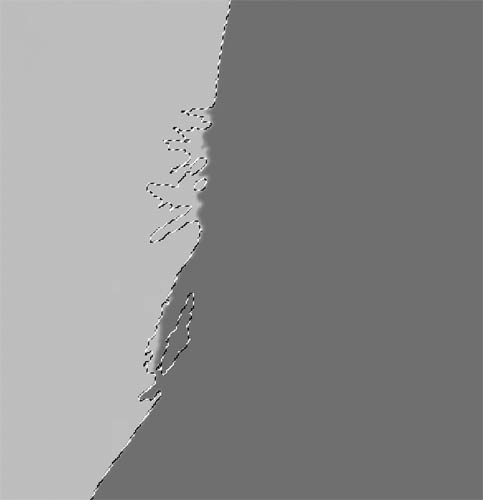
Paint directly onto the depth map layer.
Also paint around the hair to get a better depth map.
Turn off the selection (Cmd/ctrl+D)
Sample the gray and paint with a soft brush to blend the tones together (watch on the video at the top to see this in action).
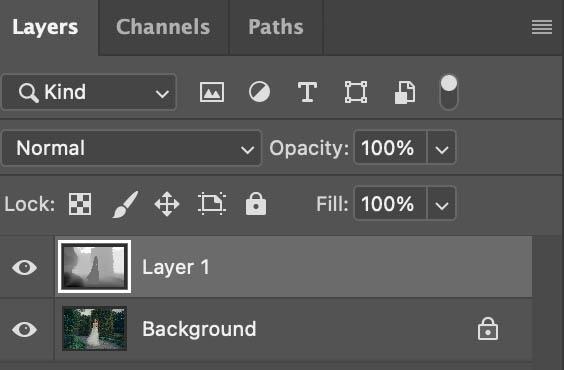
Hide the Depth map layer, so we can see the original image. Click the image layer.
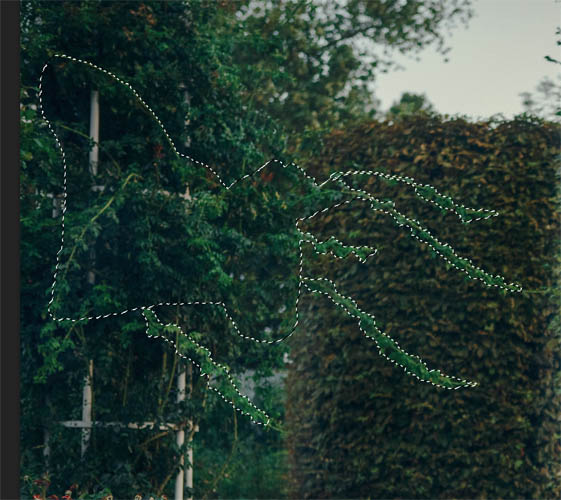
Now, we want to include these vines/branches.
Choose the object selection tool

change the mode to the right of the gear to Lasso
Do one vine at a time and select them. Hold down the Shift key to add to the selection. (With the image layer active, or it won’t select correctly).
show the depth map layer
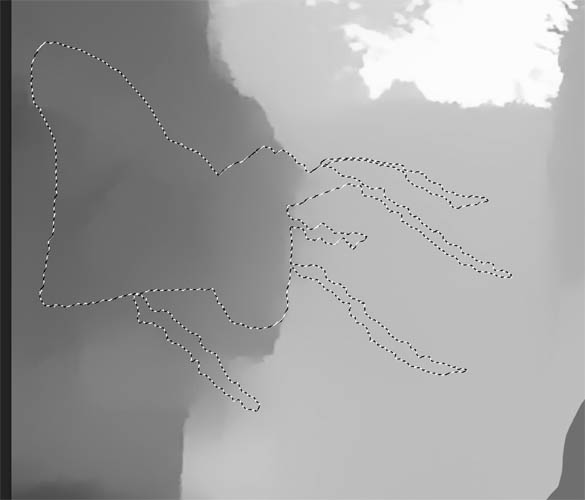
Paint onto the map using the selection as a guide.
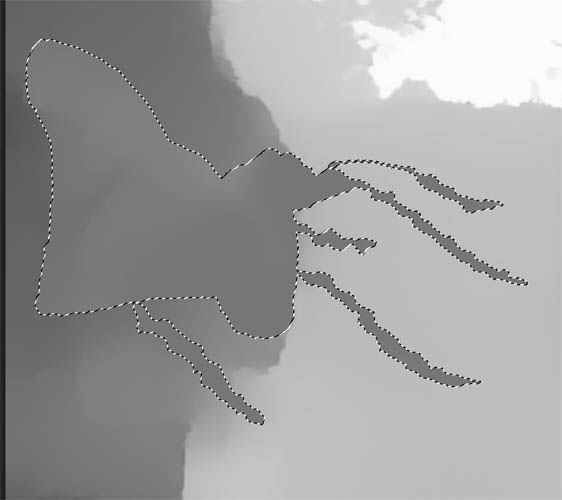
Use the same shade of gary as the woman to keep the vines on the same focal plane.
Notice we blended the edges on the left with the soft brush.
Now we need to put this into a channel.

Press Ctrl/Cmd+A to select all
Press Ctrl/Cmd+C to copy to the clipboard.
Open the Channels Panel.Window>Channels.
Click the plus button at the bottom
A new channel will be created, Alpha 1. Its black
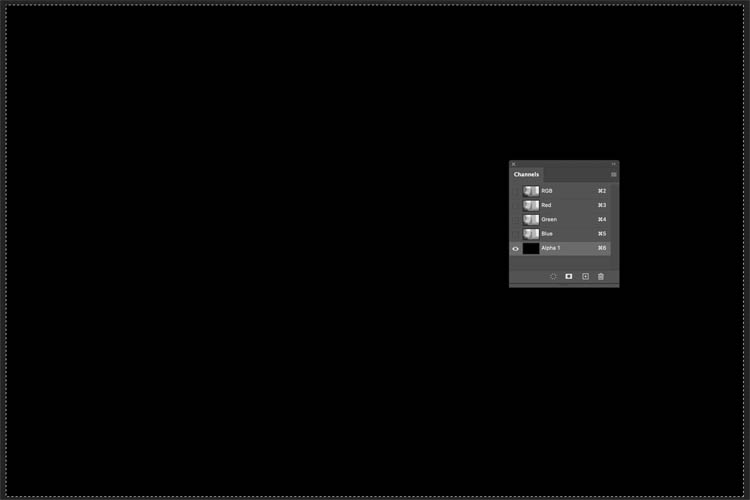
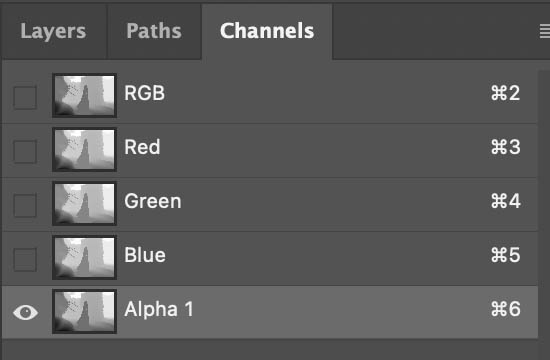
Press Ctrl/Cmd+V to paste the depth map.
Alpha 1 shoyuld now have the dmap.
Press Ctrl+D to turn off the selection if its still active.
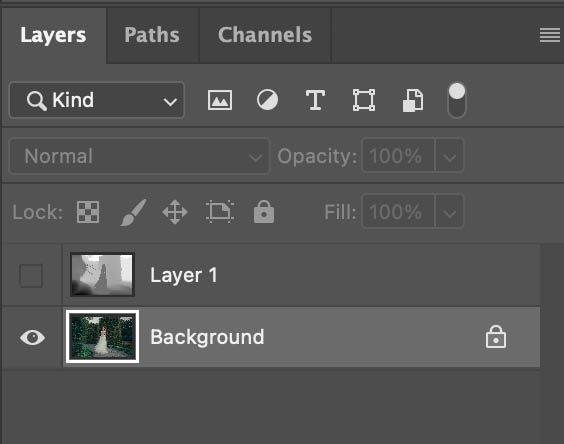
Go to the Layers Panel.
Hide the dmap (layer 1)
Click on the background layer.
The hard work is done. Now we are ready to apply the blur.
Choose FIlter>Blur>Lens Blur

It will load and everything will be blurred.
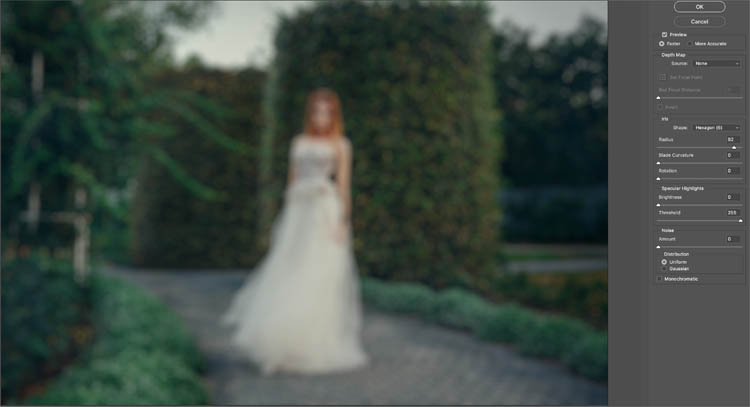
Under Depth Map, change the source to Alpha 1. (Sometimes it will be already be selected).
Make sure the Set focal point box is active.
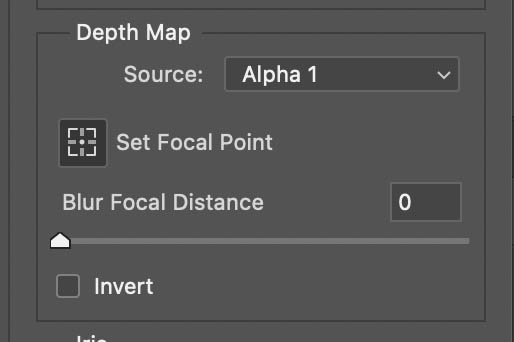
Click on the womans face to make her the focus point.

Set the amount of blur you want and try some of the other settings, shown on video.
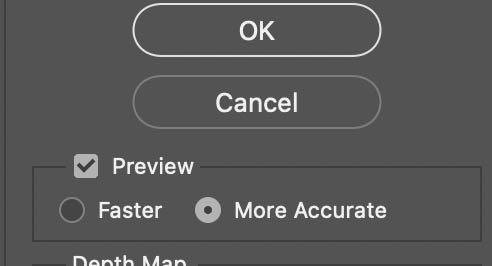
Change the setting to More accurate and click ok.
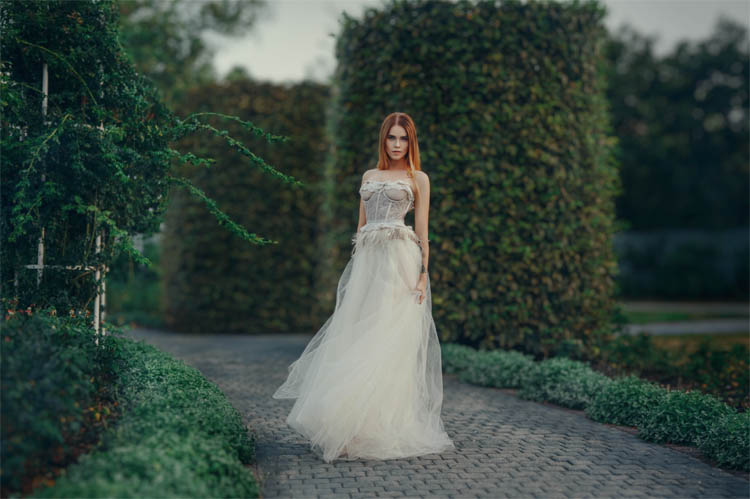
Notice how the blur is in the background and a little in the foreground too.
Also notice the bush and branches to our left are also nice and in focus while other ares as blurred.
This is the most realistic result out of the methods. It takes some extra work. It will depend on the circumstance if the extra work is worth it to you. I don’t always use this method, but I love using it when I need the best results possible.
Alright, you have just covered a lot of ground when it comes to background blur. I hope my tutorial is helpful. If the more advanced methods are too much for you right now, bookmark this tutorial and revisit it later.
Thanks for checking it out!
Great to see you here at the CAFE
Colin
PS Don’t forget to follow us on Social Media for more tips..
(I’ve been posting some fun Instagram and Facebook Stories lately)
You can get my free Layer Blending modes ebook along with dozens of exclusive Photoshop Goodies here 
The post 4 levels of background blur in Photoshop, ultimate Blur background tutorial appeared first on PhotoshopCAFE.