
Over time, the interface in Photoshop keeps changing. Sometimes things are better and sometimes you prefer the way they used to work, or you just want to customize some things. These 7 settings will save you a lot of time and stop your workflow from being interrupted.
Stop Showing the Home Screen
The Photoshop Home Screen is loved by some and loathed by others. While it’s nice to see thumbnails for previous documents as well as shortcuts, it’s also become a billboard for Adobe to bring your attention to things.
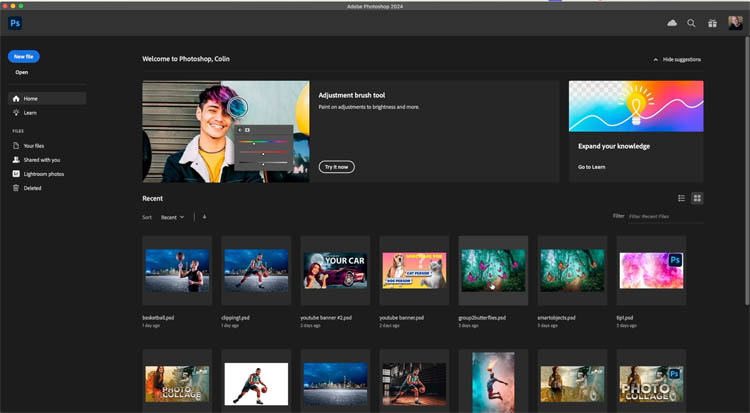
When you launch Photoshop. you are greeted with this screen. Also when you close all the documents, it appears. If you want to go to a blank Photoshop with no documnent, you have to click the PS icon in the top-left corner. But you can turn this off and have PS skip it on launch and not appear when you close your doc. You know, like how it used to work, eons ago.
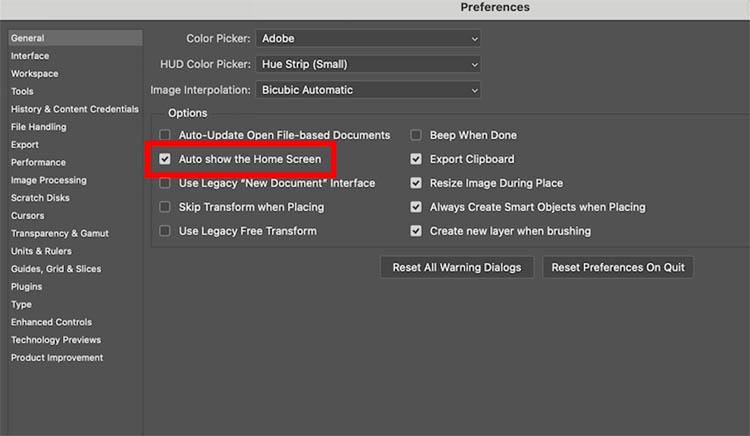
Choose Photoshop Preferences. Photoshop>Settings (Edit>Preferences (or settings) on Windows).
Choose General and uncheck the box next to: Auto Show the Home Screen.
Now, it won’t appear. You can always access the Home Screen by clicking the House icon on the top Left of Photoshop.
Better Ai Selections
While it’s not perfect, I really love the Auto Selection tools in Photoshop. Select Subject is a really useful tool.
Choose the Quick Selection, Magic Wand or Object selection tool and you will see the Select Subject button appear at the middle of the top toolbar.
Click the arrow and notice 2 settings. Device and Cloud. By default, device is selected because you don’t need internet and its faster. If you are connected to the internet, the Cloud setting will create a more accurate selection because it’s able to leverage Adobes server farm to boost the computing performance.
Problem is, you have change it EVERY time, it’s not sticky. BUt ypou can change the default behaviour.

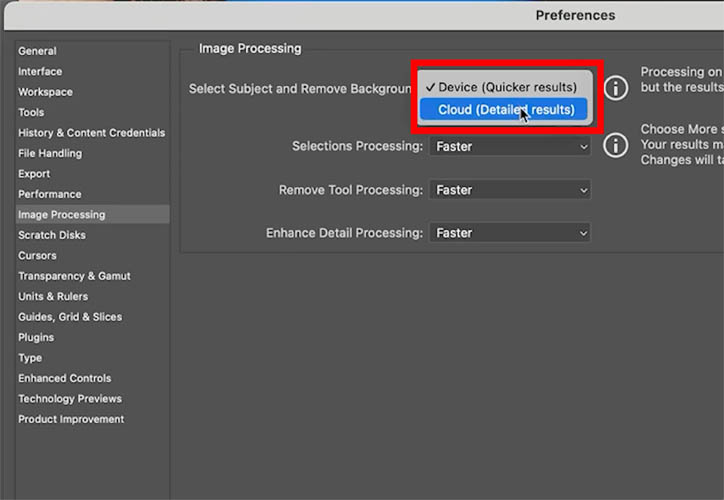
In Preferences go to Image Processing.
At the top you’ll see, “Select Subject and remove Background”. Change it to Cloud and it will now use that setting every time, unless you choose device.
Loading the free Adobe presets
Photoshop comes loaded with lots of extras. Brushes, gradients, patterns, color swatch, shapes, layer styles and more.
If you will in the panels, you will see a few, but there are much more that you don’t see. Let’s get them!
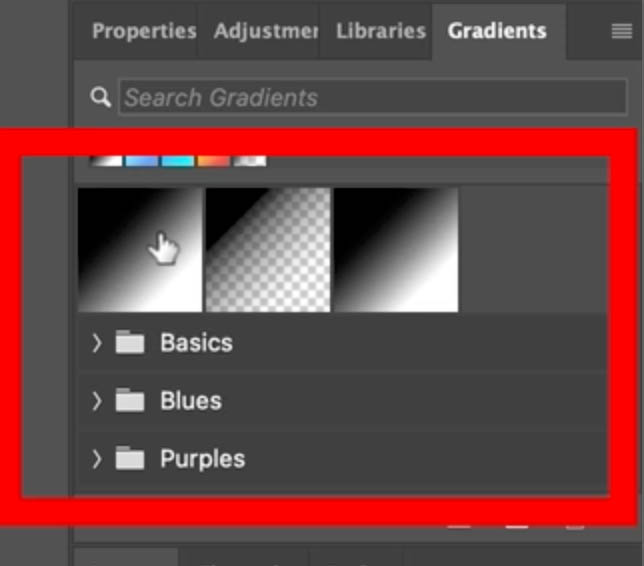
Choose the panels, not the tools. For example, Window>Gradient.
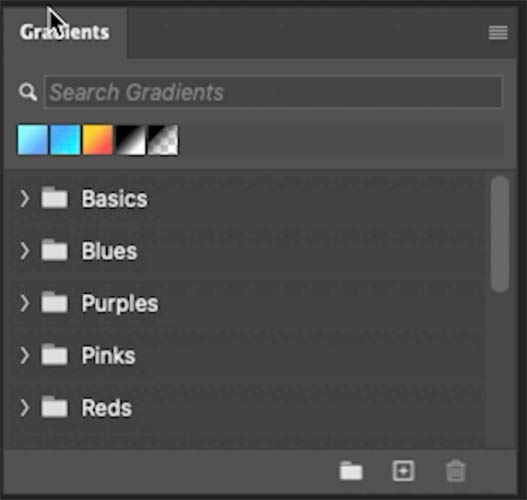
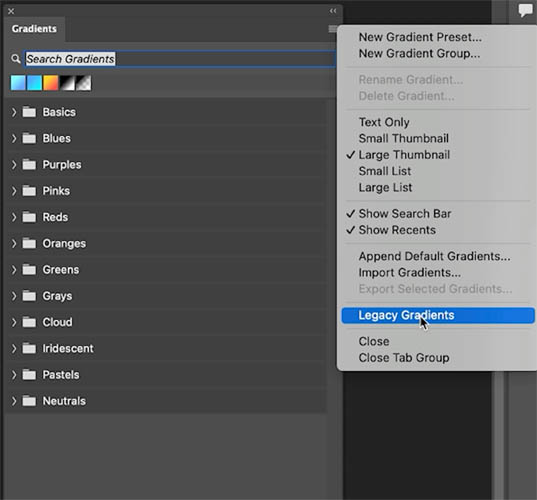
Click the menu in the top right.
You will see Legacy Gradients. Click it.
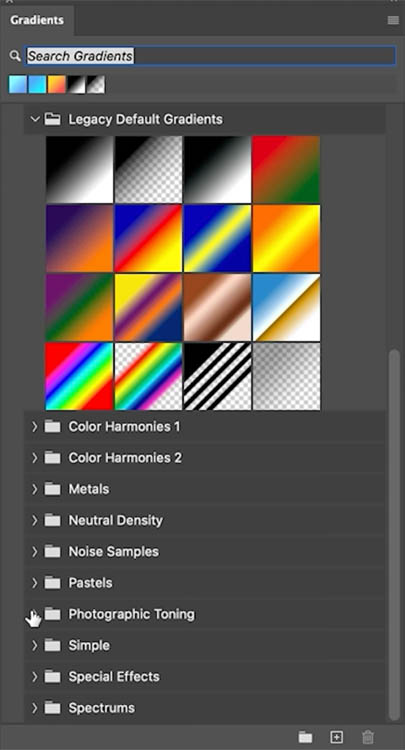
Now you’ll get a whole ton of presets load up. Many of these are better than the default ones in Photoshop currently.
Try that for other panels to load up all the extras.
We also have a ton of free Brushes, actions, presets, ebooks and more at the Photoshop Vault.
Make Tools easier to use
If you have used Photoshop for a while, you will remember there used to be a bar with the most useful presets at the top.
Now everything is hidden away in folders. Some may say “organized” into folders. We will use Gradients for this.
Lets get the most useful tools back to within arm’s reach.
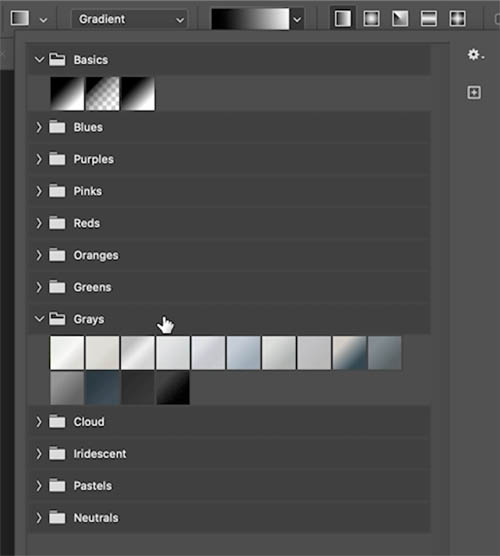
Pop open the basics
Click to select a preset. Hold Cmd/Ctrl and Click to select multiple swatches.
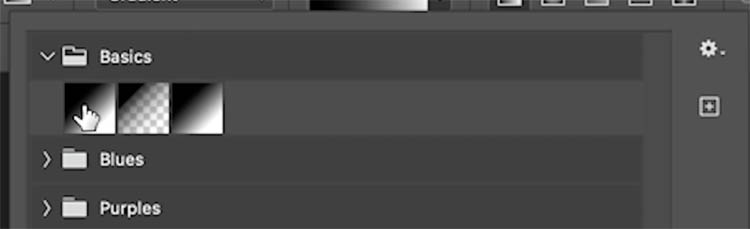
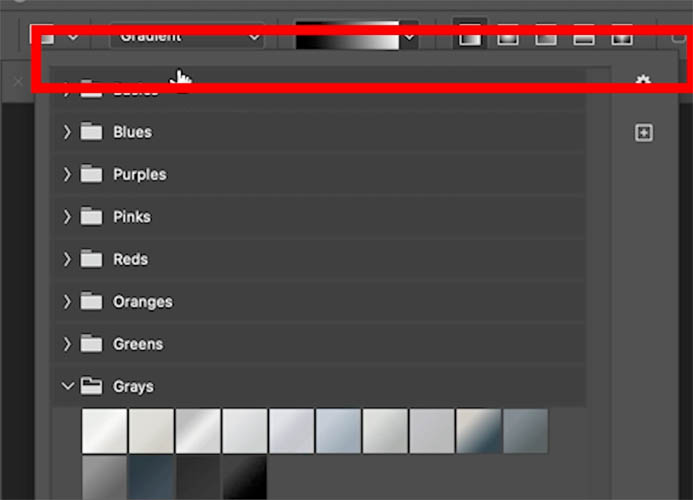
Drag above the Folder. You will see a blue line appear when you are above the folder. Release and the Gradients have been moved out of the folder.
When you go to the tools, you will see that they have been moved there too and are much easier to grab. Try this with other presets too and put all your favs within easy reach.
Longer Show Recents list
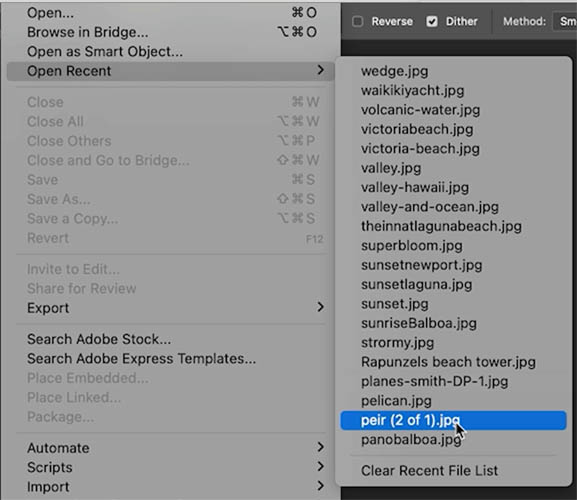
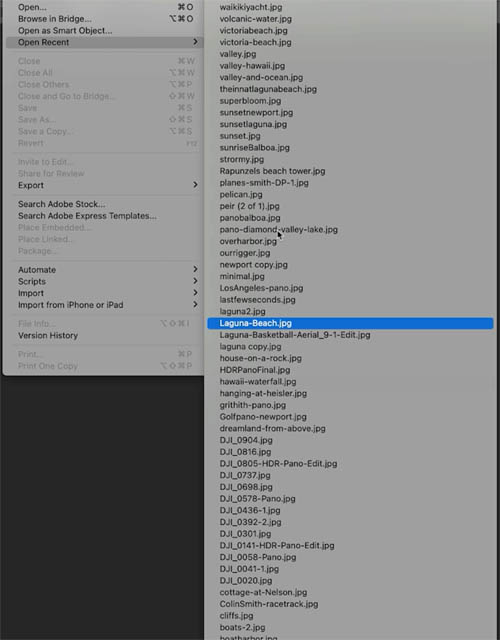
When you choose File>Open Recent you will see a list of previous images you worked on. By default, there are 20. Lets make it longer shall we?
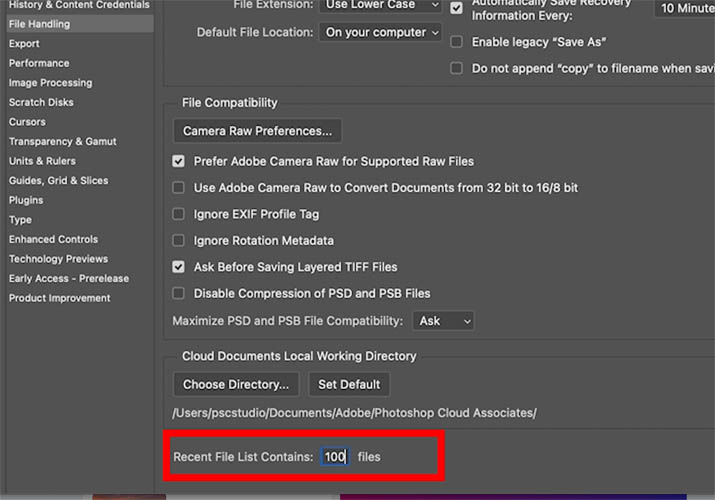
In Prefs, choose File Handling.
Under Recent File list at the bottom, type in 100 (This is the maximum number).
Click ok
Now when you open the recents, it shows 100. It remembered them all, even though it didn’t show them all.
Custom Workspace
A useful way to work, is to set up a custom Workspace with just the tools that you use.
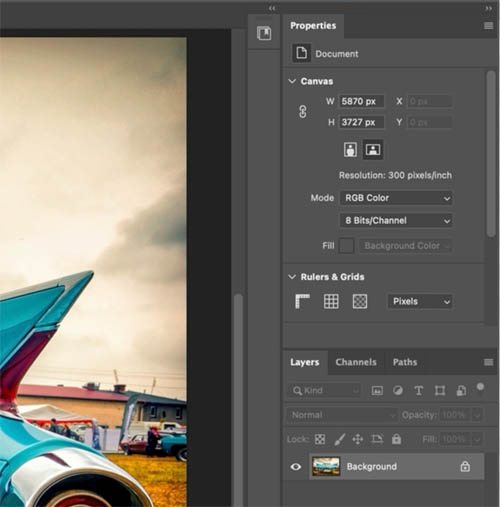
Close all the panels except the ones you want. I often have just Layers/Channels/Paths, Properties and the Library.
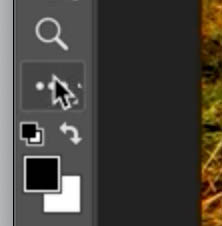
Go to the toolbar and click and hold the elipses.
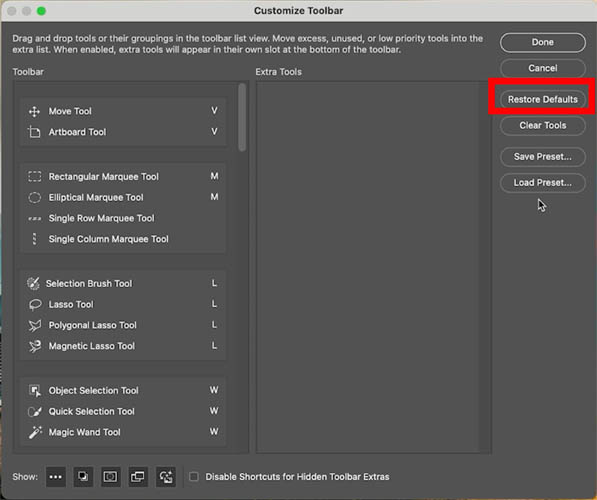
Customize toolbar will appear. Click Restore Defaults and make sure everything is depressed in the Show at the bottom. This will load in all tools including brand new ones. (This is the leading reason people don’t see a new tool, because they are using and old-workspace, created before that tool existed).
Or, If you prefer to not include certain tools, drag them into the Extra column.
Click Done
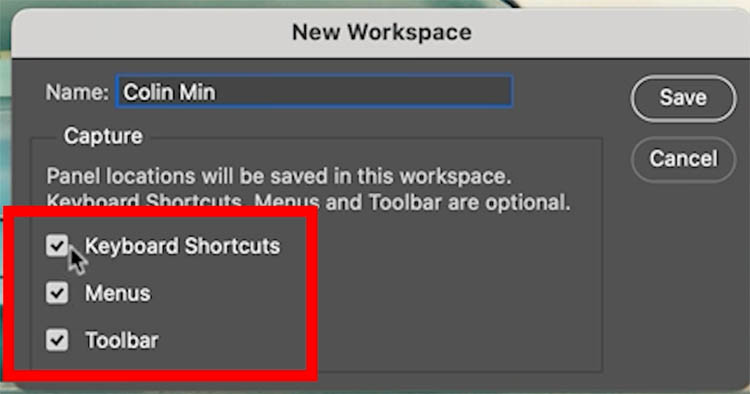
Choose Window>WorkSpace>New Workspace
Name it and turn on Shortcuts, Menus and toolbar. Click Save.
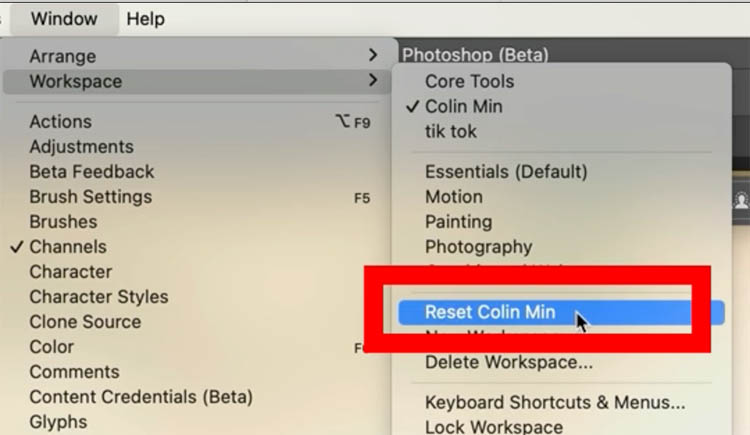
To restore that workspace, choose Window>Workspace>Reset…
Clutter be gone!
Task Bar Pin
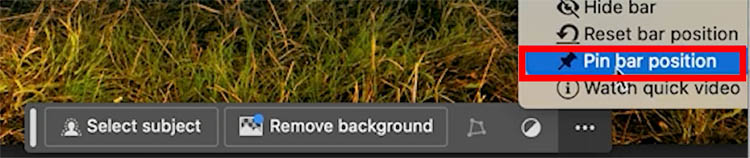
The Contextual taskbar (Window>Contextual taskbar), is actually quite useful and getting more useful as Adobe adds more tools to it.
But it can be annoying when it pops up over you work.
Hit the elipses on the right and choose Pin bar Position.
Now it will stay wherever you put it.
I hope you found these tips useful.Great to see you here at the CAFE
Colin
PS Don’t forget to follow us on Social Media for more tips..
(I’ve been posting some fun Instagram and Facebook Stories lately)
You can get my free Layer Blending modes ebook along with dozens of exclusive Photoshop Goodies here 
The post Change these Photoshop settings today appeared first on PhotoshopCAFE.