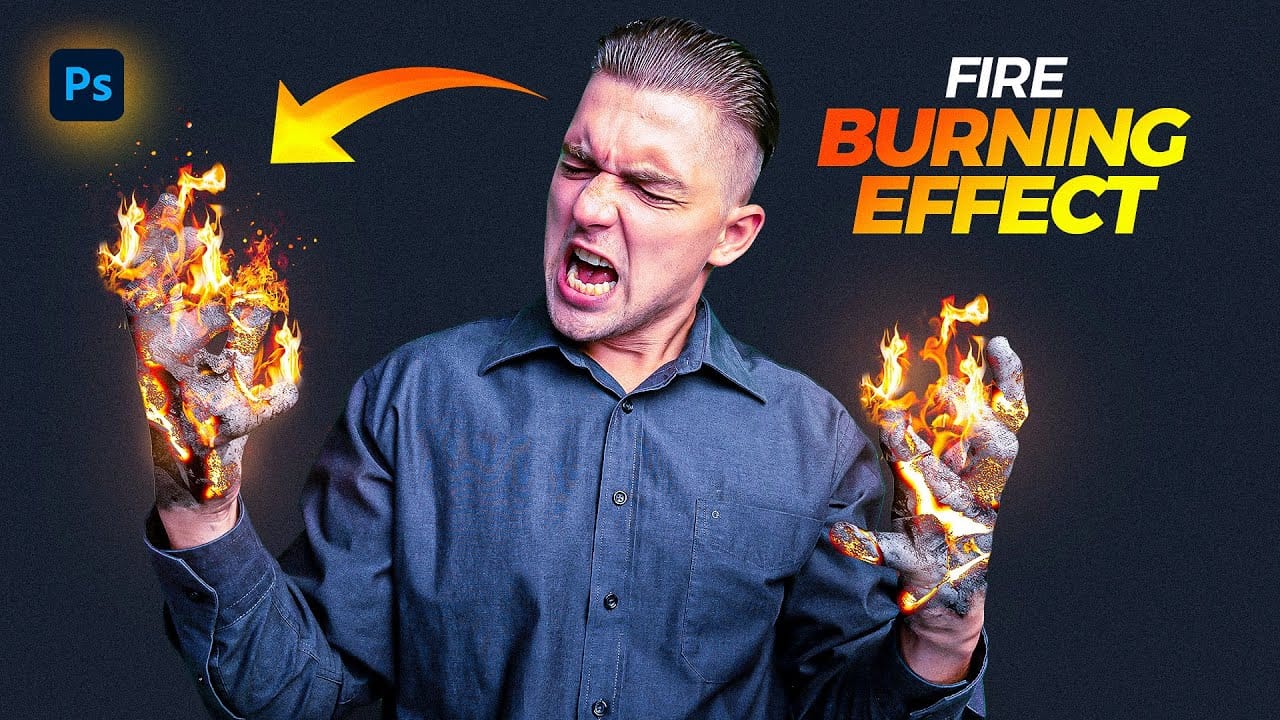
Creating a fire-burning effect in Photoshop is a fascinating process that can enhance your images dramatically. Start by setting up a new file with dimensions of 1920 x 1080 pixels. Import the necessary images, which can be found in the provided link. Duplicate your main layer using Ctrl + J, then convert it to black and white through the Image Adjustments menu by selecting Hue/Saturation and removing all saturation.
Next, apply an inverted mask to the black and white layer. Use the brush tool with a soft round brush and set the opacity and flow to 100%. This technique allows you to reveal parts of the image while keeping some areas colored, adding depth to the effect. Import another image and create a clipping mask, ensuring it only affects the layer below. Change the blending mode to multiply for a more realistic appearance.
Adjust the levels to enhance contrast and group your layers for better organization. You can create additional adjustment layers, such as gradient maps and solid color layers, to refine your effect further. For a seamless finish, utilize the channels to make selections and adjust colors as needed. Finally, duplicate layers and mask out unwanted areas to achieve the desired look. If questions arise during your process, feel free to ask for assistance. Enjoy experimenting with your fire effect!
