
New in Photoshop: create custom Adjustment Layer presets and share them.
Adjustment Presets were added to Photoshop recently, but we couldn’t make our own presets until now. They have a lot of advantages over actions and LUTs because we can preview the result before we apply them and we have full control over the settings.
The video above shows the entire process including how I created the presets and accessed Photographic toning Gradient maps.
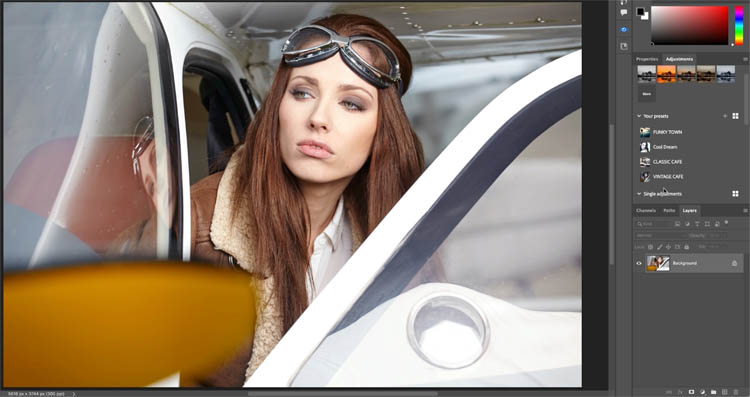
Start with a photo
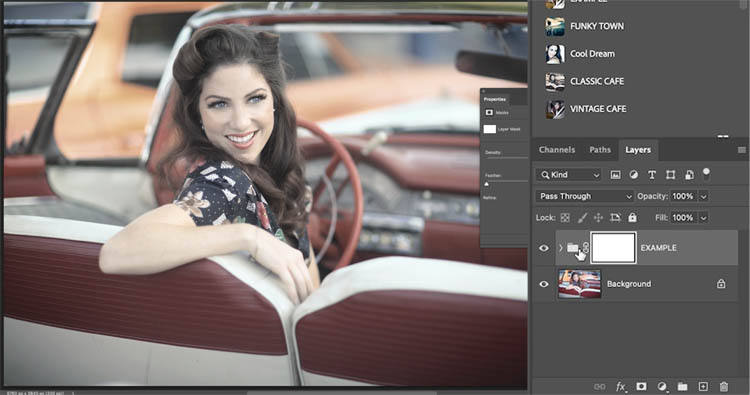
Create the look you want using different adjustment layers, blending modes and custom opacity.
See how we have a stylized color look.
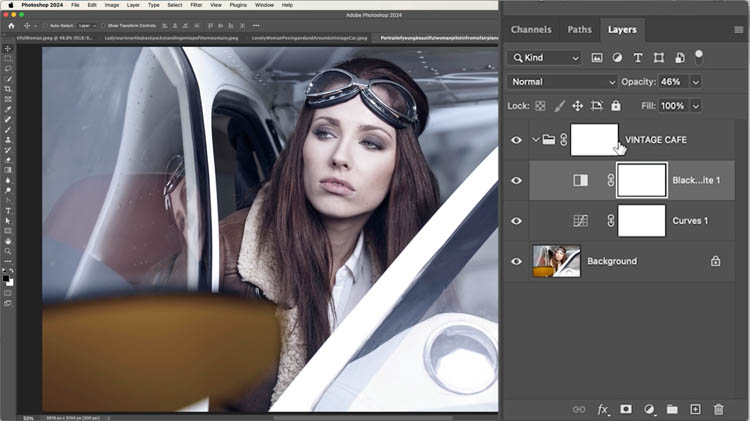
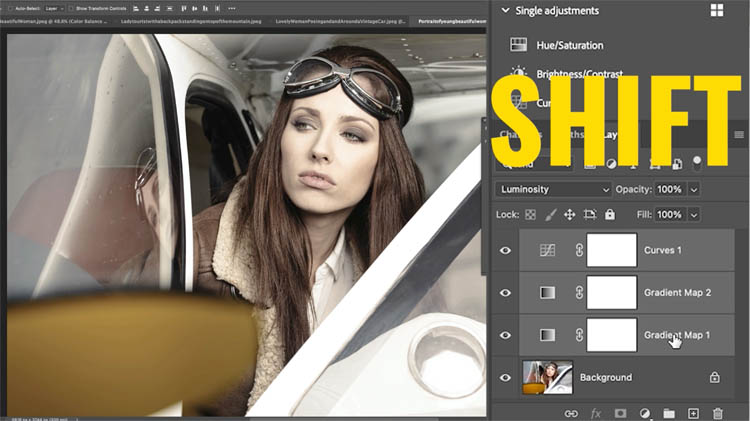
Here is another variation I created for a different look. Lets make a preset, so we can reuse it in a single click.
Click the bottom adjustment layer, Hold down Shift and Click the top adjustment layer to select them all.
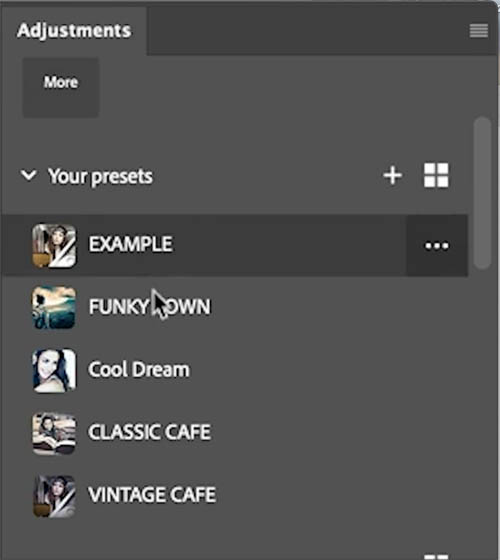
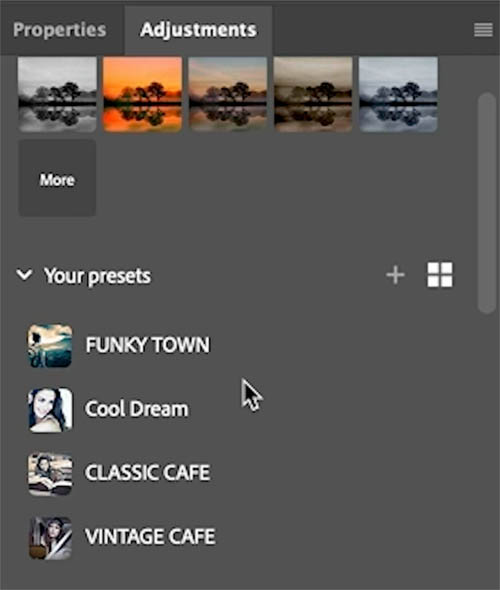
Under adjustments, look for “your presets”
Click the plus button
Name your preset and click save
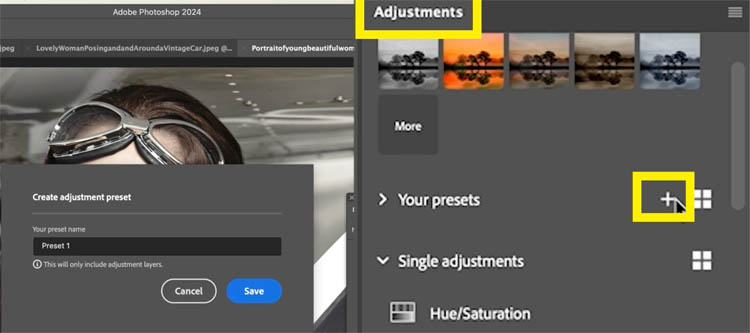
Now it will be added to the list.
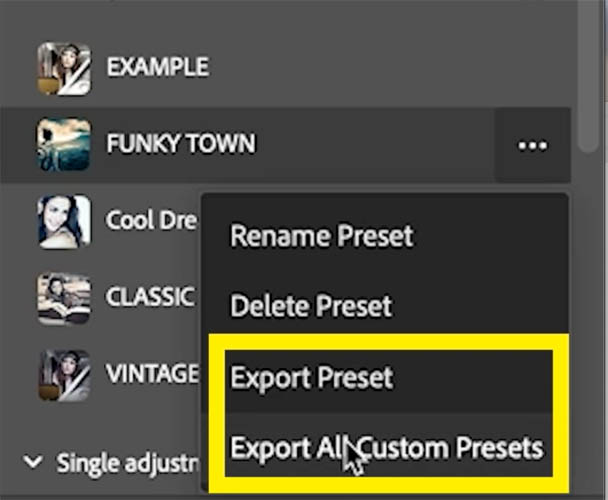
How to export presets
Choose a photo and click the preset to apply those settings to the new photo. It’s that easy to use.
If you want to export or share your presets, click the 3 ellipsis next to a preset and choose Export preset, or Export all, to export your entire set. (I will share my set with you, instructions at the end).
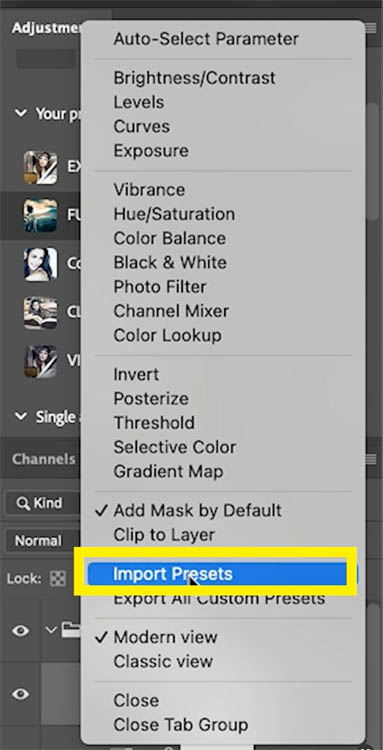
To load in Adjustment presets into Photoshop
Click the menu at the top right of the Adjustments panel
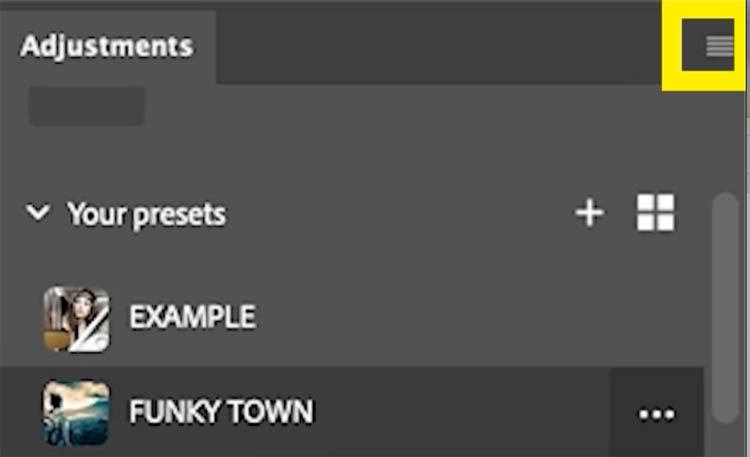
Choose Import preset
You will see the preset as a .psap
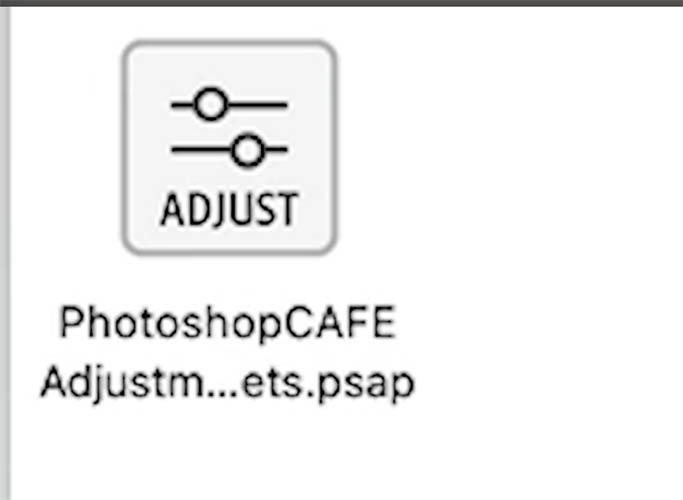
It will load into your panel ready for use.
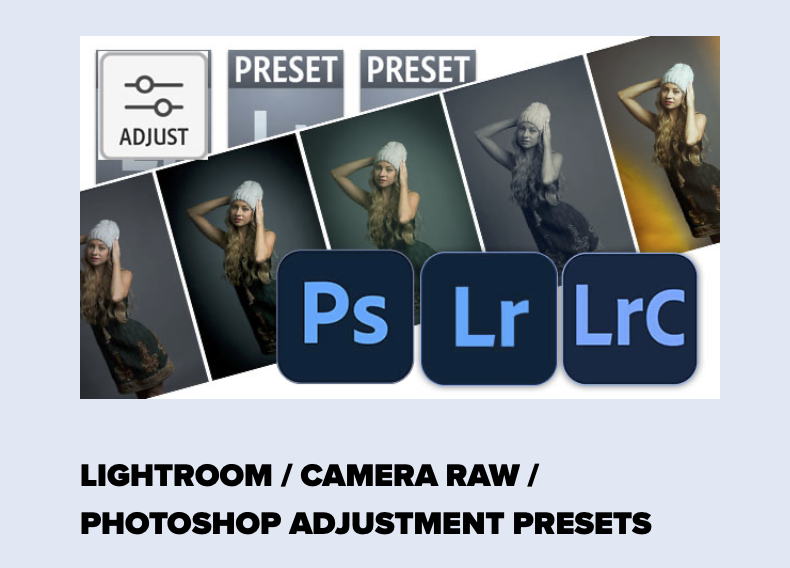
I have created a custom set of presets used here and I’m happy to give them to you.
Go to the Photoshop Vault and you will find them under the Lightroom/Camera Raw/ Photoshop Adjustment presets
Note: If you are already a member of the CAFE Cup (Our weekly newsletter) I will add a direct link for you to download the new presets
Thanks
Colin
The post Create Adjustment Layer Presets in Photoshop appeared first on PhotoshopCAFE.