
Enhancing space photos from the James Webb Telescope
This week is a big week for science and photography.
NASA has unveiled the very first images from the new Space Telescope that can collect 6 times more light than the Hubble telescope and process images in 12 hours compared to 200 hours for the Hubble.
Watch the video above for a quick explanation of how all this works as well as more detailed processing.
In this tutorial, I’ll show you how to get the actual images for free as well as some Photoshop editing tips.
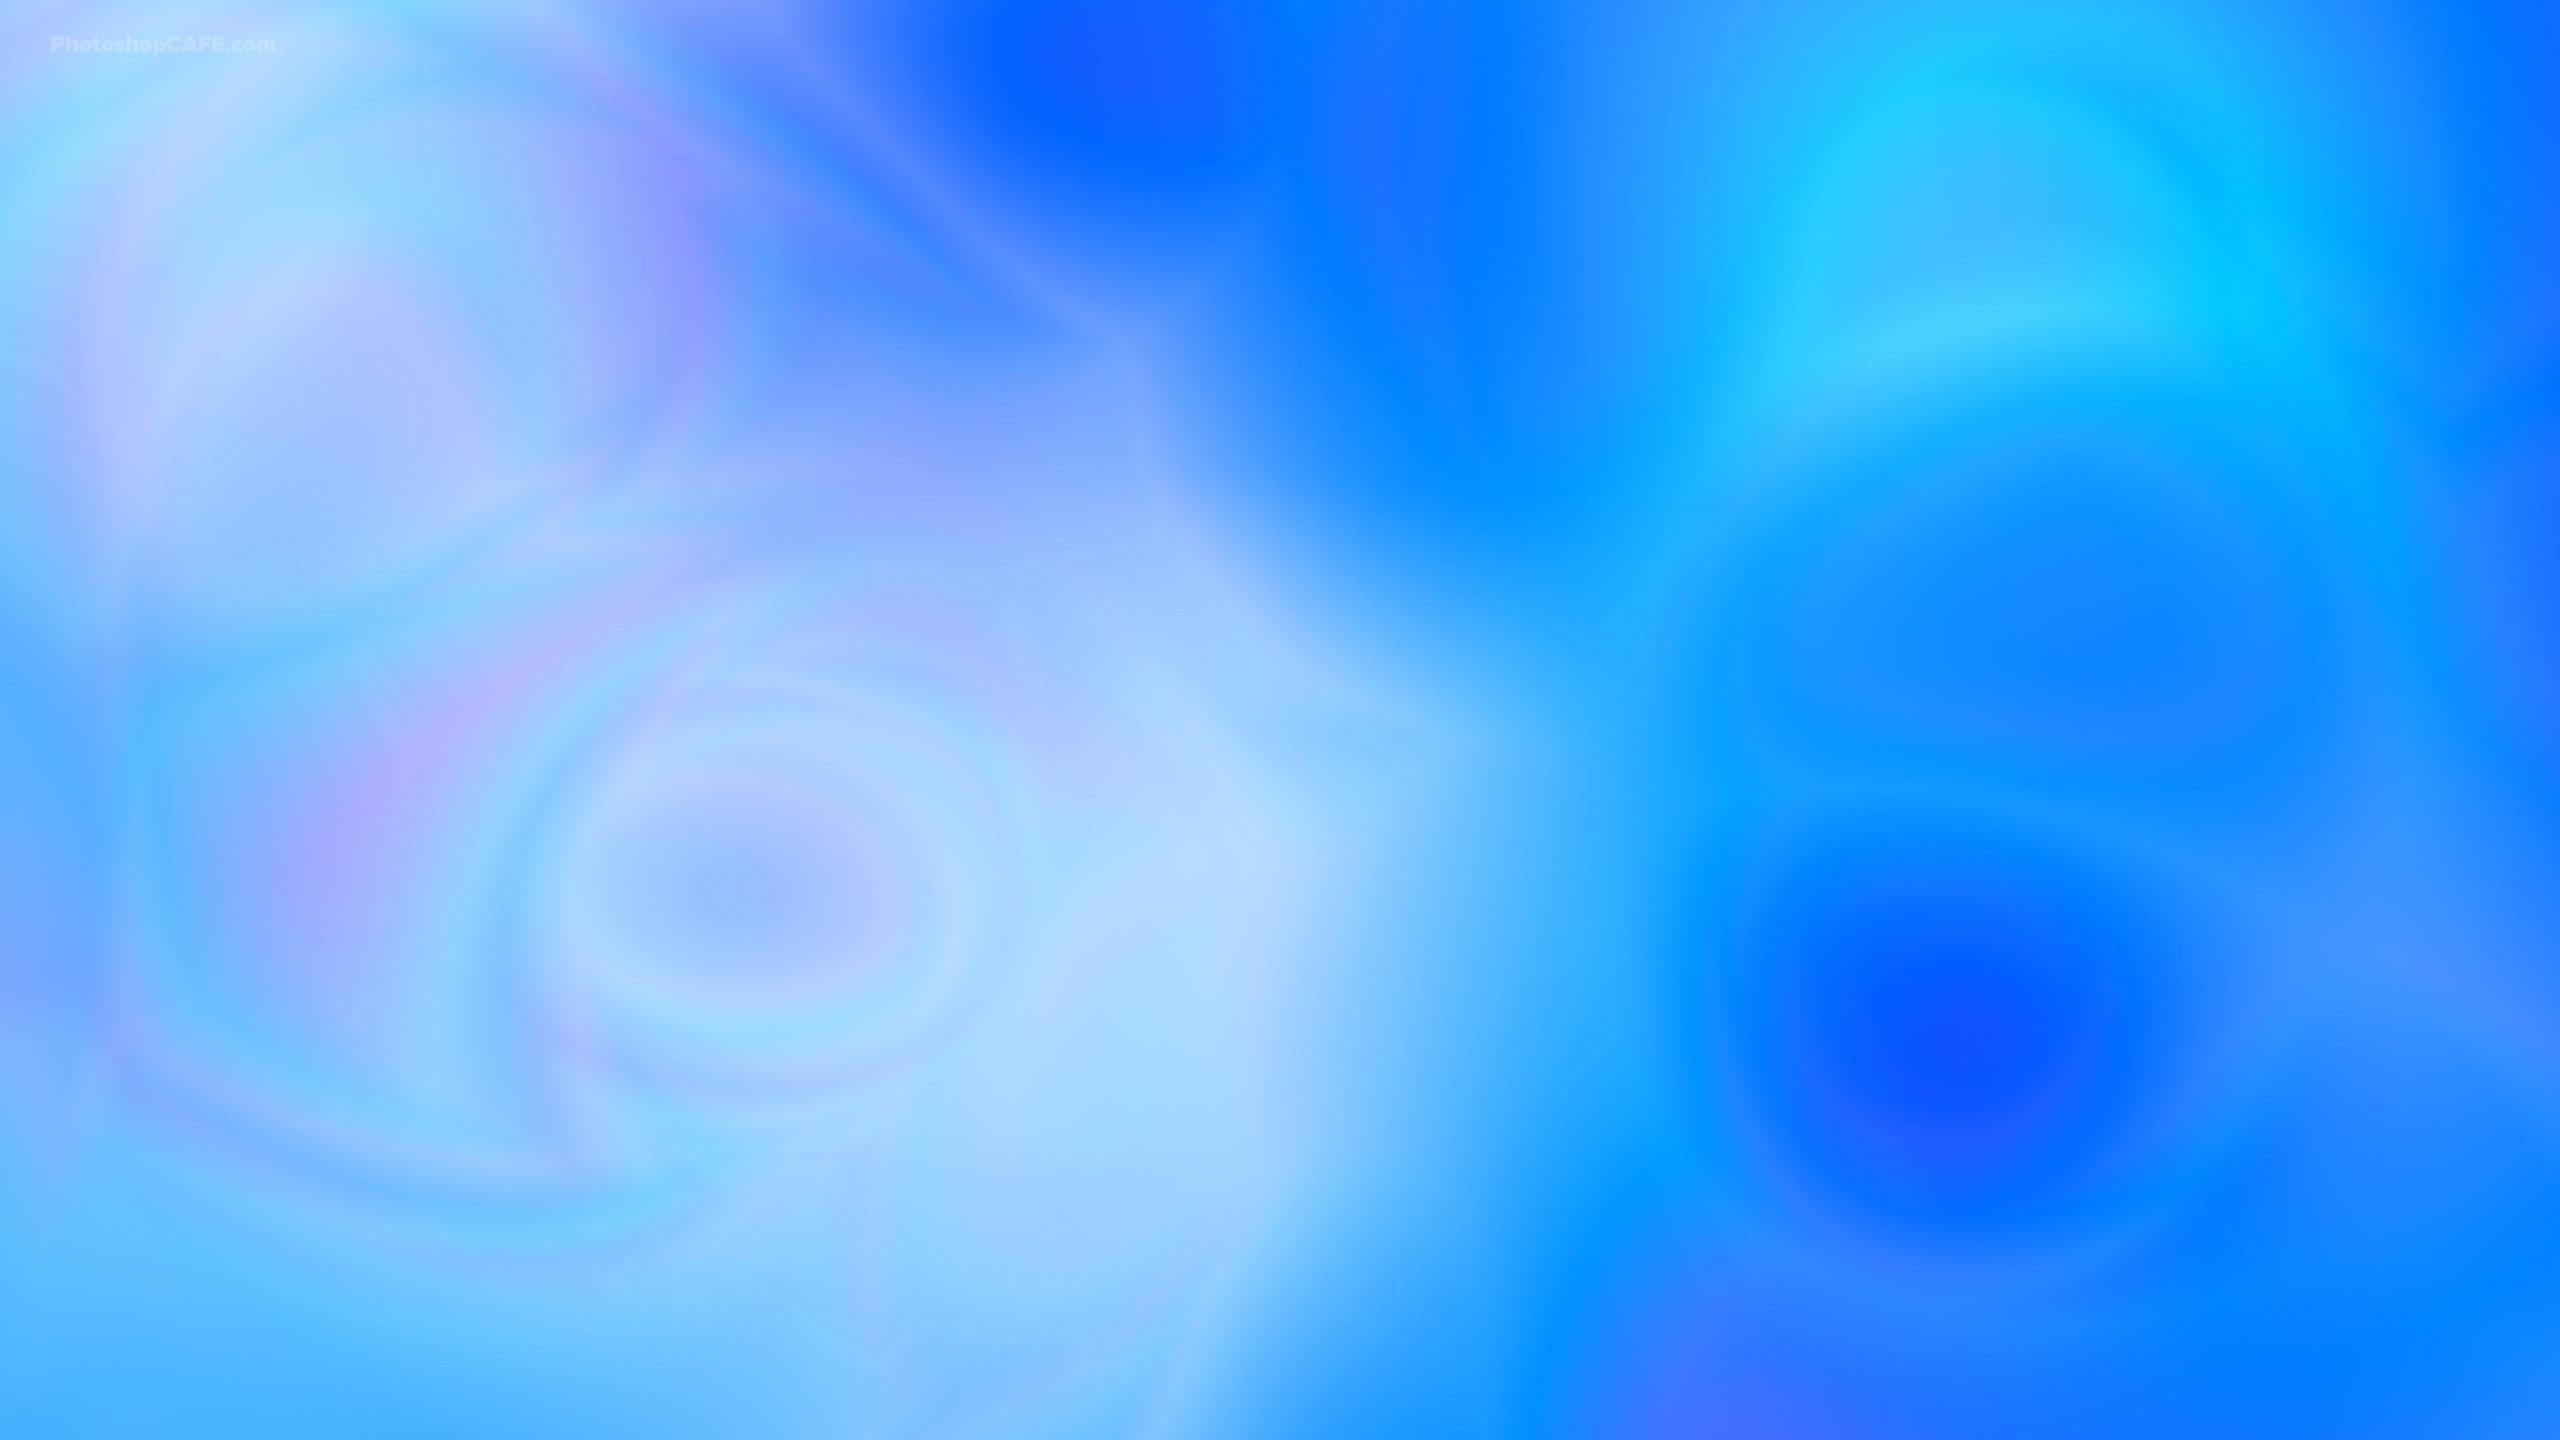
Download the colorized 4K wallpaper


This is the same area from the Webb

Here are a couple more images

The Webb Space telescope shoots mostly in Infrared and the images are artificially colored. Without Infra red it would be impossible to many of the images because of Re Shift. (A doppler type effect where the light rays expand and move outside the spectrum that is visible to the human eye).

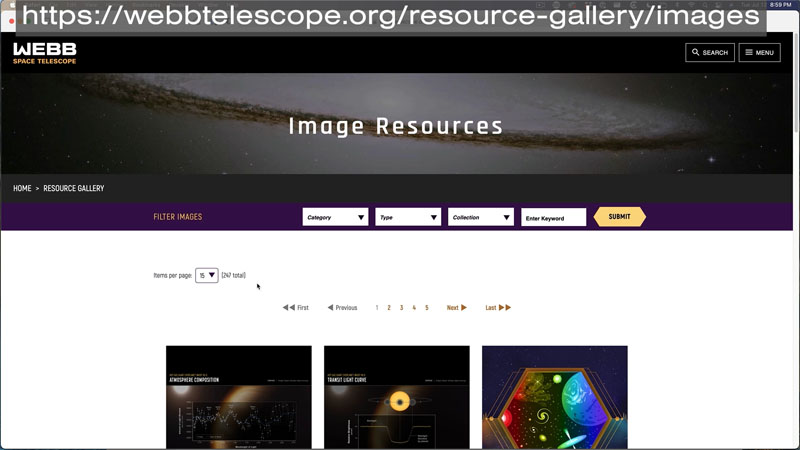
You can download the high resolution images from here
They are Public Domain and free from copyrights. Just like most of NASA images, they are funded by taxpayer dollars and thus copyright free. You can legally download then, edit them, print them etc.
Showing more detail in a space photo
In this part of the tutorial, you will find out how to reveal more detail in an image without it looking fake.
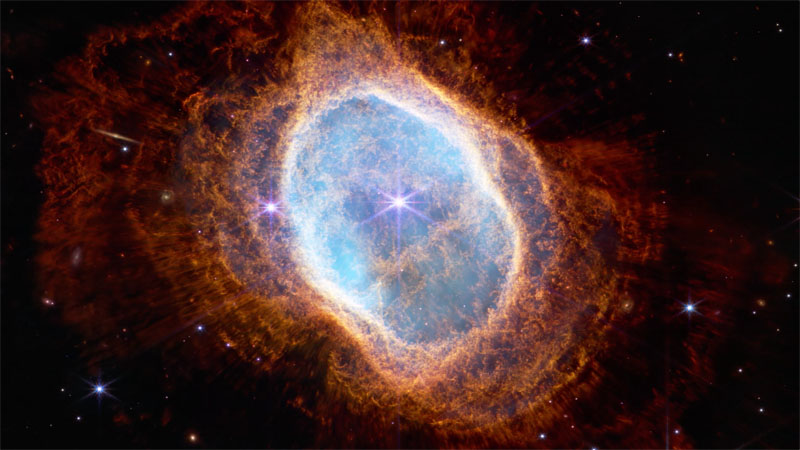
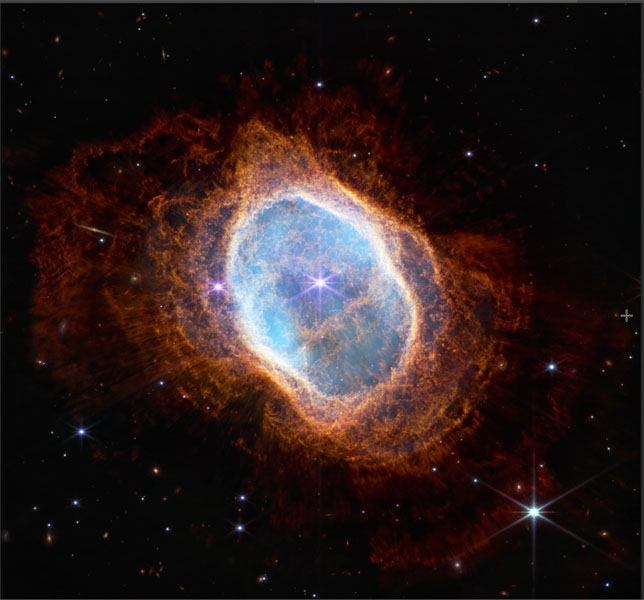
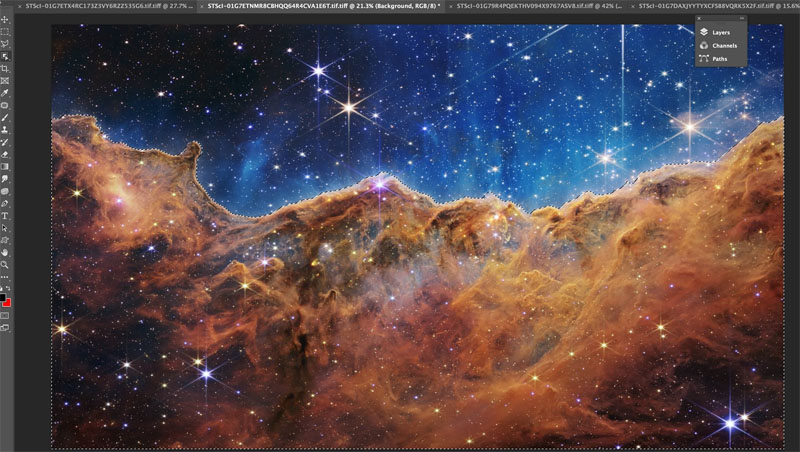
Start with this image of NGC 3132, a dying star that one day could become a black hole.
In Photoshop choose Filter>Camera Raw

These are the adjustments I made to show more detail, while still keeping it realistic.

Adding some fun color
Since the original image was colorized, why don’t we have a little fun with it for ourselves. This tutorial will also teach you how to make some really cool textures that you can use for lots of other things.
Just a note, the scientists that put together this image are some of the smartest people on earth and their coloring is probably very close to accurate. We are just having a little fun here. Through this tutorial, you will see quite a few different variations. You can stop any time if you see something you like.
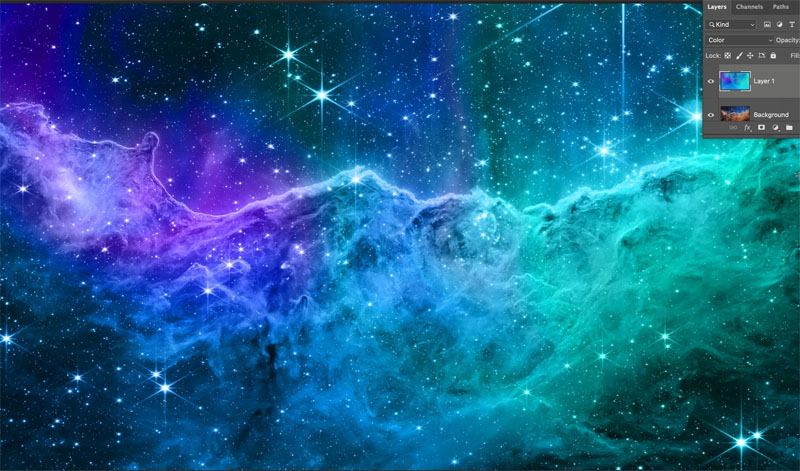
Let’s start with this image of the Carina Nebula. (Right click on the wallpaper to read the metadata to find out more about the original photograph.)
Create a new layer

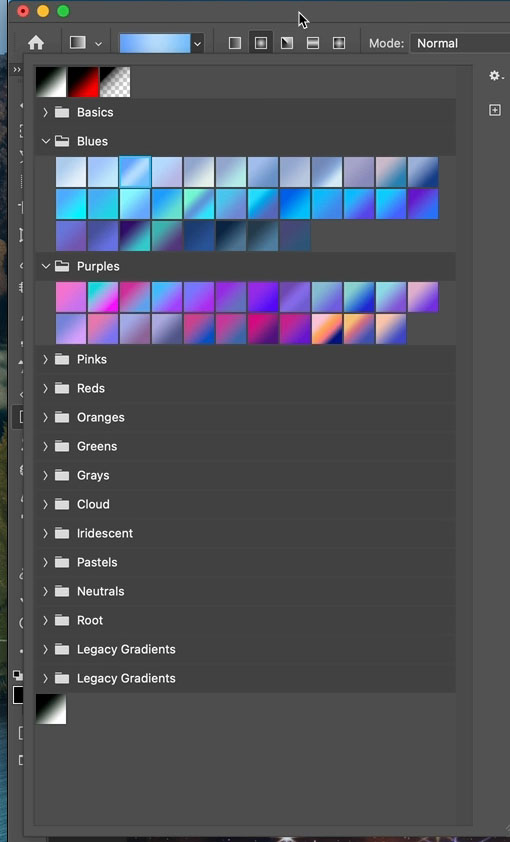
Choose the gradient tool
Select a nice blue gradient and choose radial gradient.
Apply the gradient by dragging on the new layer with the Gradient tool.

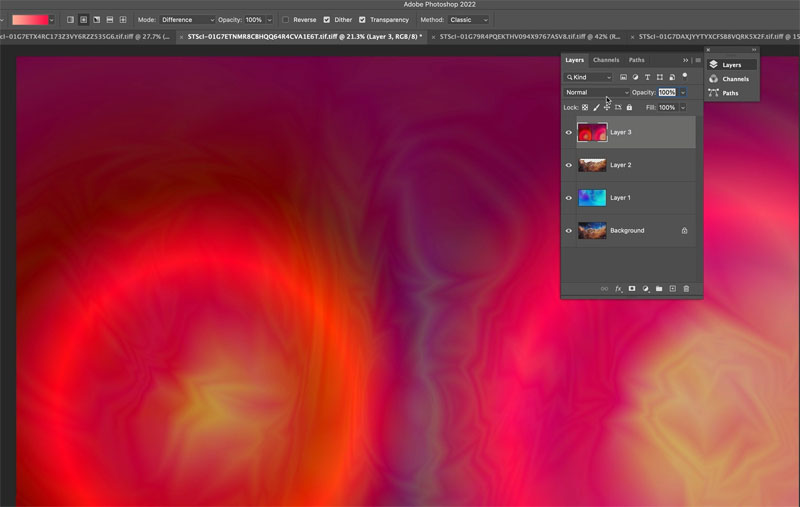
Change th gradient blending mode to Difference.

Reapply the gradient several times, you will see an unusual pattern start to form.

Change the layer to color blending mode
Let’s isolate the color to the sky. Hide the top layer
Choose the image layer and the Quick Selection tool.
Choose select subject.
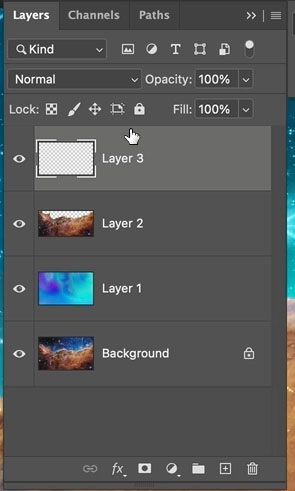
Press Ctrl+J to copy the selection to a new layer.
Drag above the color layer (Turn the color layer back on)
Now the color is just in the sky.

Lets create a new color for the nebula.
Make a new layer
Repeat the steps to make the gradient. This time use orange.

Maybe mix it up a little and add a red gradient too. We are just playing and having fun, so there is no right or wrong.
Change to color blend mode for an interesting result.

To isolate the color to just the nebula: choose the move tool
Move the tool between the top layer and the nebula layer in the layers panel
Hold down Alt/Option and you should see an arrow
Click to clip the color to just the nebula layer.

To make the effect more subtle, reduce the opacity on both the color layers. This lets it blend in with the original colors.

Use Hue/Saturation on the color layers to change the colors. (Ctrl/Cmd+U)

You can the process I used to get this result in the video at the top.

Download the wallpapers here. (Click and save the 4k images)
I hope you enjoyed this fun and informative tutorial. It was a little different than we usually do this week. But I was excited about the space photos and though you might find this interesting too.
Great to see you at the CAFE
Colin
The post Download High resolution Webb Space Telescope images, how to enhance space photos in Photoshop appeared first on PhotoshopCAFE.