
As I’ve written about many times before, I use both Lightroom Classic and Lightroom (cloud) together. I find this to give me the best of both worlds, though there are some quirks to be aware of if you go this route. One of those aspects is being aware of how many photos in the Lightroom cloud are full resolution copies, as these are the ones that count against your cloud storage.
Caveats first, if you only use the cloud version of Lightroom, then all of your photos are full res photos in the cloud, and this tutorial is not for you. Additionally, if you use LrC but do not sync your catalog to the cloud, then this tutorial is not for you. From this point forward I am assuming you have synced your LrC catalog to the Lightroom cloud, and you will find this helpful.
Finding Those Full Res Photos
There are a few ways to discover this using the Mac or Windows version of the Lightroom (cloud) app. One idea I had was to find all full res photos in the cloud, then put them in an album of their own using the Mac (or Windows) version of the Lightroom app (because the feature we’ll use currently only exists in this version of the app). This just makes it faster to find, and track those photos. Here’s how to do it:
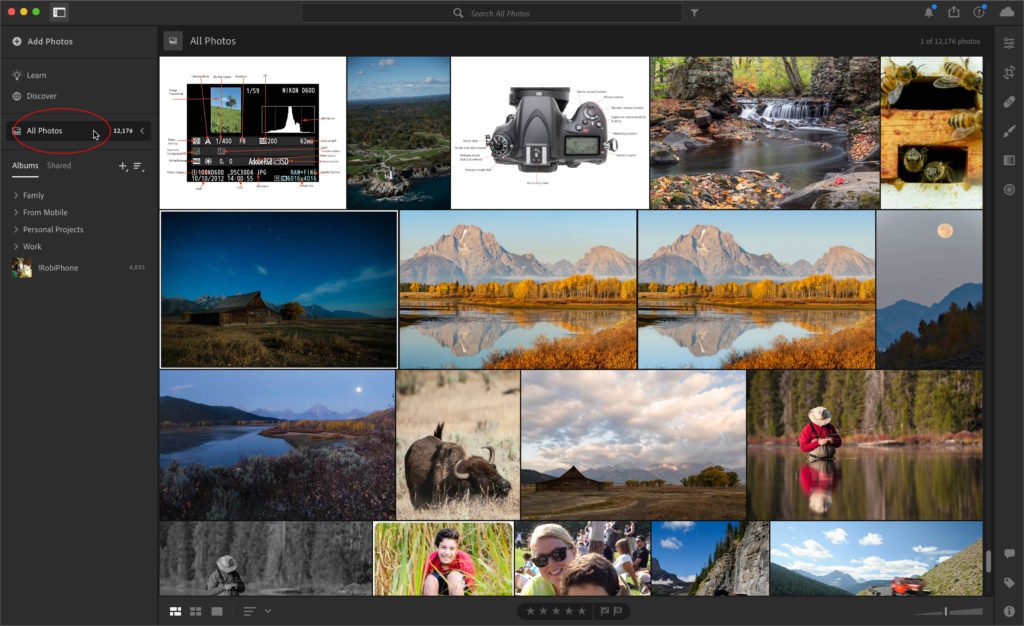
Step One: Open Lightroom on your computer, and select All Photos.
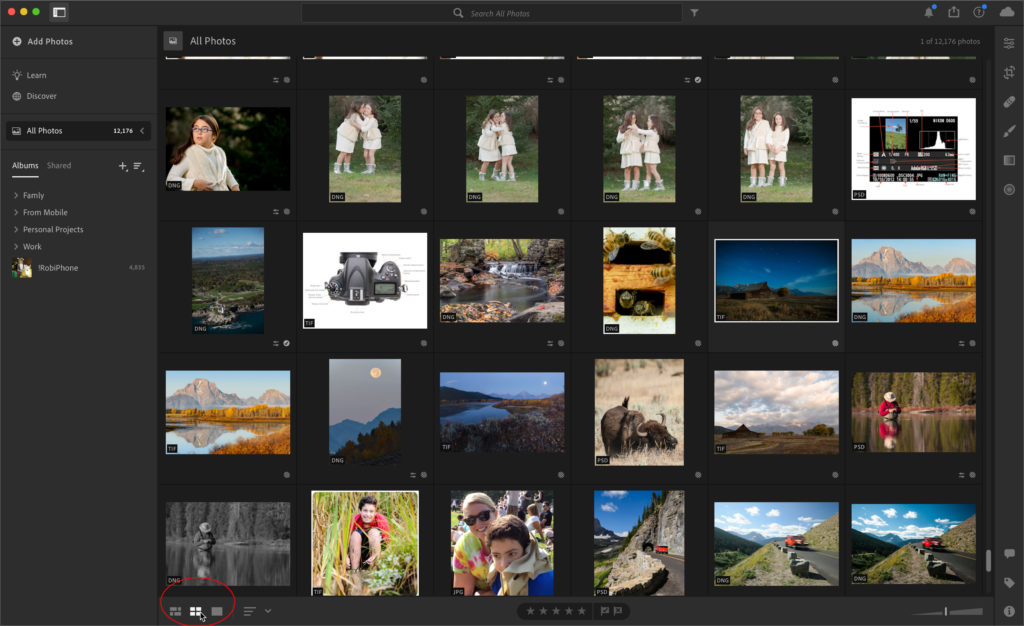
Step Two: Switch to the Square Grid view (if not there already), by clicking the icon for Square Grid (or pressing the G key until it appears. Square Grid is, well, square, but it also shows additional information about each thumbnail.
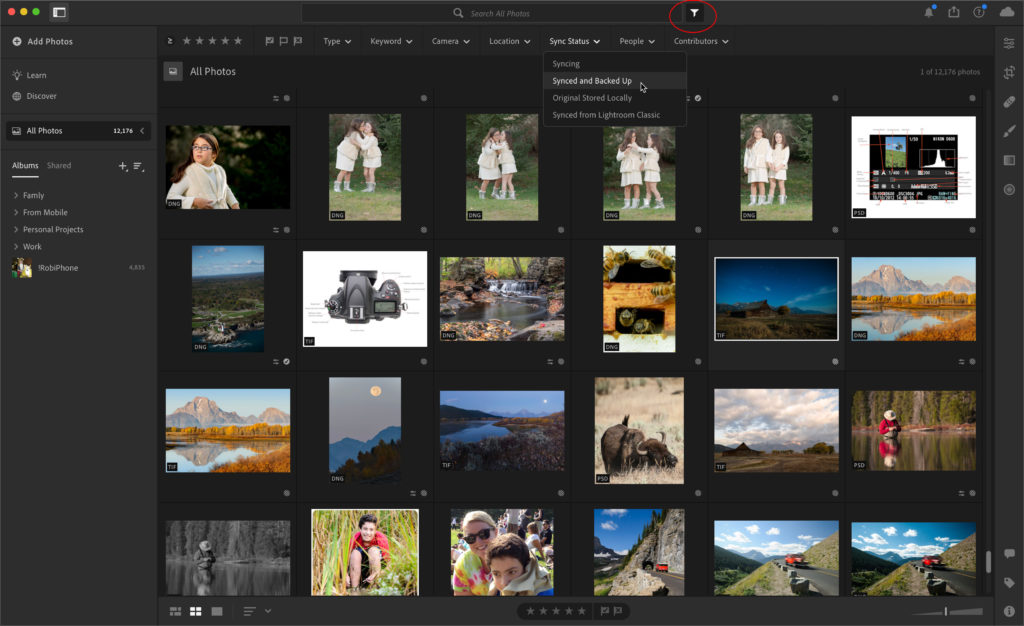
Step Three: Click the funnel icon so we can filter the All Photos view.
Step Four: Click the Sync Status drop-down menu and choose Synced and Backed Up to see only photos that are full resolution in the cloud (i.e. backed up).
Step Five: You can confirm this by noting the icon that appears under each thumbnail represents Synced and Backed up.
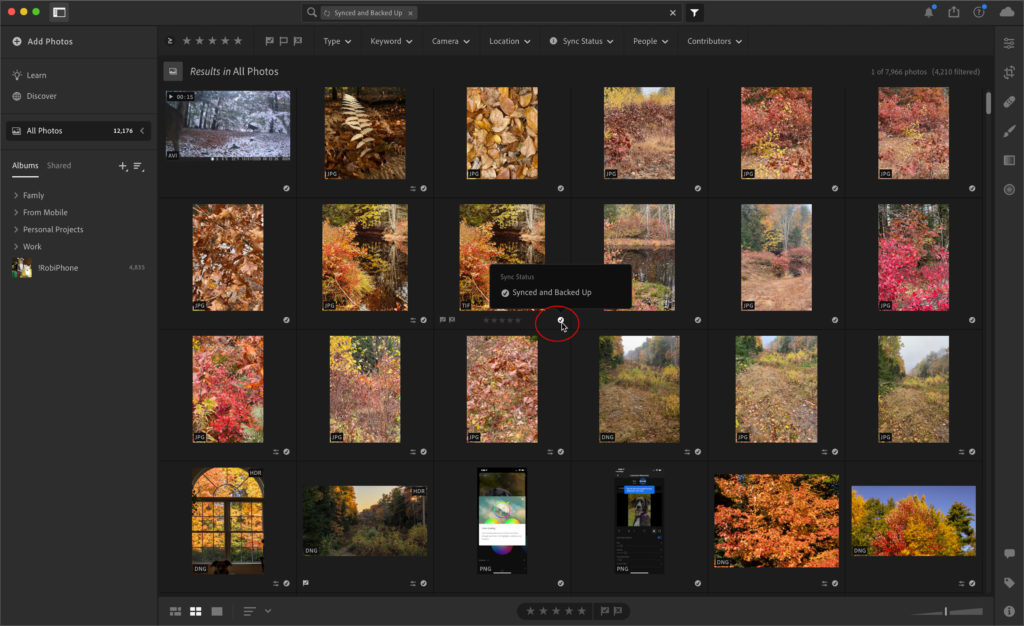
Step Five: Press CMD/Ctrl+A to select all photos currently showing (so we can add them to an album of their own).
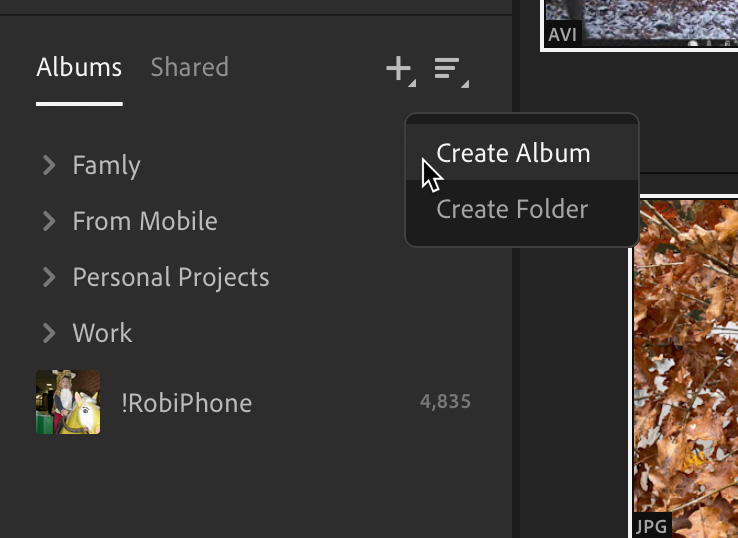
Step Six: Then, choose Create Album from the drop-down menu under the + sign on the side panel.
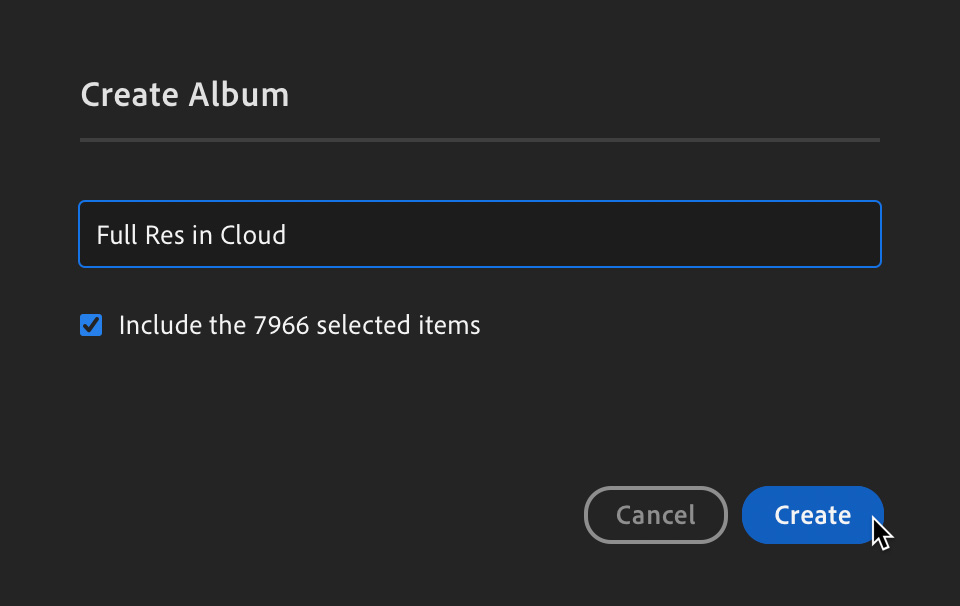
Step Seven: Give this album a meaningful name and make sure the Included selected photos box is checked.
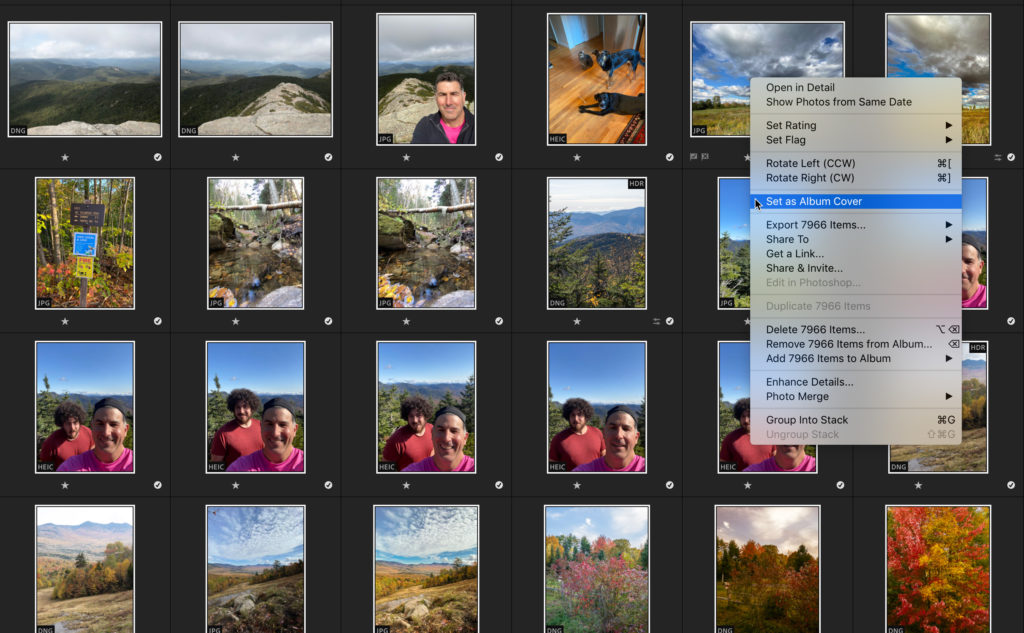
Step Eight: (Optional) Right-click one of the photos you want to set as the album cover.
And that’s it. The key for me is to remember to add newly imported/created full resolution photos to that album over time. Any time I remove a full resolution photo from the cloud it will also be removed from that album, so that part is automatic.
The post Finding and Grouping Full Resolution Photos in the Cloud appeared first on Lightroom Killer Tips.