How to turn a photo into fine art in Photoshop
How to edit a photo and give it a fine art, painterly feel in Photoshop.
This “masterclass” walks you through the process of crafting a photo into a fine art piece that can be printed and displayed.This tutorial is about workflow, all the pieces put together. This isn’t the only workflow that i use. There are many ways to do things in Photoshop and these techniques work on this image. The techniques are interchangeable and will work for any photo. What I’m saying it, watch the techniques and workflows, but don’t take them as poured in cement. Be flexible and quick to adapt and change, (I might do some things differently in other tutorials) this way you will produce better art. Watch the video to see each step and the explanations as to why I’m doing certain things. These written steps are to help you see the basic overview, or or more advanced users to see whats happening. If you get stuck, watch the video ;).
I’m starting with a series of aerial photos I shot with a drone. (See my drone photo gallery here). The same workflow applies to any photo, I just happen to enjoy a drone as my camera.
To capture a setting sun, you need multiple exposures to capture the detail in the sun as well as foreground details (AEB Exposure bracketing). You could use HDR, but I’m not in this example.
In Lightroom, Select a light image for the foreground and a dark image for the sunset.
Right click and choose Edit in> Open as Layers in Photoshop
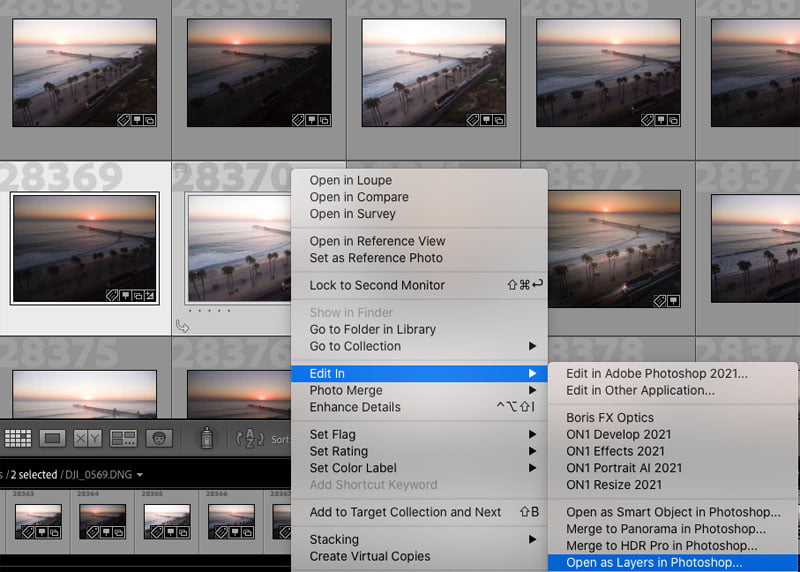
Exposure Blending in Photoshop
This opens the Images as 2 different layers in Photoshop.

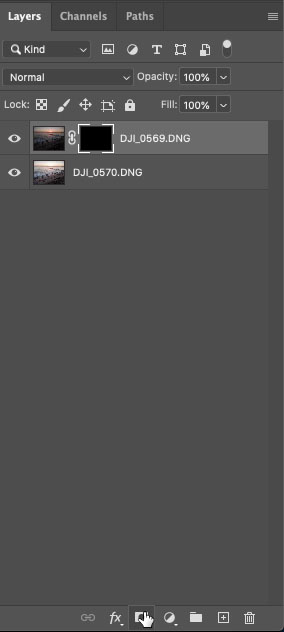
With the top layer selected,
Hold down Alt/Option
Click the new Layer Mask button
This creates a new mask which is inverted and hides the current layer.
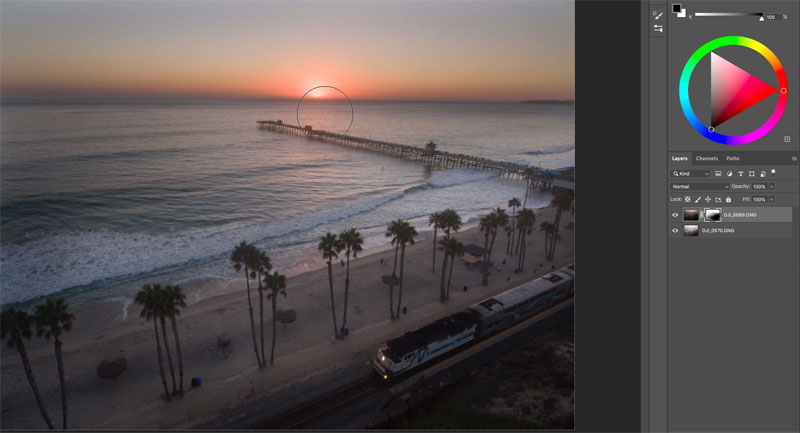
Choose a white brush and make sure the layer mask is selected (White frame around it).
Paint on the areas that you want to reveal the current layer and allow the darker photo to show through in the brighter areas such as the sky
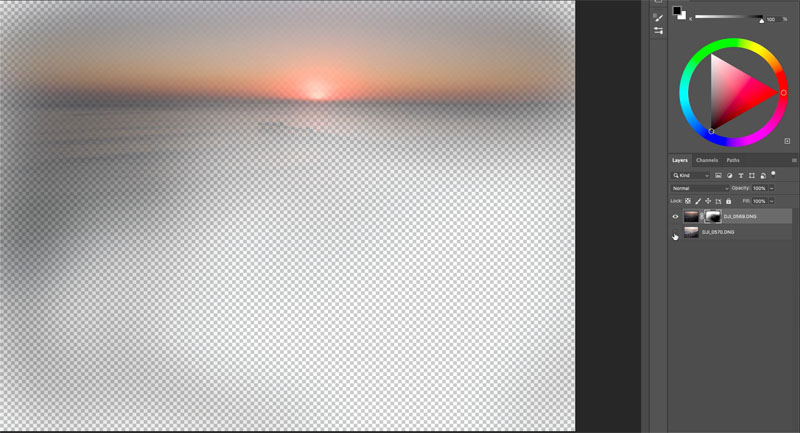
If I hide the background, you can see the areas that are showing on the top layer.
We are blending the exposures together.
When you are happy with the blending, select both layers in the layers panel
Right click on the layer name and choose Convert to Smart Object
You will see that both layers are merged into a single Smart Object. This step is optional, but I chose to do it so I could process then together in CameraRAW (All that is on the video above).
Shaping the Photo with Dodge and Burn
We will do 2 passes of dodge and burn. This first pass is to shape the overall toning of the image. The second pass will to pop the details.
With the Cmd/Ctrl Key held down, click the create new layer button
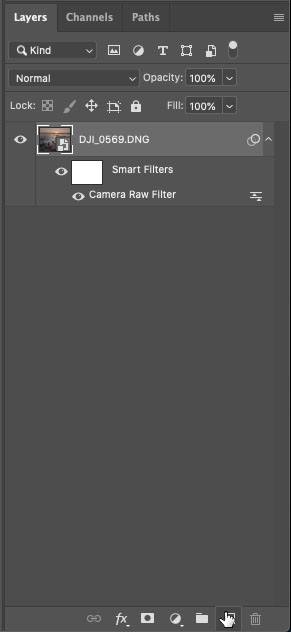
Because of the alt key, you will see an options box.
Change the blend mode to overlay,
Choose Fill with 50% gray (To me, gray works better than transparent when we are blending the tones )
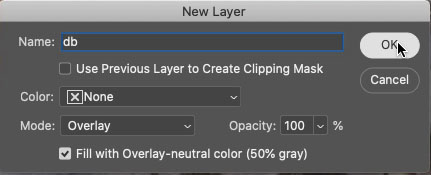
Because of the blending mode, the gray is hidden and the layer doesn’t change the appearance.
Choose a black brush with 10% flow and paint around the edges and areas that you want to darken. Don’t worry if it gets too dark.
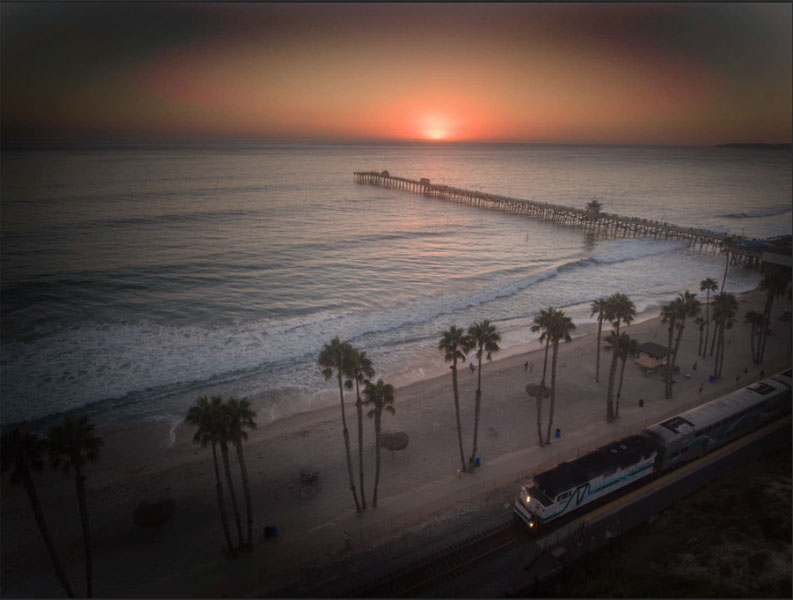
You can see the “big” dodge and burn layer here in the layers panel
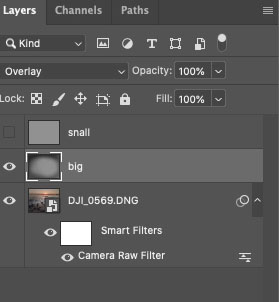
When you have mapped out the darker tones, adjust the layer opacity so that our burning isn’t so dark.
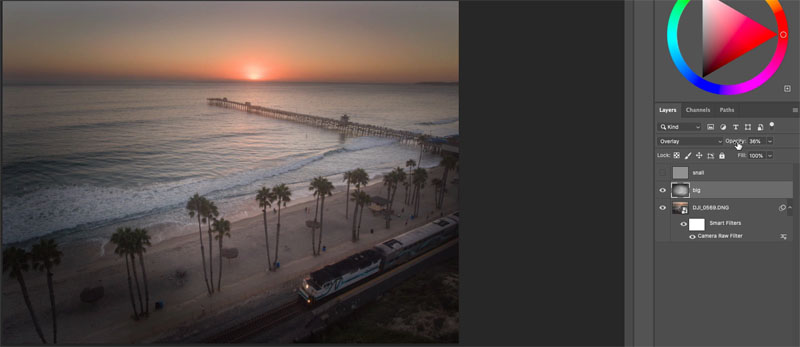
Crete new layer for the dodging (lighter tones)
Choose a white brush and paint in some lighter areas, such as the surf and beach.
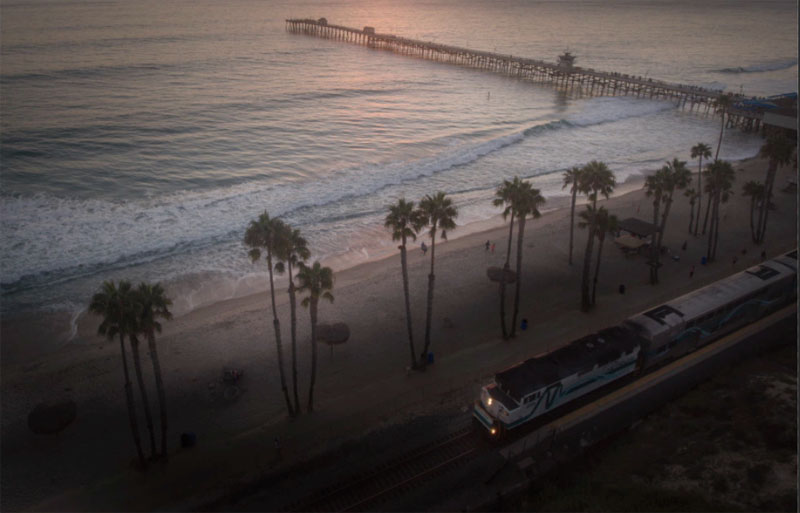
Also paint in front of the train with the white, to make a beam from the headlight. (Once again, watch the video to see all this in action).
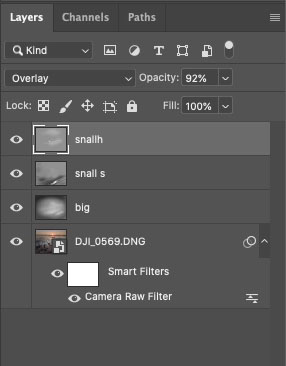
Looking at the layers panel, you can see that you can make multiple dodge and burn layers. This makes it easy to adjust the opacity of different parts of the image.
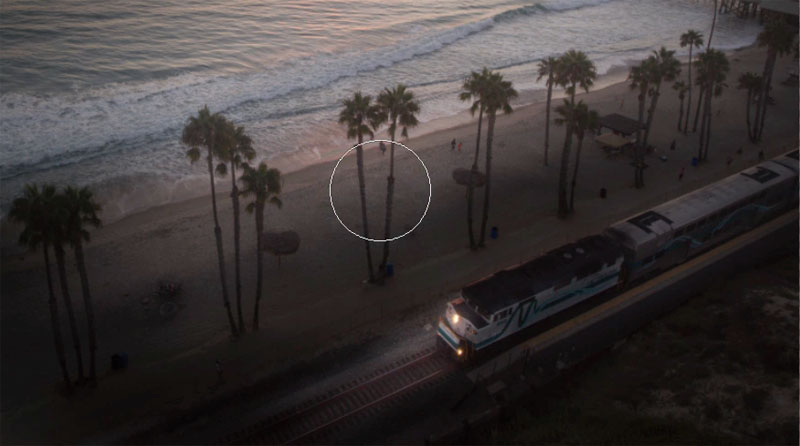
Here I am dodging the edges of the tress to add a rim light.
If I go over the edges (like I did here, it can easily be fixed by painting with 50% gray).
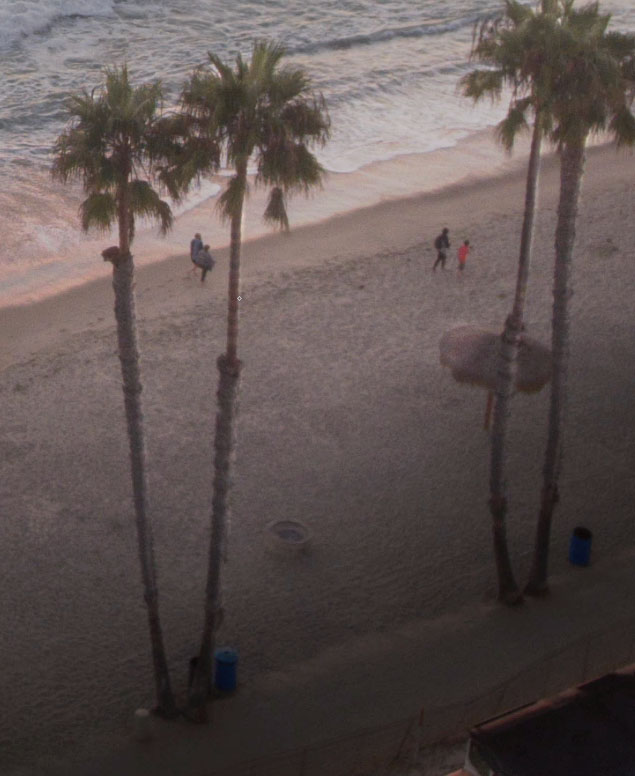
Here are the waves breaking into surf.
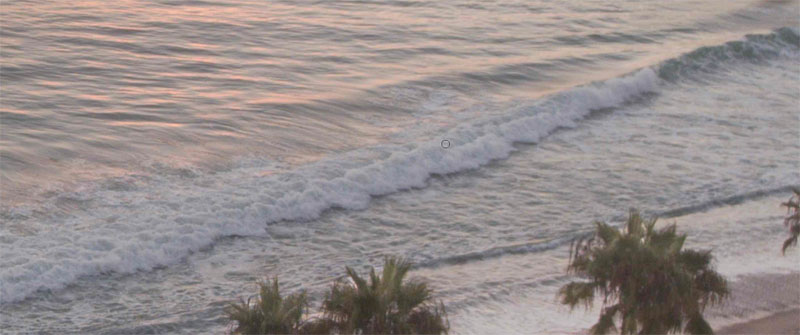
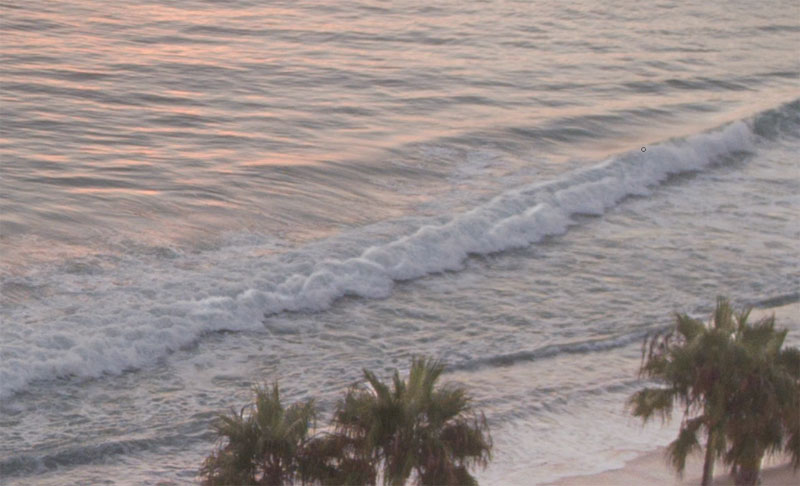
Paint the tops of the surf to make it pop.
Here is the train
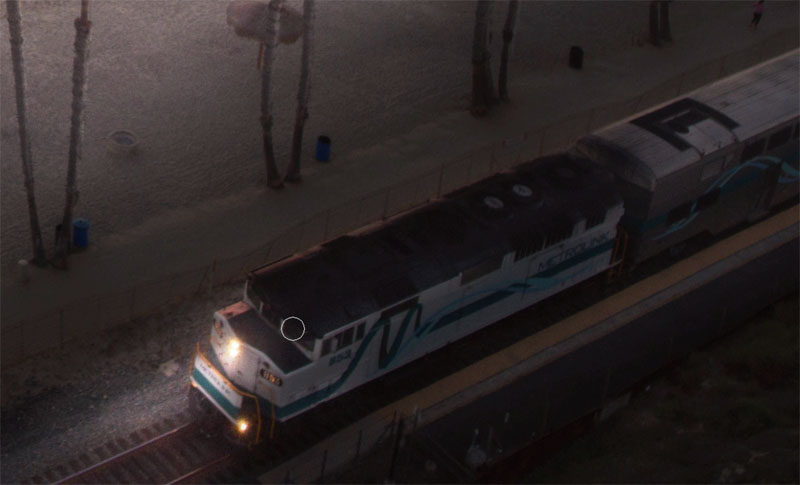
Get those edges of the roof to make the rim light pop
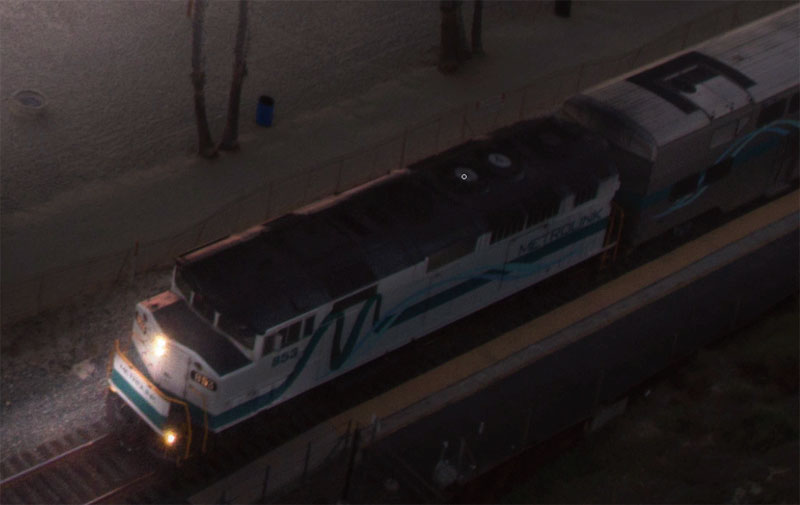
As you work on the little pieces at a time, you may not realize the overall impact those adjustments are making until you put it all together.
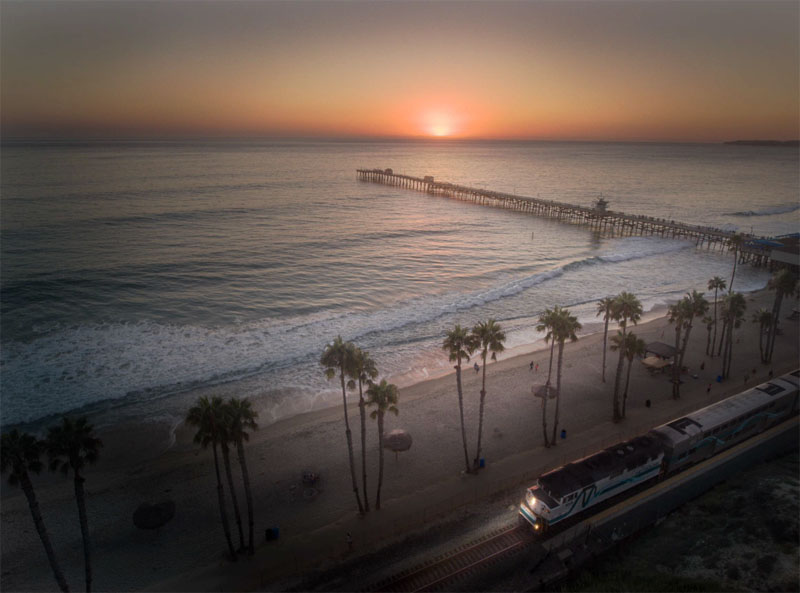
If you find this interesting and want to take dodging and burning further, I created an in depth course here
I hope you enjoyed this tutorial! Add a comment and let me know if you learned anything new.
Enjoy browsing the hundreds of free tutorials here at PhotoshopCAFE
Until next time,
I’ll see you at the CAFE
Colin
The post Fine art photo in Photoshop, free masterclass appeared first on PhotoshopCAFE.
