
Two new ai powered tools that can remove anything from photos in Photoshop. Which is best?
With all the excitement around Generative Fill in Photoshop, its kind of overshadowed another amazing new ai tool. The remove tool, is equally an amazing, and maybe even more useful? Watch the video, or read on to see.
I made a tutorial on the Remove Tool when it was in Photoshop beta. Now its in the shipping version.
I have made a course on Generative Fill in Photoshop. Check it out here
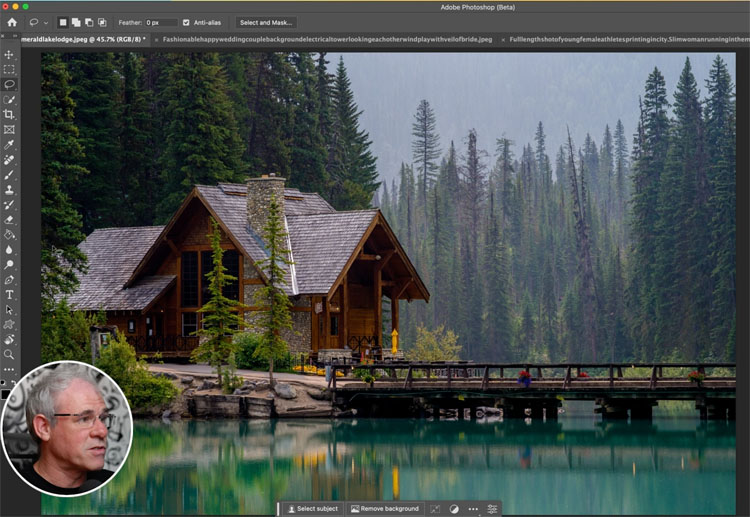
Before I explain the differences in the tools, lets put them through their paces. The video shows the settings and variations of this basic theme I used.
The Remove Tool
For the Remove tool, I created a new layer and then painted on the objects I wanted to remove.Creating anew layer gives non destructive use. Make sure to turn on Sample all layers for it to work. The remove tool in in Photoshop beta and also Photoshop 24.5 or newer.
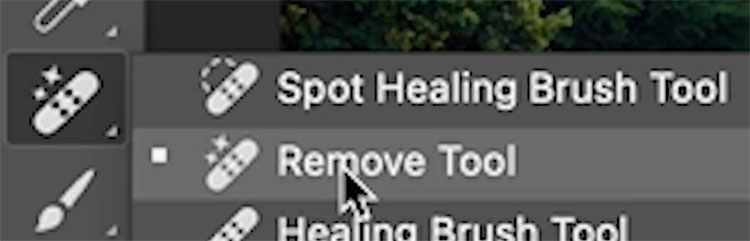
The remove tool, is nested under the spot healing brush. If it doesn’t show in the toolbar if you are using a workspace preset. Click the 3 dot menu on the toolbar and choose edit toolbar to show the tool if its missing.

Make a new Layer
Paint over the object you want to remove
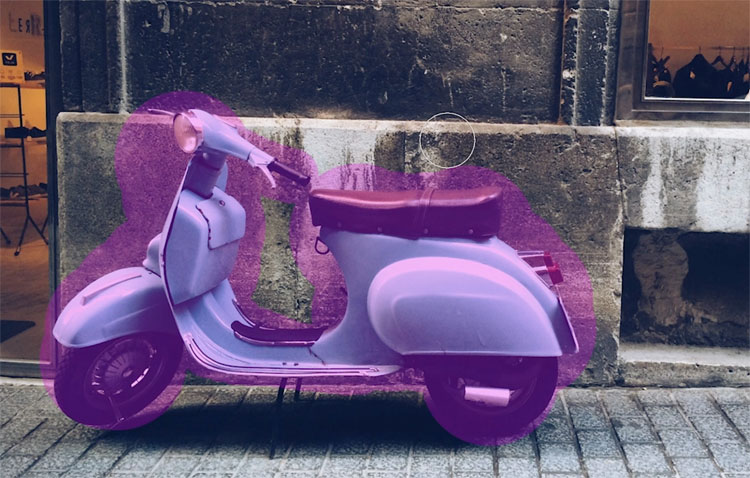
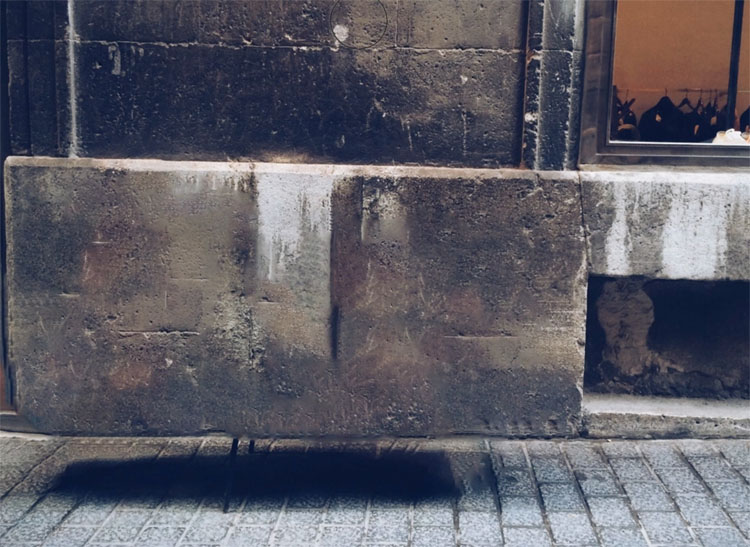
It removed the object and rebuilds the pixels behind the object based on the surrounding pixels and ai. Much better than Content aware fill, which is not ai.
I also removed the shadow in the video.
Meet Generative Fill
Generative fill is only in Photoshop beta right now. It only works on the cloud, so an internet connection is required. Generative fill is capable of creating objects and extending a canvas, In this comparison, we are only going to use it for object removal. I have plenty of other tutorials on other usage of Generative Fill.
For this tutorial, I used the lasso tool to make selections, and then chose, Generative Fill
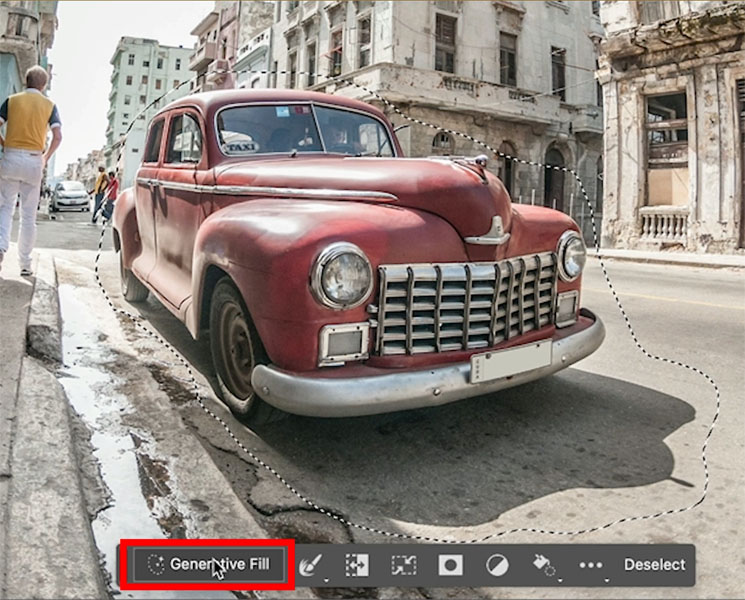
Generate to fill with Generative fill, which uses a machine learning model than has been training on millions of images from Adobe stock.

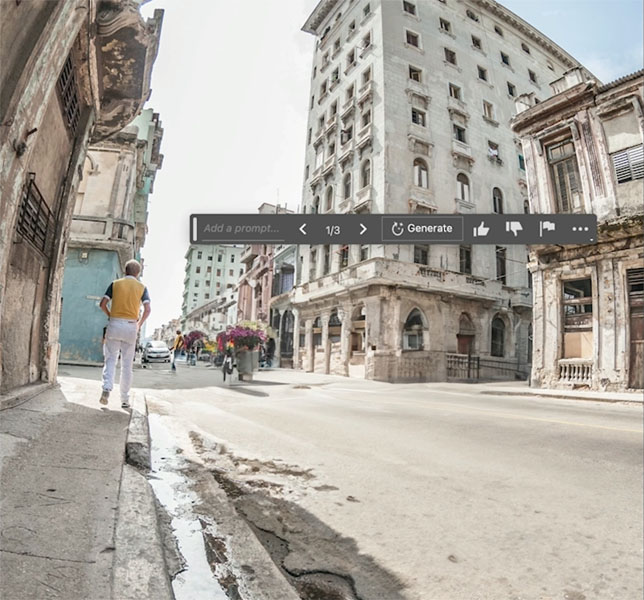
It fills the area the car used to be with relevant pixels.
Removing a large object with repetitive background.
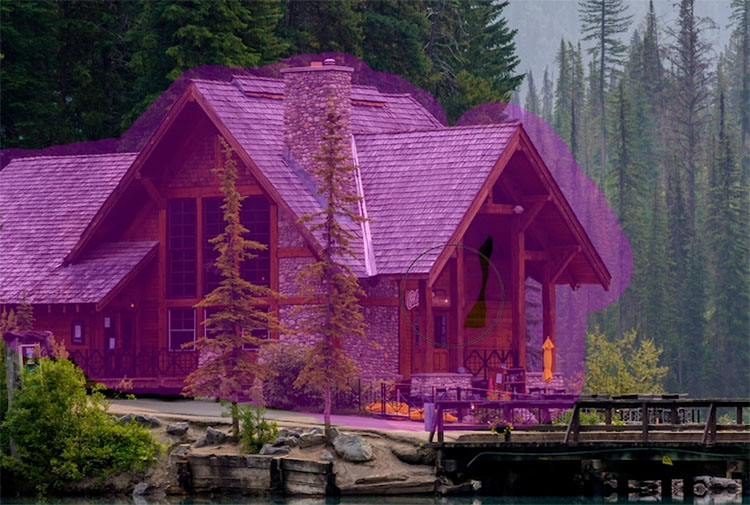
Lets remove this cabin.
Starting with Generative Fill.
Make a selection with the lasso tool.

Choose Generative Fill>Generate, leaving the prompt blank.
Tip: According the Adobe documentation, adding words like remove, don’t work. If you want to remove something, leave the text prompt empty. “Currently, the prompts used for the description are supported in English only. For best results, use descriptive nouns and adjectives in text prompts instead of instructive prompts like, “fill the area” or “create a scene“.”
Here you can see it didi a decent job.

Let’s grab the remove tool
Paint over the building and release
We also get a decent result. Although with this, we can see some repetition in the trees.
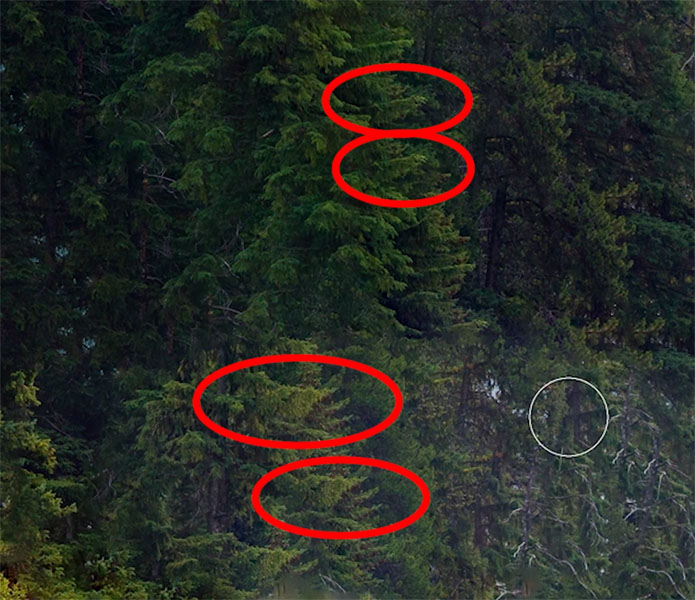

On close examination, the fill with Remove is the same resolution as the original image. It also works faster than Generative Fill.

If you look at Generative Fill results up close, they are soft and pixelated. That is because Gen-Fill uses a maximum resolution of 1024×1024 px to fill a selected area. This will change in the future. Here is a tip to get better resolution.

Removing a Difficult object from a picture
In this shot, we want to remove the tower.

With the Remove tool, paint over the tower first.

Then remove the power lines, it works well.

The moment of truth. How will it fare, while painting over an area of semi transparency, such as this veil.

It works wonderfully!

Ok, let’s try Generative Fill
Select the tower.
Hit Generative Fill>Generate

Oops, not so well here. None of the 3 variations are any better.

Lets try selecting the area through the veil.

Not too bad,
Note, if the entire tower was selected in a single selection, Generative fill worked much better. If you select part of an object, it tries to extend it rather than replace it.
You can’t type in remove, as it doesn’t understand those types of instructions, I tried sky, but also got weird results.

Removing a person, with a complex background
Starting With Gen Fill. Make a selection with the lasso.

And this did a fantastic job.

Same thing with Remove tool.

A very muddled result in the background.

Applying the Remove tool a few more times over the background changed it into a more acceptable result, although not as good as gen-fill on this one.

Removing a face
Let remove a person from this group.

Make a selection with lasso tool
Choose Generative Fill>Generate

On all 3 variations, Gen-Fill added a new face instead of removing the person entirely. On a second attempt, it did the same thing.

Let’s try the remove tool

I had to use it on smaller areas to rouch up the result, but it was very easy to remove the person.

The Conclusion
It looks like each tool excels in different circumstances and types of images.
The remove tool works very well on smaller areas and simpler backgrounds, although it can handle more complex backgrounds, you need to work it a few times to massage the results.
The remove tool is faster because it’s installed locally and thus doesn’t require an internet connection either.
The results are in high resolution and they are ready for prime time, because they are in the shipping version of Photoshop.

The Generative Fill can actually generate objects and thus works well on complex backgrounds, but remember its still low resolution and not yet for commercial purposes (beta).
The very best solution, is to use both together. I often start with Generative Fill and then use the remove tool to manually tweak the results.
I hope you found this tutorial useful, definitely check out the video if you haven’t, there is so much more o be gleaned than this brief writing.
Check out my new course on Generative Fill in Photoshop, Check it out here.
Also follow me on Instagram, Tik Tik and Twitter. for shorts and reels.
Great to see you here at the CAFE
Happy Photoshopping
Colin
The post Generative Fill vs Remove tool ai in Photoshop, when to use each tool appeared first on PhotoshopCAFE.