
Things you may not know about Generative Remove in Lightroom
Lets take a deeper look into Generative Remove in Lightroom Classic. It works exactly the same in Camera Raw.
If you can’t upgrade Lightroom see this
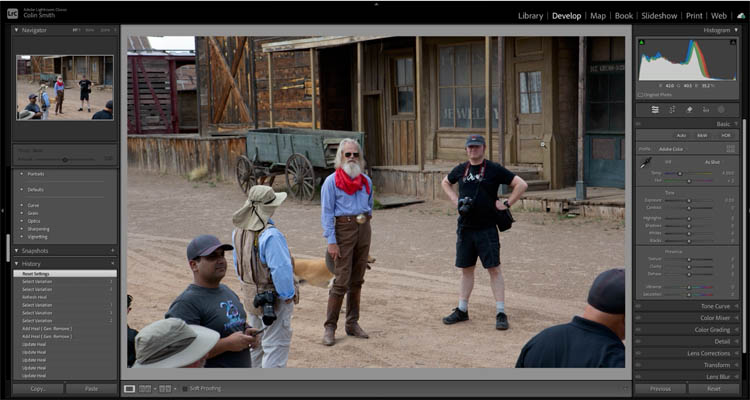
Here is a photo with lots of extra people in it. Let’s remove them.
Object aware
Turn on Generative ai and Object aware from the Remove panel.

Scribble select the man in the corner

Because Object aware is on, the scribble select becomes a nice selection. You want to go over the boundaries a little with Gen remove.

When you apply, it removes the man nicely

Skip the Refine Panel
Scribble select while holding down the Ctrl/Cmd key to skip Refine

Now this man is instantly removed.

Because the resolution is 1024 x 1024 larger removals will leave a softer background. (1024 x 1024 is 3.5 inches at 300ppi)

You can use the stamp tool to fix the softer patch area, this is a lot easier now the ai removal has already taken place.

Variations
For the next removal, select the group of people in the left. Notice a potential problem; the back half of the dog os behind the group. What will happen?

Generative Remove, removes the people and generates the back half of the dog. So it is capable of generating things.
Click the variations button to cycle between 3 variations.
Choose “Refresh” if you don’t like any of the variations. Unlike Photoshop, Lightroom only holds 3 variations at a time. You can choose the history panel and access the other variations though.

Multiple ai patches at once
Notice the photo has raindrops on the lens. This would have rendered the photo useless in the past. With Generative Remove, we can now save the photo.

Turn off Object aware for this task

Use the [ and ] bracket keys to adjust the size of the brush.
Apply the brush to both rain drops.

Notice they are nicely removed.

If you look, you will see that 2 pins have been created. Each of the spots has aplied its own instance of Generative Remove. This means that each spot gets its own variations, as well as not sharing a large area with one fill which will limit the resolution.

Each spot has its own 3 variations to choose from.

Generative ai and Masks
Lets remove these people from an image that has already been editing with masks.

Select the people and apply the Generative Remove tool

Notice the people are removed, but it leaves behind artifacts.
This is because Gen Remove is working off the original image pixels.

The solution to to apply Generative remove at the beginning of the workflow.
If you have images that you already used masks on, not problem.
Click the ellipses menu and choose Update al masks.

The mask updates and now it looks nice.

I hope you enjoyed this deeper look in the new Generative Remove in Lightroom.
For more on the new features in this release (13.3) check out this tutorial
Great to see you here at the CAFE
Colin
PS Don’t forget to follow us on Social Media for more tips..
(I’ve been posting some fun Instagram and Facebook Stories lately)
You can get my free Layer Blending modes ebook along with dozens of exclusive Photoshop Goodies here 
The post Generative Remove in Lightroom deep dive appeared first on PhotoshopCAFE.