
I’m going to show you a button that most people don’t even know exists, and this will fix the color in just about any photo in one click. Let me show you on a couple of examples. We’re going to do a basic photo, then I’m going to show you how I would use it on a composite.
How easy it is to fix the color of a photo
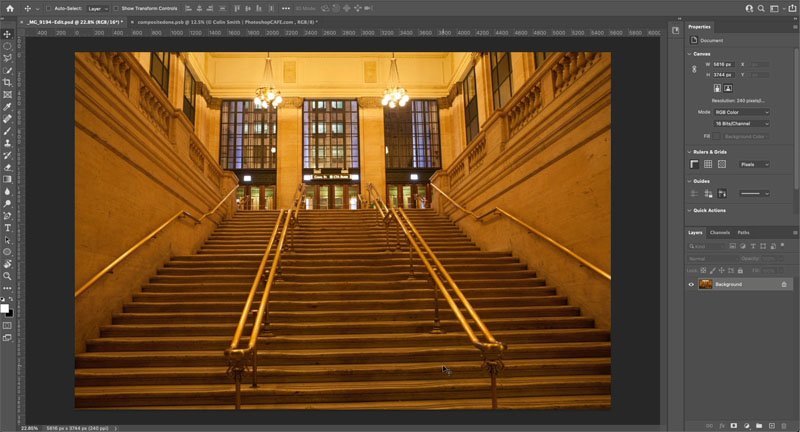
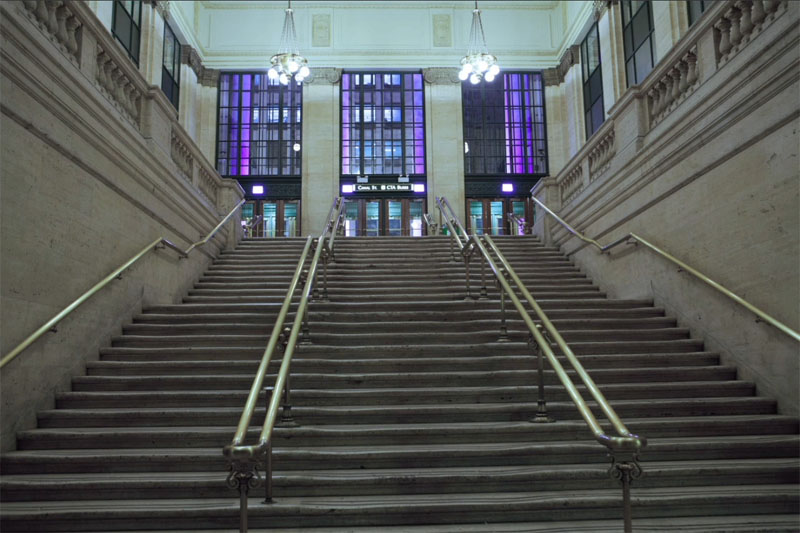
So here’s a photo with an obvious color cast. I Shot this in Chicago. You might recognize the scene from the beginning of a movie if you know what it is. Let me know win the comments.
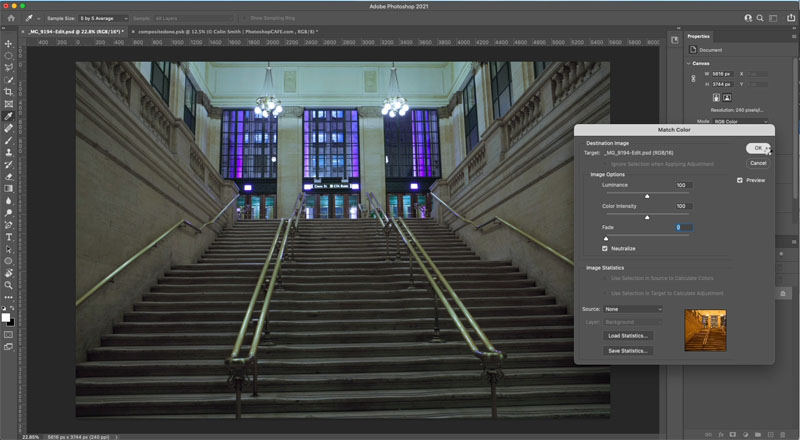
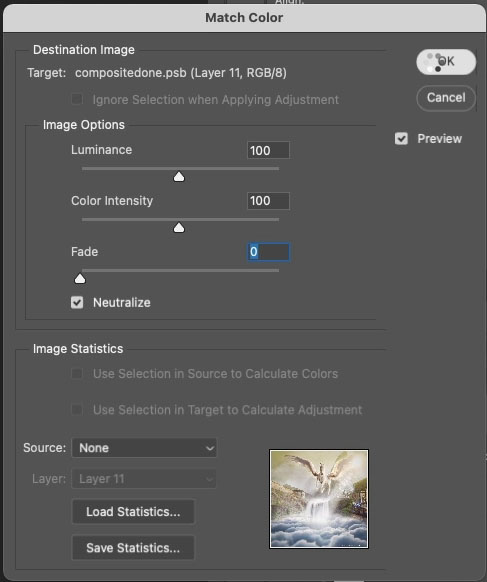
All right. So let’s do this. We’re just going to choose image. Then we’re going to go under adjustments and then we’re going to go down to match color. And this amazing button, it’s very simple. It’s right here. It’s neutralize. If I turn on the neutralize button, boom gets rid of the colorcast just like that.

Some really useful options for a better result
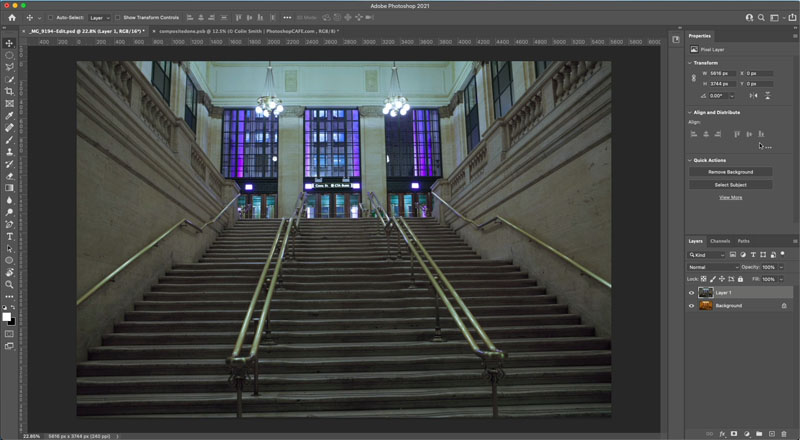
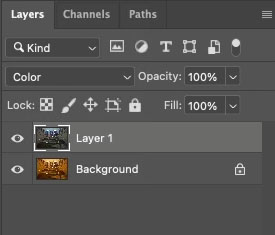
All right. I’ve got a couple more things I want to show you now. I would use this as an adjustment layer or as a Smart object, but it doesn’t support those options, so we will dupliacte the layer instead.
Ctrl/Cmd+J duplicates the layer
As above, choose image adjustments>match color.
Once again, we’re going to choose the neutralize option and click, OK, now we’ve applied this on a separate layer, but it gets better in the next step.
Right now the filter is affecting both the color and the luminosity. We only want to change the color.
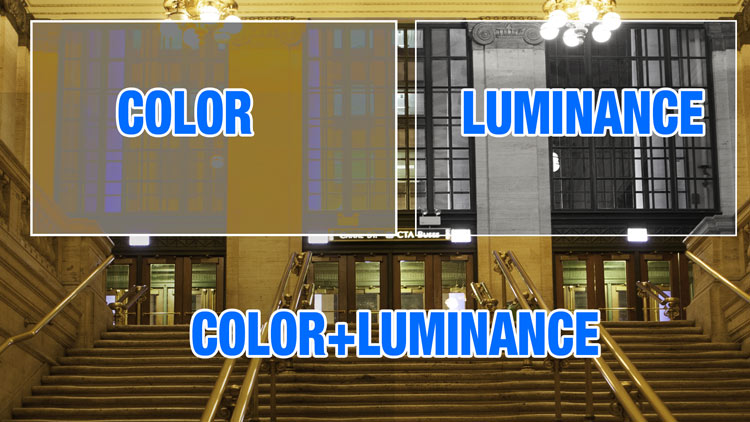
Where it says normal in the Layer blending mode in the Layers panel, change it to Color. Notice now it’s brighter. The adjustment is only changing the color now, and not the lightness (Luminance).
And notice it doesn’t look as dark and muddy as it did before in normal mode.
Matching color in multi layered composites
Let’s use it on a composite. This pegasus is what I did during an Adobe live stream. There are lots of layers. Let’s apply it to the entire image. Now, here’s a little trick.
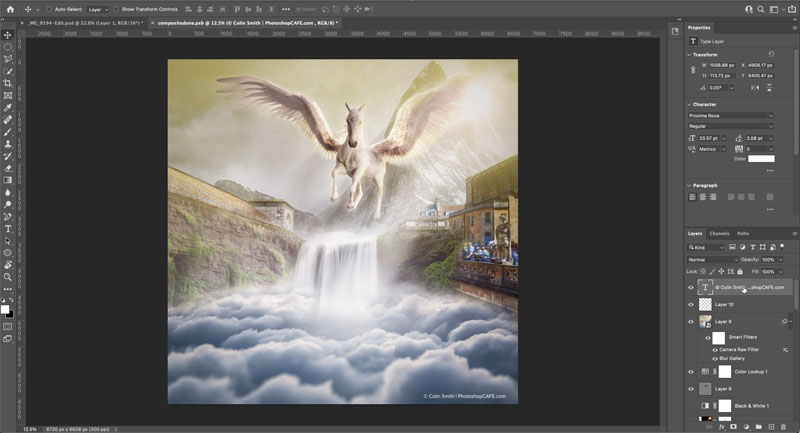
What you want to do is just choose the top layer, then hold down shift+option+command. That would be shift+Control+Alt on windows. While holding down these three modifiers, tap the E key, and this will create a layer on top. It’s literally creating a flattened layer of all the layers underneath.
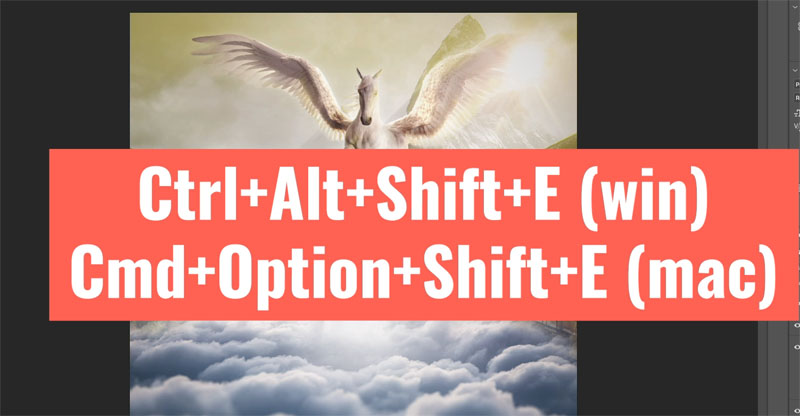
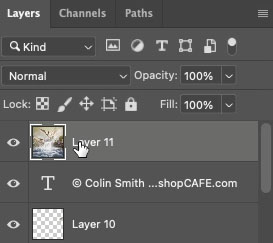
Image adjustments>Match color> neutralize, click, OK
You can see it’s subtle on this images (every image is different), but it’s bringing everything together. And once again, we’re going to change this from normal to color blending mode.

This week was just a quick tip on that little button. I’m curious, did you guys know about that before? Let me know in the comments underneath and also let me know what you’d like to learn next.
And by the way, if you’re your new, welcome to photoshopCAFE.com. Great to have you with us. Consider joining our mailing list, and you won’t miss any tutorials from me.
And until next time, I’ll see you at the cafe.
(Ive been posting some fun Instagram and Facebook Stories lately)
Colin
PS, you can grab free goodies here, including Photoshop brushes, actions, presets, sky images, ebooks and a whole bunch more.
The post Hidden button to instantly fix color of photo in photoshop appeared first on PhotoshopCAFE.