
Complete guide to making an eclipse sequence in Photoshop 2024
Just in time for the April 8th 2024 American Total Solar Eclipse. You have captured your eclipse photos, now what? Here is how you can assemble them into a cool eclipse sequence using Photoshop. How to Photograph a solar eclipse.
This tutorial works for Solar eclipses and lunar eclipses.
Assemble your eclipse photos
Ill show how to import photos to Photoshop from Lightroom Classic, and without Lightroom (after the few lightroom steps here).
You will most possibly have hundreds of eclipse photos when you are done. Choose the best totality image and the best 6 sequences on either side of totality, 13 in total. (You can obviously do more, or less, I used 13 for this tutorial.)
I made a collection in Lightroom to separate the images.
If you aren’t using Lightroom, put your images into a different folder on your computer.
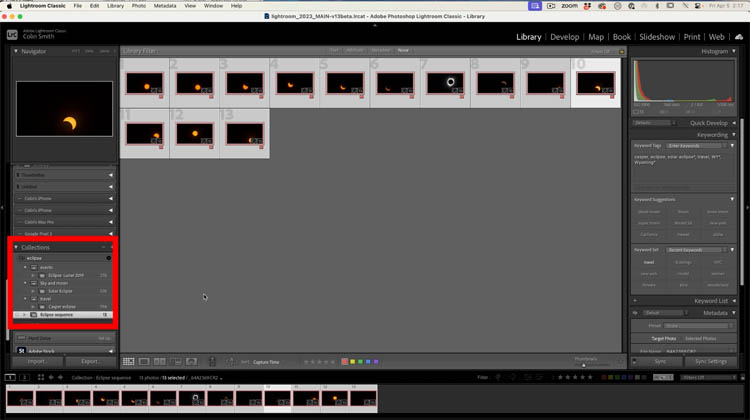
Select all the images from the Filmstrip at the bottom of Lightroom
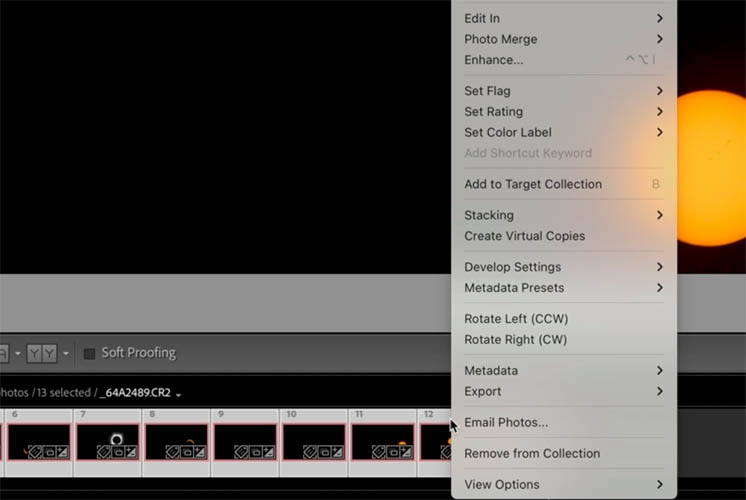
Right-Click on the filmstrip and choose Edit In>
If you have RAW images and want to retain that format choose Edit in>Open as Smart Object Layers in Photoshop
Jpg or other formats choose Edit in> Open as Layers in Photoshop

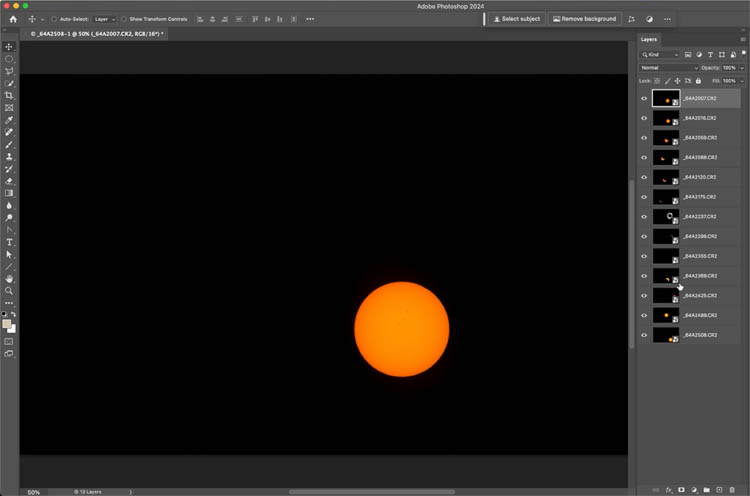
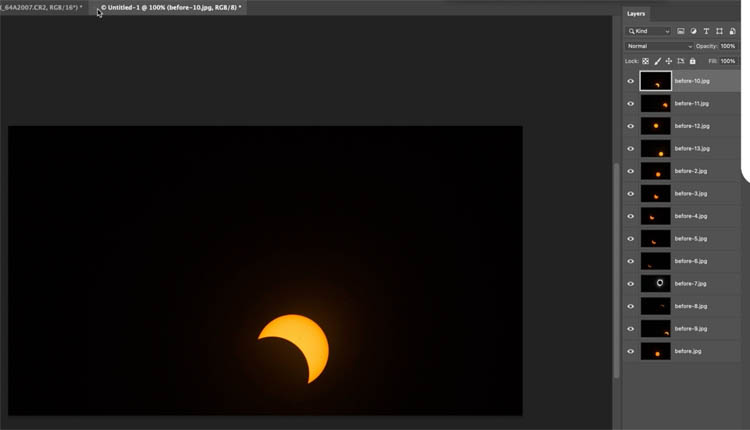
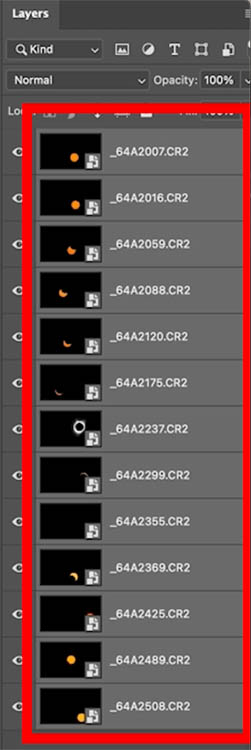
Photoshop will launch and all the selected images will be loaded into separate layers automatically.
If you don’t use Lightroom
If you used Lightroom, skip the next 4 steps.
If you aren’t using Lightroom go to Photoshop
Choose File>Scripts>Load Files into Stack

Your finder will open.
Locate the folder where you have put the individual images you want to combine into a sequence. (You can use RAW files, but they will be converted on import using this method. To keep them RAW, use Lightroom Classic or Bridge).
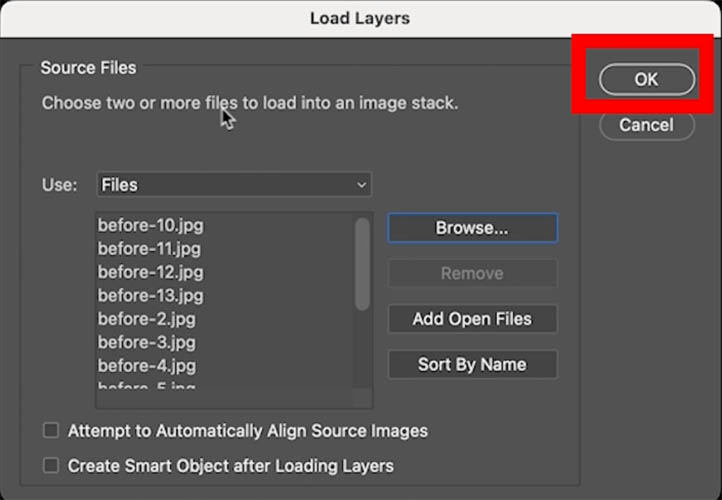
Select all the images and click ok

You will see the images in the dialog box.
Click OK
You will now see them load in as a layers in Photoshop, similar to the Lightroom result.
Building the Eclipse Sequence in Photoshop
It doesn’t matter how you imported the images to Layers in Photoshop, directly or through Lightroom, the steps are identical from here out.
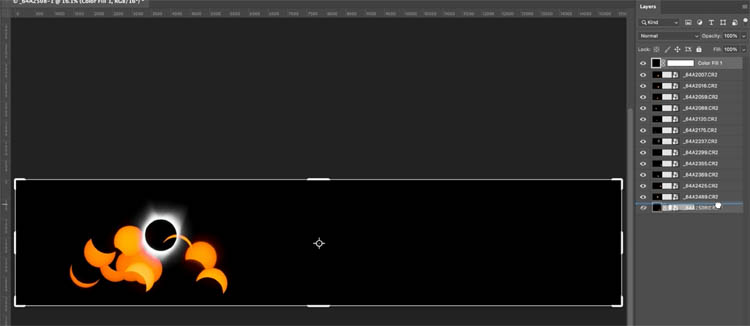
Currently, you will each image in its own layer and only the top layer will be visible. We want to reveal the eclipse phots for ALL the layers at the same time, so we don’t have to cut anything out or do any masking
Select all the layers in the layers panel (Press Ctrl/Cmd+A to select all). Or Ctrl/Cmd+Click on each layer. Or click on the top, hold Shift and Click the bottom layer. (Lot’s of ways to do this).
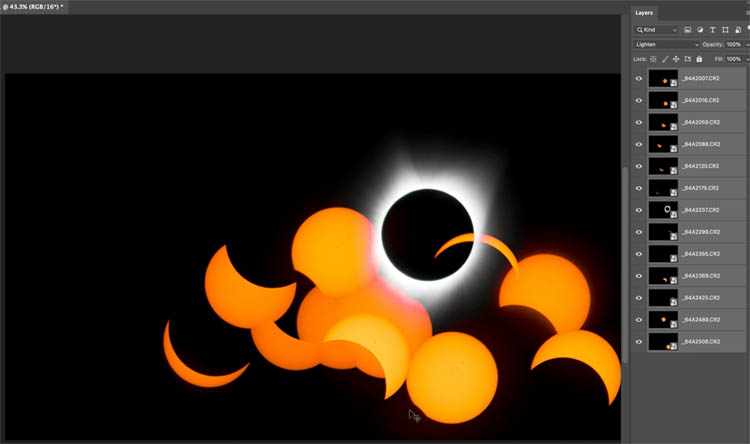
Click Where it says Normal at the top of the Layers Panel, choose Lighten from the menu.
You should now see all the eclipses from all the layers. You have changed the blending mode on all the Layers to Lighten, which hides black. How to use Layer Blending Modes in Photoshop
Arranging the Eclipse Sequence, measuring the gaps
How we need to resize the canvas to fit the final eclipse sequence which will be much wider than the current document dimensions.
Here is a trick to determine the width we will need.
Choose the Rectangular Marquee tool
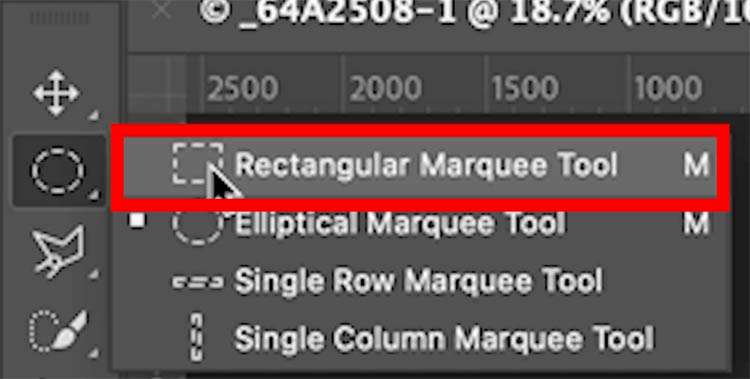
Start the box on the left side of totality, or a full sun image. Tips: Hold Spacebar to move selection as you are creating it.
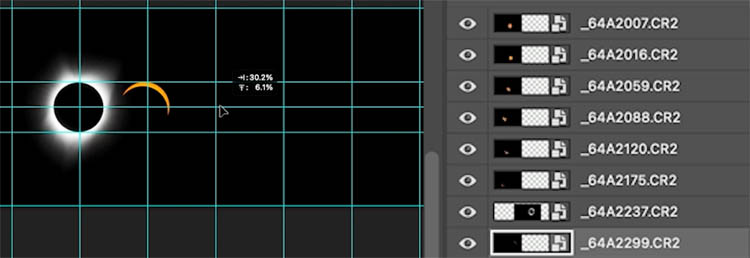
Drag to the right, decide how much space you want between each disk in the final composite.
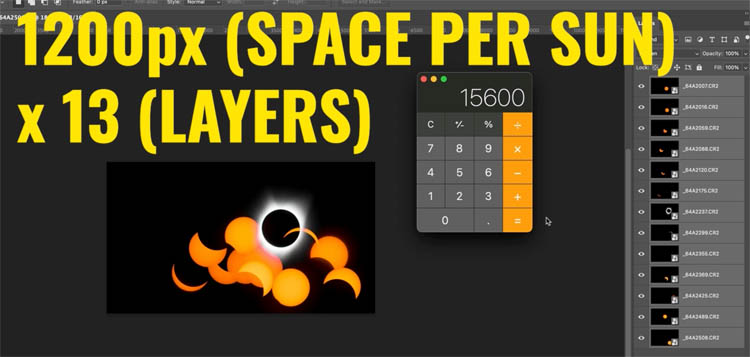
You will see an overlay that shows the width of the selection. Here, we see about 1200 pixels (rounded) will be about right for each disk, if we want the spacing in the image.

To determine the needed width of the canvas, we will need 1200px for each disk. There are 13 disks aka eclipses or partial eclipses (layers)
Open your calculator and multiple 1200 by 13.
I see that 15,600 is what we will need. We need to expand the width of our overall image (canvas) to 15,600 pixels to fit the final sequence.
You can use the crop tool method shown in the video for a more visual way of resizing, or do this.
Change the Background color to black.
Choose Image>Canvas size.
Change to Pixels
We aren’t changing the height of the image so we only need to input the new width, this will be 15600
Click ok
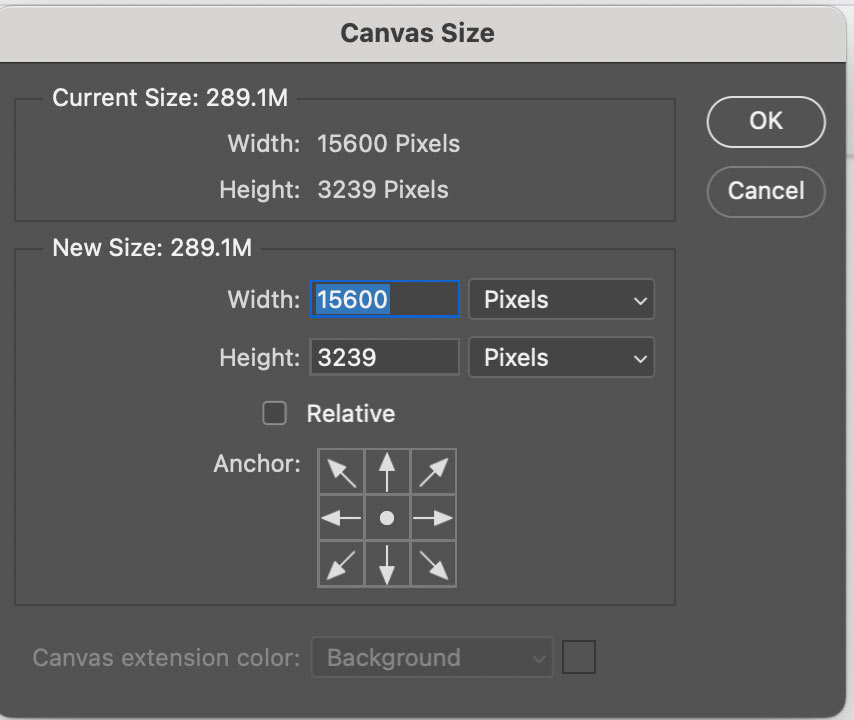
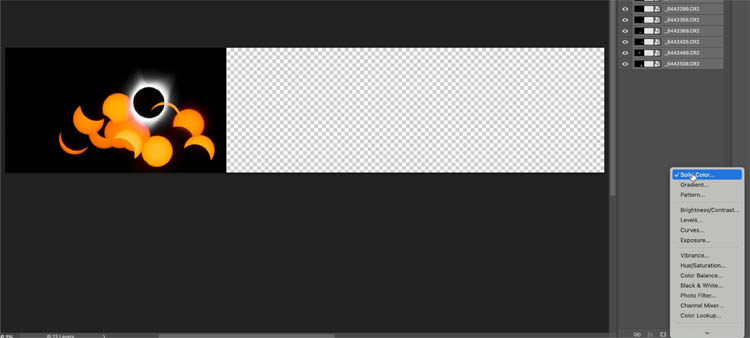
You will now see the width has changed, the background should be black. If not..
If you see a transparent checkerboard, choose a solid color adjustment layer
Choose black and ok
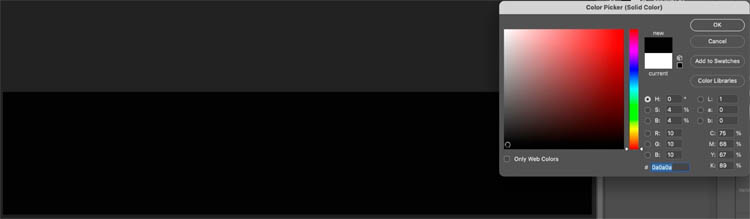
Drag the solid black layer to the bottom of the layer stack
Creating the placement guide
This is a key step. If we make a guide, it will be easier to position each layer.
Photoshop can automatically make this guide.
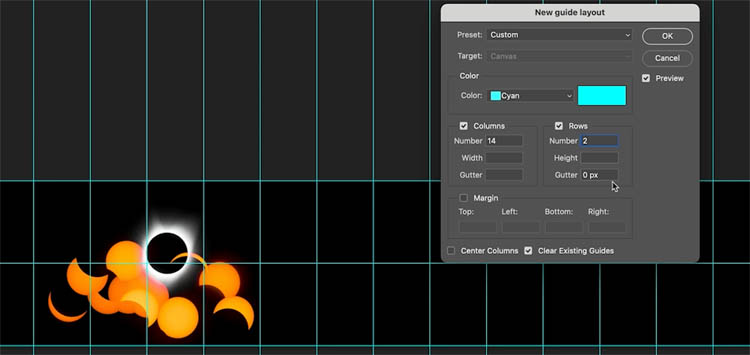
Choose View>Guides>New Guide Layout
Turn on Columns and choose 14. This will give 13 guides, if you are using more, or less images than this, make the appropriate adjustment. (Don’t ask why it uses columns and not guides).

For Rows, choose 2. This will create a horizontal center.
Click ok
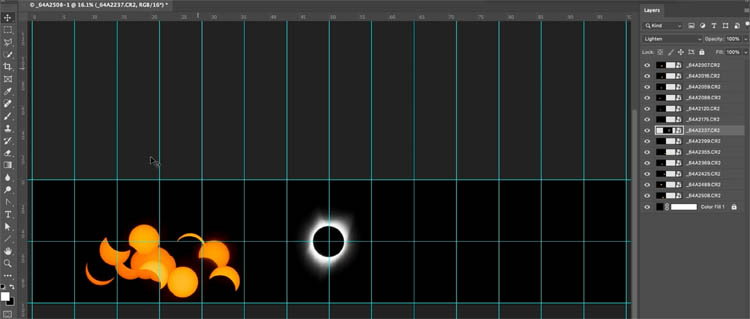
Choose the layer that contains the image of totality.
Grab the move tool (v key)
Drag totality to the center.
If you don’t see rulers, press Ctrl/Cmd+R to open them
Drag a horizontal guide out of the ruler and position it at the bottom of the totality disk. Drag another guide and place it at the top of the disk.
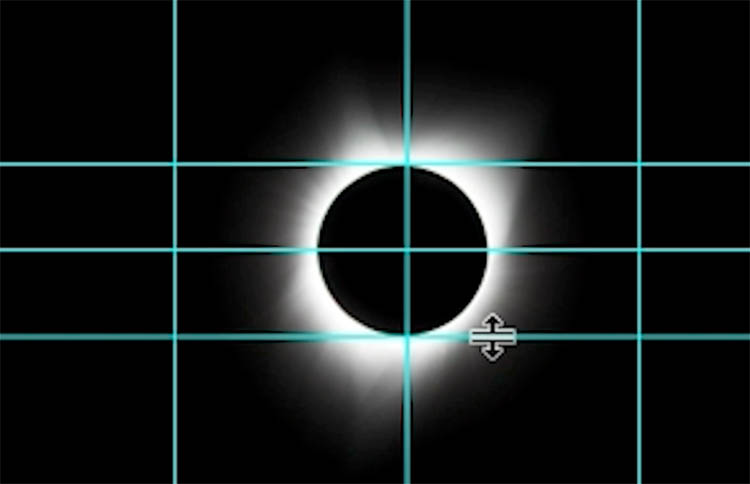
We now have a perfect grid for positioning.
Choose each layer in the layers panel and drag the disk to its position on the grid
Make sure the images in the right are aligned with the top of the grid
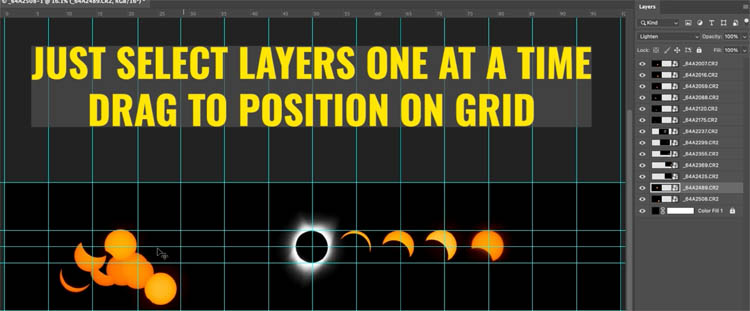
Align all the images on the left with the bottom of the grid.
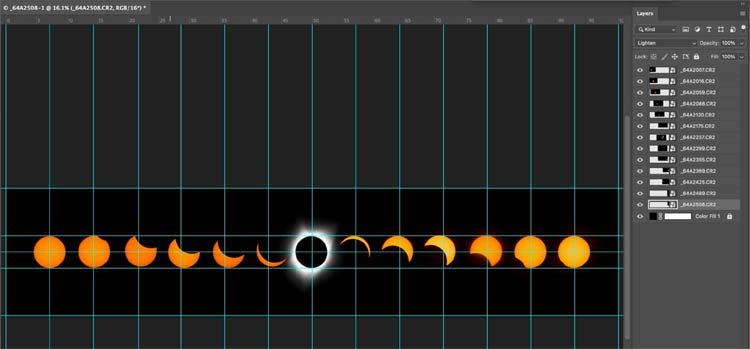
And here is our final sequence.

I hope you have fun, and best of luck shooting your eclipses. Don’t forget to step away from the camera for a moment and just experience the moment of totality, the memory will be worth it. If you are having technical issues, with your camera during totality, don’t fiddle and waste away the eclipse, step away and just experience the moment, it could be a once in a lifetime experience and there will be plenty of very similar photos all over the internet for you to enjoy later. Trust me, from someone who has experienced a total solar eclipse, the experience and memory is more valuable.
Thanks
Colin
PS Don’t forget to follow us on Social Media for more tips..
(I’ve been posting some fun Instagram and Facebook Stories lately)
You can get my free Layer Blending modes ebook along with dozens of exclusive Photoshop Goodies here 
The post How to Create an Eclipse Sequence in Photoshop, complete guide appeared first on PhotoshopCAFE.