
Being able to edit multiple images really quickly is one of my favorite things about working in Lightroom — it was born to do this stuff (referred to as “batch editing” in Lightroom lingo). There are a few days ways to do it, so today, we’ll cover some of the most popular (and easiest) ways to do it.

Auto Sync (LR Classic Only)
This is my favorite, go-to, use-it-every-day style of multi-photo editing. First, make sure Auto-Sync is turned on (the Auto-Sync button in the Develop Module at the bottom of the Right Side panels, but you won’t see it until you select more than one photo, so hold the Command key on Mac (the Ctrl-key on Windows) and click on two more images down in the Filmstrip at the bottom and then the Sync / Auto-sync button will appear. To turn on Auto-Sync (if it’s not already on), click once on the little toggle switch to the left of the word “Sync.”
NOTE: Auto Sync is not a feature of Lightroom “Cloud” version. It’s only in Lightroom Classic.
Once you have multiple photos selected, whatever you do to the photo you have selected (known as the “most-selected” photo), gets automatically applied to all the other selected images in real-time.
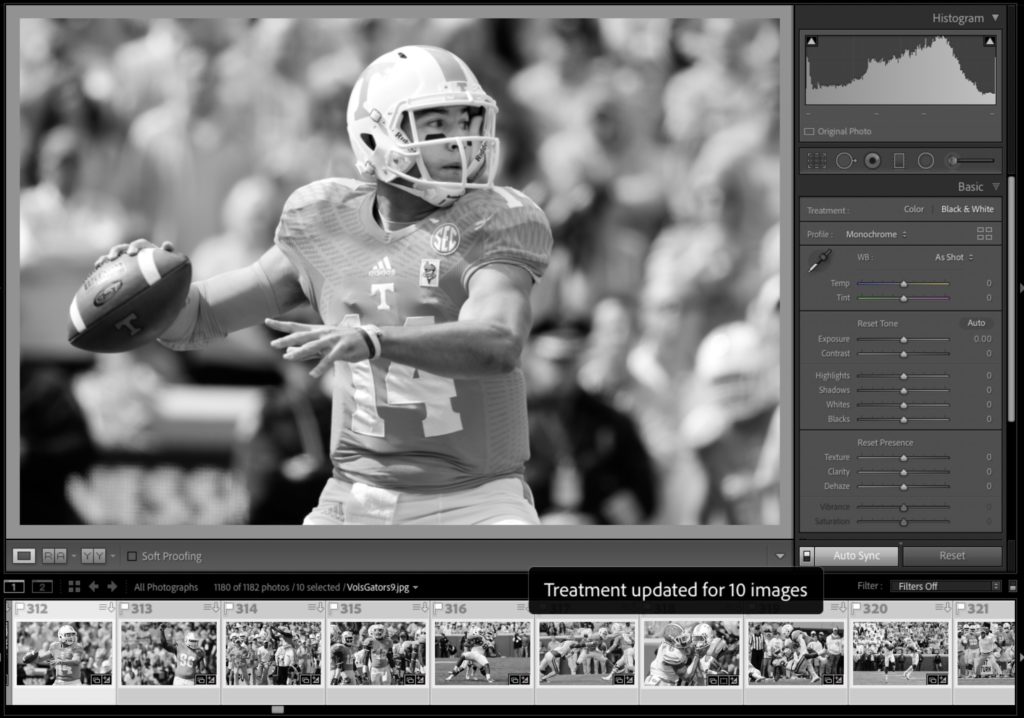
Above: Here’s Auto Sync in action. I changed the Color Treatment to Black and White (by pressing the letter “v” on my keyboard), and now not only is this image changed to black and white, the other nine images all automatically switch to black and white as well. In addition, you see a message appear on screen to let you know what just happened (look right above the filmstrip where it says “Treatment updated for ten images.”). When you’re done editing, don’t forget to Deselect your images by pressing Command-D on Mac or Ctrl-D on Windows.
Sync (LR Classic Only)
This is Auto Sync’s more powerful cousin, so it’s similar but different. To turn on “Sync,” hit the toggle button to the immediate left of the Auto Sync button. Here’s how it works: Select a bunch of images and then make all the changes you want to your selected image. The changes you make to this image DO NOT affect the other selected photos. Now hit the Sync button, and it brings up the Synchronize Settings window you see below.
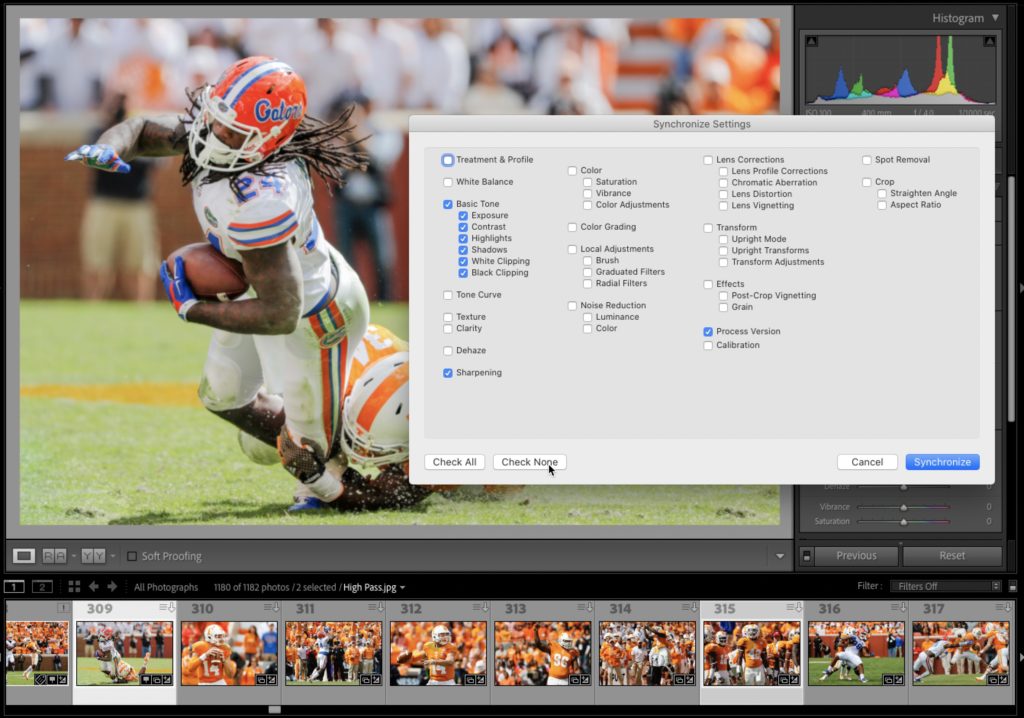
By default it assumes you want everything you did to that first photo applied to the other selected photos, and that may be exactly what you want, and in which case you just hit the Synchronize button and you’re done. However, if you only want certain things you did applied to these other images, you can “uncheck” any edits you don’t want sync’d to these other images in this window.
That’s a LOT of checkboxes to uncheck, so if you want to just sync a few edits over, it helps to click the “Check None” button (as shown above), and then just check the few things you do want sync’d to those other images.
Copy / Paste Settings (Both LR Classic & LR ‘Cloud’)
This is actually very similar to Sync, but you don’t have to select a bunch of photos first. You can click on one photo; copy the edits you made to that particular photo, then paste those settings from the first photo onto any other photo. You’re literally copying and pasting edits. However, like Sync it brings up a window asking which settings you want to choose (or of course, you can paste all of them).
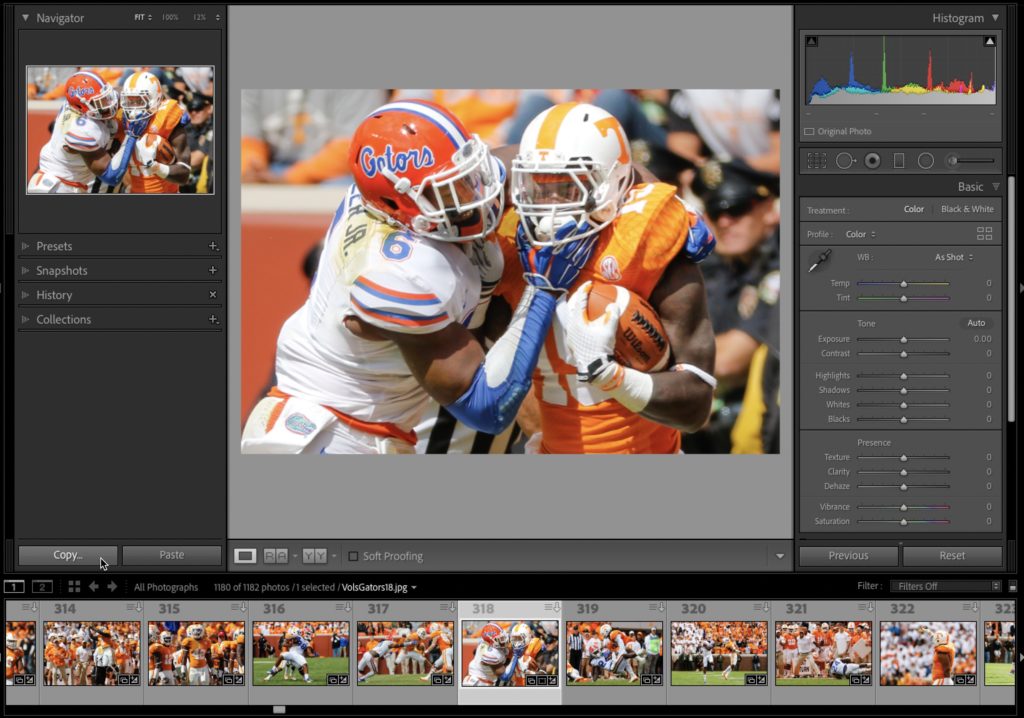
Here’s how it works: Click on a photo. Either click on the Copy button at the bottom of the Left side panels (as shown here), but it’s quicker to just press Command-C (PC: Ctrl-C) to bring up the Copy Settings window (seen below).
TIP: If you want to bypass this Copy Settings window altogether, just hold the Option key (PC: Alt-key) and click the Copy button (shown above) and it copies all the settings from your selected photo.
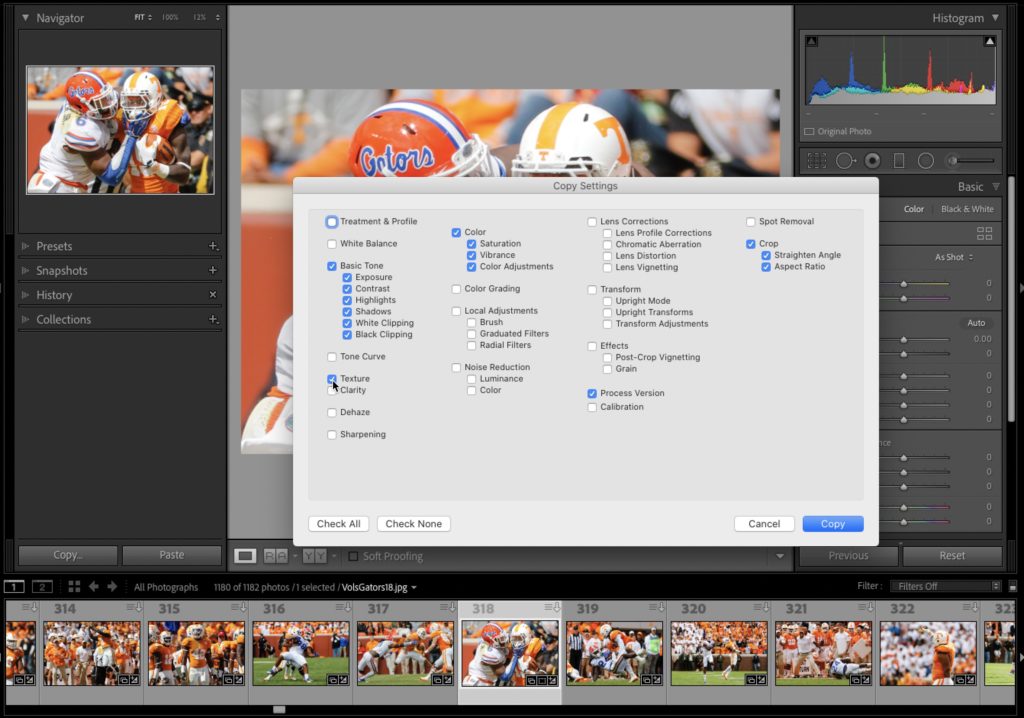
Choose which settings you want to copy from this window (or don’t do anything to copy all of the settings), click on another photo down in the Filmstrip (or even select a bunch of photos), and press Command-V (PC: Ctrl-V) to paste those settings onto those selected images.
NOTE: If you’re using Lightroom ‘cloud’ on the Desktop, you can press just Command-C to copy and Command-V to Paste and skip bringing up the “Copy Settings” window at all. It’s a simple “copy and paste settings” routine. If you do want to bring up the Copy Settings window and choose which edits you want to copy, then you’d press Shift-Command-C (PC: Shift-Ctrl-C) instead.
That’s a good start on editing multiple images in Lightroom. Hope you found that helpful. 
Here’s to what could well be an incredibly awesome week!
-Scott
The post How To Edit Multiple Photos at Once in Lightroom appeared first on Lightroom Killer Tips.