
Why Panoramas?
Panoramas, or panos are a great way to do a couple of things. First of all, they make it possible to photograph a subject that is too big to fit in a single image. You shoot multiple images and then stitch them together into a seamless panorama. Panoramas can be either horizontal or vertical, they can also be both. The second reason for shooting panoramas is to extend the size of the image. If you want a larger pixel count, zoom in and shoot as a panorama.
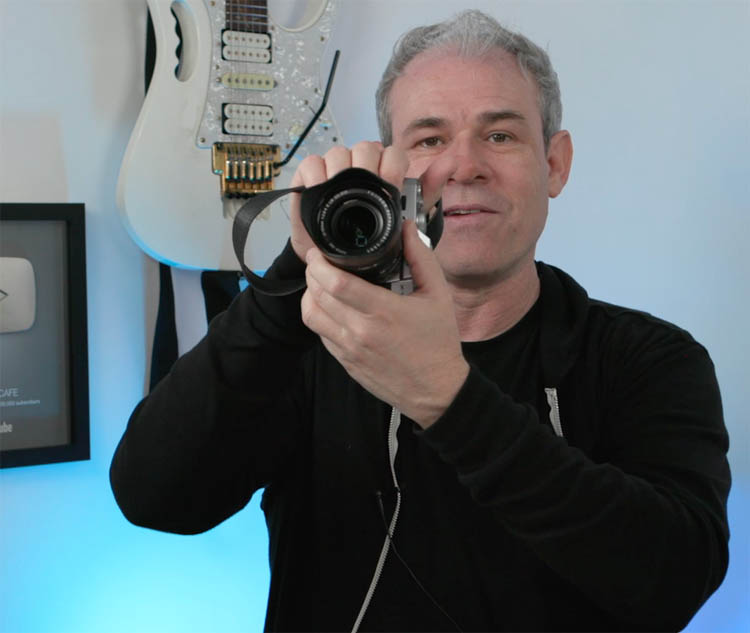
How to Shoot a Panorama
Shooting a panorama isn’t that difficult, but these tips will help.
First of all, shoot with the camera vertical. (If you can, most drones won’t allow this). The reason for this is that you get more shy and ground into the image and you will also end up with a higher resolution image.
When you shoot, go for a 30% overlap. If you are using a drone, or a very wide angle lens, got for a higher amount, even 50% because of the distortion.
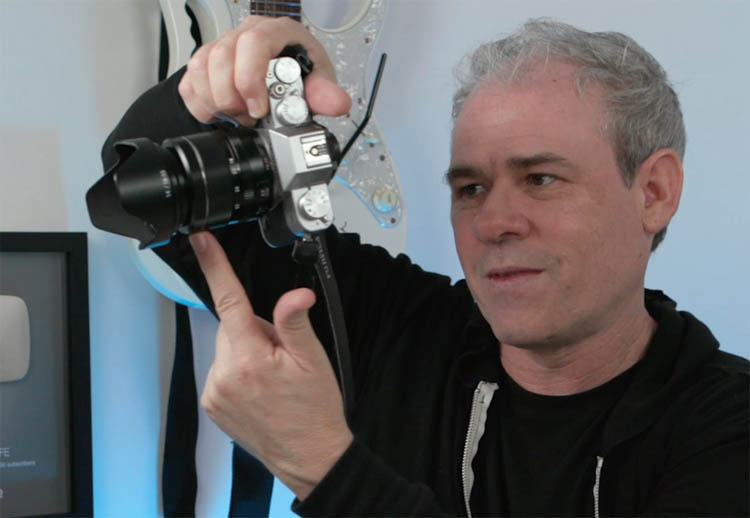
Make sure you rotate the camera on the point of no parallax or the nodal point. I explain this in the video as well as provide a hack for doing it without a panoramic head.
Meter for the brightest part of the image. Blown out highlights can’t be recovered.
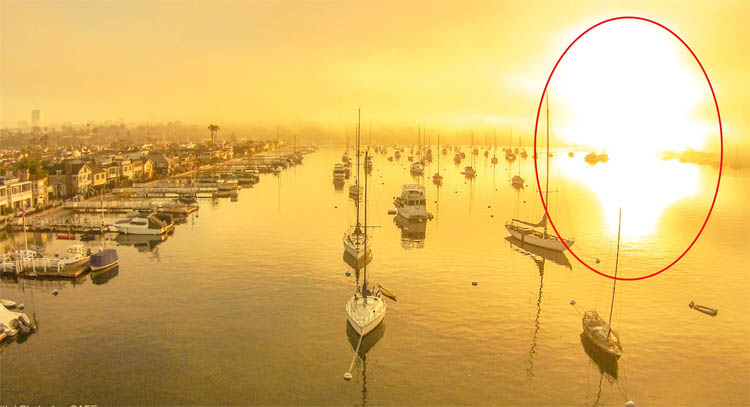
When you are properly exposed, you can even capture the suns color itself during sunrise or sunset. (This was an HDR Panorama)
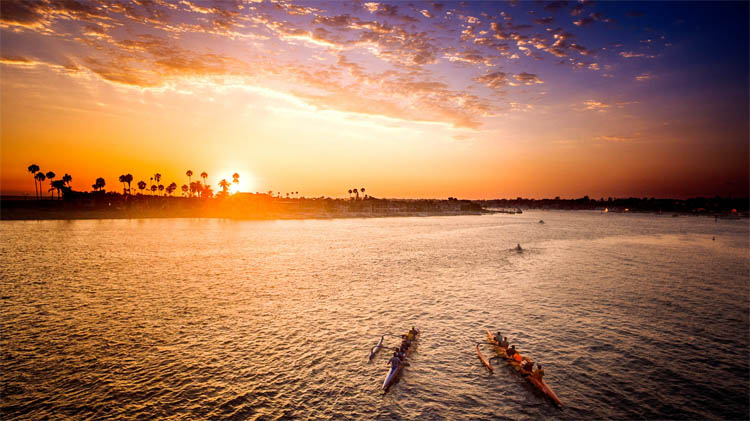
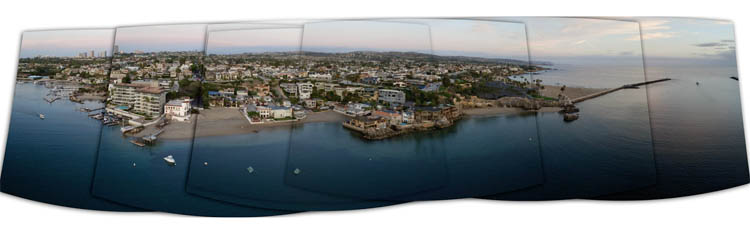
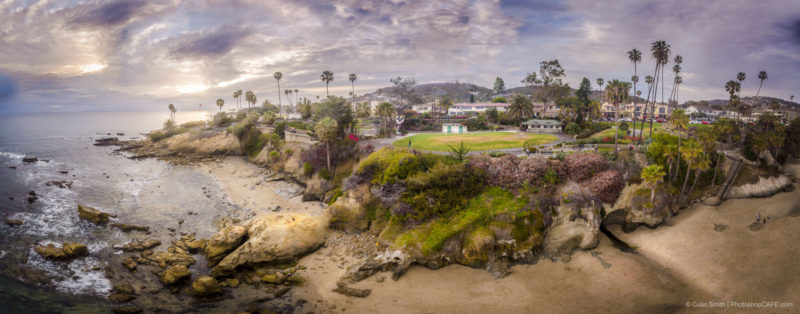
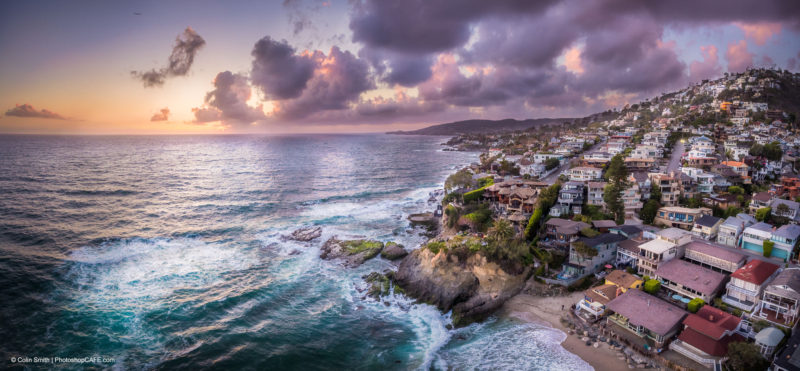
Here are just a few of my panos.
I have lots of examples of my panoramas on my gallery page, and also on my instagram feed.

Stitching and processing a panoramic photo
Let’s look at putting together a panorama.
Open in Lightroom or in Camera Raw in Photoshop. The settings are identical.
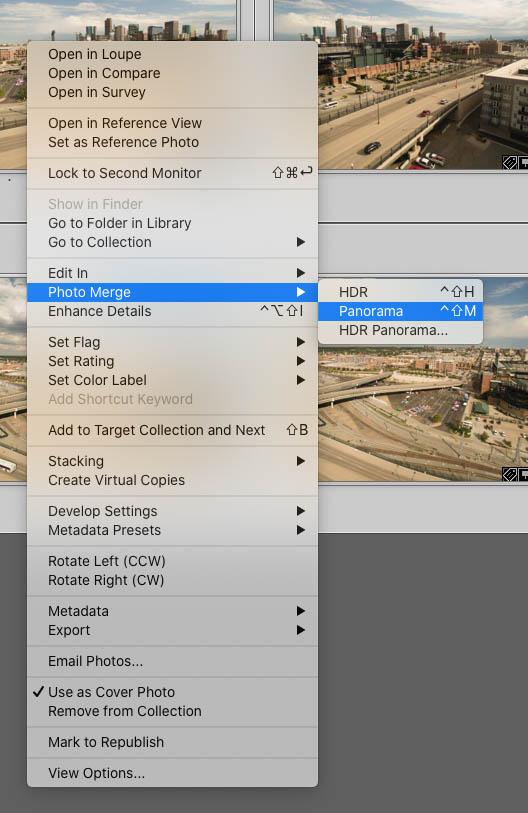
1. Select all the image
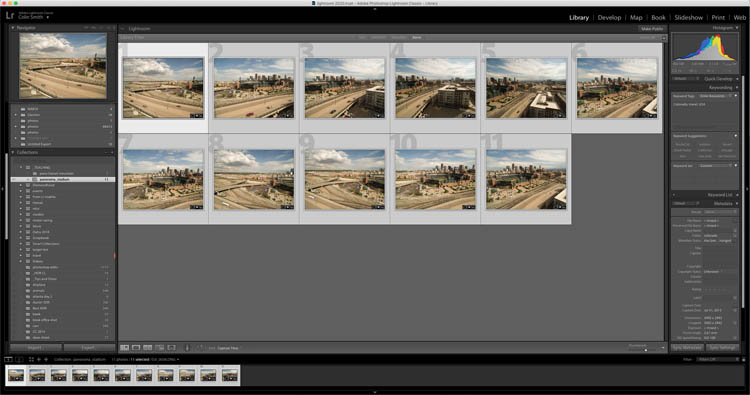
2. Merge
Right Click and choose Photo Merge> Panorama
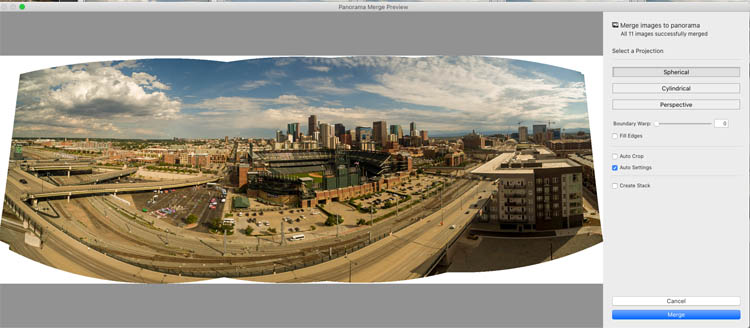
Step 3.
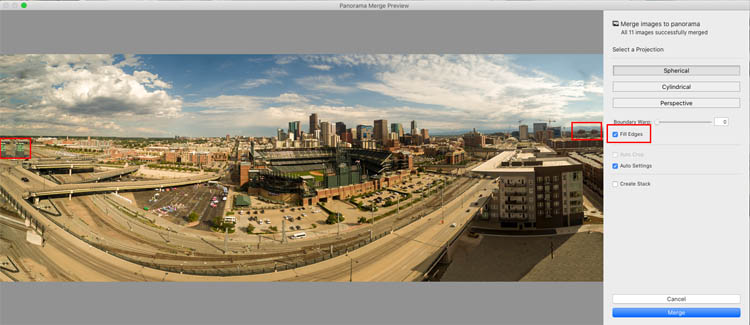
You will see a preview of the panorama.
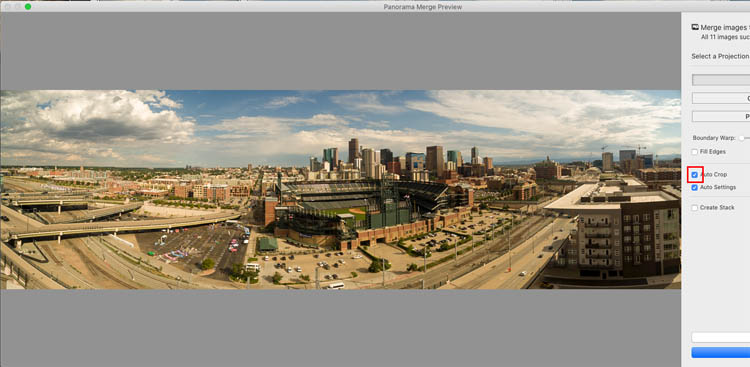
Notice the edges need to either cropped or fixed to show the final photo properly.
If you choose auto crop, the transparent parts will be cropped out. This will work in many cases. Sometimes you will lose too much of the sky or foreground.
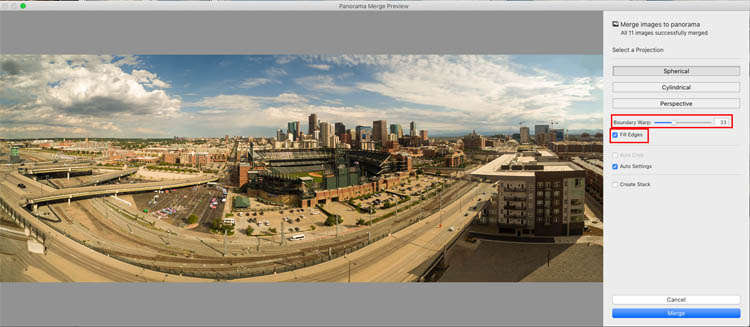
The second option is to increase the Boundary warp, often this works well. But it can have the unfortunate side-effect of bending the horizon.
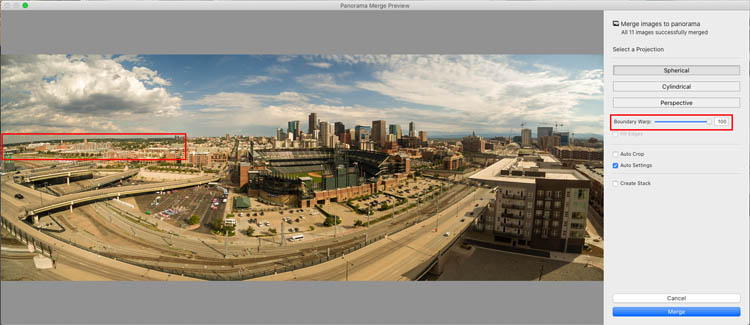
It works be stretching the pixels, kind of like silly putty. Not what you always want.

A newer option added is fill edges. This uses content aware fill to fix all the transparent areas.
This can add a little doubling in places, the doubling can easily be fixed with the patch tool.
How I like to do it
If none of the other methods work without side effects (most of the time, one of the methods mentioned will work perfectly) Then do a combo. Use the boundary Warp, but not so far that it bends the horizon. Then add the Fill edges or auto crop.
You will see much better results. Click Merge to apply.
Step 4
After stitching, you can crop the sides to remove any problems and still have the full height of the sky and foreground.
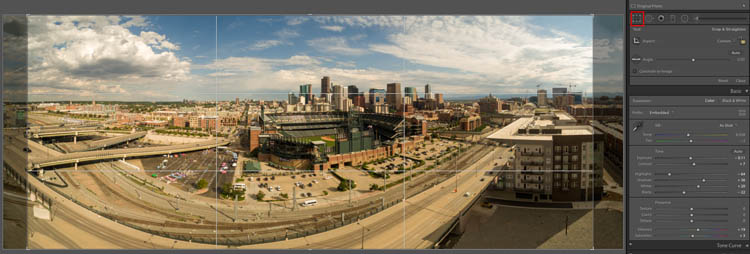
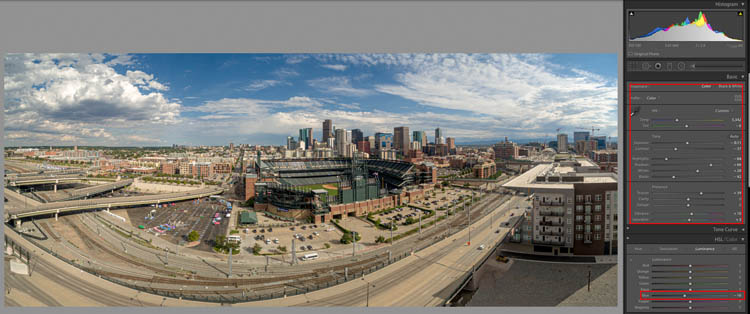
Step 5.
Make your adjustments to finish off the image. Here is a tutorial on those adjustments.
I hope you enjoyed this tutorial and found it useful. If so, tell your friends about PhotoshopCAFE and subscribe to our youtube channel.
If you want to learn more about Panoramas, HDRand HDR Panoramas, check out my Multi-shot Mayhem course.
Great to see you here at the CAFE
Colin
PS Don’t forget to join our mailing list and follow me on Social Media>
(Ive been posting some fun Instagram and Facebook Stories lately)
You can get my free Layer Blending modes ebook here
The post How to Make a Panoramic photo – shoot and edit a Pano in Lightroom or Photoshop appeared first on PhotoshopCAFE.