
How to make apple Liquid Glass effect in Photoshop
When Apple announced their Liquid Glass redesign at WWDC on Monday, I knew I had to make a tutorial on this. This change is bound to set off a number of design trends and I figured you would want to know how to create this effect for yourself. (I worked hard on coming up with this technique, so if you see it somewhere else, it was copied from here. Posted on Jun 11, 2025)
This is fun! I have 2 versions here. The fast and easiest way to get the effect for beginners and then a more advanced method that shows you what you need to get something that looks very close to the apple Liquid Glass effect, that apple will use in all their upcoming interfaces. As usual, the video at the top shows step by step and is easy to follow.
DOWNLOAD THE LAYER STYLE OF THIS HERE. | GET MANY MORE ADD-ONS LIKE THIS HERE.
To install it, choose Layer Styles hamburger menu on top right and choose import styles.
Method 1. Liquid Glass on Text
This first method reveals the key steps to getting the result. The 2nd method used a tile rather than text. Either method can be used on anything, text shapes etc.
With an image open, choose the type tool and grab a nice heavy font.
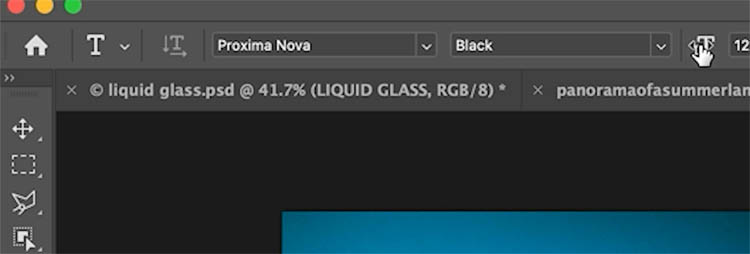
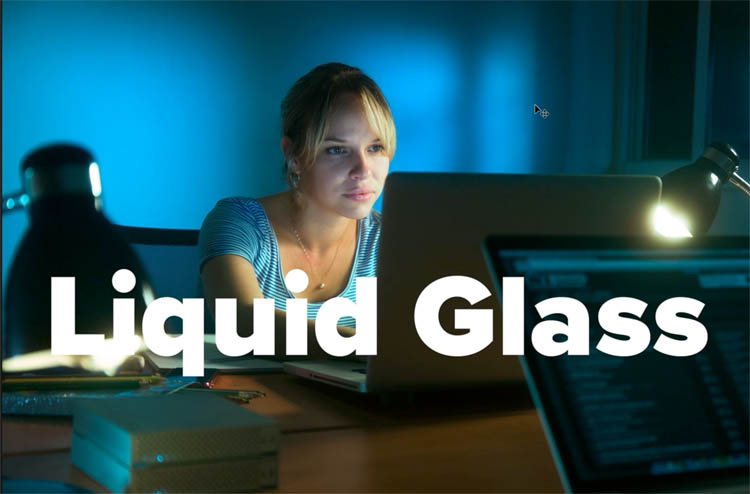
In this case, we typed Liquid Glass, you can use anything.
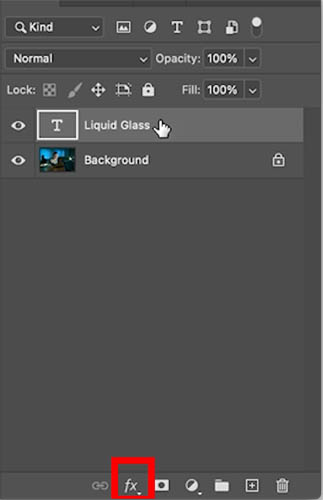
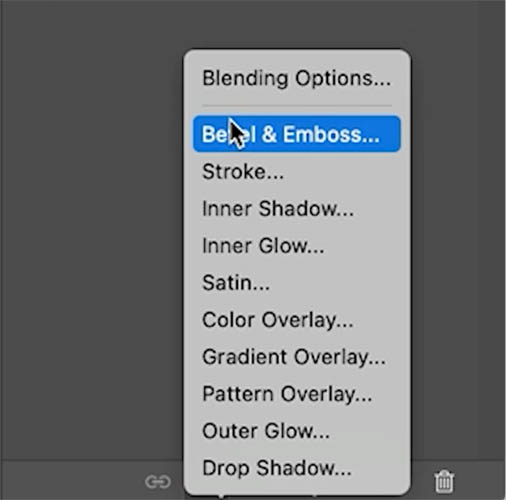
Choose the Layer Styles. This first method is pretty old school, but I modernize this in the 2nd method.
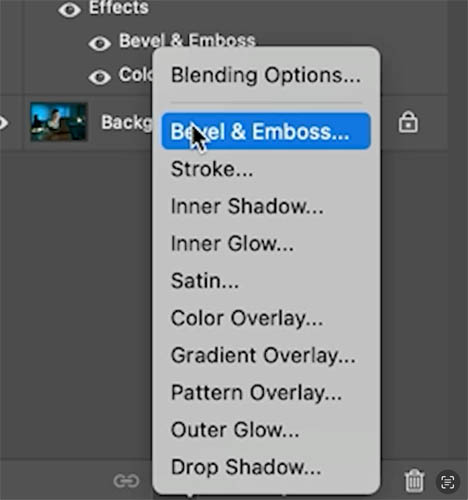
Choose Bevel and Emboss
We will go through the settings in a moment.

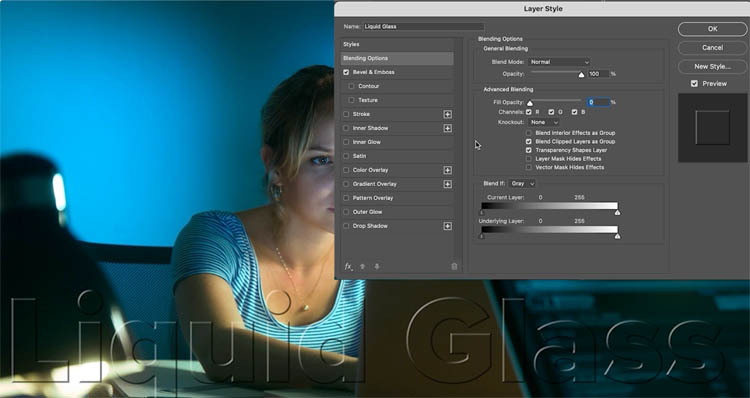
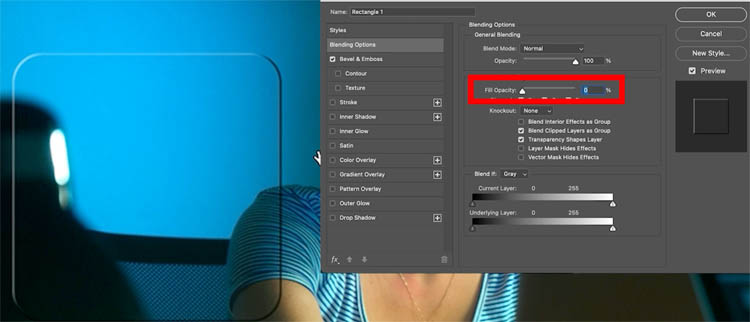
Choose Blending Options.
Reduce Fill opacity to 0.
Now you see just the layer style without the pixel layer. This is the core of the transparent effect.
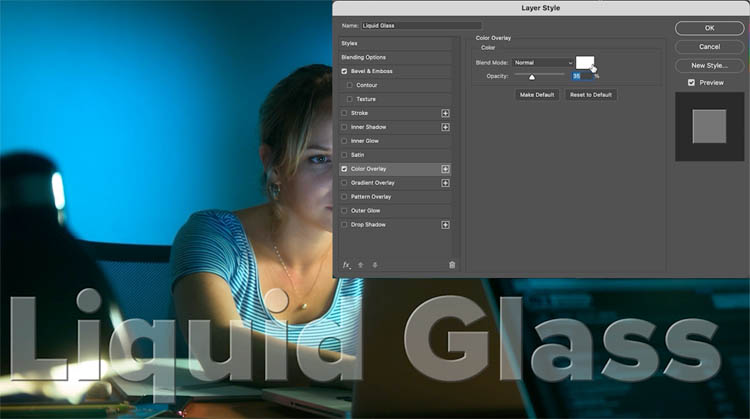
If you want a little shade, add a color overlay, choose white and adjust the transparency (opacity).
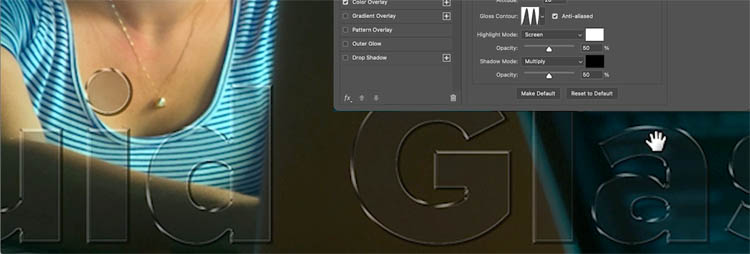
Go back to Bevel and emboss.
Change the gloss contour to add some shine and reflection to the bevel.
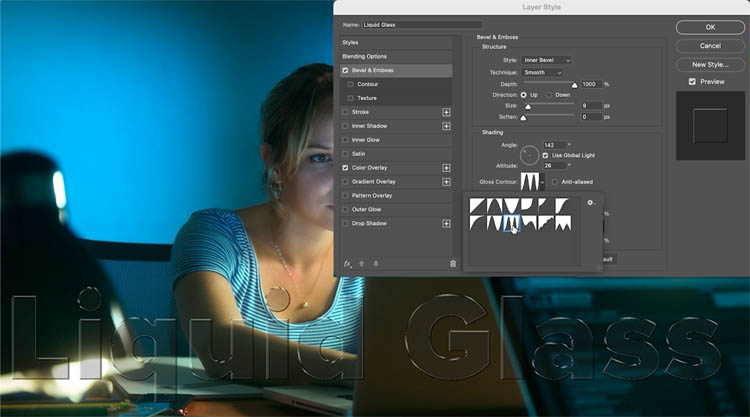
This gives you a basic glassy look.
Method 2. Liquid Glass effect with some realism.
Now, we will make a more realistic version. It’s based on the principles from the first example, but a different approach.
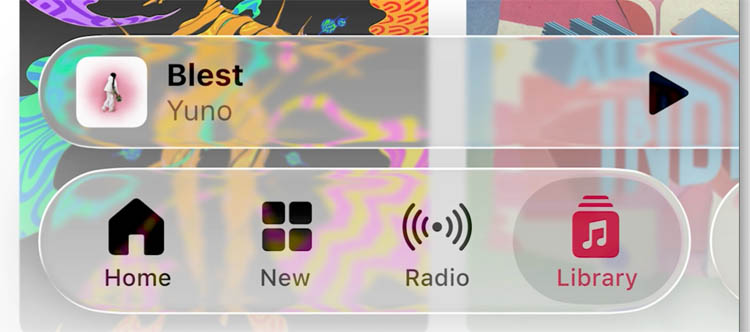
If you look at the Apple Liquid Glass images on their website, you will see there are a few variations, but they all have certain things in common. This tut will equip you do make any of them.
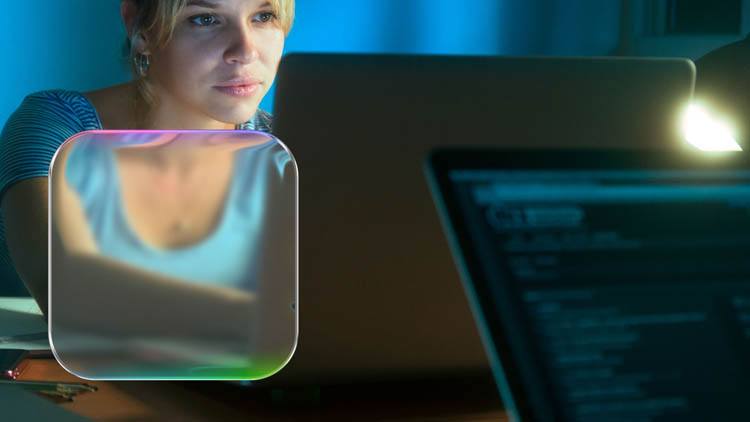
If you observe, you will see the image is blurred behind the icons. Also see the refraction around the edges? Some have a colored hint on the edges too. Lets do this!
Start with the bevel
Choose the rectangle shape tool
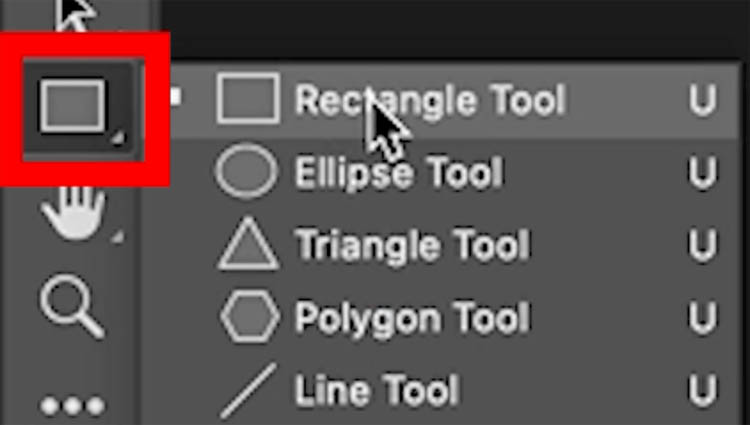
Choose Shape, no stroke and rounded corners. Here the corners are set to 121. It seems to give a nice rounded corner similar to what apple uses.
![]()
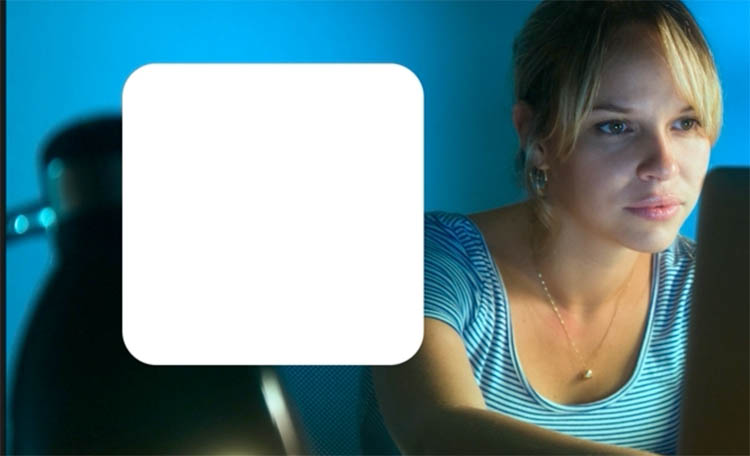
Drag on your document to create the shape. Tip: Hold down the Shift key to constrain to a perfect square.
Apply a Bevel and emboss layer style.
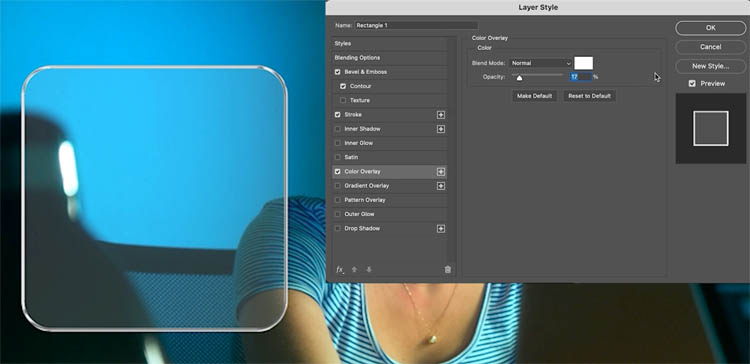
Click on Blending Options
Reduce Fill opacity so you can see the effect.
Click on Bevel and Emboss
I noticed that we can get a better result for this using the stroke emboss.
Change to Stroke emboss.

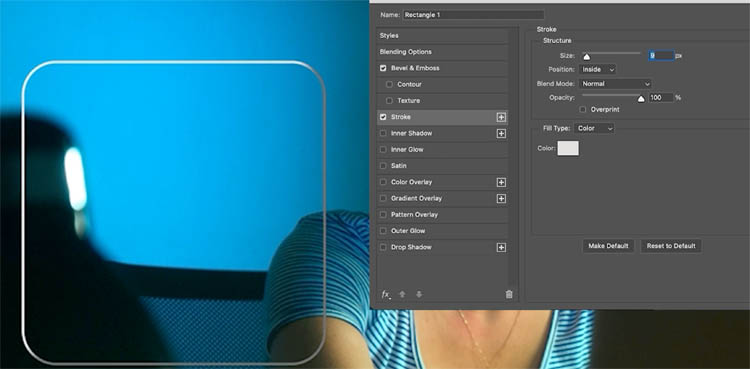
You wont see anything. That’s because you need a stroke (outline).
Choose stroke and add a thin white stroke. I used 9 pixels. This will vary depending on the size and resolution of the image you are working with. My images is 4860px x 3240px
Click Bevel and emboss. Change the gloss contour to the double ring for the shiny effect.
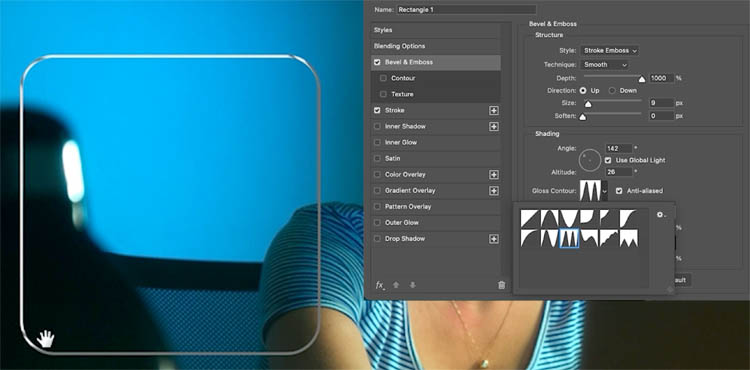
Choose color overlay and add a little white.
We are similar to where we were with the type example, except I think the stroke emboss is giving a better result.
Blur behind the glass
There are many ways to do this next step. I am going to show you a flexible way that is non-destructive.
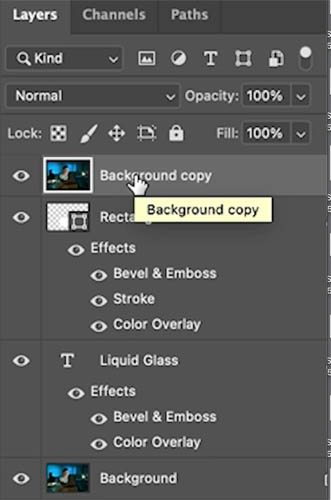
Press Ctrl/Cmd+J to copy the background layer
Drag the Background copy to the top of the layers panel
Choose Filter>Blur>Gaussian Blur
I used 19, and click ok
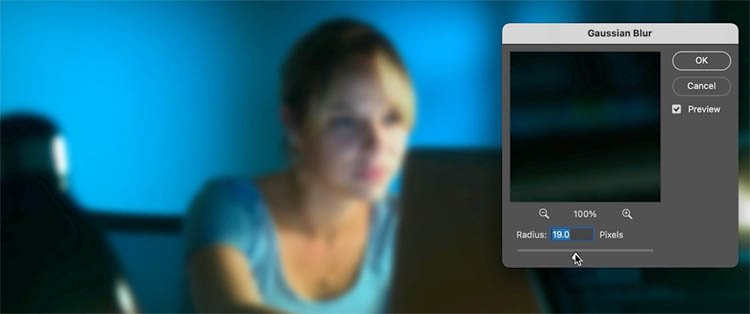
Right now you will see just a blurred image and nothing else.
Lets make it fit to just the square.
Move your cursor to the line between the blurred image layer and the square shape on the next layer underneath it.
Hold down alt/Option and you should see an arrow.
Click
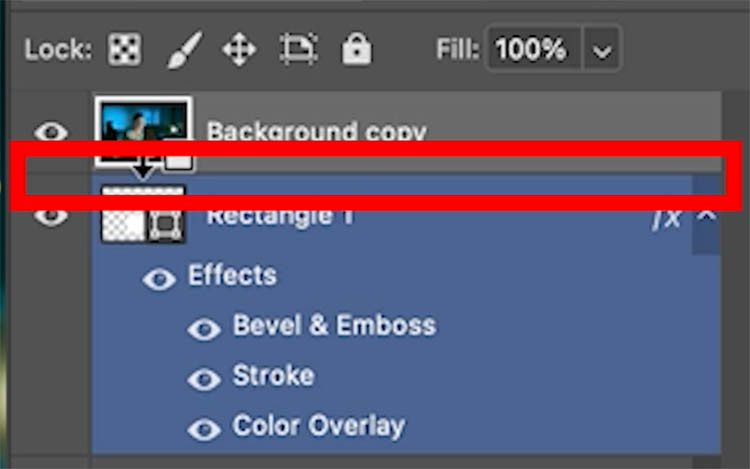
You have now made a clipping group.
You will see an arrow on the top layer showing its clipped.
You will also probably notice the blurred layer isn’t showing now.
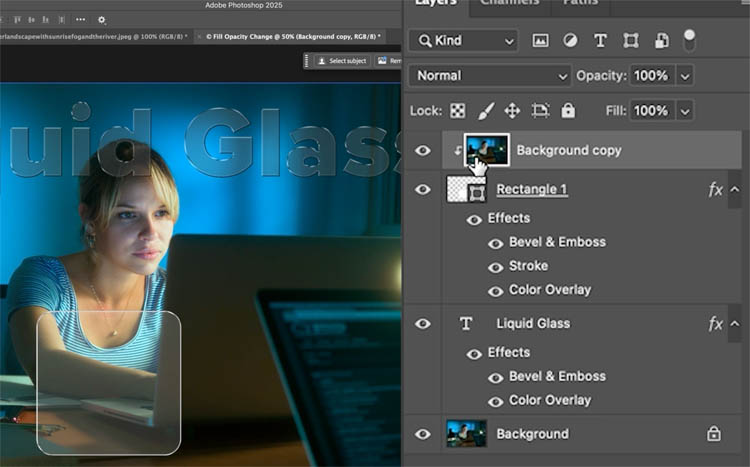
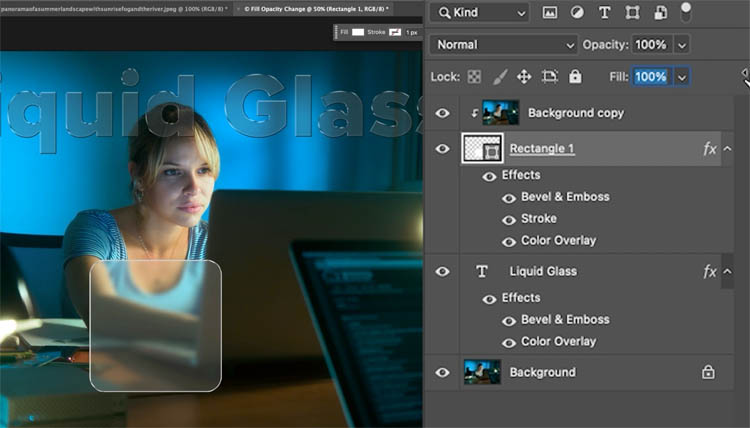
Choose the Rectangle layer.
Notice the fill is at 0. This is the fill opacity that we turned all the way down, earlier.
Slide that slider to 100

Now you should see the blur appear inside the rectangle.
Because the blurred image is clipped above the shape, it will now show instead of the box color.
Why did we do it this way? Flexibility.
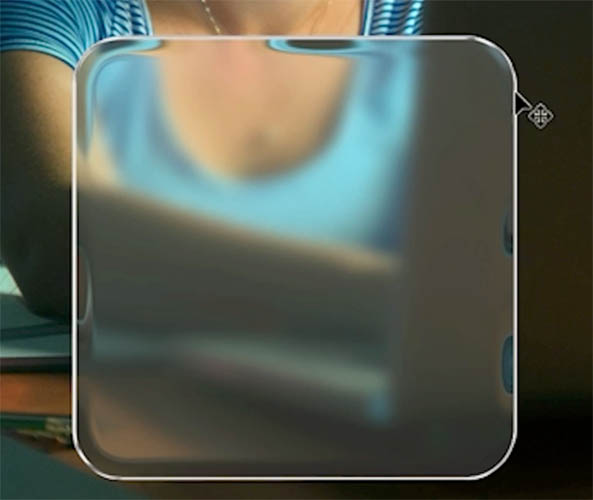
Choose the move tool and drag the box around. Notice it can go anywhere and whatever is beneath it is blurred. Very cool and flexible huh?
So, if we decide to scale the box or move it, we don’t have to redo the previous steps.
Adding the edge Refraction
Ok, I think this next step is the best bit!
After this point, we won’t be working non destructively anymore. I can probably figure out a way to do that with Smart Objects, but not today, I have to get this tutorial finished!
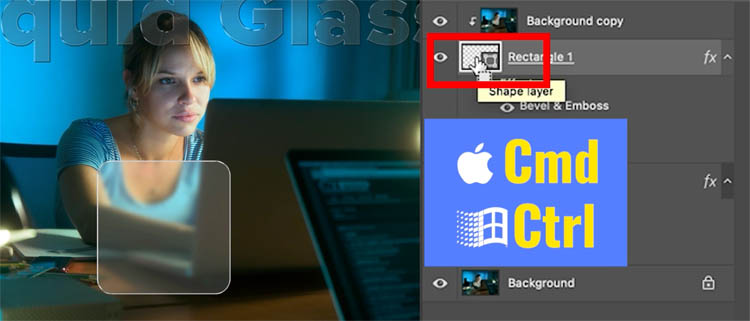
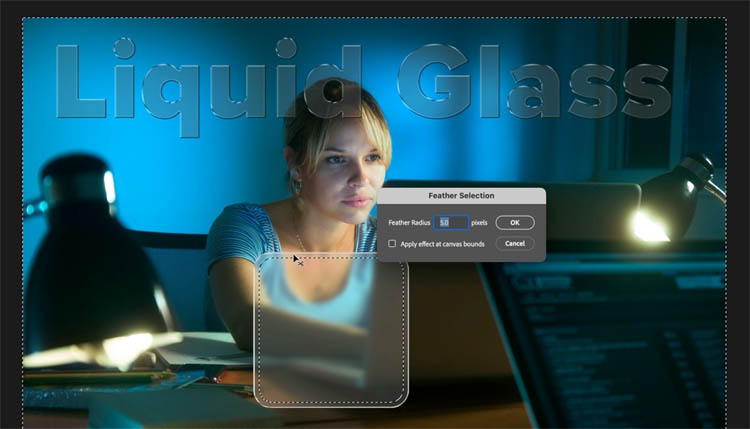
Ctrl/Cmd+Click on the rectangle thumbnail in the layer panel. This will load the marching ants selection around the rectangle (the square).
Choose Select>Modify>Contract
Choose 30-40 pixels (you will have to experiment with different settings depending on the resolution of your image).
Click Ok
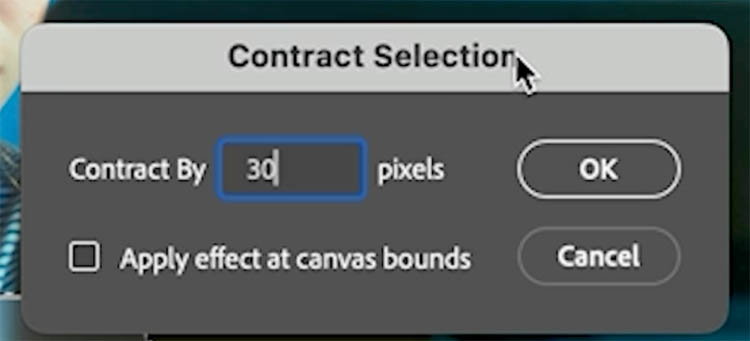
Now we have selected a smaller rectangle shape inside the square.

Press Ctrl/Cmd+Shift+I to inverse the selection.
This means we have a selection around the edge of the rectangle.
Choose Filter>Distort>ZigZag
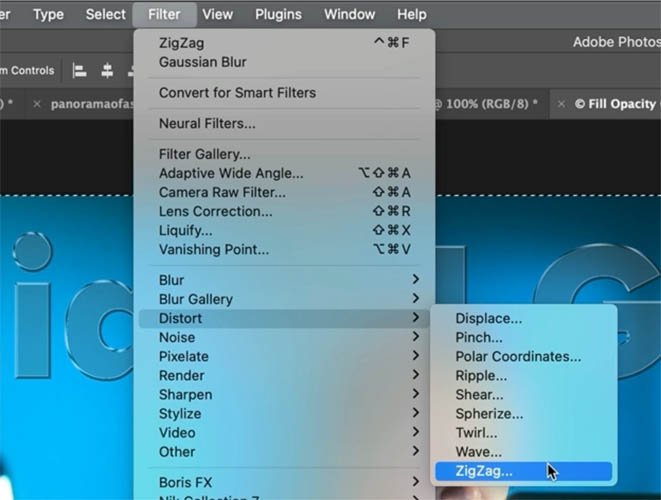
The main thing to change is the style, use Around Center.
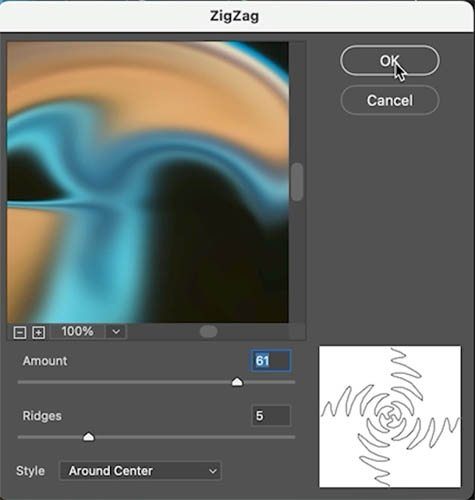
Click ok and look at that magic!
Adding a Hint of color (optional)
Some of the Apple Liquid Glass icons have a little color on the bottom or on the edges. Here’s how we do that.
Ctrl/Cmd+Click on the rectangle to load the selection
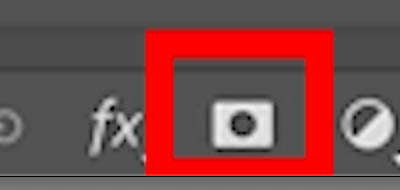
Choose the top layer and add a Gradient adjustment layer
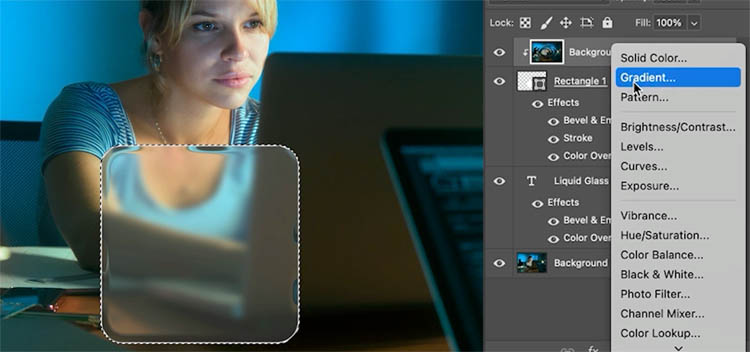
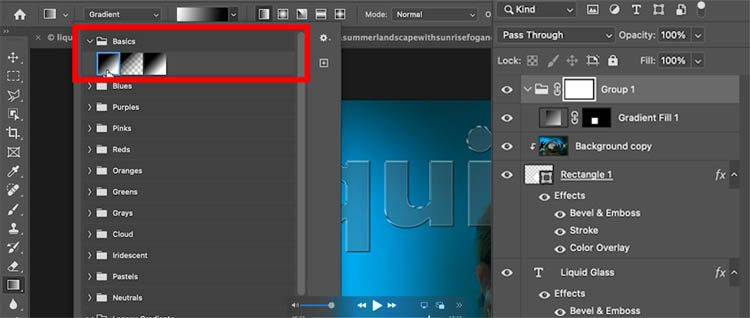
For color choose the rainbow colored gradient. If you don’t see it, you need to load the legacy gradients, its covered on the video at the top.
Change the angle to 0 or 180. increase the scale to around 300.
Notice the purple/pink color we want isn’t showing.
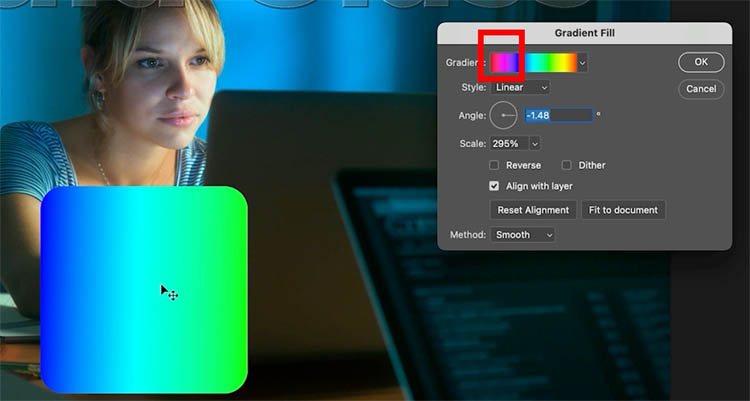
With the Gradient Fill panel still open,
Drag on the gradient to cycle through the colors.
Click ok.
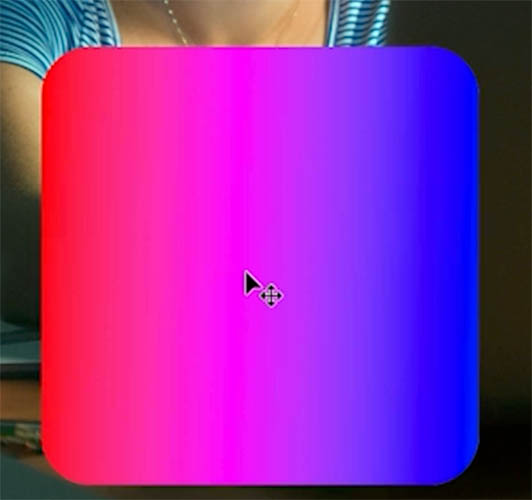
Now we need to blend the gradient into the edge of the shape
With the gradient layer selected, press Ctrl/Cmd+G to put it in a group.
We put it in a group so we can add a second mask. The layer mask is already used for the shape.
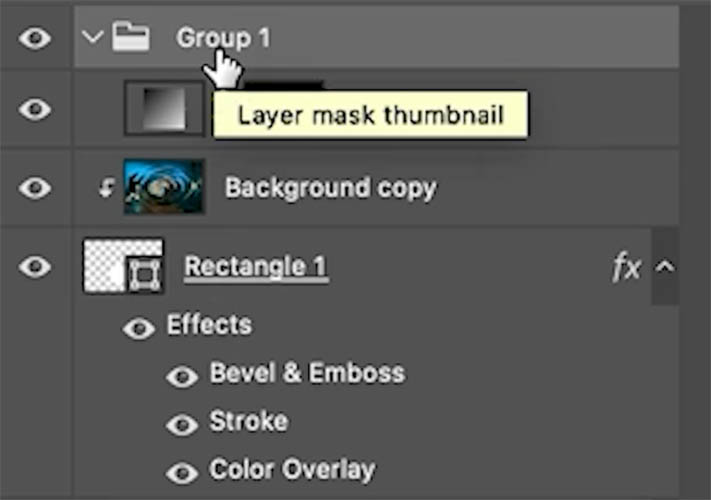
With the group selected, Press the add Layer Mask button in the layers panel.
This will add a mask.
Choose a black to white, linear Gradient.
Drag on the shaoe to blend the color into the bottom edge.
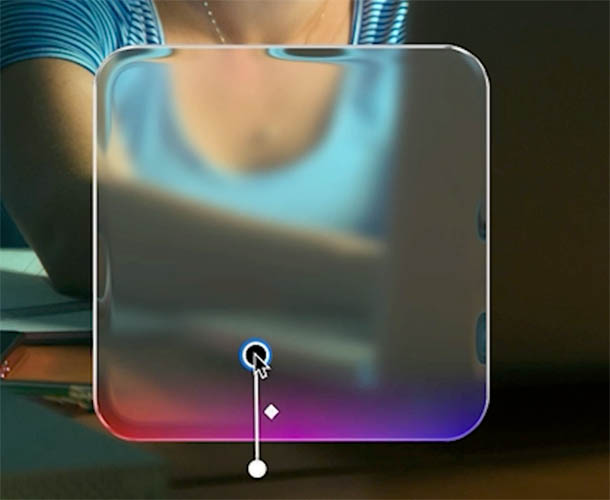
Optional: Repeat on the top to get something like this. Add you icons, text or whatever you like to the box.
That was fun! I hope you enjoyed it. Let me know
DOWNLOAD THE LAYER STYLE OF THIS HERE. | GET MANY MORE ADD-ONS LIKE THIS HERE.
To install it, choose Layer Styles hamburger menu on top right and choose import styles.
Great to see you here at the CAFE!
Colin
PS Don’t forget to follow us on Social Media for more tips..
(I’ve been posting some fun Instagram and Facebook Stories lately)
You can get my free Layer Blending modes ebook along with dozens of exclusive Photoshop Goodies here 
The post How to make apple Liquid Glass effect in Photoshop appeared first on PhotoshopCAFE.