How to add a logo to an object in Photoshop
This tutorial shows how to add a loo to any object is a hyperrealistic way.
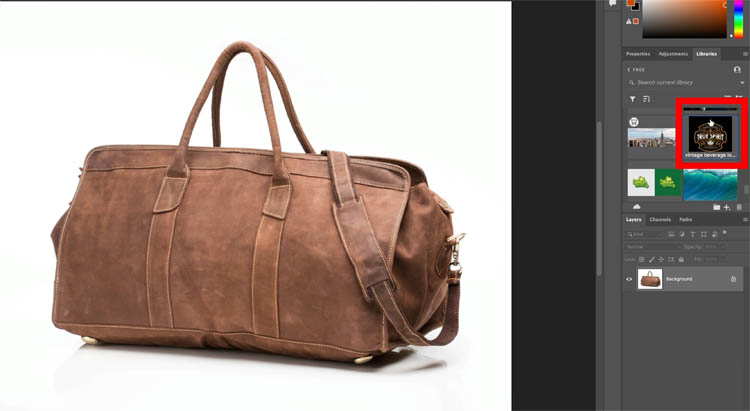
Start with a leather bag in this case. This will work on any surface.
If you have the logo in your Library, drag it into your document.
If the logo isn’t in the library, choose File>Place and find it. Or choose FIle>open and then Combine the images in your object document.
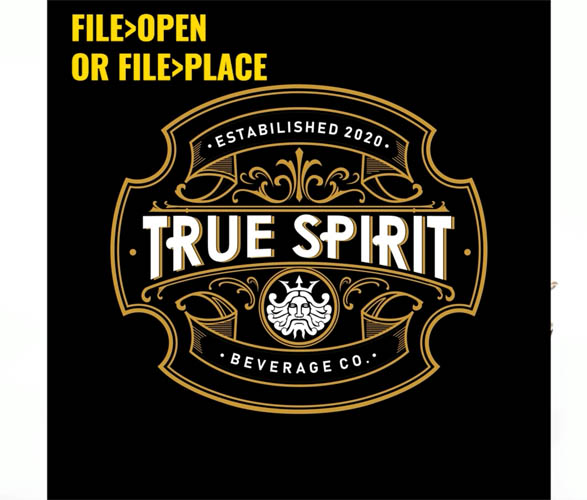
They will now be on 2 layers.
If the Logo is a Smart Object, as indicated by the Smart Object Badge; Right-Click and Choose Rasterize layer
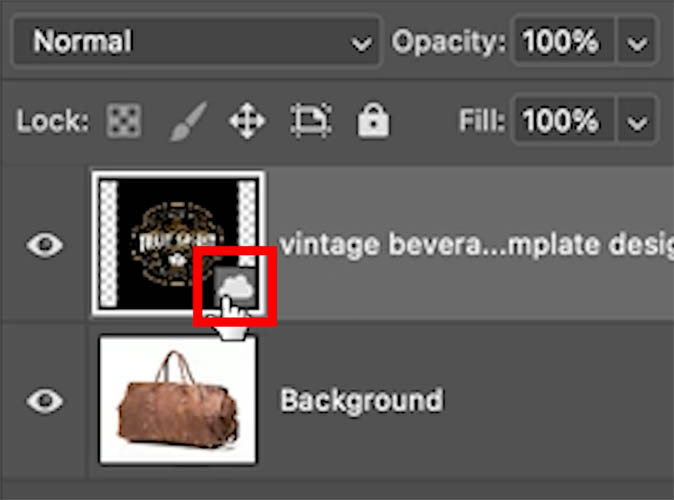
Press Ctrl/Cmd+T for Free Transform
Drag the corner handles to resize the logo and position it. Don’t press Enter yet.
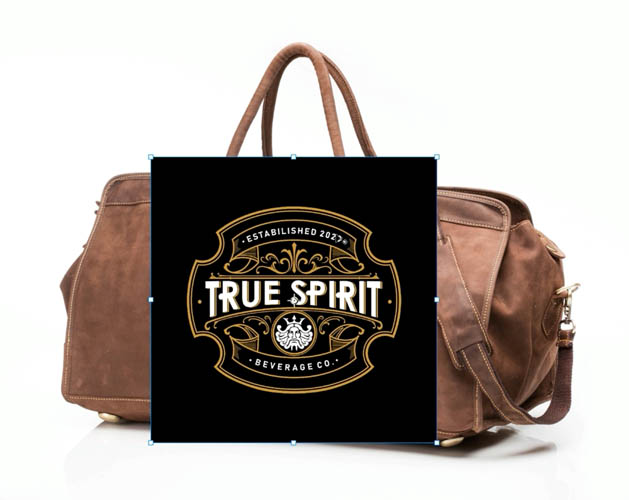
Right-Click and choose Distort
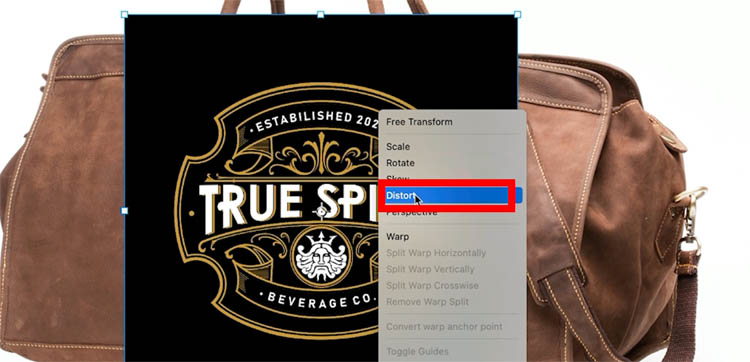
Drag the corners to match the perspective of your object.
Right-Click and Choose Warp (If right-Click doesn’t work, make sure to Press Ctrl/Cmd+T Again)
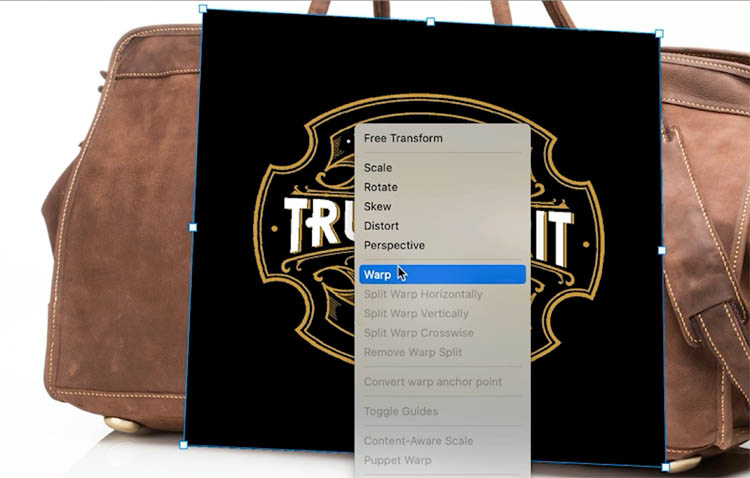
Drag to match the roundness and bends of your object
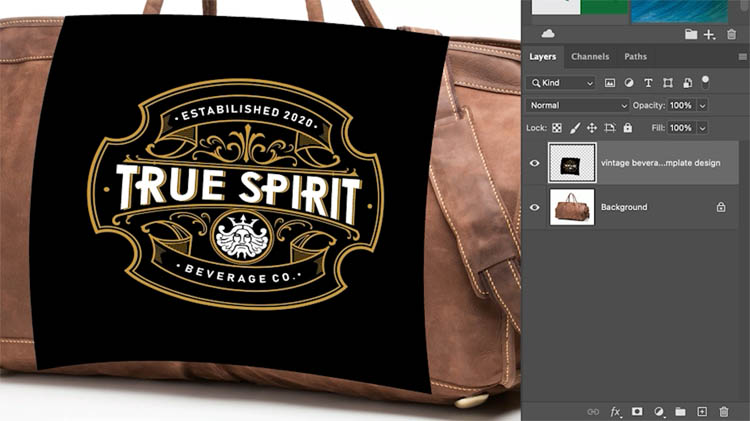
We need to hide the black. Don’t select it, here’s a faster way.Where it says Normal in the layers panel, change it to Lighten. Changing the layer blending mode hides black.
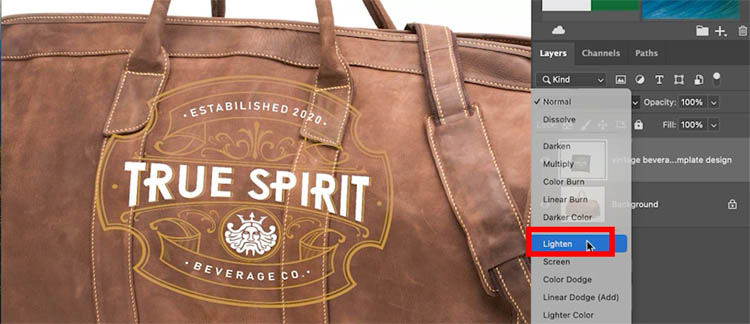
Now we want to make the logo wrap to fit all the contours and wrinkles.
We will make a Displacement Map
Hide the Top layer
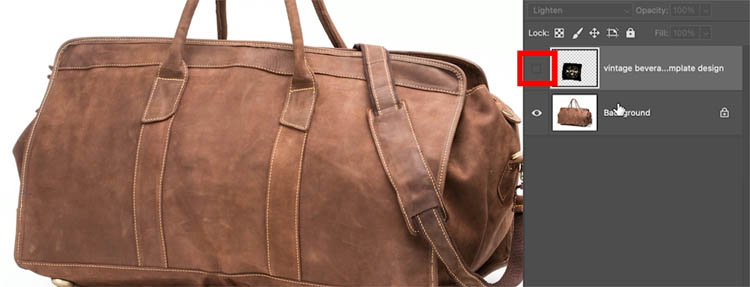
Choose the Channels Panel
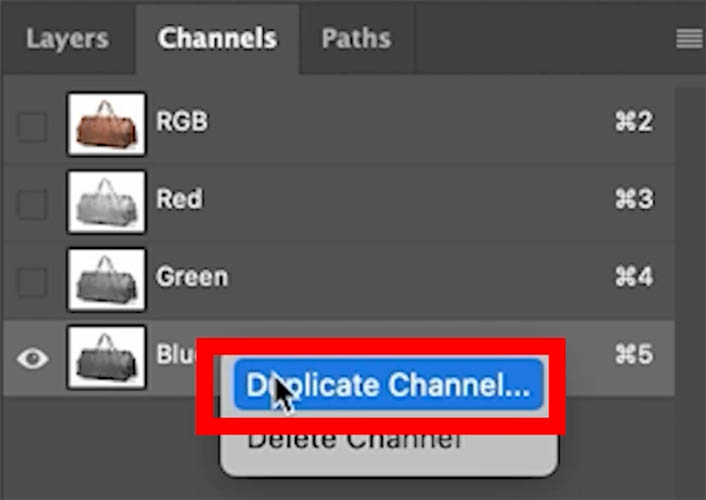
Click on the Blue channel (Has the most contrast)
Right-Click and choose Duplicate Channel
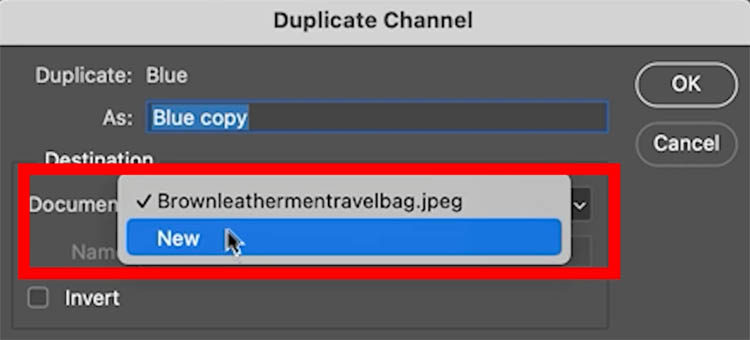
Under Destination>Document choose new
This will copy the channel to a brand new document
Click ok
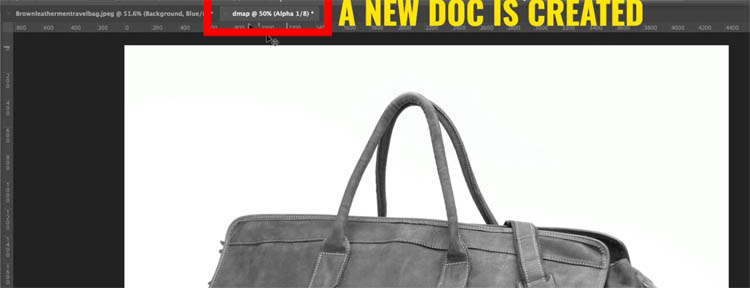
We now have a new document.
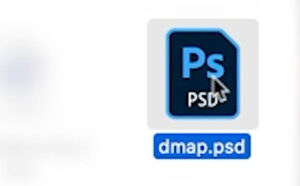
Save it as a .psd to your desktop. File>Save as
I called it dmap.psd
Clse the document, you no longer need to edit it.
Choose your original document with the bag.Click on RGB in the channels Panel to show all the channels again
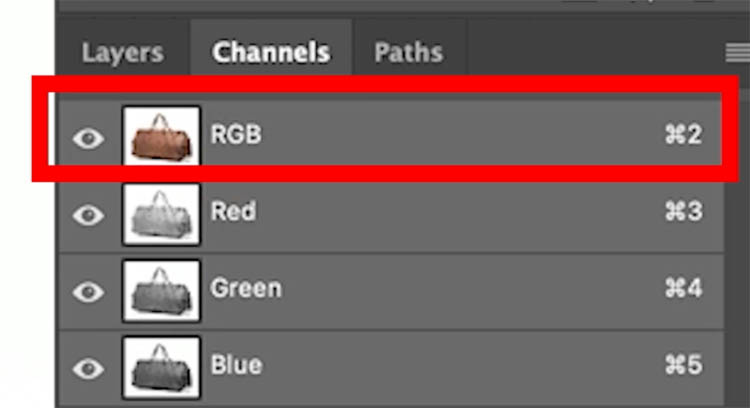
Return to the layers panel and turn on the logo layer again.
Make sure the logo layer is selected
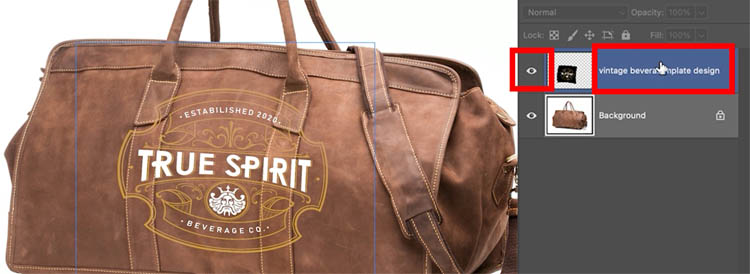
Choose Filter>Distort>Displace
Keep the default settings and click ok
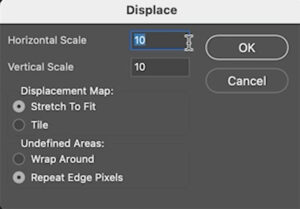
You will now see the finder.
Navigate to your dmap.psd file and click ok
You will notice the log warps to match the contours on the bag. (Or whatever object you are working with).

Make the logo look worn
Let’s add some milage to the logo, so it doesn’t look brand new.
In the Layers Panel, click on the fx button and choose Blending Options
Choose the left black slider on Underlying Layer
Hold Alt/Option to split the triangle and drag to the right.
This will fade the logo in the shadow and midtone areas.
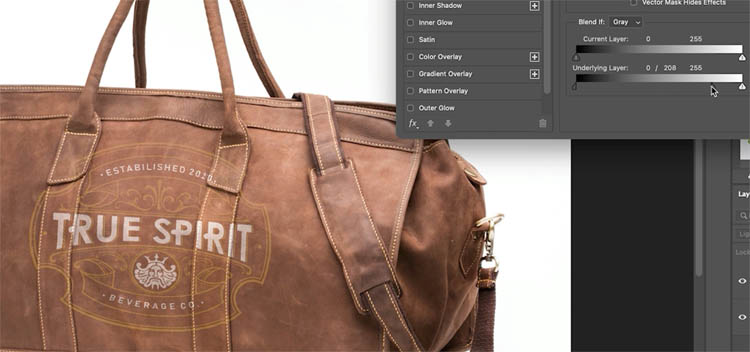
If you drag the left part of the triangle it will break up the type and make it look distressed.
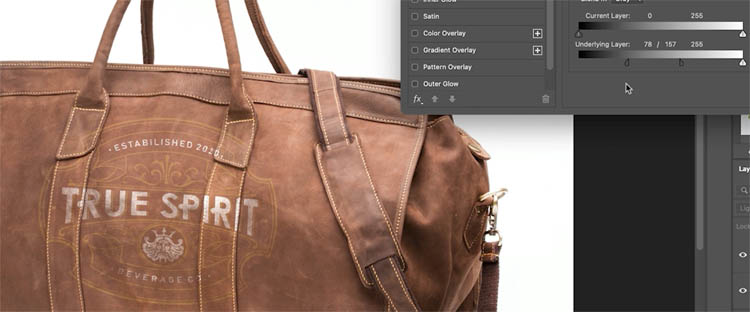
Here is the final result.

Its a few steps, but look how realistic it looks compared to just dropping the logo and changing a blend mode.
Thanks for checking this out. Drop a comment and let me know what tutorials you would like me to create in the future.
Thanks
Colin
PS Don’t forget to follow us on Social Media for more tips..
(I’ve been posting some fun Instagram and Facebook Stories lately)
You can get my free Layer Blending modes ebook along with dozens of exclusive Photoshop Goodies here 
The post How to Place a logo in Photoshop appeared first on PhotoshopCAFE.

