How to Make your masks better in Lightroom and Camera Raw
Lightroom and ACR (Adobe Camera Raw) share the same processing, so this tutorial applies to both. (I’m using Lightroom Classic 2022 for this, it doesn’t work on older versions)
Lets take this image with the sky and tree line. Getting a clean mask on edges like these trees is hard for the ai.
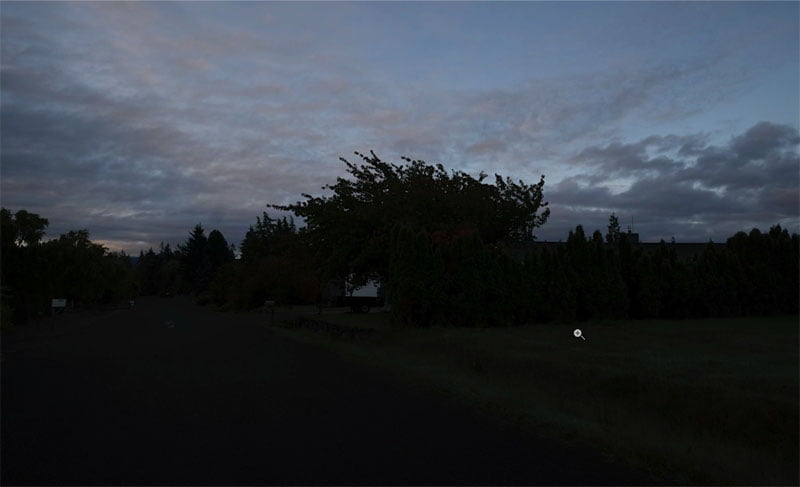
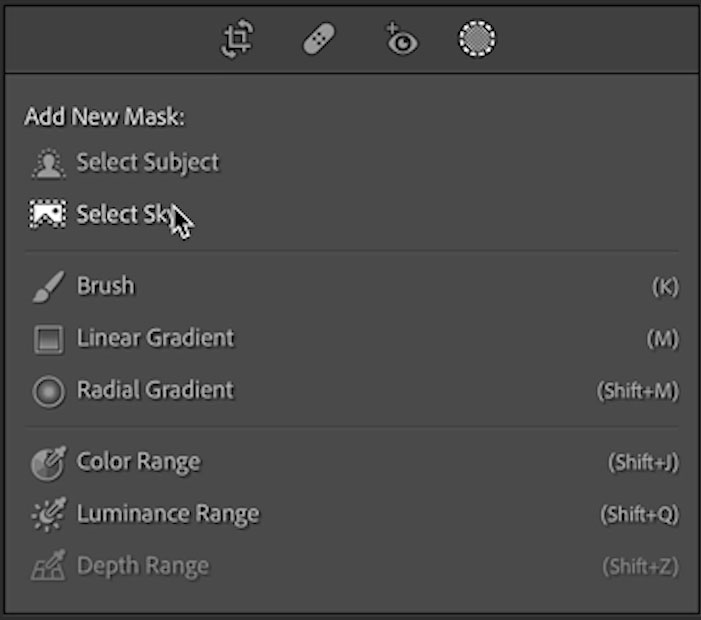
In the develop module, Choose the mask button (the dotted circle)
Choose select sky
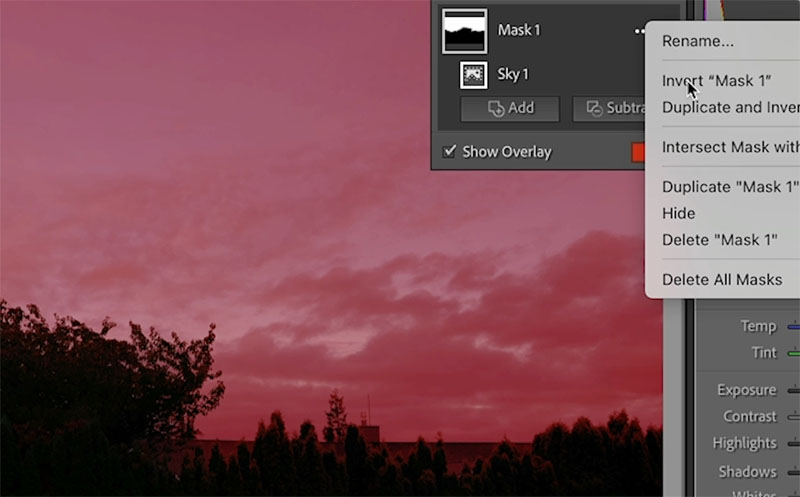
The sky is selected. We want to adjust the dark foreground and not the sky so press the ‘ key or click the 3dots next to Mask and choose invert.
Now the foreground is selected.
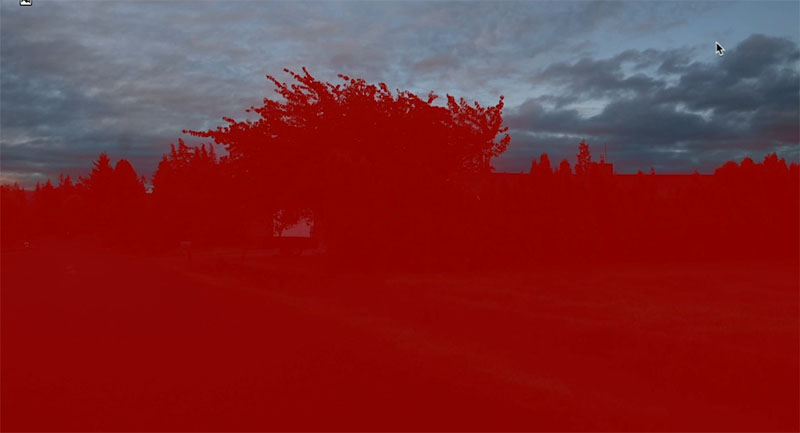
Brighten up the foreground with exposure and shadow recovery.
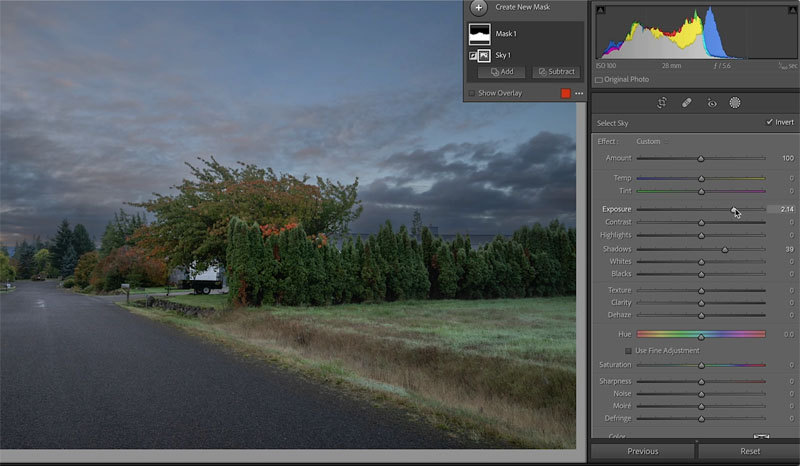
You will notice its pretty good, but you can see that the edges of the trees aren’t perfect
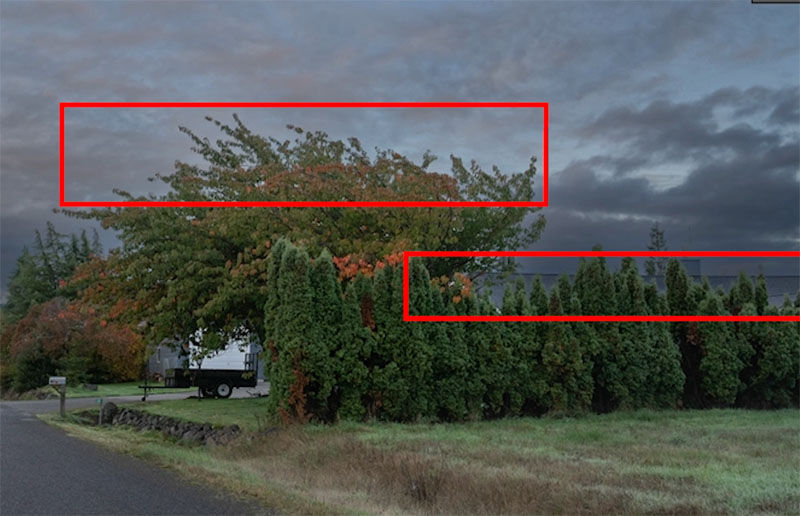
Here’s how to make those edges better.
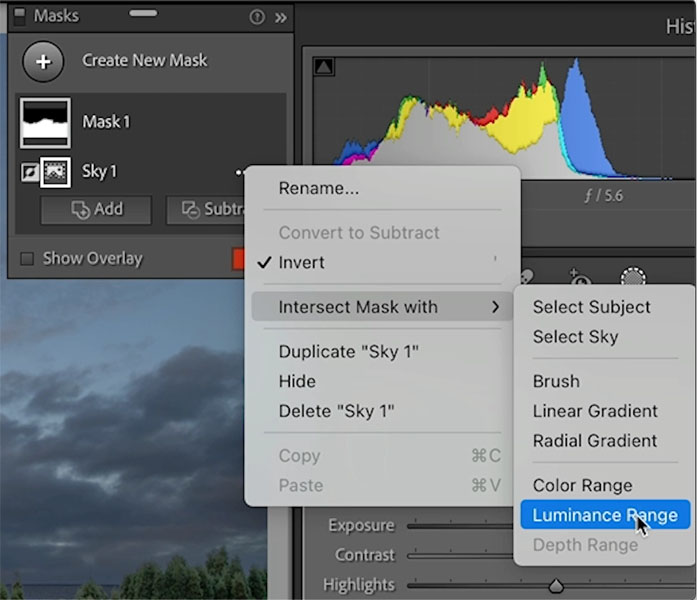
Click on the 3 dots by Sky and choose “Intersect with..” Luminance range
Intersect will only show the areas that 2 masks overlap.
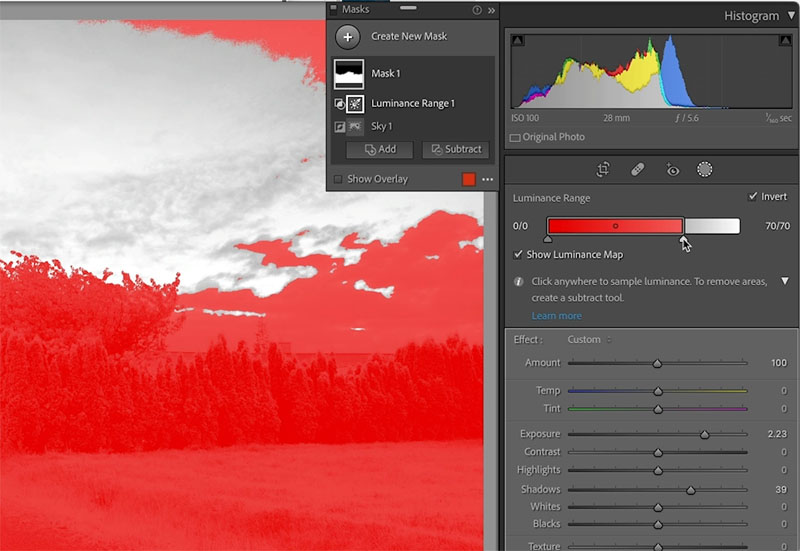
Turn on Show luminance map in the mask adjustment panel
If you drag the luminance range slider from the left it excludes shadows (red is the masked area)
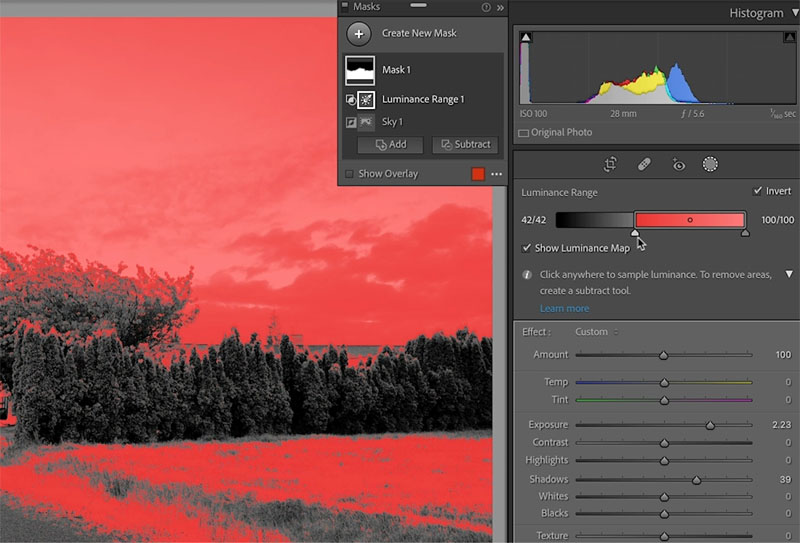
if you drag from the right, it excludes highlights
Drag the slider until the edges look nice. Don’t worry about the sky, because its in intersect, we only care about the edges.
Turn off Show luminance map in the mask adjustment panel
Make adjustments with the slider until it looks good (the video above demonstrates this well).
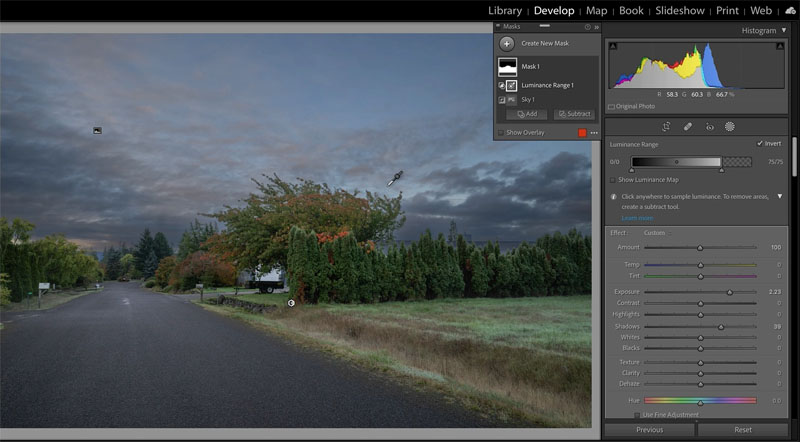
Grad the inner slider to fine tune the mask.
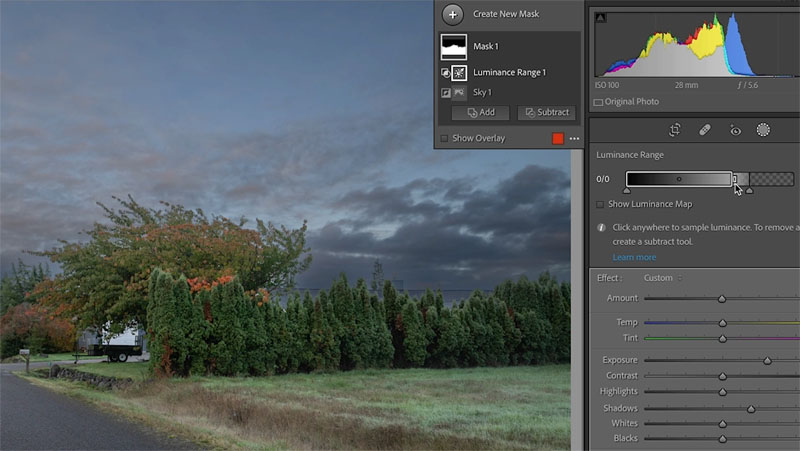
It should look pretty good now.
If there are any areas that you want to manually fix, choose add or subtract (depending if you want to add to the mask, or remove part of it) and choose the brush.
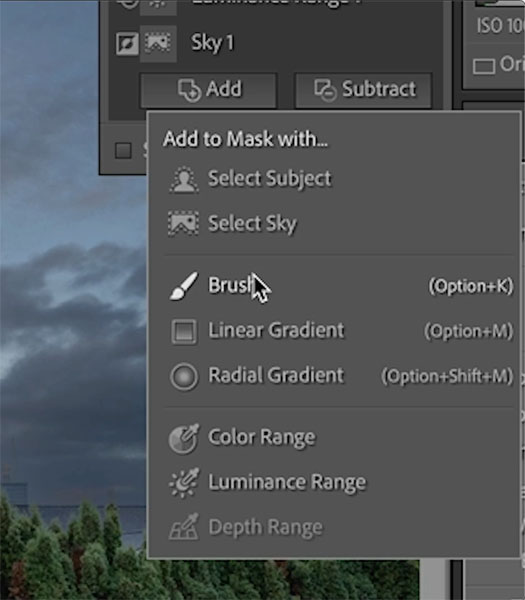
Turn on auto mask, to detect the edges and stay within them
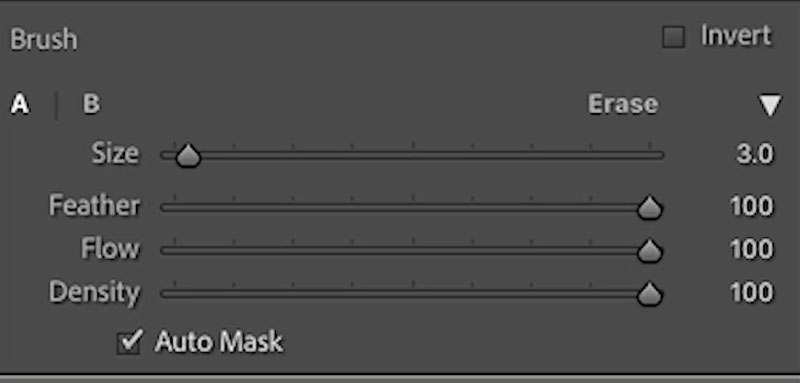
Paint the areas you want to alter the mask
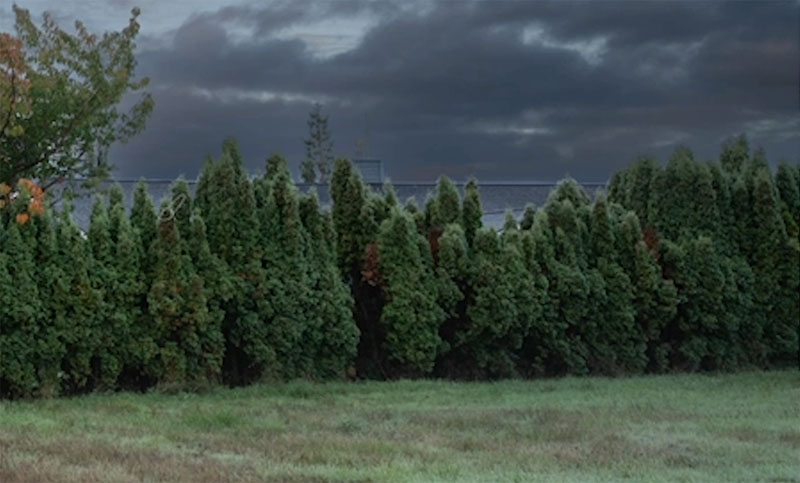
And the final result is a nicely brightened up foreground with a sweet mask and natural edge.
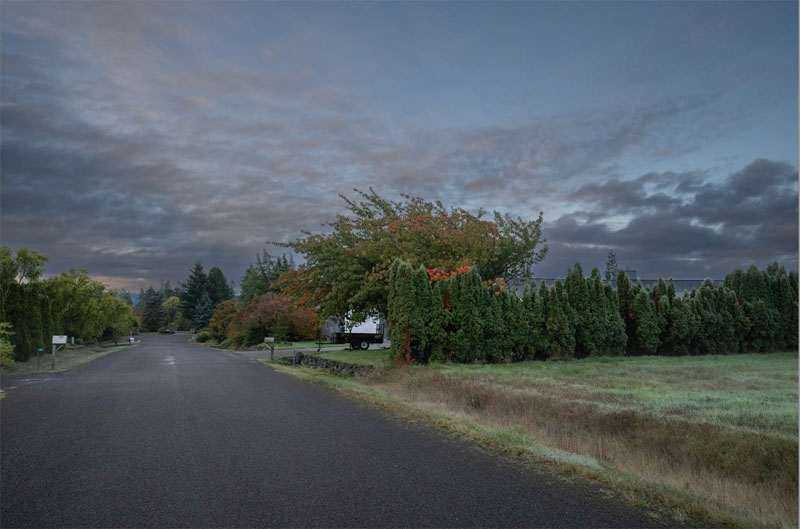
I hope you enjoyed this week’s tutorial.
Colin
Consider joining our mailing list so you don’t miss any of my tutorials.
For more, follow us on Social Media
The post How to refine a mask in Lightroom and camera Raw appeared first on PhotoshopCAFE.
