
Generative Expand makes it easier to expand a photo in Photoshop
Adobe has released another new tool in the Generative ai family. This time, Generative Expand, makes it easier and quick to expand a photo or change its size or shape. See how to get the most out of it here.
How to Change the Shape of a photo and Fill
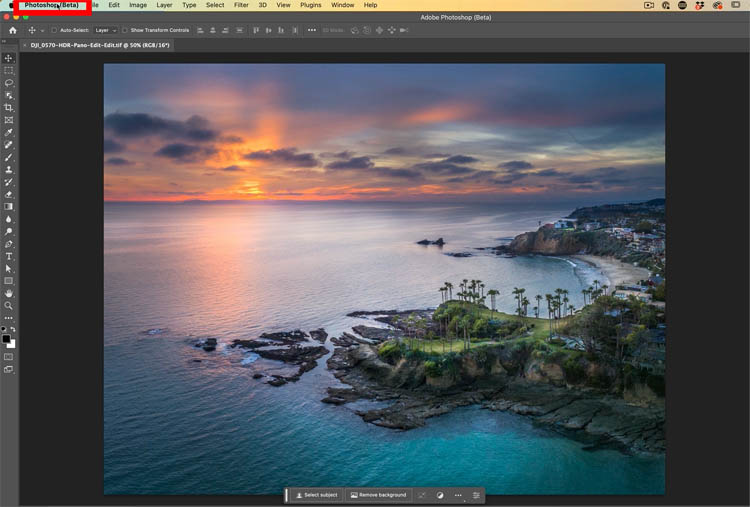
At this time, this feature is only in Photoshop beta. Here is how to get Photoshop beta.
Here is one of my photos. I shot it horizontal, but I want to make it vertical or square, but I don’t want to ruin the shot by cropping anything out. Generative Expand will help.
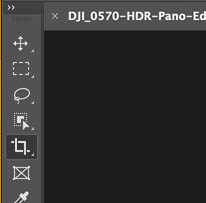
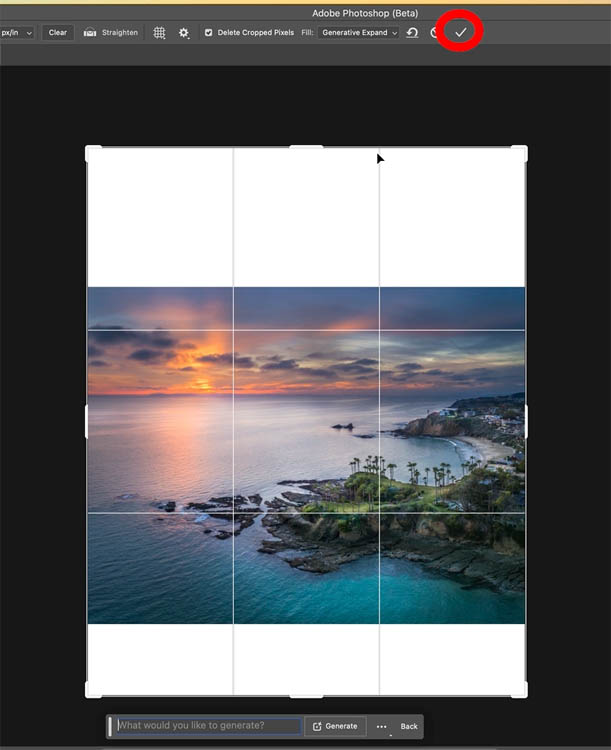
Choose the Crop tool
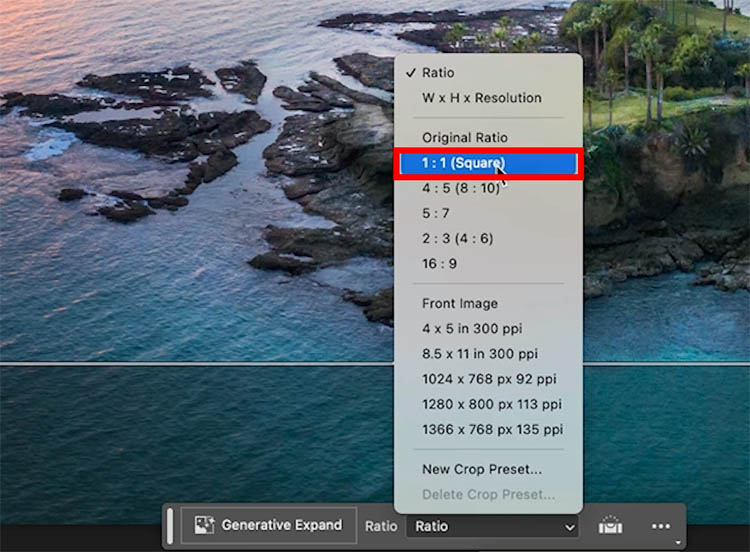
You will notice you can choose a ratio from the floating toolbar, or the top toolbar).
We want square so Ill choose 1:1
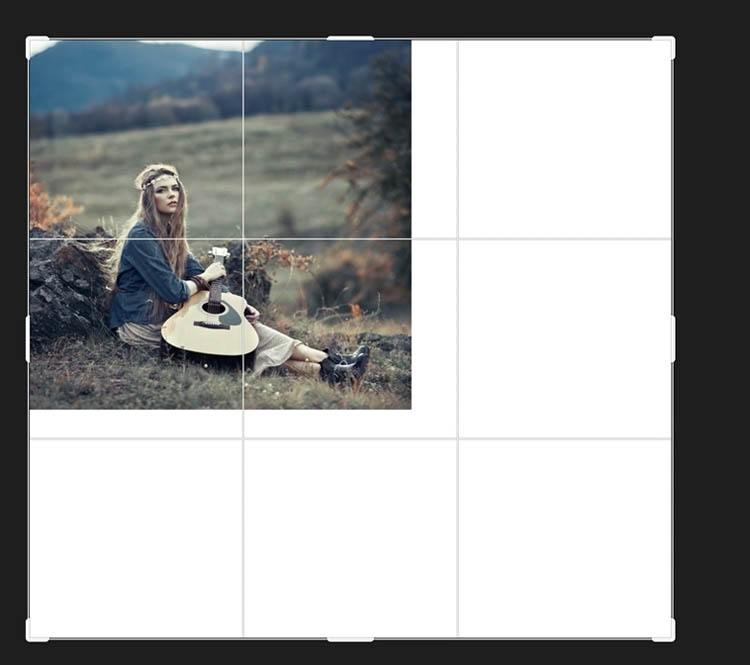
Drag the crop tool to the crop you want, it will be locked to a square.
You can also reposition the photo within the square.
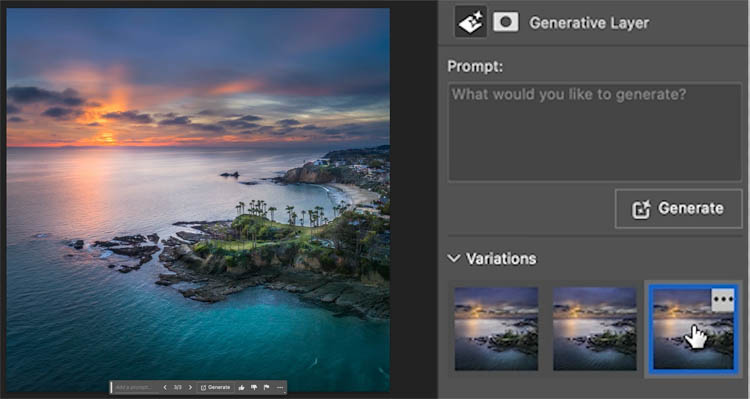
Press generate
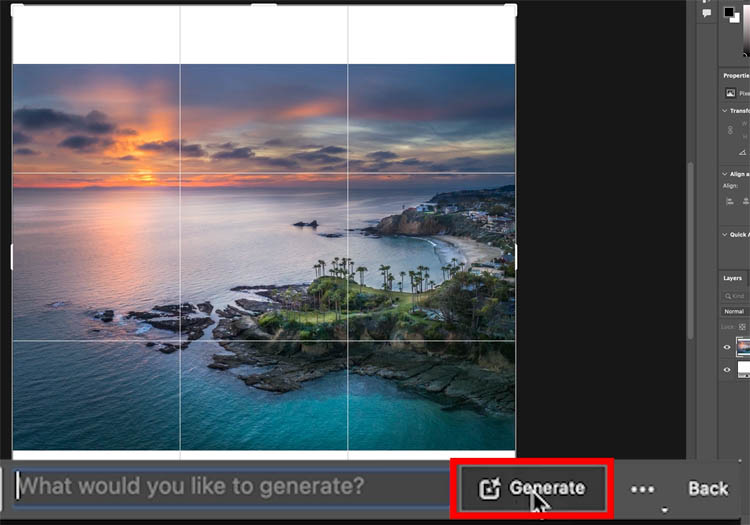
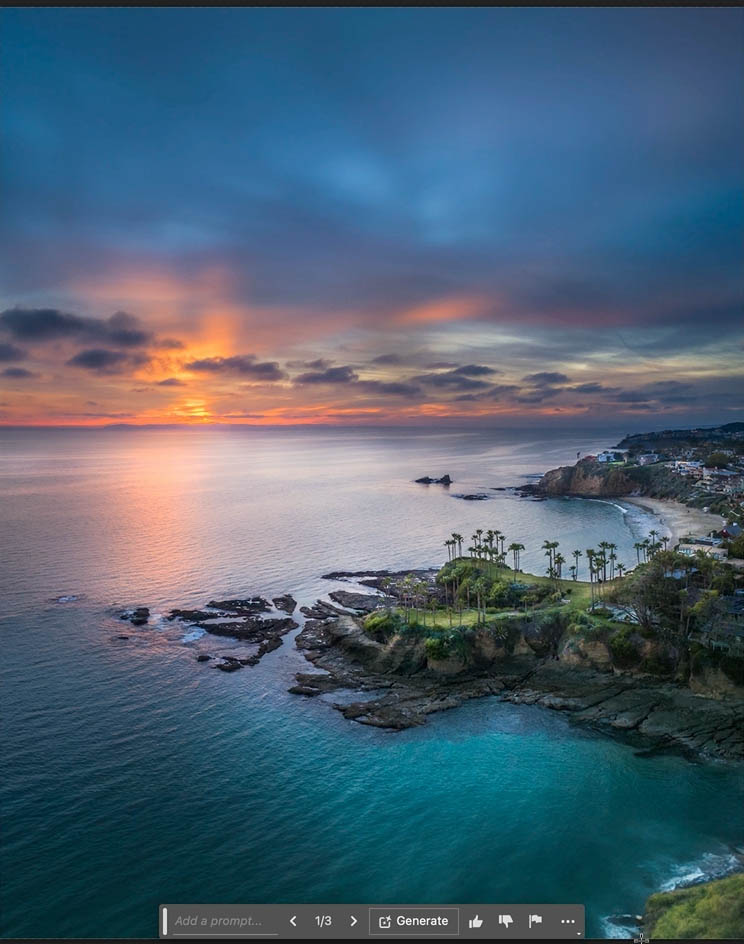
Photoshop will generate the area in the sky and water to expand the photo.
You have 3 variations to choose from the in properties panel.
A couple of notes on this.
First of all, it is the same as generative fill and uses the same algorithm. In fact it is generative fill, but it’s saving you a few steps in making the selections. See how this works in Generative Fill
Because it’s Generative Fill, it still has the resolution limitation of 1024×1024. For posting on social media, this may be fine for some images. Here is how to get higher resolution in Photoshop Generative Fill
Let’s look at other things we can do With Generative Expand.
Crop an image to a specific size
We can crop a photo to an exact size if we want.
Choose the crop tool, make sure Generative Expand is selected. If you don’t see it, make sure you have launched Photoshop beta.

Choose WxHxResolution
Let’s make this new image 4 inches by 5 inches at Print resolution (300 ppi (dpi once printed))
Enter 4in, 5in and 300 for resolution.
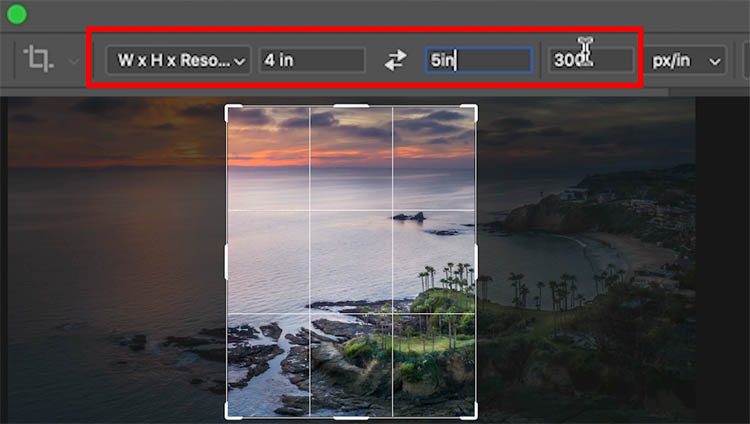
Now you will see the crop shape. When you apply this, the selected area will be resized to 4″ x5″ and any transparent areas will be filled by ai generated pixels.
Tip: Tap the x key to toggle between wide and tall.
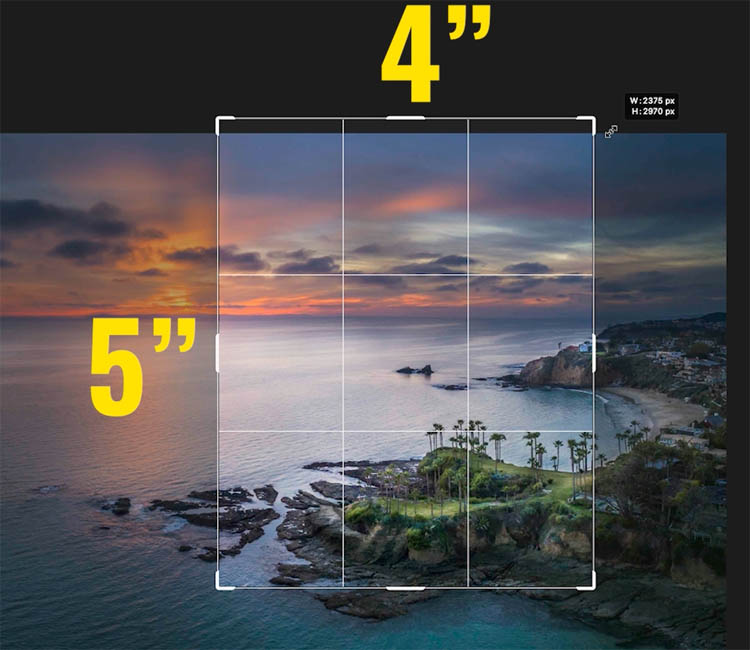
When you are happy with your crop, apply it by clicking the checkmark at the top, or the Enter/Return key.
And here we have a beautiful crop.
Telling Photoshop what to fill with using prompts
So far, we have filled the edges based on the existing photo, and this will be enough for many people. This is how I will be mainly using it.
However, Generative Expand is capable of more, and I’ll demonstrate here.

Let’s expand this photo, with very specific things, maybe we are making a CD cover, or a Tunecore cover for Spotify/Apple Music. (Tunecore/Apple Music uses 3000 x3000px btw)

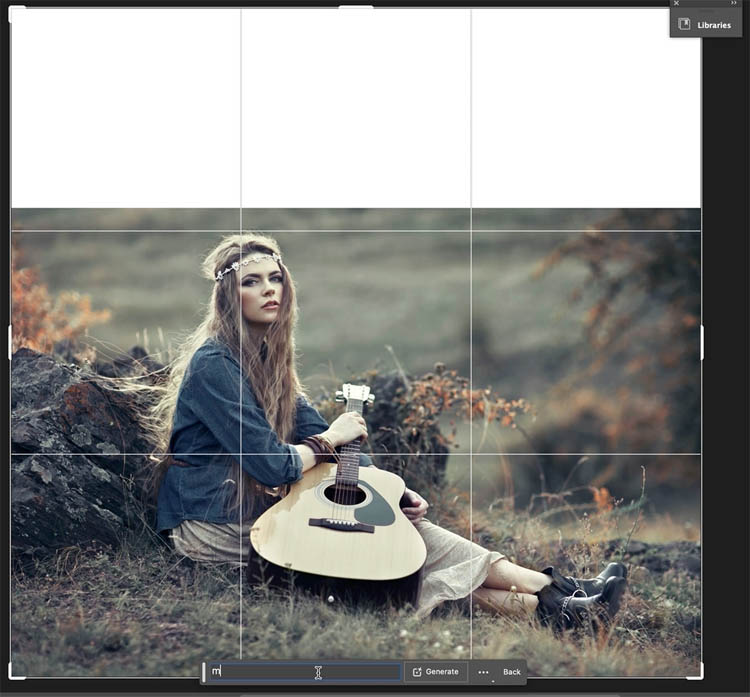
Choose the crop tool and expand the image
Let make it fill the top with a mountain scene
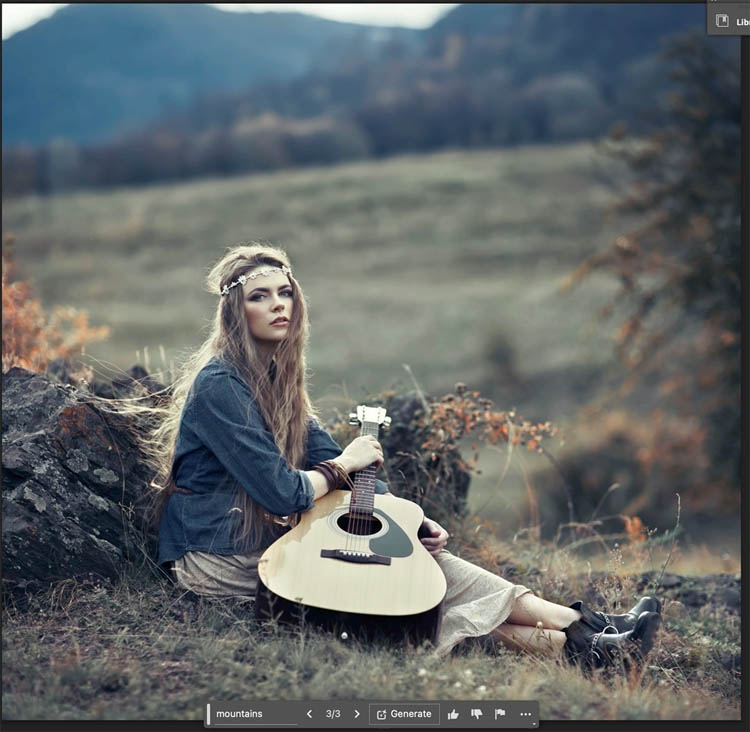
Type in Mountains and press Generate
Here we go. Notice it respects the depth of field.This also lets us get away with the lower resolution generation.
Let’s take it further
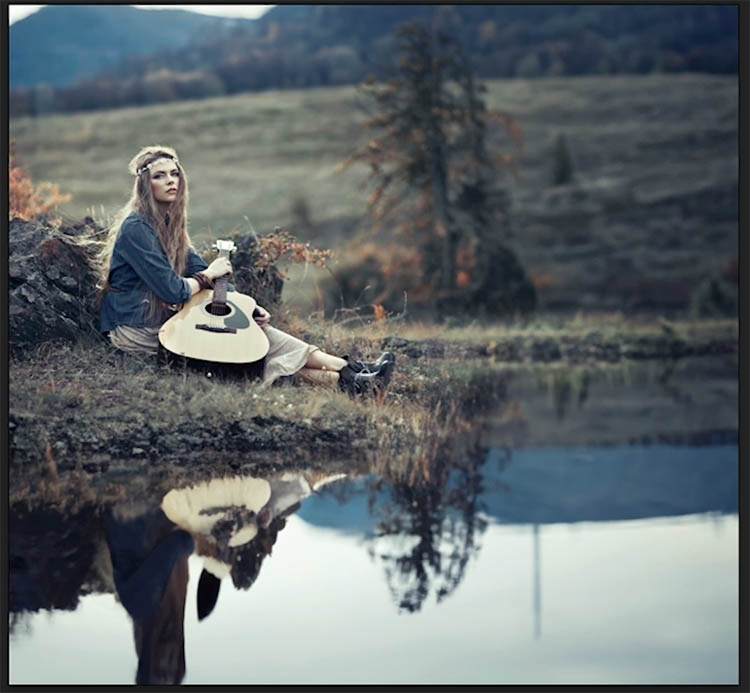
Choose the crop tool and expand the bottom.
This time, type in lake in the prompt
This is what we get, I love that it even creates the reflection.
I hope you enjoyed this tutorial – I have a full course On Generative Fill if you want to learn ai generation in Photoshop
Drop a comment and let me know if this was helpful.
Browse the other free photoshop tutorials here at the cafe
Download 100s of dollars worth of Photoshop adds on for free here at the Vault.
Also follow me on Instagram, Tik Tik, Threads and Twitter. for shorts and reels.
See you next time!
Colin
The post How to Resize a photo to any size and fill the overcrop with Generative Expand in Photoshop appeared first on PhotoshopCAFE.