3D is back in Photoshop, but it’s different. Substance 3D Viewer
As many people are aware, Photoshop used to support a pretty decent 3D feature set. These were beefed up in Photoshop CS6 Extended and continued through CC for a number of years. See tutorials on Photoshop 3D here. Adobe started to retire these features because of changes in Direct X and other technologies. This tutorial, shows how to keep legacy 3D working in Photoshop.
I think the most common way people used it, was to composite 3D objects into Photoshop. The advantage of 3D is the ability to change the angle and lighting to make everything match perfectly. Another thing I loved about the 3D was the ability to animate different properties.
3D is back, but in a different way. By Using the new Substance 3D viewer, you are able to position your objects, light and texture them in a much more powerful way than before. You can even generate 3D objects from text. What you don’t have is the ability to interact with the 3D objects, directly in Photoshop, nor the ability to animate the 3D. All that said, for compositing, the results are better than ever, lets take a look.
Getting Set up
At the time of this writing (it will change in the future), this feature is only supported in the Beta Version of Photoshop.
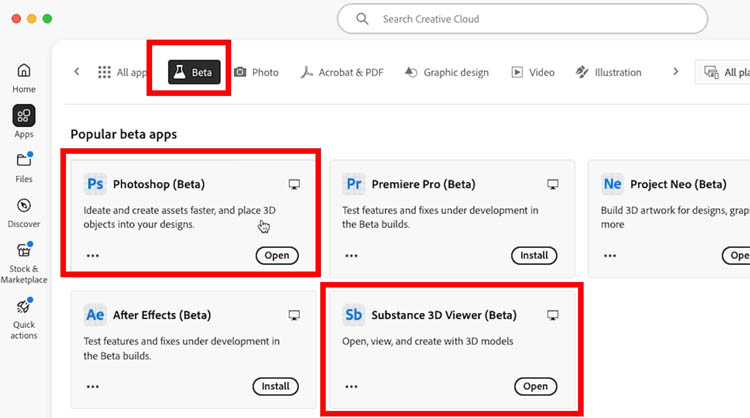
In the creative Cloud App, choose apps>beta and install Photoshop.
You will also need to install Substance 3D viewer beta. This will also install a plugin in Photoshop beta.
Free 3D library
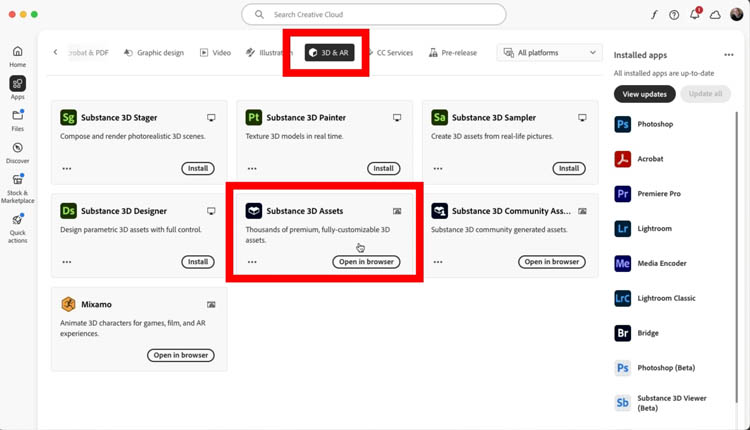
While you are in Creative Cloud app, click on 3D & AR
You will see Substance 3D assets. Click to go to the page, it will open in your web browser.
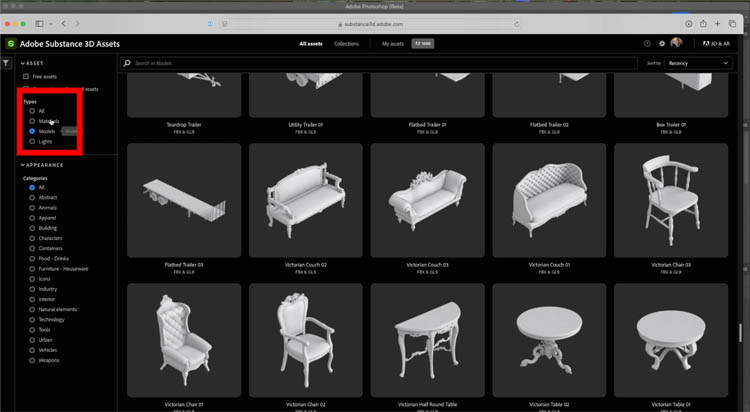
Here you can download a number of different assets, including models, procedural textures and lighting models. I clicked on the sofa and choose download.
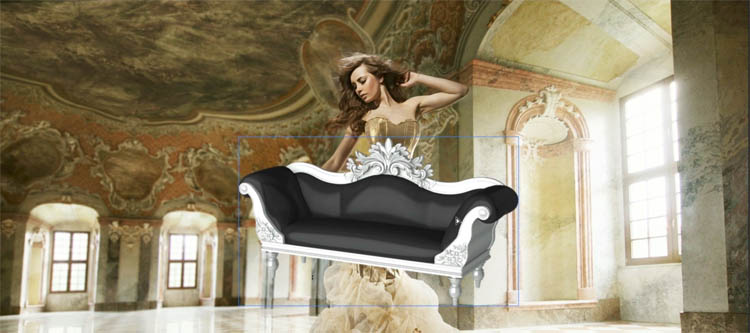
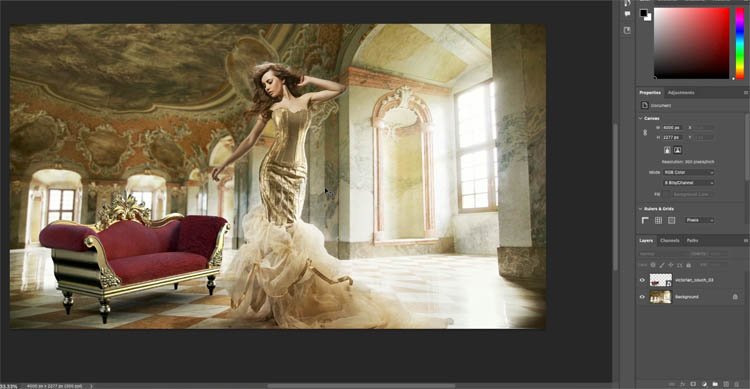
Open an image in Photoshop and Drag and drop the 3D model into Photoshop.
It will appear as a Smart Object layer.
Either double click the smart object, or choose Edit Contents
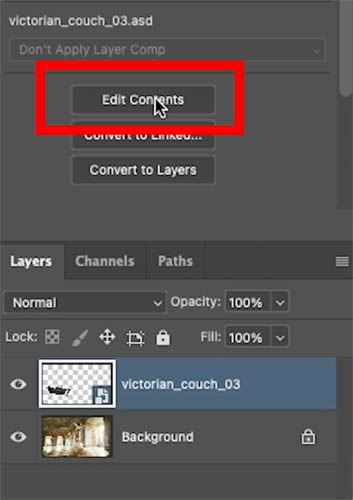
Substance 3D viewer will appear with your composition in the window.
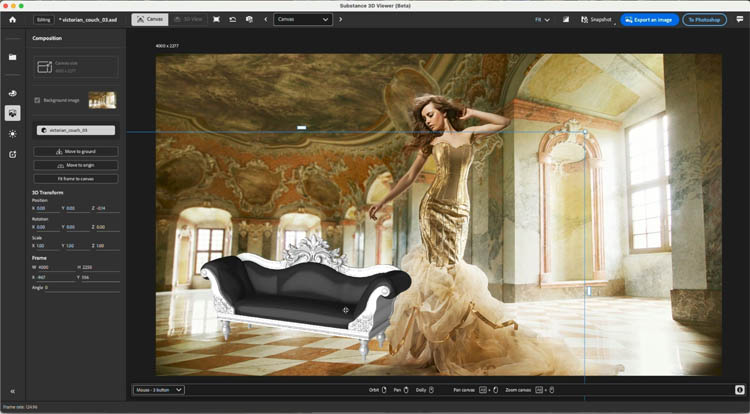
You can easily position and scale the 3D object, by right, left or middle mouse button dragging. (More in the video at the top).
Position the object. Click to Photoshop and the image in Photoshop will update to match what you see here. This is where the nice integration takes place.
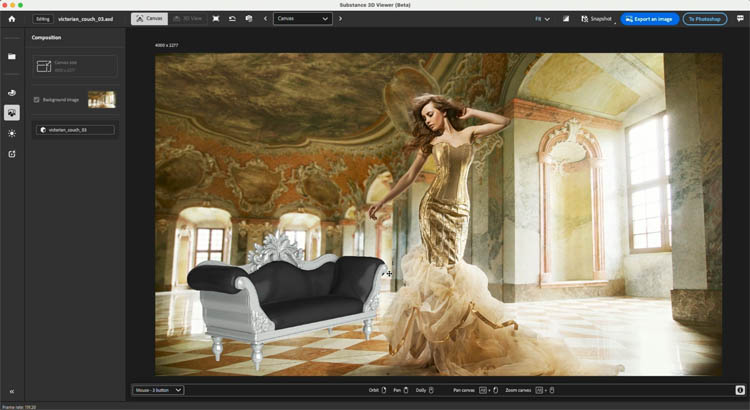
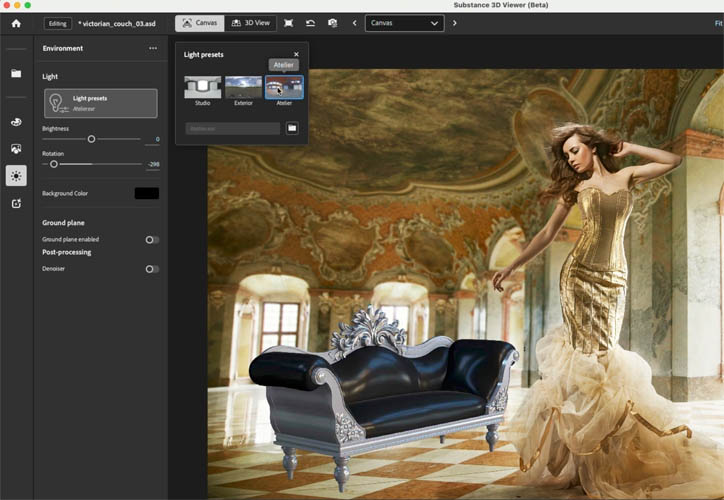
Choose the environment button on the left-bar. (lightbulb icon). Now you can adjust the Lighting to match the angle of the photograph.
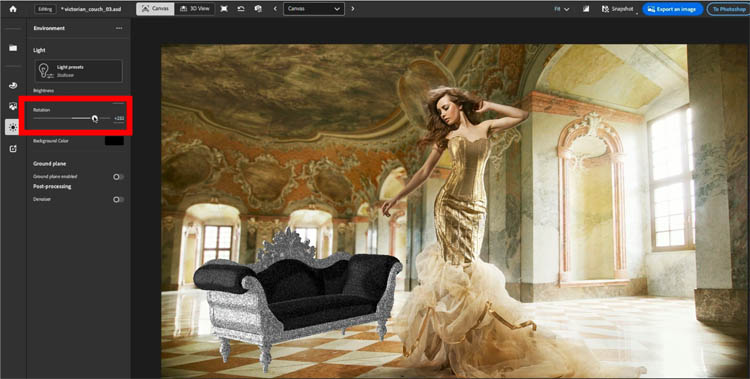
Click on light presets to change the lighting environment, you can also load in your own HDR image and use that. This sets the light color and reflections.
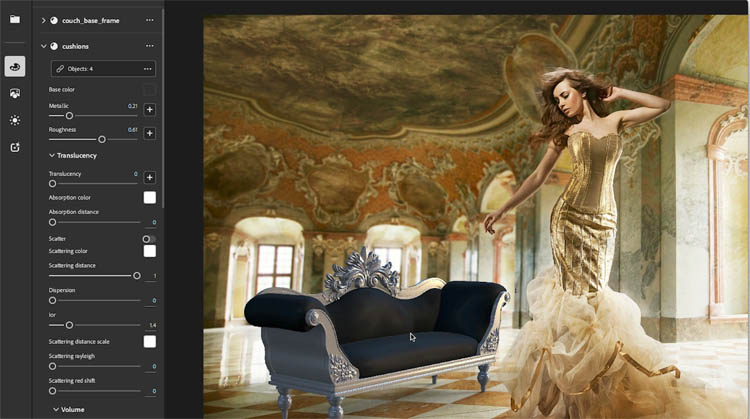
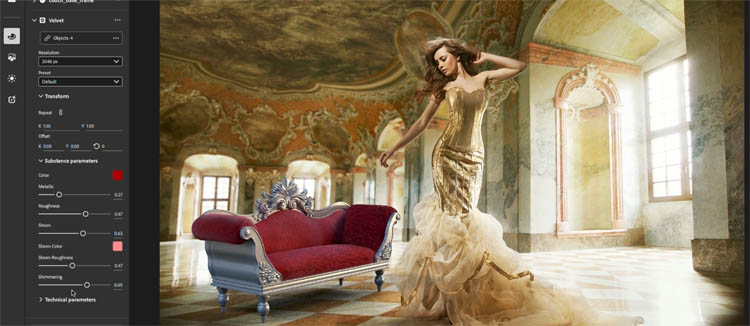
Click the texture icon. This is where you change the textures and materials (a material is a texture preset). Here I increased the roughness to make the cushions look more like velvet. You can change many things about the textures.
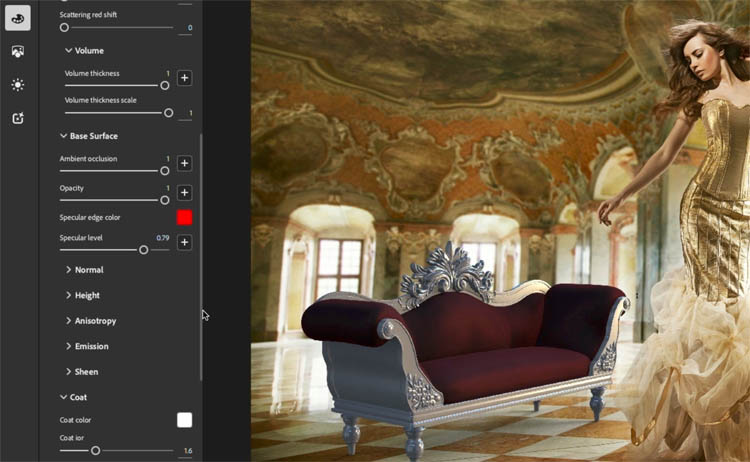
You can choose a different diffuse color, here we made the cushions red.
If you want to use once of the material presets. click on Material presets and a panel will appear.
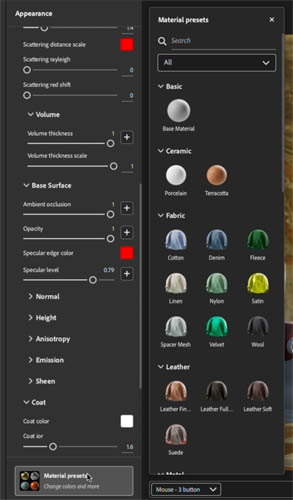
Drag the material onto the object. Here I used a velvet preset.
Notice a blue bar appears and says:
Replace all instances: Which will replace all the cushions, or whatever objects are grouped together, or
Apply to all Objects: Will apply the material to the entire 3D model.
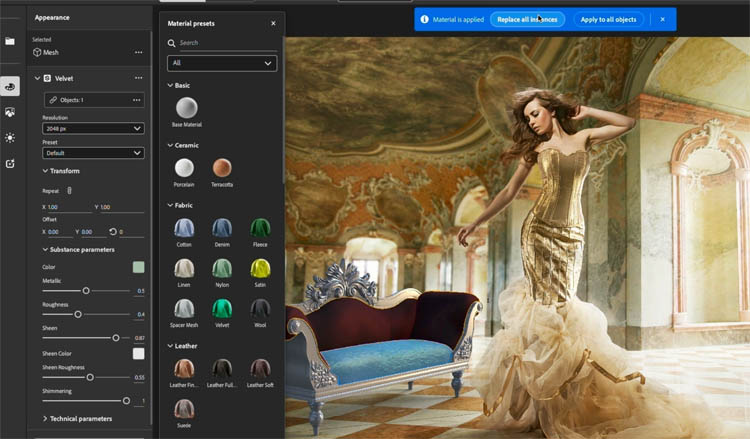
Notice all the cushions receive the new preset.

All the properties can be changed including the color. We went for red again, as it matches this scene nicely.
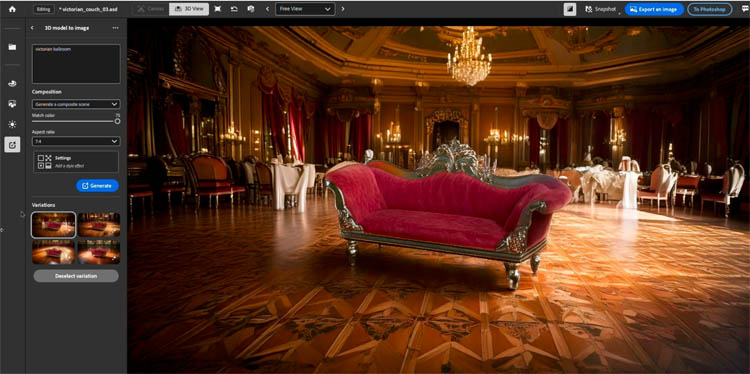
If you choose the bottom-left icon this takes you to the generative window. Here I added the text prompt Victorian Ballroom. Substance uses the 3D object (this is the way I positioned it in 3D space) and generates a background based on the prompt. I made a tut on generative ai and 3D in Substance viewer here.
When you are happy with your 3D model, click the Ray tracing button to render it.
When happy, click To Photoshop in the top Right.
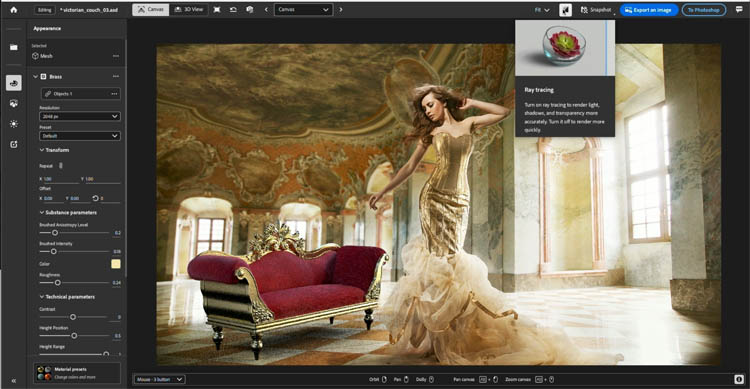
Go back to Photoshop and the image is updated to Match what’s in Substance viewer. To change it, go back to Substance viewer, or double click the smart object. It’s really easy and fun.
Hopefully you found this week’s free Photoshop tutorial useful!
Great to see you here at the CAFE.
Colin
PS Don’t forget to follow us on Social Media for more tips..
(I’ve been posting some fun Instagram and Facebook Stories lately)
You can get my free Layer Blending modes ebook along with dozens of exclusive Photoshop Goodies here 
The post How to use 3D in Photoshop with Adobe Substance 3D Viewer appeared first on PhotoshopCAFE.
