
Transform your Photos with LUTs in Photoshop, THE USER GUIDE.
What are LUTS?
LUT stands for Look Up Table. These were originally used by filmmakers and videographers and applied to video to create film looks in movies. These are essential tools in color grading and emulating classic film looks. To over simplify, they are presets. You can use LUTS to enhance and apply color grading to your images in a single click in Photoshop. They are powerful, quick and easy to use.
You will see them go by different extensions which all work in Photoshop, (both latest version and CS6); .3DL, .CUBE, .look. The same LUTS will work in other apps such as After Effects, Premiere Pro, Final Cut Pro, Resolve and others.
Using LUTS in Photoshop
LUTs are easy to use in Photoshop. I will show you how to use them here and provide a couple very handy tips.
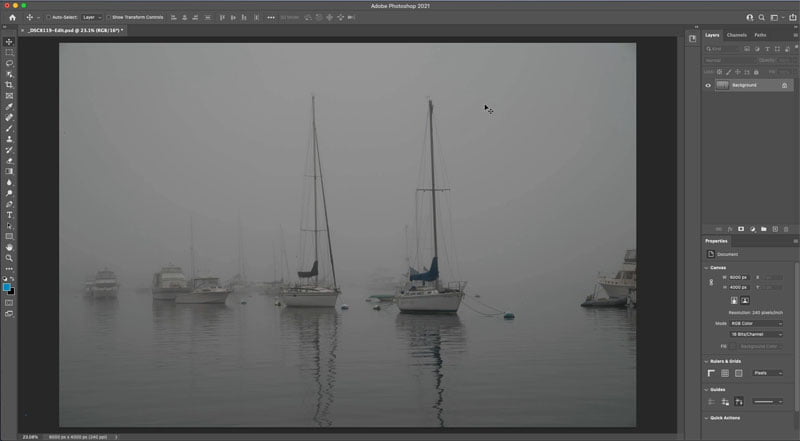
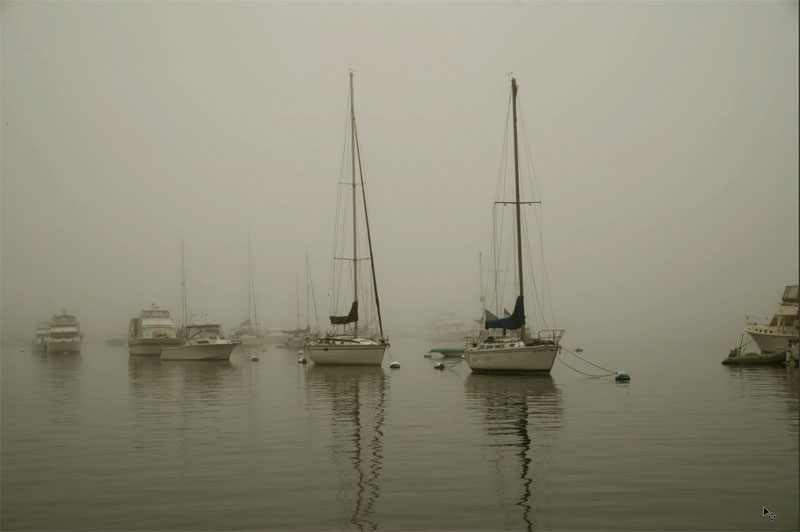
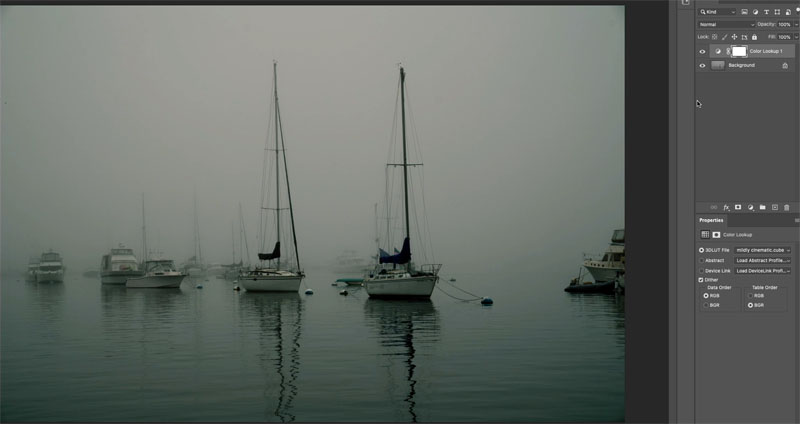
The original photo in Photoshop. An image I captured locally, unedited, straight out of Camera.
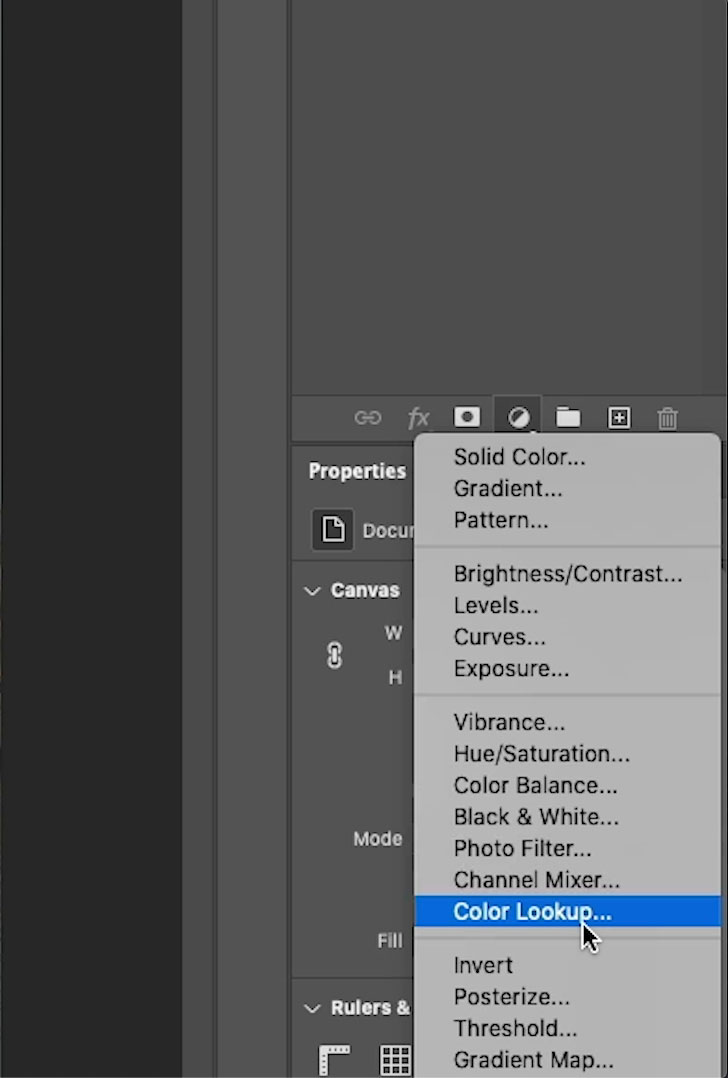
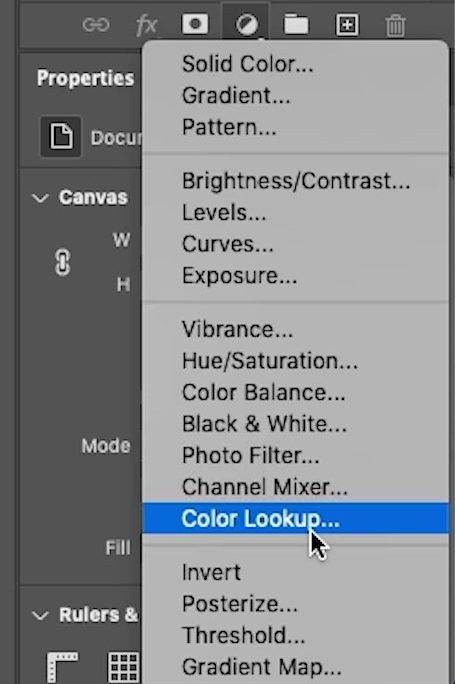
Click on the Adjustment Layer icon.
Choose Color Lookup.
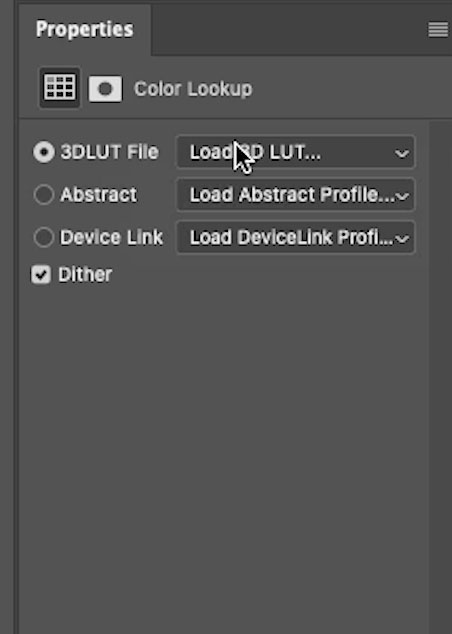
Open the Properties inspector. Window>Properties
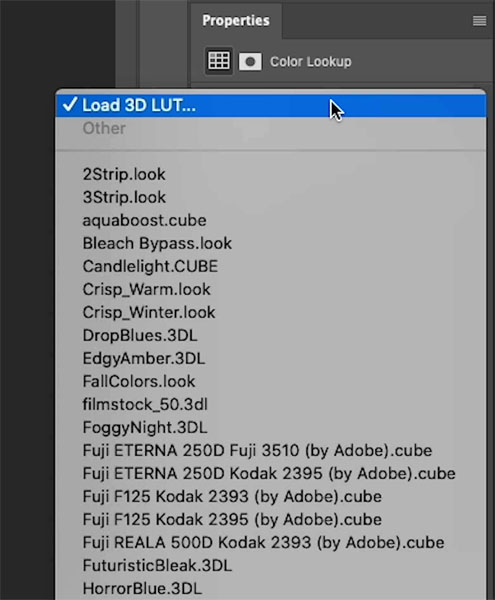
Click on Load 3D LUT
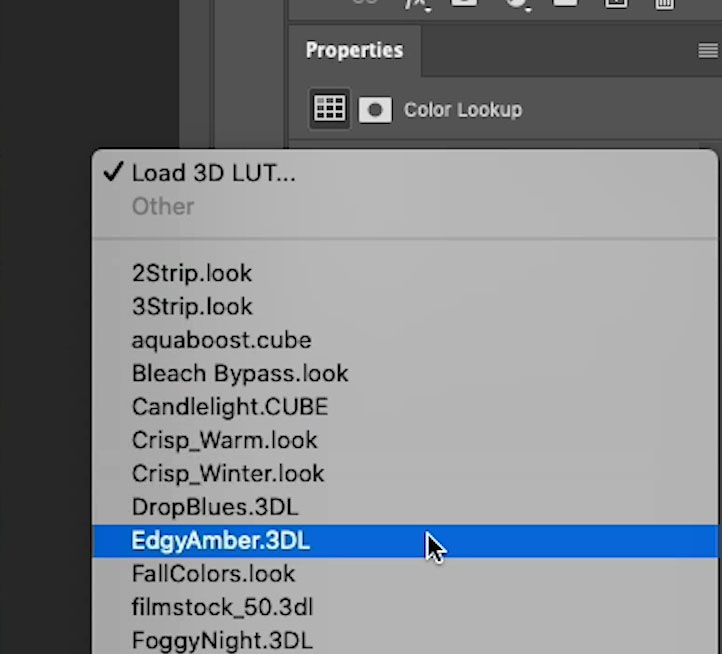
You will see a list of LUTs that ship with Photoshop. I’ll give you more soon, stay tuned.
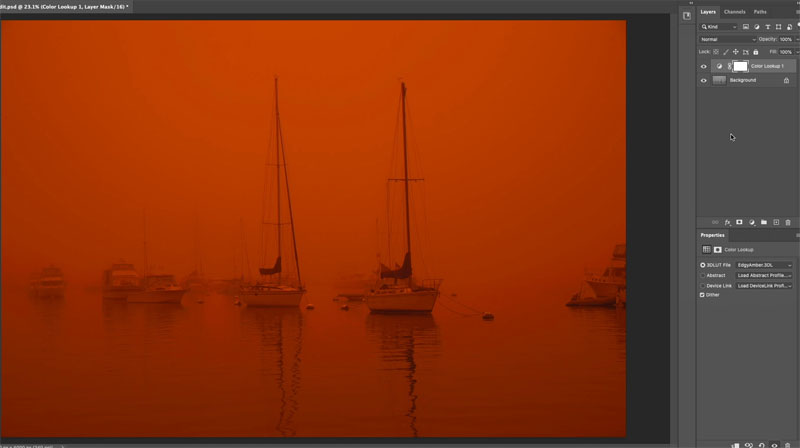
Here we are choosing the Edgy Amber one.
You can see how it changes the color and tonality of the photo. There are no settings for LUTs, or so they tell us, hehe. (I’ll show you a tip in a sec)
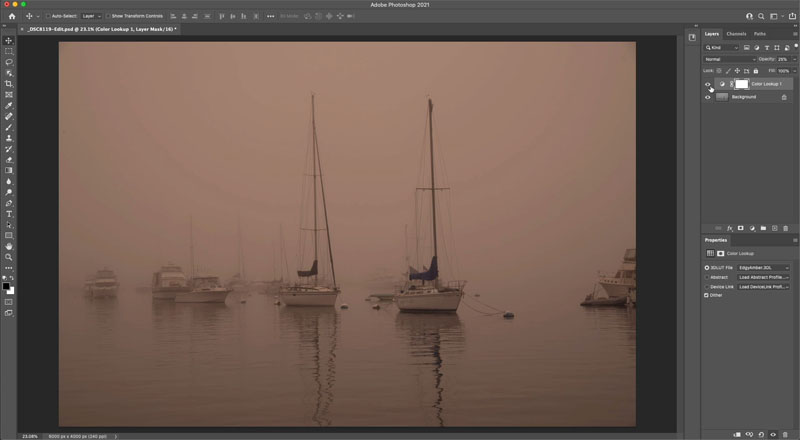
You can change the intensity of a LUT by adjusting the opacity.
You can always change the Layer Blending mode too.
Changing the Color and Luminosity sliders on LUTS,
“Wait? What Sliders,” you say? “LUTS don’t have settings”. You are right and you are wrong.
I had an epiphany one day and I’m going to share it with you, here first.
Ok, here we go.
Duplicate the LUT layer, so you have 2 layers.
Change one to Color Blending Mode and the other to Luminosity blending mode.
Adjust the opacity on the color layer to vary the color
Adjust the opacity on the Luminosity layer to alter the tone
(If you share this tip, I’d love the credit, wink, wink)
Using your own Custom LUTs in Photoshop
Although Photoshop ships with some LUTs you can extend the usefulness by using your own LUTs, or ones you have acquired.
Click on the Adjustment Layer icon.
Choose Color Lookup.
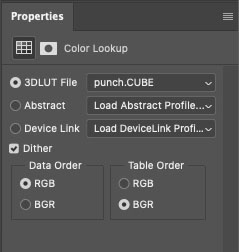
Click on Load 3D LUT in the Properties panel.
When the menu opens, click on Load 3D LUT a second time.
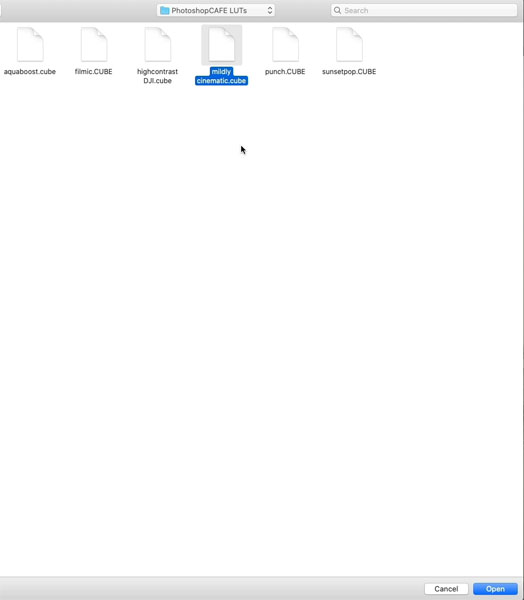
Now you can navigate to your computer.
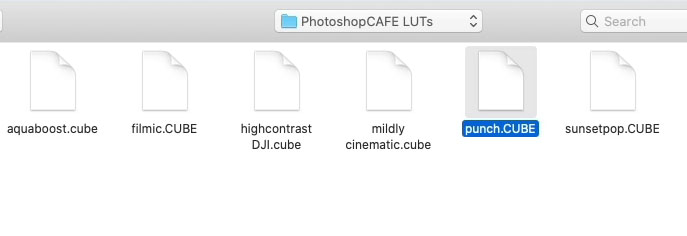
Find some LUTs you have on your system (I’ll hook you up with some)
Choose the LUT you want to use, in this case, the Punch.CUBE LUT that I created,
Immediately you will get the look on the photo. This one adds ..punch and a nice rich sepia tone.
You will see the punch LUT is selected in the Properties inspector.
Let’s try another of my custom LUTs, click on Mildly Cinematic.CUBE
And we get a totally different look. (Which one did you prefer?)
As you can see, using these LUTs can transform your images instantly and dramatically.
A challenge with the custom LUTs is having to lad them in each time, they don’t stay in the menu. I’m going to show you how to get them in the menu all the time.
But first, you will need some LUTs to install. Ta-da.
Now you are waiting for me to sell you some LUTs right? Nope, I’m going to give you the two I just showed you, as well as more.
Downloading free quality LUTs
You can download the set of 5 quality LUTs right here, for Free.
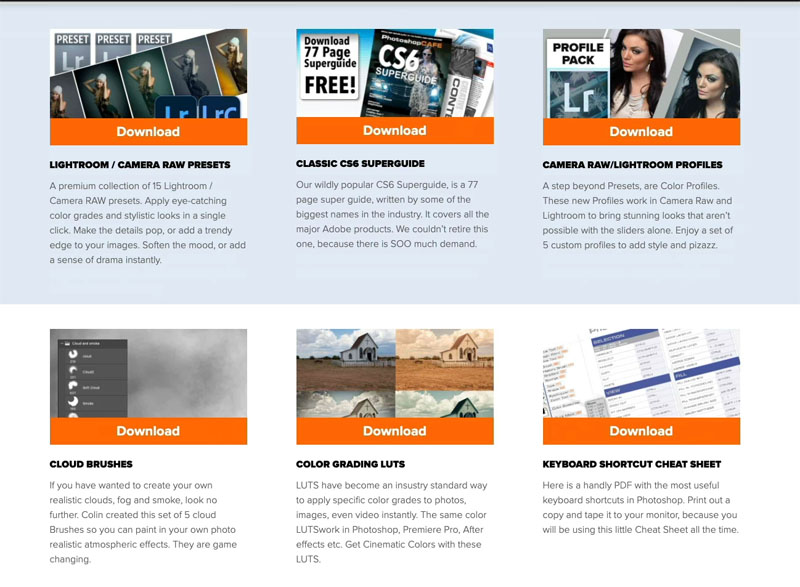
Not only will you get the LUTs, you will also get Actions, presets, brushes, eBooks, profiles, cheat sheets, sky packs and more. I call this collection the Photoshop Vault. I have put a LOT of time and work into creating this master set of Photoshop tools. I decided, I wanted to thank you for all your years of supporting my efforts here at the CAFE (20 years). So I am giving them to you, free. I hope you enjoy. I have installation instructions included with each preset pack.

Once you download these goodies, just unzip them (they are in Zip files)
On MAC, Double click to open.
Windows, Right-Click the zip folder, Select Extract all and choose a location to extract them. Extract them to a location you can find, like the desktop, don’t open to a random location. Then save a copy somewhere for safe keeping.

Installing Luts in Photoshop, so they stay in the menu.
One of the challenging things about custom LUTs is having to load them every time you want to use them.
Here is how you can load your LUTs into the menu in Photoshop!
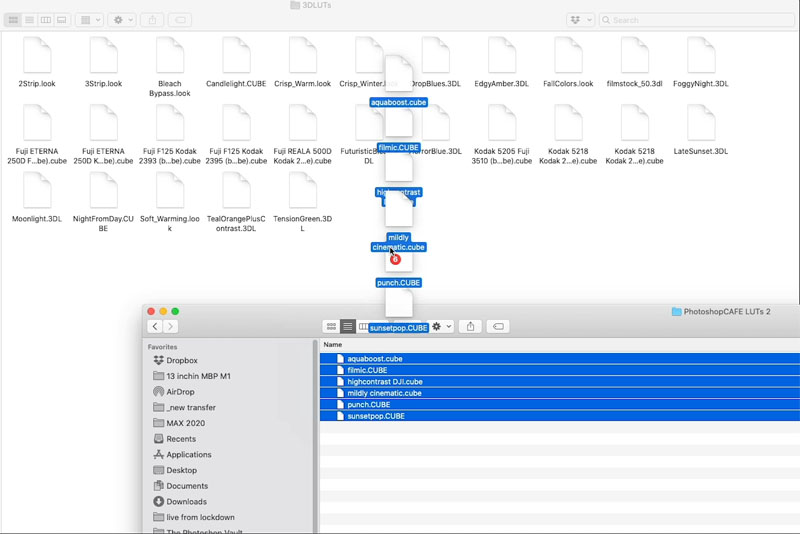
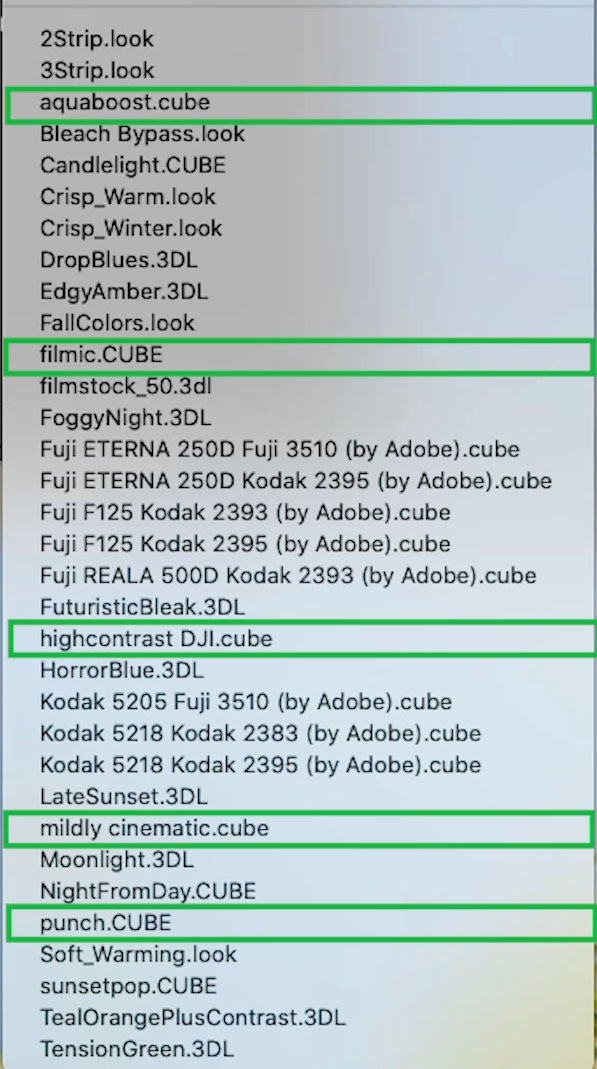
Find your installation folder for Photoshop
On MAC its probably Applications/Adobe Photoshop/Presets/3DLUTs
Windows C:\Program Files\Adobe\Adobe Photoshop\Presets\3DLUTs
(These locations could change in future updates, and might be different in older versions. If they do and I haven’t updated this yet, Google “where are LUTS in Photoshop, on my computer”)
Drag your set of LUTs into the Folder. (Copy, don’t move, unless you have already backed them up).

Restart Photoshop and you will now see the custom PSC LUTs loaded in when you use LUTs the next time.
All ready for use on another photo that I shot of musician Taylor Davis.

And here is the filmic LUT in action. Remember, you can adjust the opacity to reduce the effect, if it’s too strong.

I really hope that you found this tutorial useful.
Consider following me on social media for more Photoshop updates and tip of the day. (every platform @photoshopCAFE).
Thanks
Colin
The post How to use LUTs in Photoshop and how to Install LUTs in Photoshop appeared first on PhotoshopCAFE.