
Reference images in Photoshop Generative Fill, the complete guide
In a game-changing move, Adobe has added the ability to use your own Reference Images when using ai to generate images.
Colin Smith (me) shows you how to use a reference image, as well as a surprising way to create your own reference images.
At this time, this feature is only in Photoshop beta. How to get Photoshop BETA here
Using Reference Image in Photoshop
First all, here’s how Reference Image works, then we will dig in a bit.
Grab the lasso tool
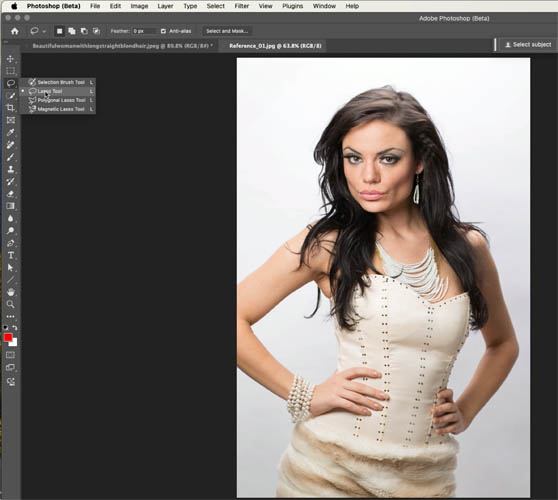
Make a selection for a hat
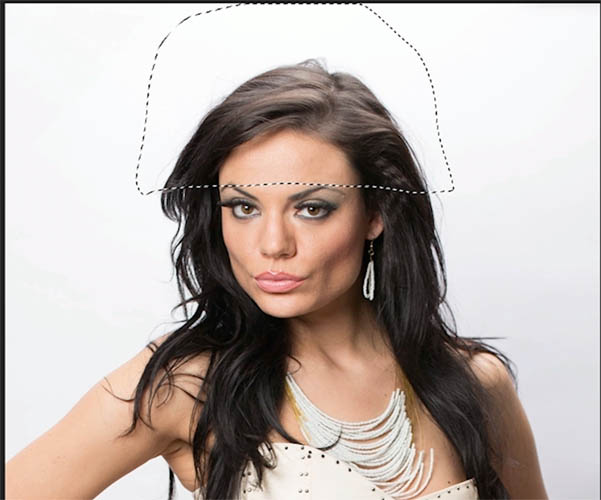
Click Generative Fill on the task bar
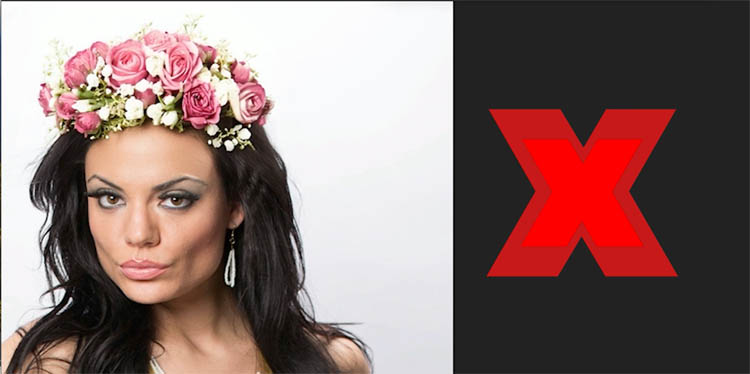
Type in hat and click generate (We would get a better result with a better prompt, but I want to demonstrate something here)

And you may get a hat, or something different.
In the past we would refine the prompt, burning through Generative Credits. There’s a better way…
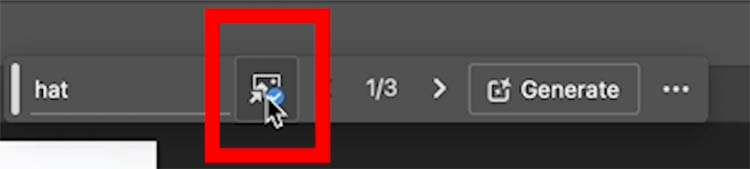
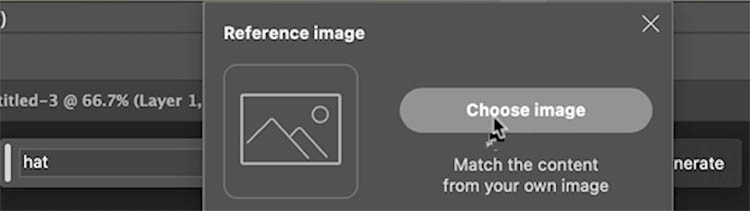
Click the image button in the task bar

Choose image
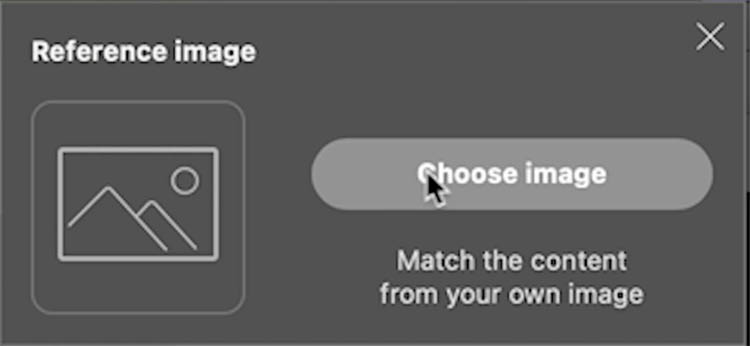
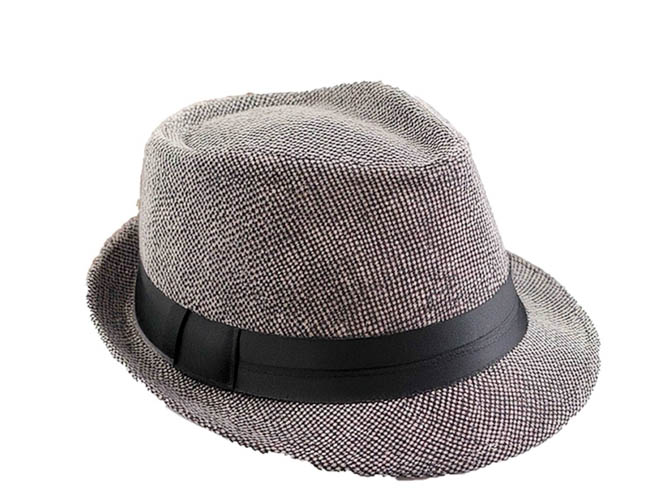
Navigate to a jpg you have saved,
In this case, it’s the type of hat we want to generate against an isolated background. (Isolated backgrounds work better).
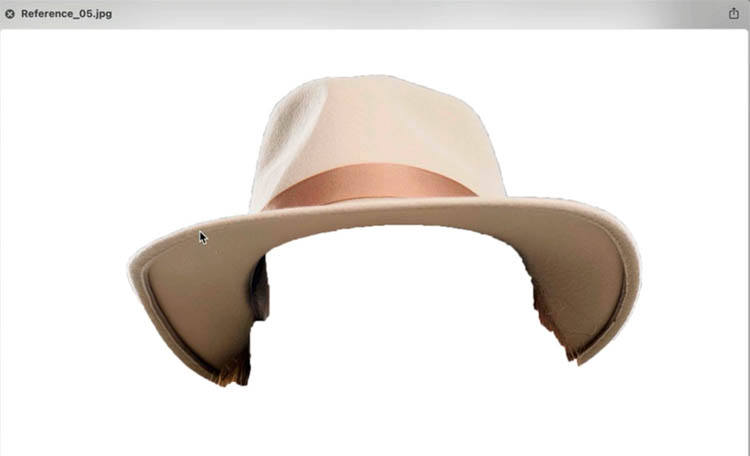
The checkmark tells use we are using a reference image. Click generate
Now you get exactly the hat you want, no fuss!

Getting reference images
You can use existing pictures, take photos of stuff with your phone, or generate you own in Photoshop or Firefly, but..
Not all generated images are equal in Photoshop.
Make a selection around the entire document and choose Generative Fill
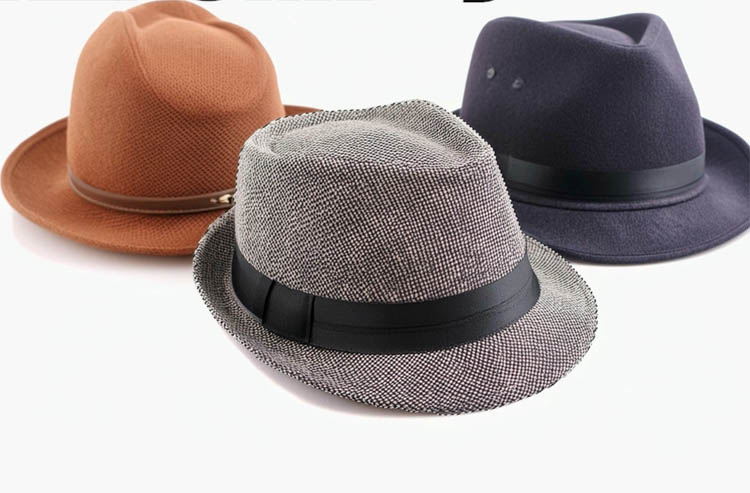
Add a descriptive prompt and click generate

Here we have some hats, but they are just ok, kind of mediocre.
Try this new feature in Photoshop instead, click on Generate Image
Generate Image is basically Firefly for Photoshop
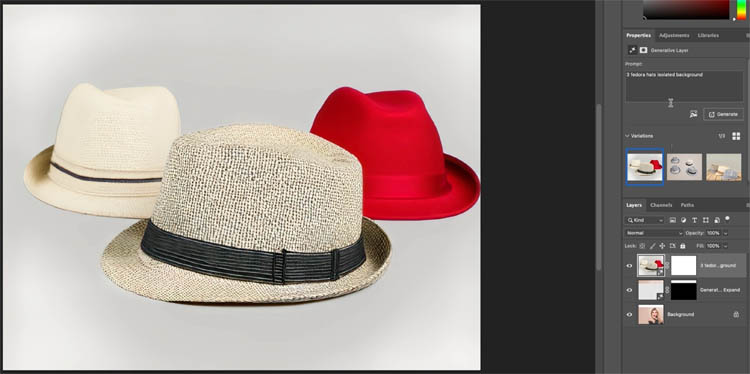
Enter the same prompt we just used, choose photo and click Generate
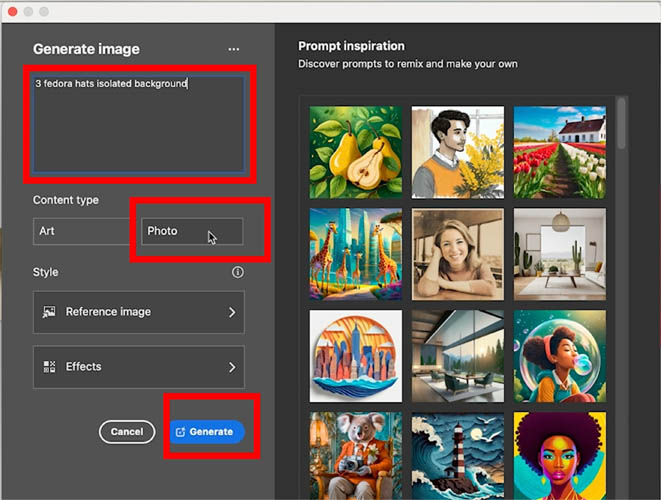
As you can see the results are much better than Generative Fill, at this point in time. I imagine in time, the quality will match in both.
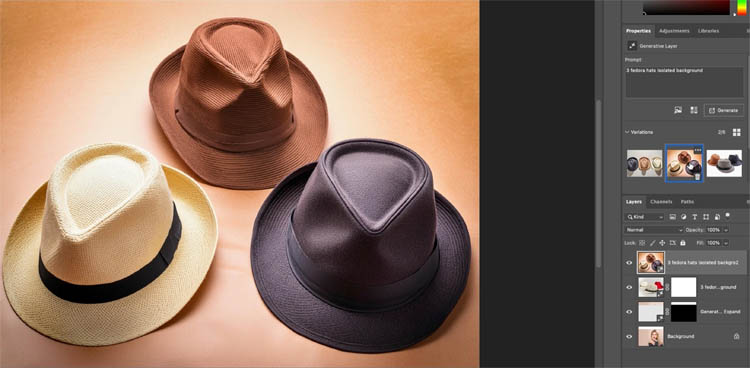
Lets make a selection around one of the hats, using the Quick Selection tool
Press Ctrl/Cmd+J to copy it to a new layer and hide the background
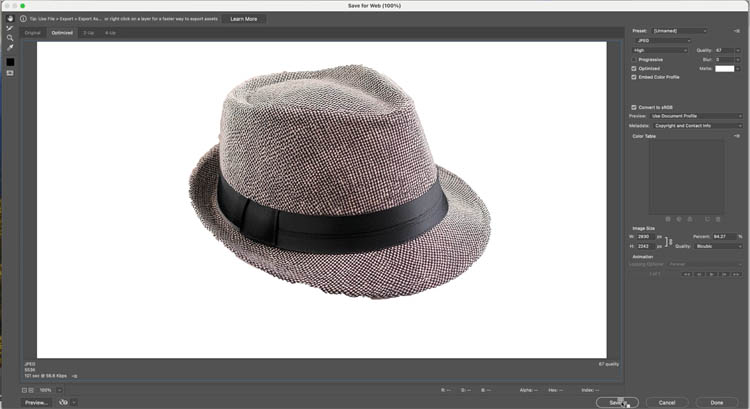
Choose File>Export>Save For Web
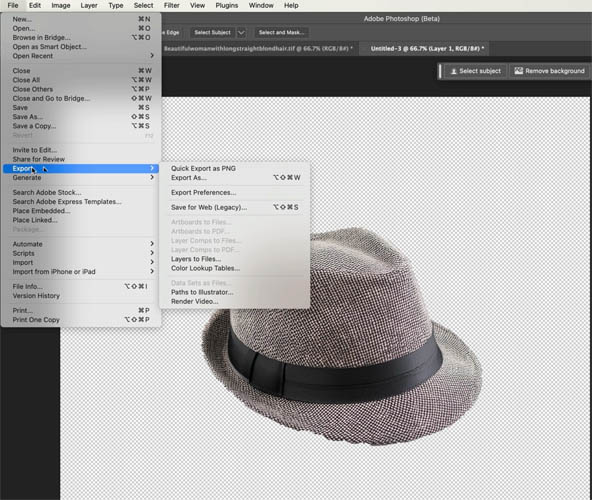
Save it out as a jpg. Because it was on a transparent layer, we get an isolated background. Reference Image works best like this.
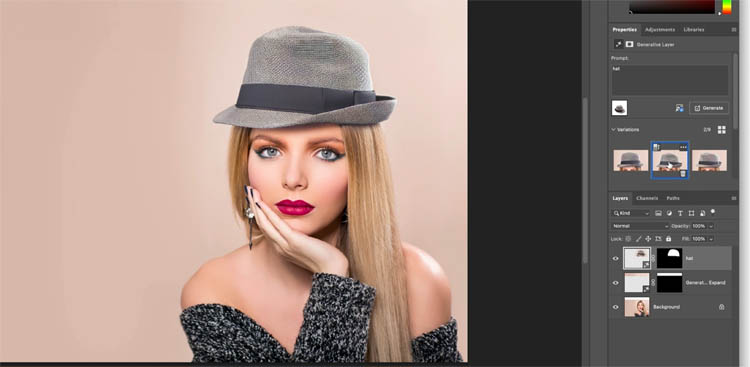
Back to our photo, make a selection for the hat
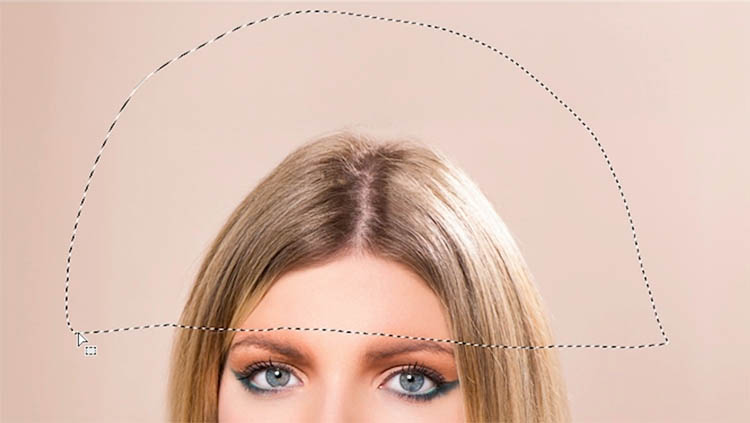
Type in hat for the prompt and choose reference image
Here is our hat. Notice it doesn’t even need to be a clean cutout.
And the result, is the hat we wanted.
I hope you found this tutorial useful. If you did and you haven’t already, please subscribe to my youtube channel for more tutorials.
Thanks
Colin
PS Don’t forget to follow us on Social Media for more tips..
(I’ve been posting some fun Instagram and Facebook Stories lately)
You can get my free Layer Blending modes ebook along with dozens of exclusive Photoshop Goodies here 
The post How to use Reference image in Photoshop Generative Fill appeared first on PhotoshopCAFE.