
Using the Frame Tool with Custom shapes in Photoshop
The shape tool is a box you create, where you can drag in images and have them clip to the shape. I previously made this in depth tutorial on the Shape tool that has a lot of tips. Among other things, the frame tool is great for making templates.
Originally the frame tool had 2 shapes: rectangles and ovals. Now it has a triangle and custom shape. Lets see how it works and then Ill share some tips to extend its usage. (Don’t forget to watch the video that has step by steps as well as additional tips).
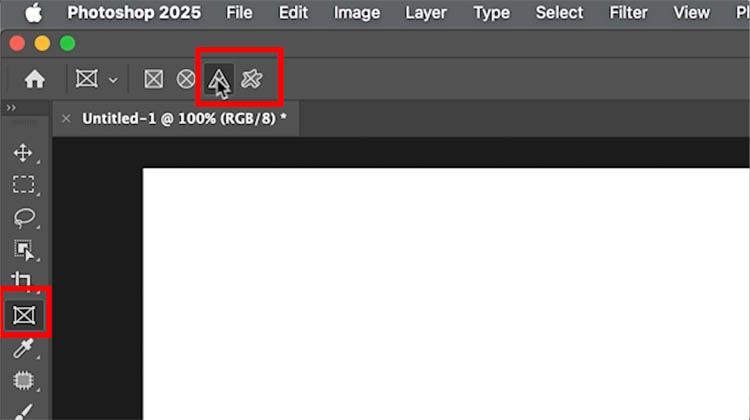
Choose the frame tool from the toolbar. This is in the main shipping version of Photoshop.
Notice the shapes in the options. To demonstrate how it works, grab the triangle.
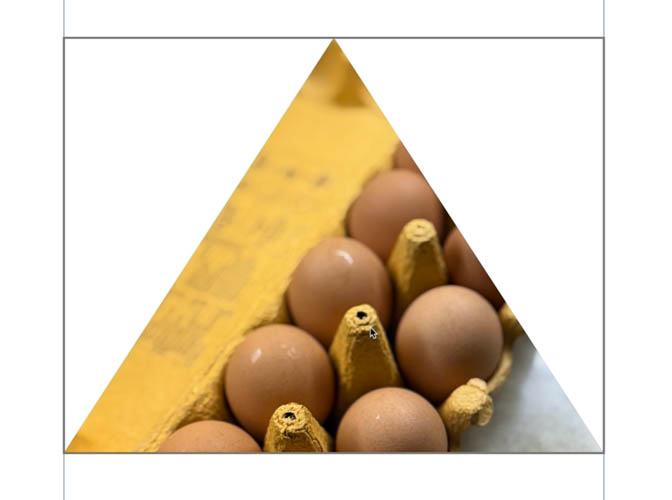
A you drag with the frame tool a box will be created. Once you mouse up you will see the triangle. You won’t see the shape while you are drawing the box.

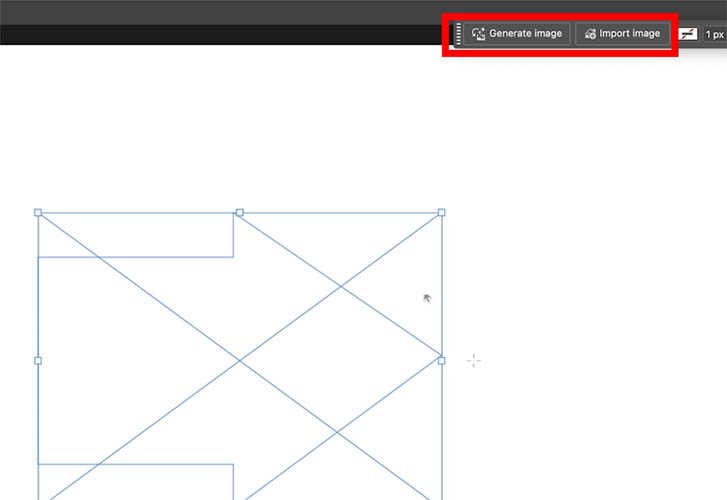
The floating toolbar will have 2 options. Generate Image and Import Image. Let’s import for this example. (You can also drag the image into the shape from the canvas, or drag it out of the frame.)

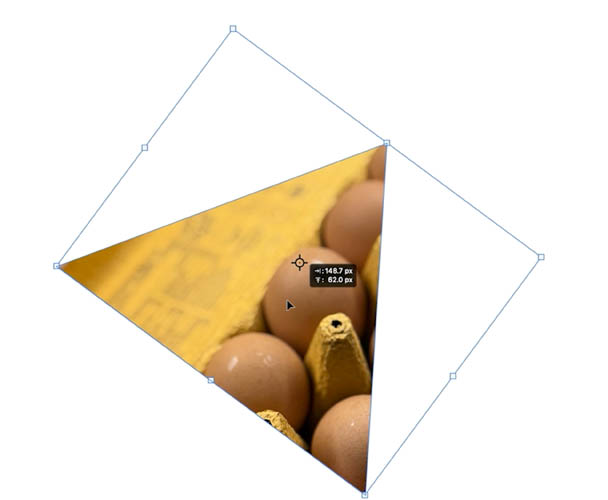
You will see an image within. You can transform the fill and reposition it.
If you transform the frame, the image stays independent.
Using custom shape with the frame tool
This time, choose the custom shape tool.

Select a shape.
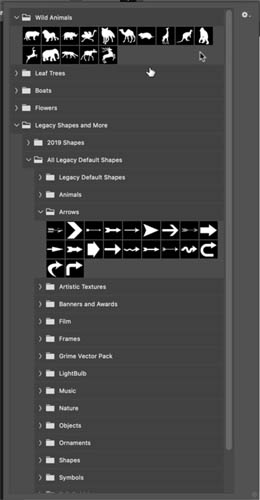
Notice I have extra shapes. These can be loaded by opening the Shapes panel; Library>Shapes. Choose the top right menu and select Legacy shapes and more
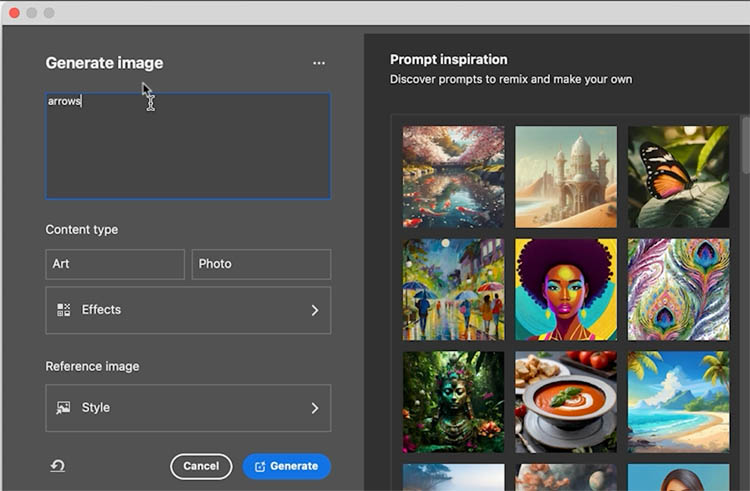
Drag out and arrow shape. Just to show the other option, I clicked Generate image.
Make a basic prompt, like arrows.
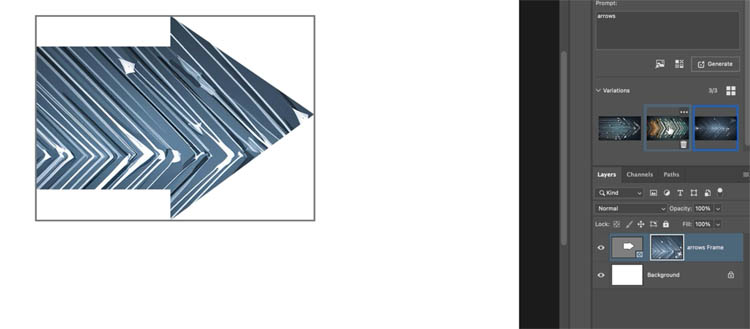
And you can see the result.
Here is another example, using and animal shape. This is shown in the video.

Creating Custom Shapes
The real power of this is in creating your own shapes. Ill show you 2 ways.
The first way is to make a path using the pen tool.

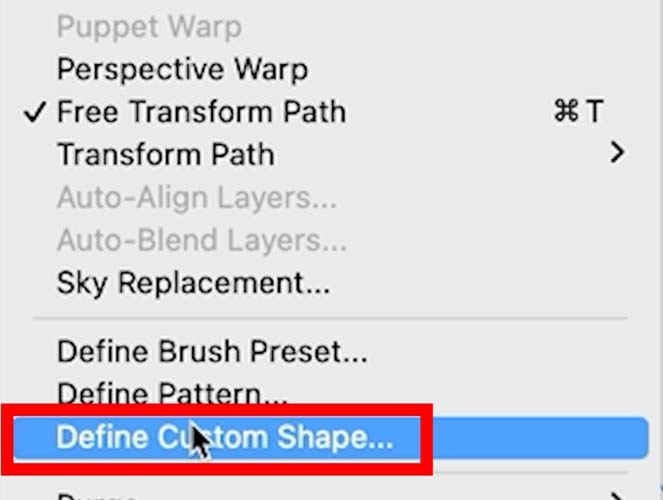
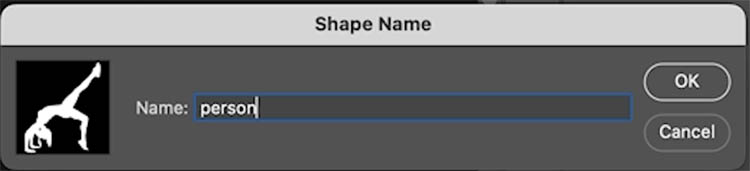
Choose edit>Define Custom Shape
You see a box pop up where you can name the shape.

The shape will be added to bottom of the shapes menu. Use it like the other shapes previously.
Add images to this shape.
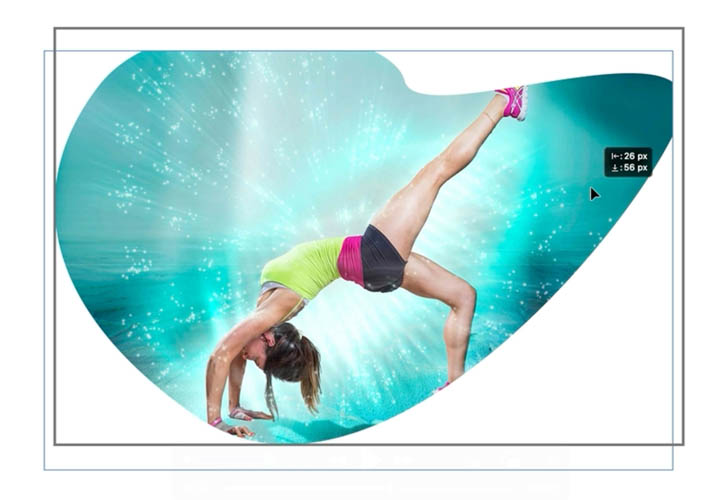
How to easily make a complex custom shape in Photoshop.
Let’s look at a more complex shape. Even you you don’t use frames, this will be a useful mini tut for you.
Open a picture and choose the Object selection tool. Click Select subject.
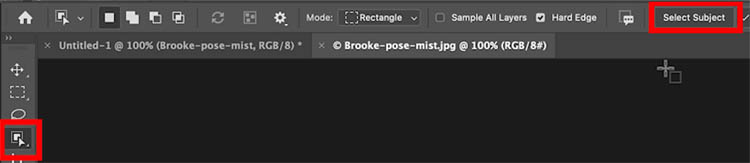
You’ll see a selection around the subject.

In the Paths Panel, Choose Make Work Path from the top right hamburger menu.
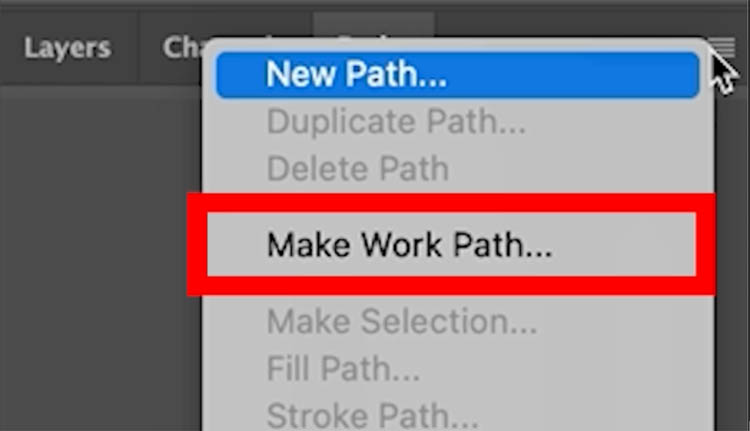
The default tolerance of 2.0 is fine. Click ok.

Ypu will see you now have a path

As before, choose Edit> Define Custom Shape
Add images to the shape. TIP: To constrain the proportions, hold down Shift as you drag out the frame.

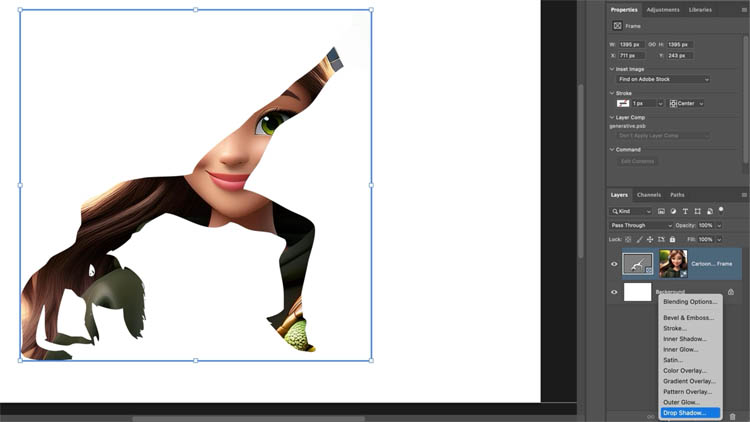
Adding Layers styles and Drop shadows
If you try to add a drop shadow or layer style, notice it doesn’t work. Let’s fix that.
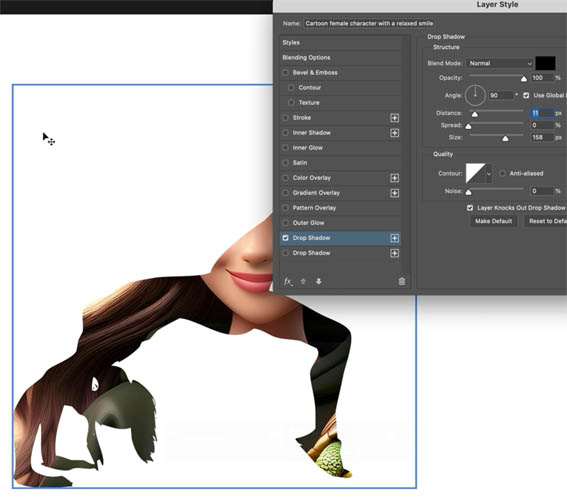
There are 2 ways. The easiest way is to select the layer with the shape and Press Ctrl/Cmd+ G to put it in a group. Now you can add the layers styles to the group.
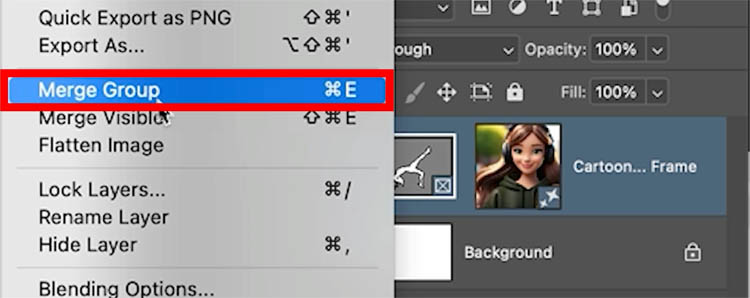
The 2nd way is to right-click on the mask and choose Merge Group.
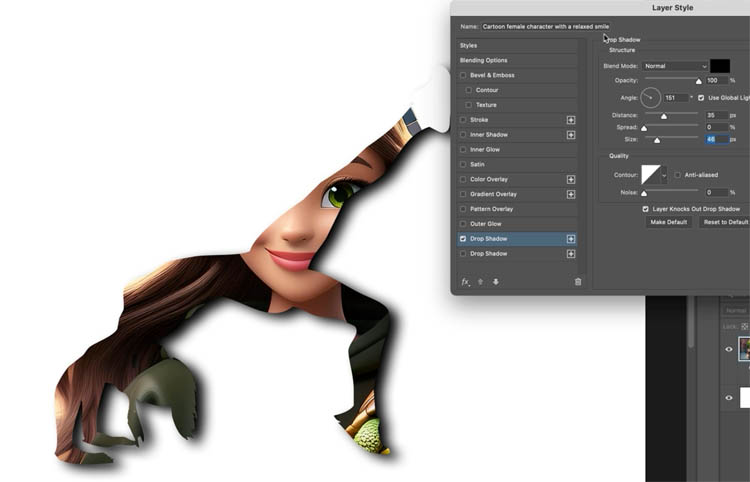
You can now apply a drop shadow.
I hope you found this week’s tutorial useful!
Great to see you here at the cafe
PS Don’t forget to follow us on Social Media for more tips..
(I’ve been posting some fun Instagram and Facebook Stories lately)
You can get my free Layer Blending modes ebook along with dozens of exclusive Photoshop Goodies here 
The post How to use Updated Frame Tool in Photoshop appeared first on PhotoshopCAFE.