I love the Lightroom Classic with Lightroom Cloud workflow, and a key component of this workflow is having the same Develop presets available across all Lightroom applications. While Lightroom Classic and Adobe Camera Raw share the same location for presets locally those same presets are not shared automatically with the Lightroom cloud. At the same time, any preset created or imported into a Lightroom cloud app is automatically kept in sync across all Lightroom cloud apps. Let’s look at how to bridge that gap.
Starting in Lightroom Classic
I’ll assume that most of you, like me, have all (or most) of your editing presets in Lightroom Classic, and it is those that you want to bring into the cloud. For example, I have multiple groups of custom presets that I’ve either created or installed over the years.
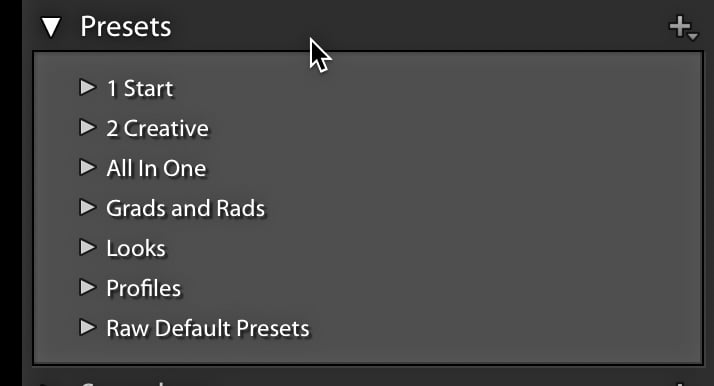
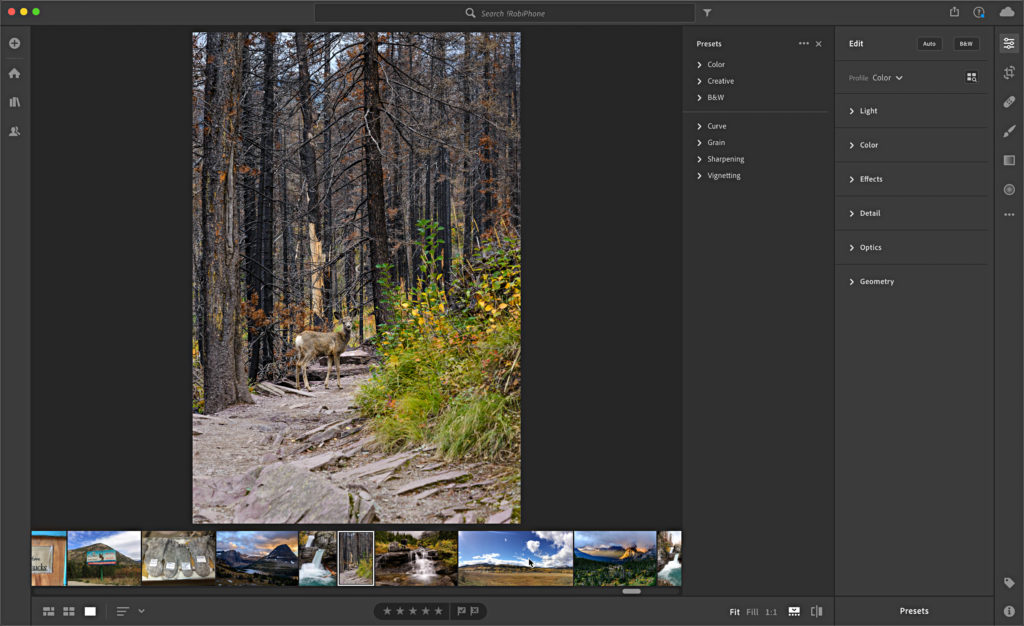
What I want to end up with is all of those preset groups, and their presets, available across the Lightroom cloud apps for desktop and mobile. Currently, I only have the default presets showing in the Lightroom cloud.
Exporting Preset Groups
A recent upgrade to Lightroom Classic gave us the ability to more easily export preset groups in one fell swoop. Here’s how:
Step One: Right-click the preset group you want to export, and then click Export Group from the contextual menu.
Step Two: Choose where you want the exported preset group to be saved. Choose an easy to find location. The resulting exported file will be compressed into a zip file and given the same name as the preset group.
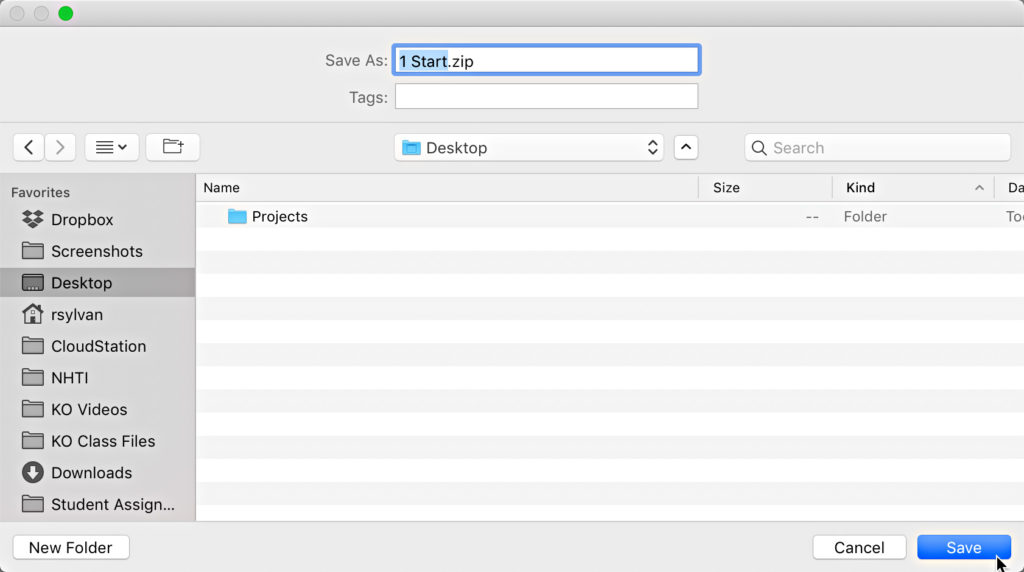
Step Three: Repeat that process for all remaining preset groups that you want to be able to use in the Lightroom cloud.
Lightroom Cloud app for Desktop
If you have not installed the Lightroom cloud app for desktop, this is actually one of the useful reasons to do so (even if you don’t use it for anything else). You can download it from the Adobe Application manager (assuming you are a current subscriber to either the Creative Cloud Photography plan or the All Apps plan).
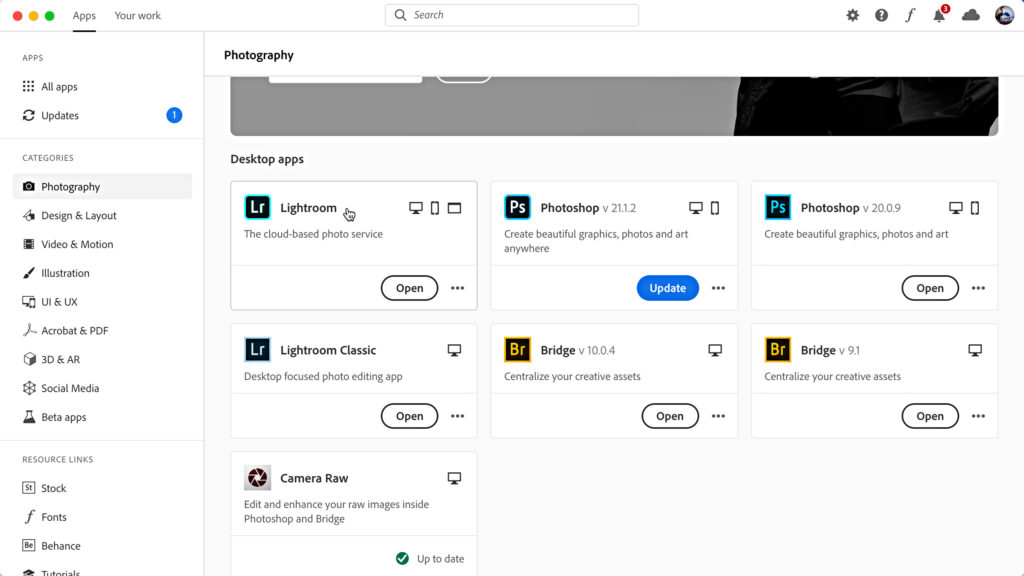
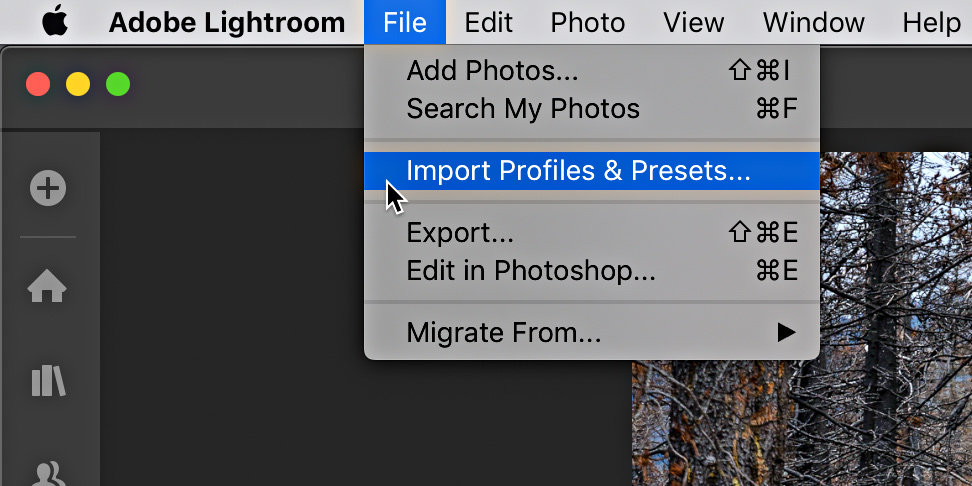
Once installed, launch the Lightroom app. Then go to File > Import Profiles & Presets.
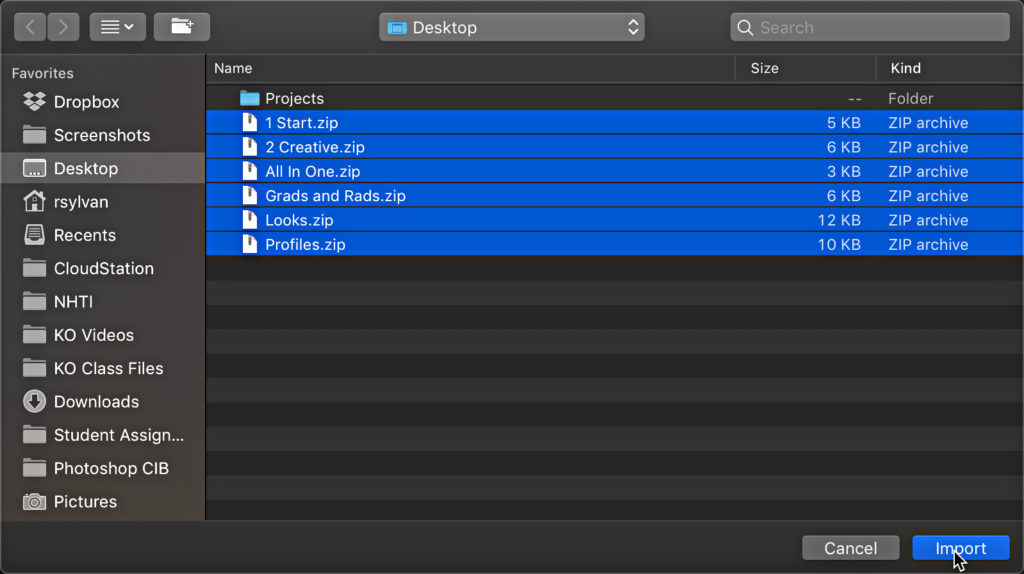
Navigate to where you stored all of the exported presets groups from Lightroom Classic and select the zip files and click Import.
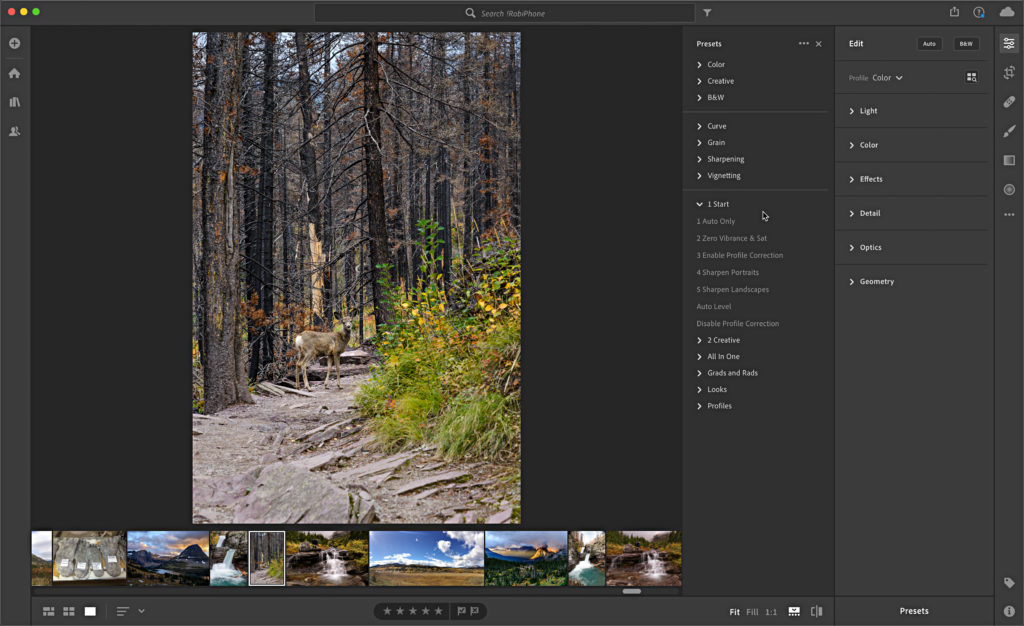
This will import all of the preset groups and their respective presets into the Lightroom cloud app, and after a few moments they will appear in the Presets panel.
Keeping them Synced
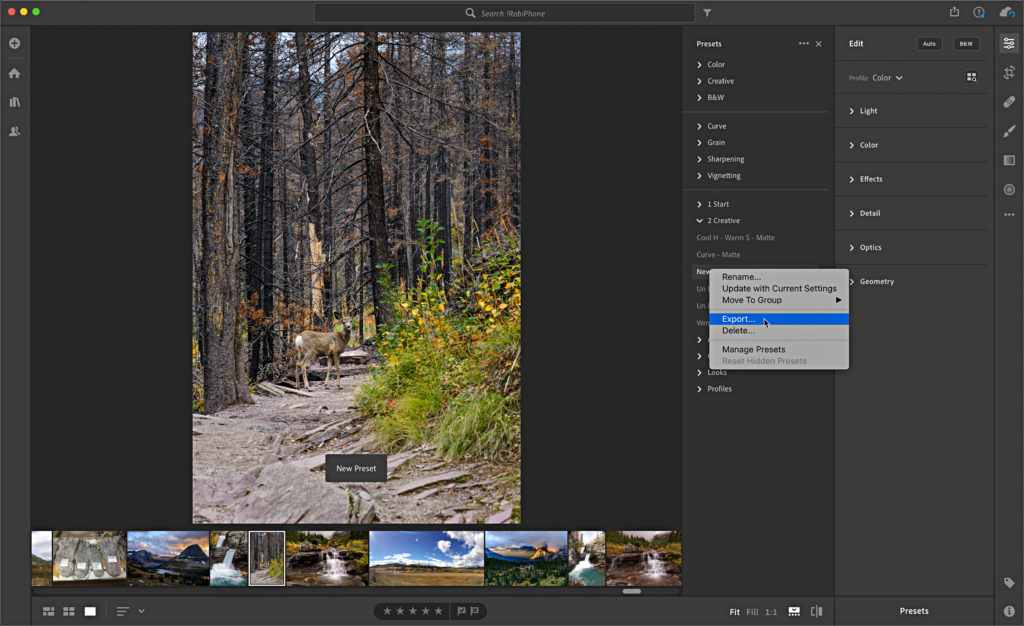
Because this is a manual process, if you should add or create new presets in Lightroom Classic, then you will have to go through those same steps to import those same presets into the Lightroom cloud. Likewise, should you add or create presets in the Lightroom cloud app, you will have to do a reverse form of this process. However, there is a caveat. It isn’t currently possible to export an entire preset group from the Lightroom cloud app for desktop the way we can in Lightroom Classic. However, you can export individual presets by right-clicking a preset and choosing Export from the contextual menu.
Once the presets are exported, you can import them into Lightroom Classic. Side note, when you import new presets this way they will be added to the User Presets group by default. In that case, you can right-click the newly imported preset and choose Move from the contextual menu to move it to a different preset group and keep things tidy. Odds are that you’ll import new presets into Lightroom Classic more often than not, but I wanted you to be aware of going the other way.
The post Keeping Your Presets in Sync appeared first on Lightroom Killer Tips.
