
First, before we kick into the Q&A for today, I wanted to thank everybody who joined us for ‘The Landscape Conference” this week. What a wonderful, gracious, fun crowd to present to (over 1,400+ photographers attended live), and it was such a blast. My humble thanks to spending a few days with us — we’re very grateful and hope you all learned a lot!
One of the sessions I did was called “It’s all about the print” and the focus was on how to print from Lightroom Classic, either to your own desktop printer or to set-up and prep your image in Lightroom and then send it to an online lab, like BayPhoto or MPIX. I had a number of questions during the conference that I thought I’d also address here today for folks that didn’t get to attend. Here we go:
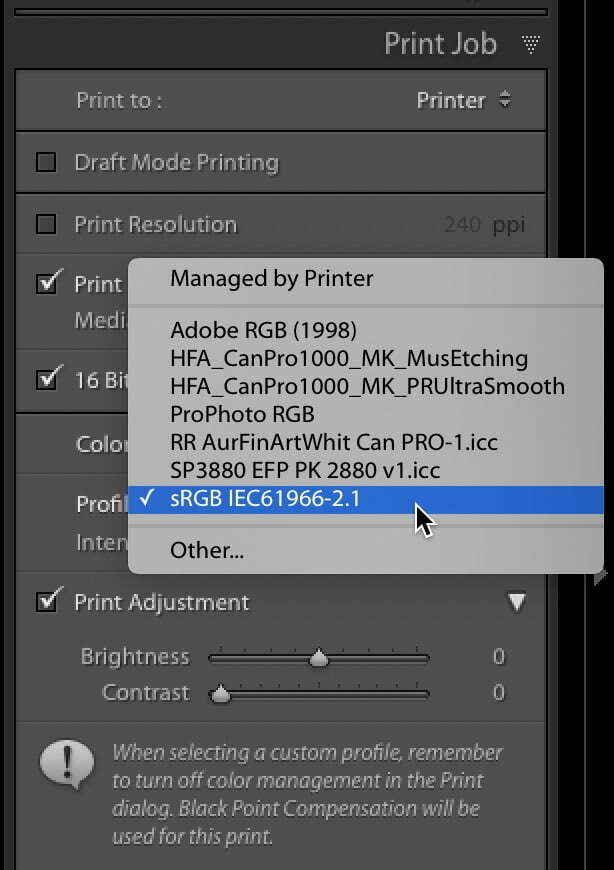
Q. If I’m saving my layout as a JPEG to send to the lab, which color profile should I apply?
A. Some major print labs will tell you to use sRGB as your color mode, but to make sure your lab is cool with sRGB, just drop their customer service dept. an email and ask them which profile they prefer (again, my guess is it will be sRGB, but better safe than sorry).
Q. If I’m sending my image to a lab for printing, should I let them do any color correction, or should I turn that option off?
A. When I send to images to a lab, I always leave that option turned on, because their monitors are perfectly calibrated (many labs calibrate their monitors to their printers daily), and I’ve been in the room at MPIX where they proof images and the folks that are doing it are incredibly talented at nailing their color. If they see something obviously wrong with the color in my end once it’s on their end, I want them to fix it. I’ve never had a problem or had them fix something that didn’t need fixing.
Q. Scott, how do you control the quality of prints when sending your photos to a photo book app (e.g. Picaboo, Mac Books, etc.)
A. Well, ya kinda don’t. With Photo Books, you just prepare the images like you would if you were going to print them yourself; cross your fingers and hope for the best. I’ve had great success with printing photo books from right within Lightroom Classic’s Book Module, so I’m totally comfortable with it.
The most likely thing that might happen (in a bad way) is that your prints print darker than you expect. If you’re concerned about that, make virtual copies of the images you want in your photo book; Select All and increase the Exposure by around +0.25 and that will probably compensate for darkening. If it still comes out too dark, you’ll have to try +0.50 (it all depends on the brightness of your monitor to how much you’ll need). It might take a try or two to nail the brightness amount, but you’ll get it. Remember, you can try a small book, with the minimum number of pages, as a test print before you commit to printing a big, full-sized, 100 page book.
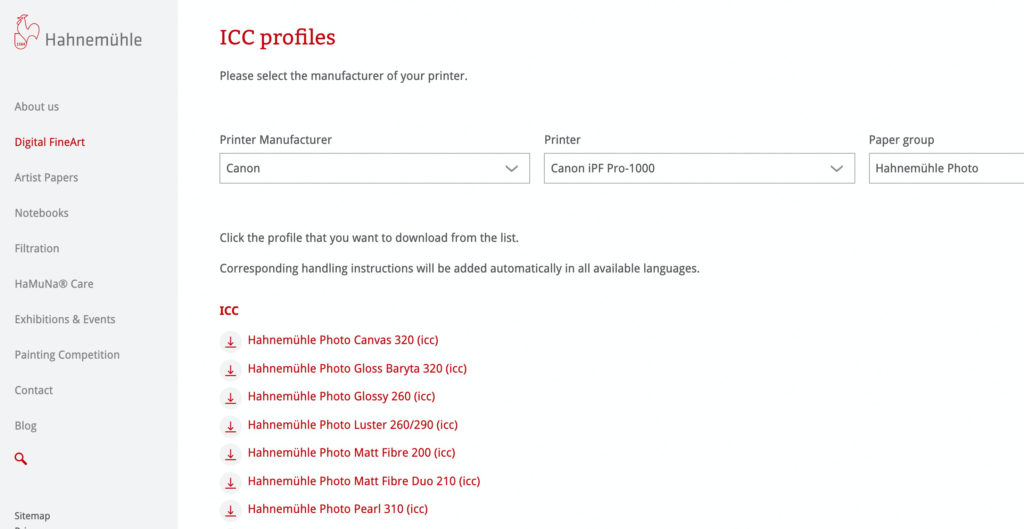
Q. If you are using a paper from a different manufacturer than the printer, how do you handle the profile?
A. If you’re printing to (say for example) a Canon imagePROGRAF Pro-1000 printer but you’re printing on say Hahnemühle Platinum Rag paper, you need to go to Hahnemühle’s website and download their free Platinum color profile for the Canon Pro 100 printer (at the Hahnemühle Website, under Digital Fine Art, choose ICC profiles, and then ‘Download Center.’ It will ask you which brand of printer you have, and then which model of printer. Lastly, it askes which of their papers you’re printing to, and then it brings up a download link to the free profile.
Q. Do you take images you finished in PS back into LR to print?
A. Absolutely — I only print from Lightroom. I stopped printing from Photoshop about 11 years ago.
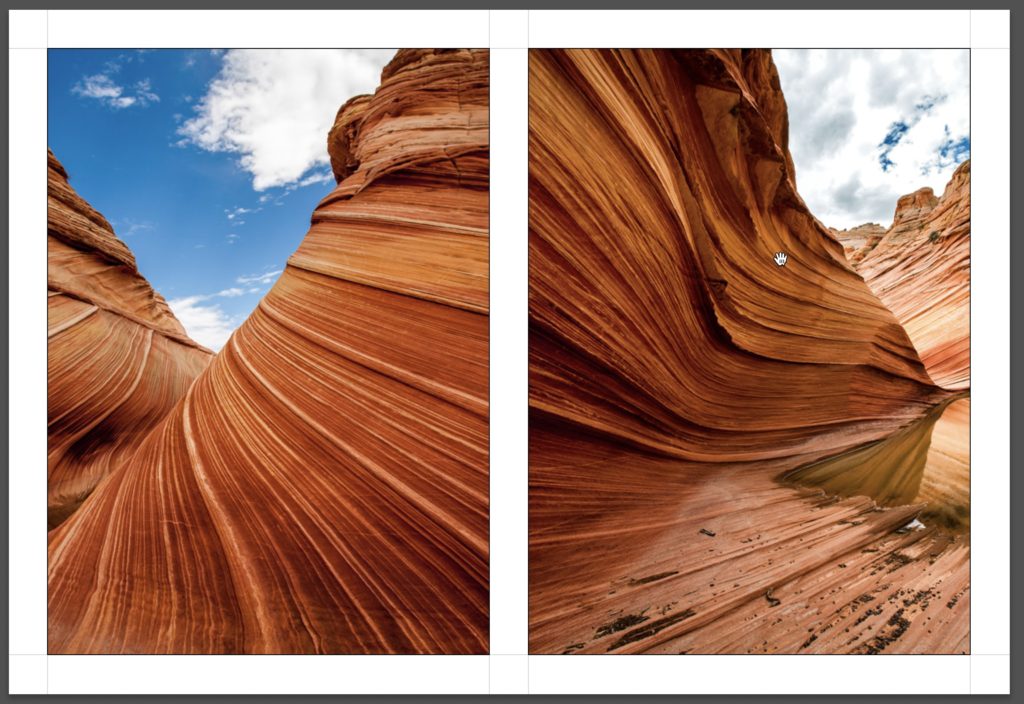
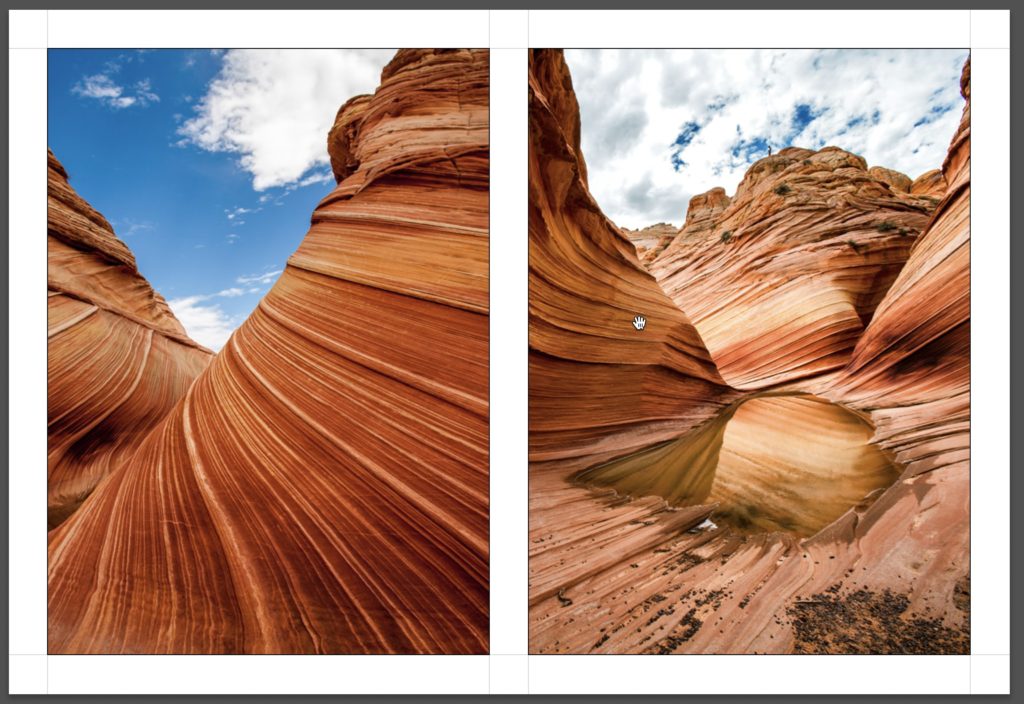
Q. [In a layout inside the Print Module]: Can you control what portion of the picture will be displayed in the cell?
A. You can: just click and drag inside the cell to reposition the image. Depending on the image and the layout, you’ll probably only be able to drag left/right or up/down — not both.
Q. What is the name of the rolled print stretcher that you mentioned his print session?
A. That’s Bay Photo Lab’s XPoser exhibition system. It’s really brilliant, and when we have our gallery openings, everybody’s always asking about them — they love the way they stand off the wall; and just the sheer quality of the prints. It’s not glossy or matte; it’s more like a satin finish and it’s very flattering to photographic images. Here’s a video I did at Bay Photo’s booth at Photoshop World that shows the whole process. Worth watching:
Hope you found that helpful. Thanks again to everybody who make the conference such a success. It was an honor to share the virtual stage with such a great team of instructors, and with the wonderful group of photographers we got to spend the last two or three days with.
Have a great weekend. Stay healthy and happy, and I hope to see you here again next week. 
-Scott
The post Lightroom Printing Q&A appeared first on Lightroom Killer Tips.