
In the desktop (Mac/Windows) version of the Lightroom (Lr) app it is possible to create connections to several online resources for making prints and books. It’s even available via the lightroom.adobe.com site. When it comes to printing I always turn to Lightroom Classic (LrC) and the Print module, but I’ve been testing out the connections in Lr to sample some print media that I can’t print at home, like canvas, floats, and wood. I’ve been pleased with the results and it couldn’t be easier to set up and use.
Obviously, you’d need to be running the cloud-based version of Lightroom and have that installed on your computer. From there, click the + sign next to Connections to open the connections manager (for lack of a better name.
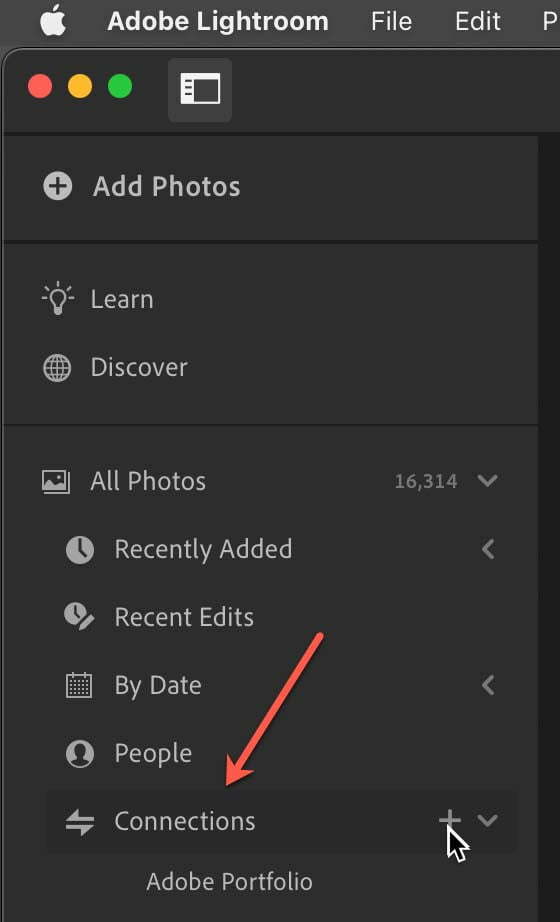
From here you can choose among the available online options for creating prints online. I’ve used both Printique and WHCC and have been happy with the results. For a recent project I wanted to print a photo of my son on wood and give it to my wife for her birthday. He’s gotten into wood working lately and she loved a recent photo of him, so it seemed like a perfect idea.
To create the connection, click the aptly named Add Connection button next to the service you want to use. I do recommend visiting the service’s website ahead of time and creating a free account so it is all set up when you connect. Once you’ve added the connection you can close the connection manager, and you’ll see a welcome and get started screen for that service.

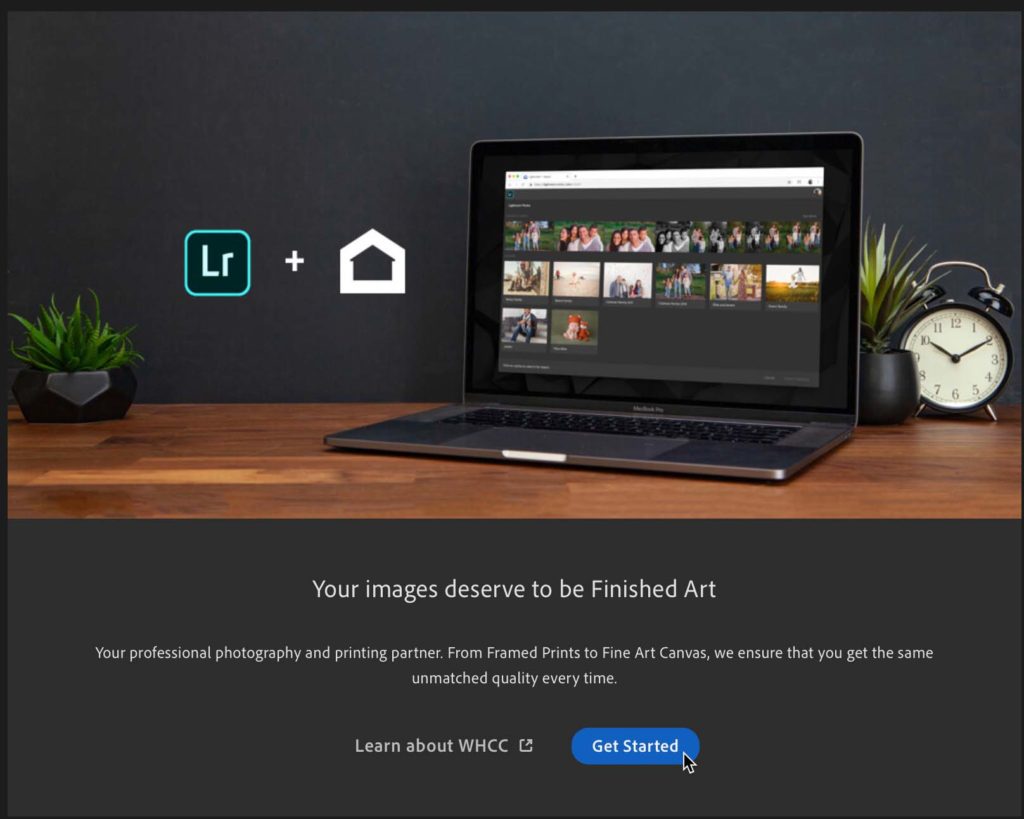
Lightroom literally handholds you through the process of creating your first project. My recommendation is to have already created an album containing the photo(s) you want to print to make it easy to select them in the next step. After clicking the Get Started button a little blue dot guides you through each step.
In my case I had already edited the photo and cropped it to a square aspect ratio, so it was ready to be sent off to be printed. I’d recommend doing the same before proceeding.
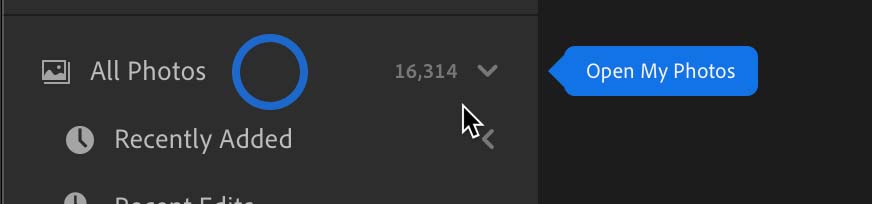
The blue dot will guide you to click on All Photos to select the photos you want to send to the service. Instead, go to the album you created, select the photo(s) you want to send, then go click All Photos. This way the photo you want is already selected when All Photos opens. Now, you don’t need to do that every time after this. This is only the first time it guides you through the process.
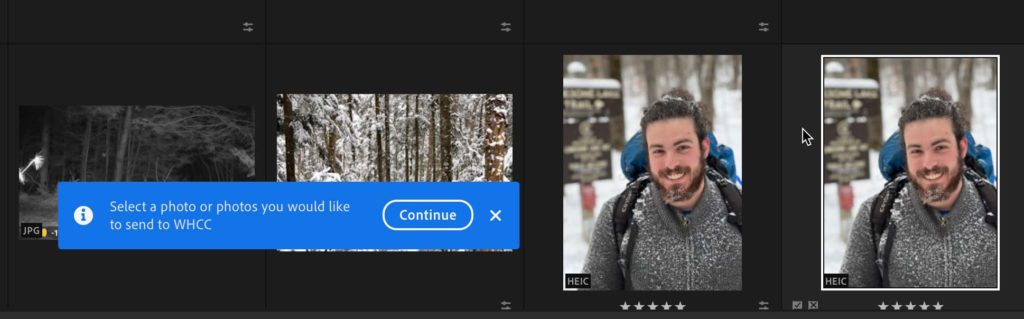
With my photo selected, I clicked Continue in the blue box. From there, the blue dot guides you up to the Share button.
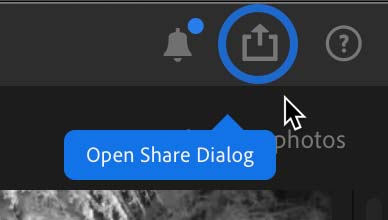
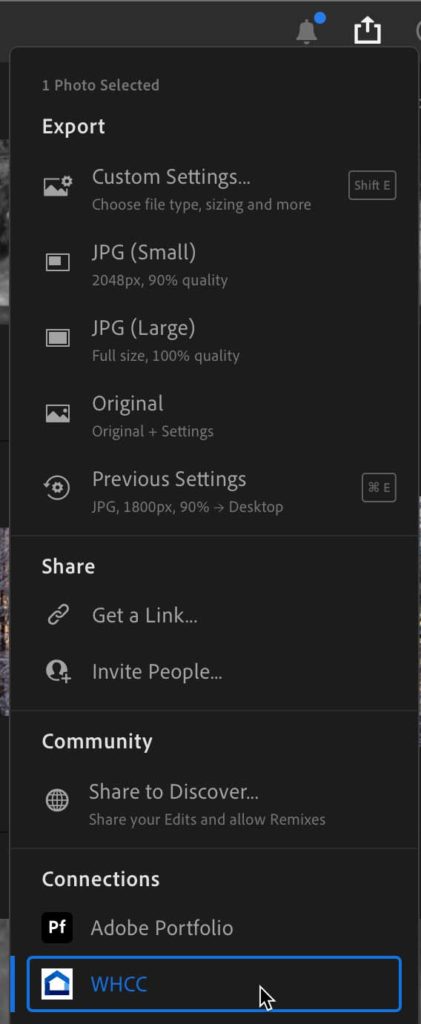
Click the Share button and you’ll see the service you added at the bottom of the list.
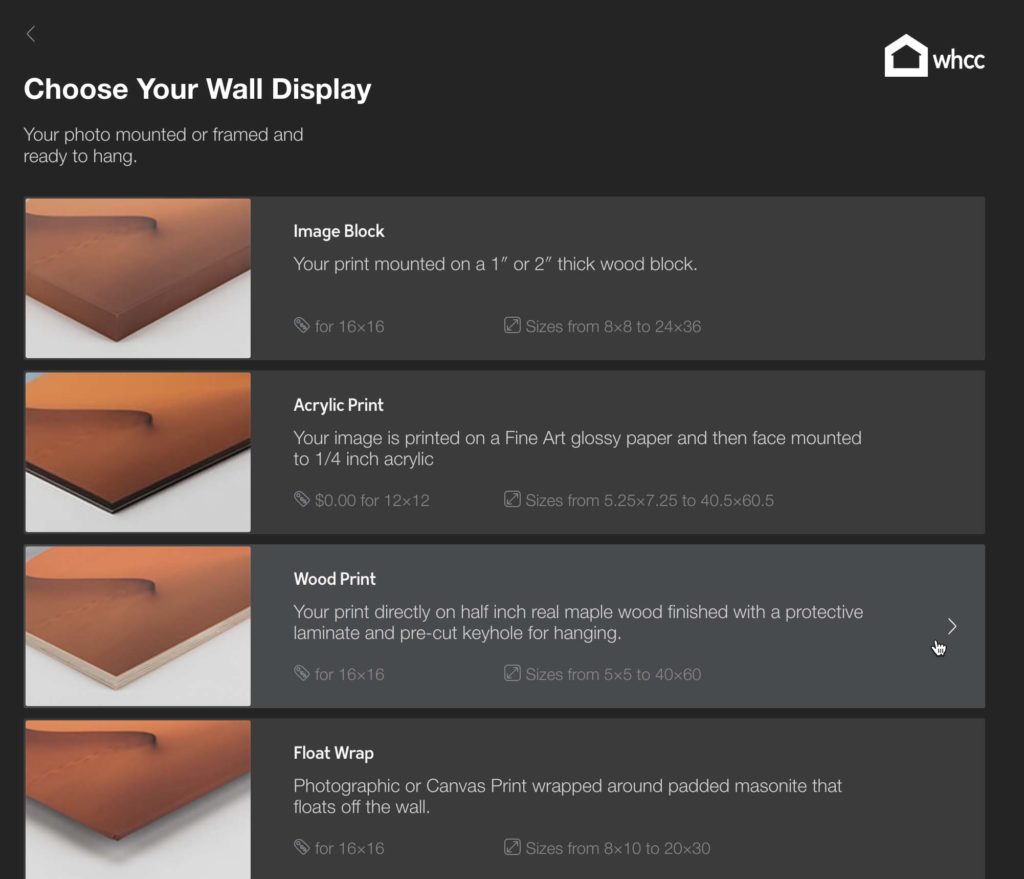
Give the project a name and click Continue to have the photo handed off to the service where you can choose your desired print media and so on. You should get prompted to sign in as part of the handoff, and then you’re in. From here the options will vary based on the service you are using. This is just what it looks like at WHCC right now.
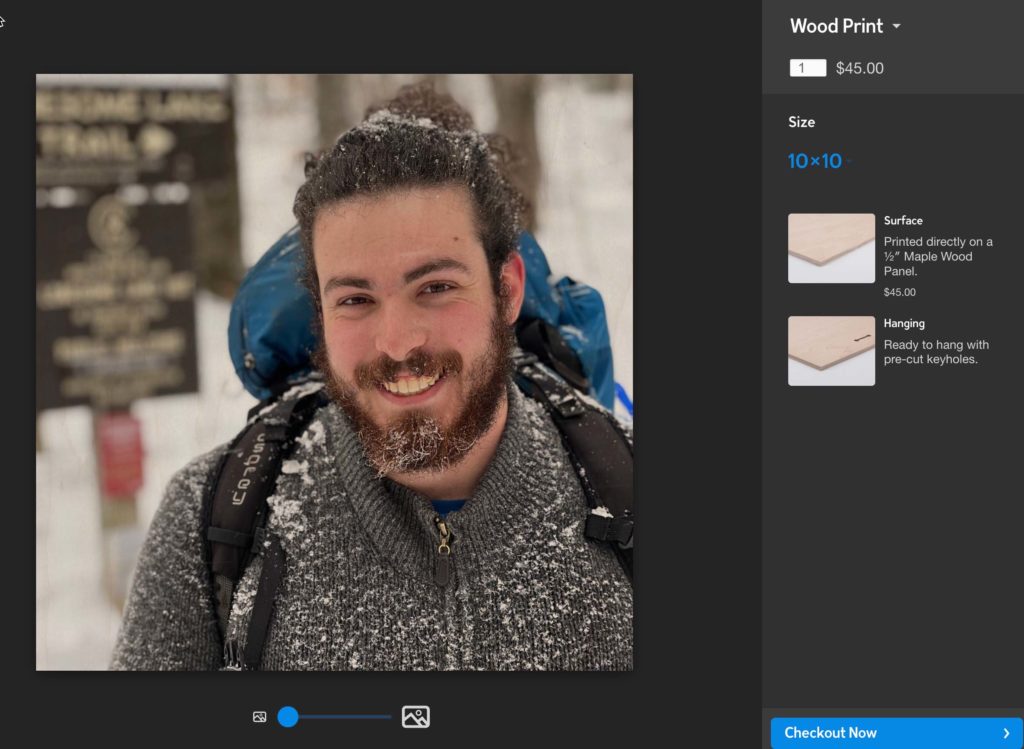
I chose the 10×10 wood block print. It took about 4-5 days before it shipped and then a few more to arrive. I think it may have been about 10 days from when I ordered to arrival, but days seem to blend together anymore. I’m very happy with the results and I hope my wife will be too. Give Connections a try and let me know what you think!
The post Making Connections in Lightroom appeared first on Lightroom Killer Tips.