
Welcome back, and this time we’re digging in a bit deeper into using Layers and picking up where we left off week issue where I introduced the wonder and magic that is Layer Blend Modes. But this time we’re going to look at the big brother (or older cousin or maybe Uncle, I dunno) of these Blend Modes, which are the “Blend If” sliders.
This is definitely a more advanced feature – but not because it’s hard to use (it’s simple), but because you probably wouldn’t even think to use these until you’re a little more advanced in your Photoshop skills, but I think it’s worth introducing them to you now, because (a) they’re really a lot of fun (b) it opens a whole new world of creative exploration, and (c) you’re ready.
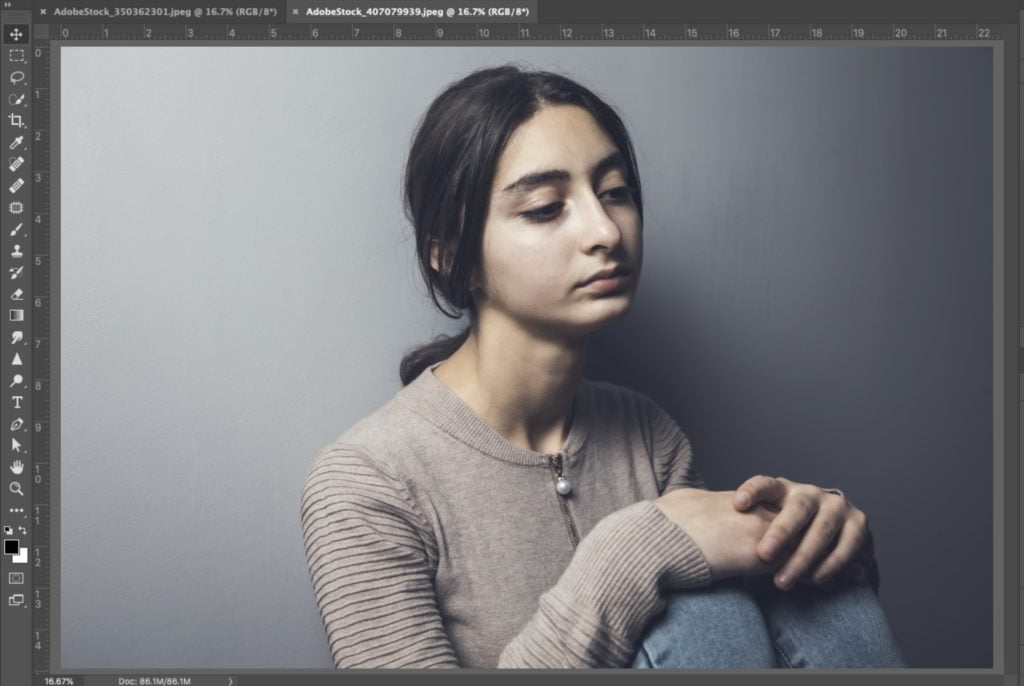
So, let’s dig in by opening a background image, and we’ll build on top of it. The image you see here is from Adobe Stock’s free collection of stock images – I searched for “Sad woman,” and this came because all fine art collages/montages seem to have lots of sad people in them, so I didn’t want to stray too far from the dark, sad place that is Photoshop blending (I’m just kidding, of course).
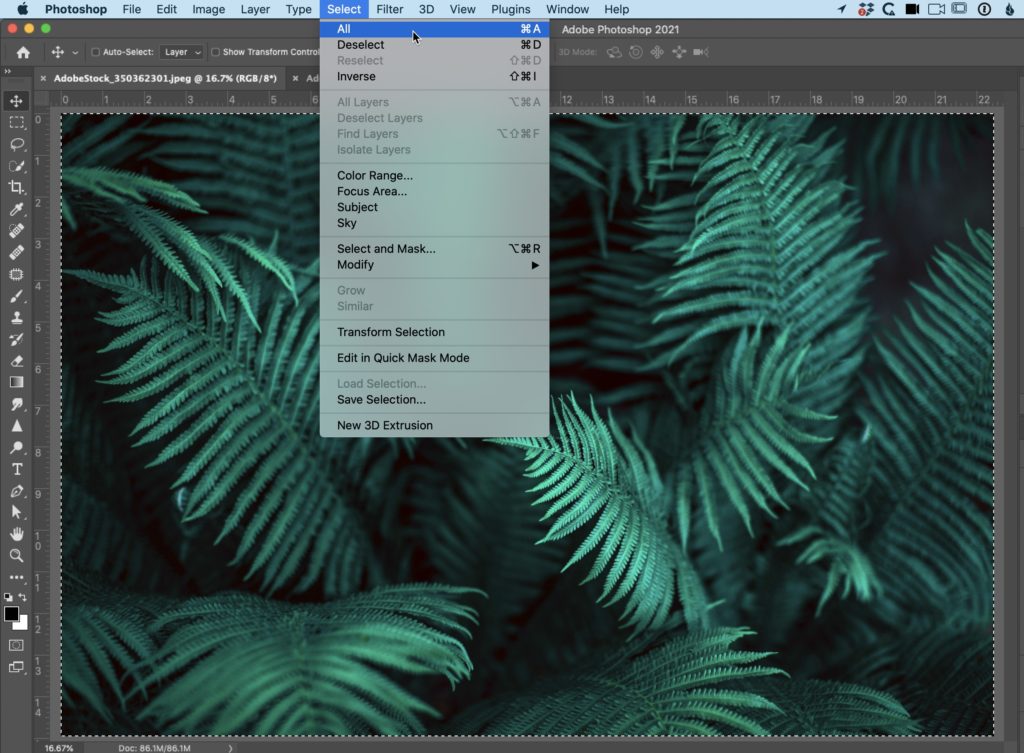
Now let’s open a second image – one we want to blend with our original background image, and it’s another one from Adobe Stock’s free collection.

To get this image over onto our sad woman image, we just need to tell Photoshop how much of this image we want to copy (the answer is: all of it, so go under the Select menu up top and choose “Select All”), and then press Command-C (PC: Ctrl-C) to copy all of this leafy image into memory.
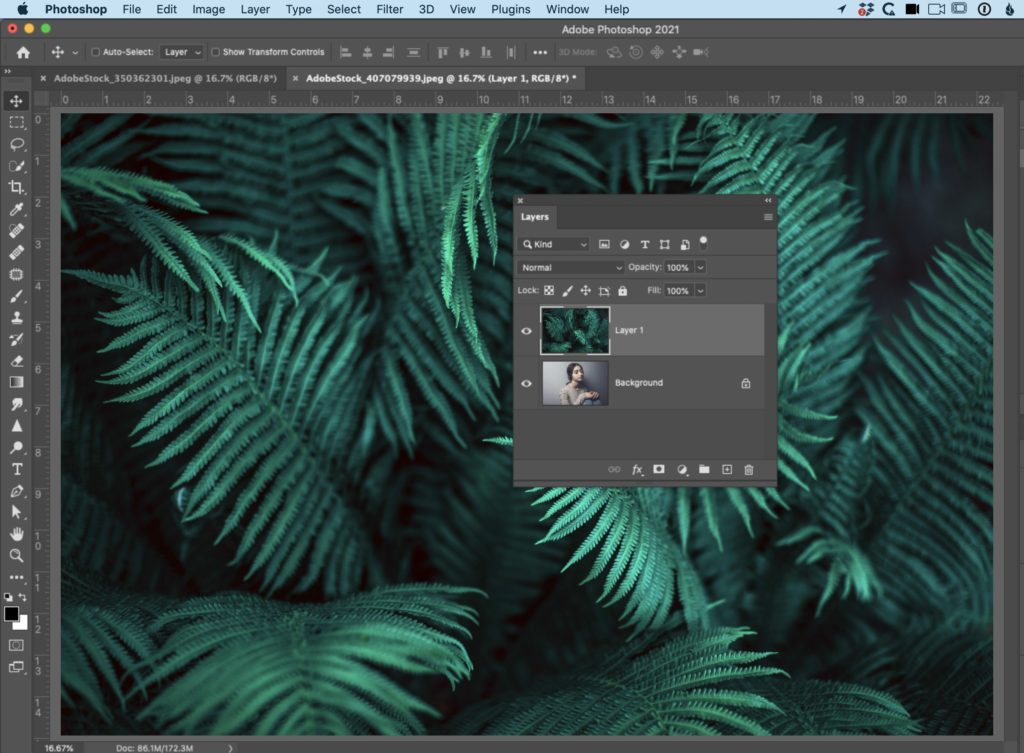
Now switch to the sad woman image and press Command-V (PC: Ctrl-V) to paste the leafy image on top of the sad woman, which will probably make her even sadder (ya know, because covered up by leaves and all). At this point, with the leaves on their own layer and the Layer blend mode set to Normal, as you learned last week, whatever is on this top layer (leaves) is simply going to cover whatever is on the layer below it (sad woman). That’s how it’s supposed to work, right? Right.
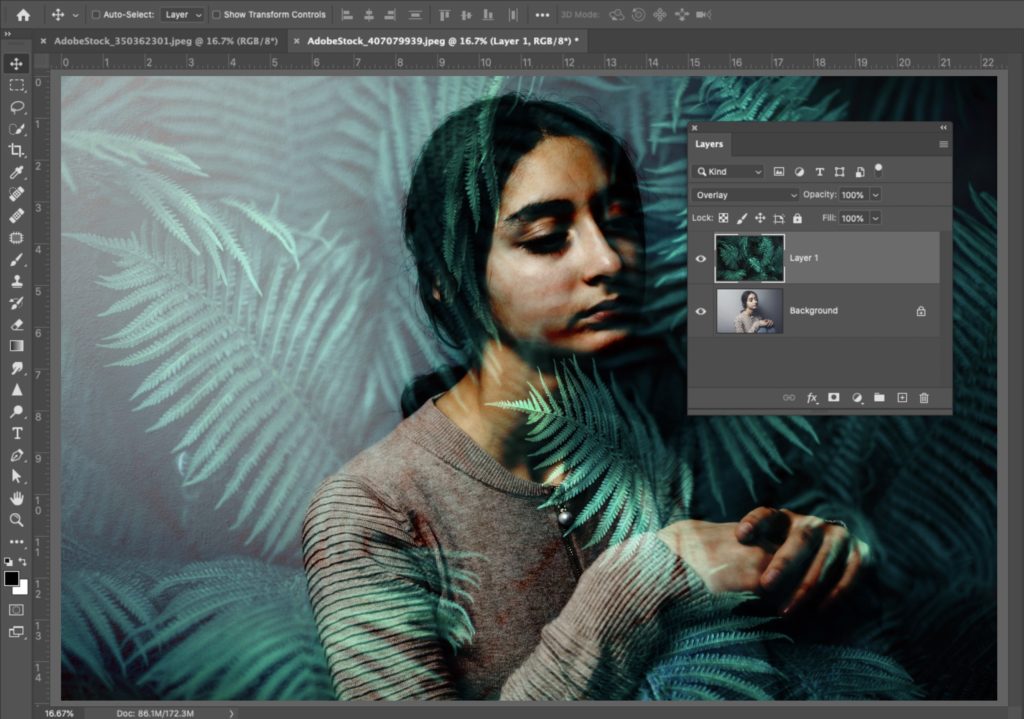
If you wanted to, you could quickly create the first stage of this fine art collage by switching your Layer Blend mode from Normal to Overlay, and now the layer on top blends with the layer below it, as seen here. You can try other blend modes and see how they look by pressing Shift-+ a bunch of times to toggle through all the different blend modes, and just stop at whichever one looks good to you (try the blend modes “Lighter Color” and “Exclusion” which are both kind of interesting. The only downside to using these blend modes is – they are what they are – and by that, I mean if you don’t like the way a particular one looks, you can’t change it – all you can do is try a different one and hope you like it better. Besides lower the Opacity of the layer you’ve changed the blend mode on (which just lowers its intensity), you don’t have any control over how the blending happens – it just happens. That’s why we love the Blend If sliders, and in the next step, we start to use them.
OK, now set your blend mode back to Normal because it’s time to uncork the genie that is the “Blend If” sliders. Once your blend mode is back to Normal (and all you’re seeing is the leaves layer), go to the Layers panel and double-click directly on the top layer’s thumbnail (the leaves layer), and this will bring up the Blending Options window you see here. What we’re interested in here are those two “Blend if” sliders at the bottom of the panel. That’s what we came here for.
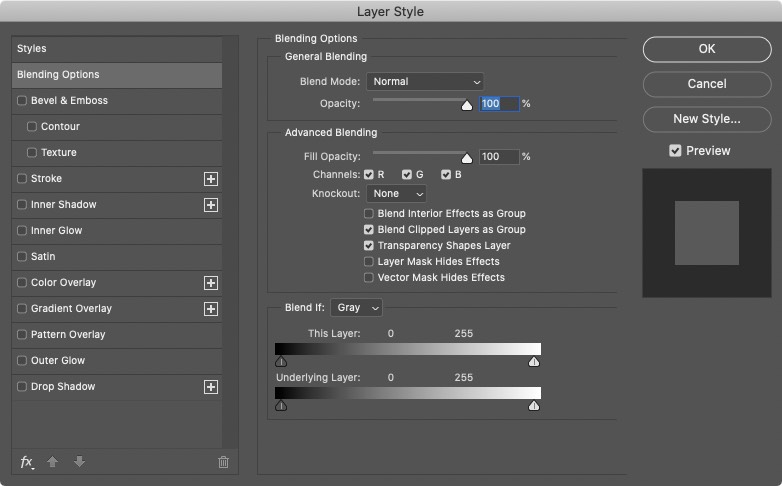
Do you see the little sliders under each of the two ramps? That’s what we use to control the blending of layers, but if you just grab one, let’s say you drag the top left one to the right a bit, it generally looks harsh with a rough blend between the two images on these layers (as seen below). It’s not the nice smooth look you have with Layer Blend modes, but there’s a way around that.
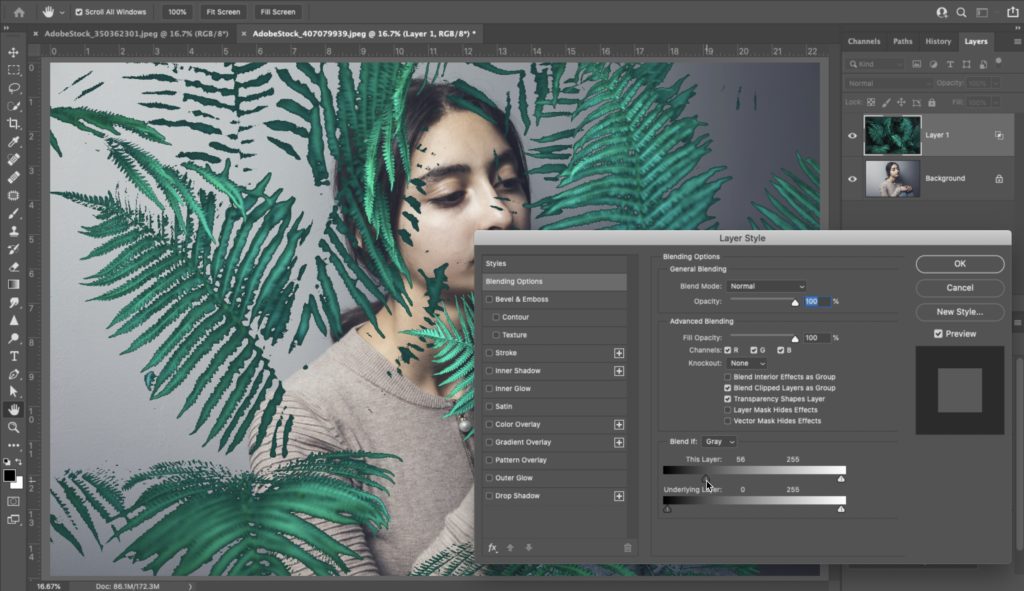
Drag that slider all the way back to the left, and it’s time to uncover the hidden secret that makes the Blend if sliders work smoothly and will help you to fall in love with them, and that is: if you hold the Option key on Mac (the Alt-key on PC), and then you drag the slider, it splits the little arrow nub in two and now as you drag 1/2 of that slider nub the blend is nice and smooth as seen here.
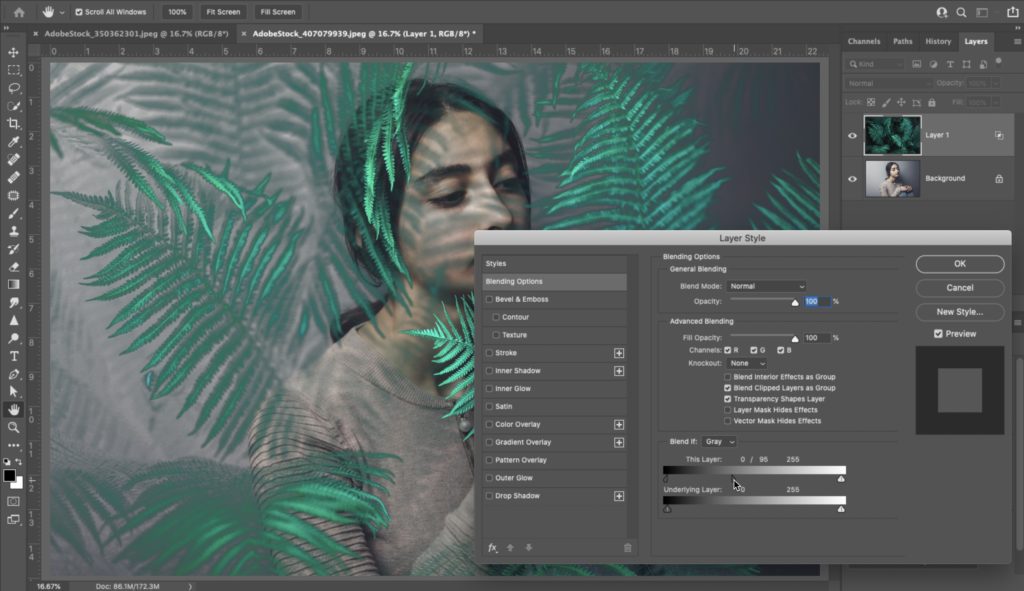
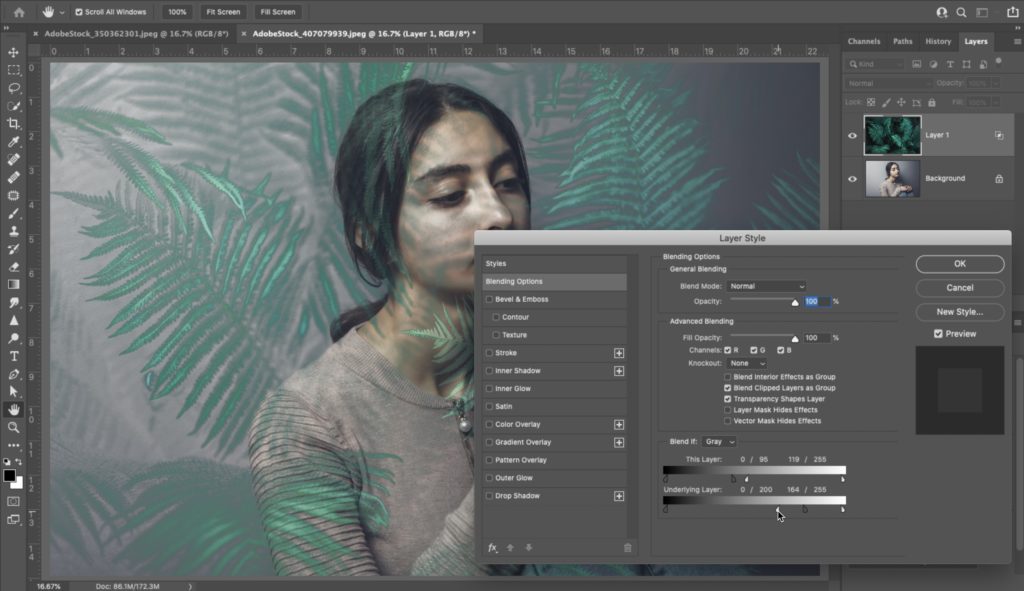
Now, while still holding the Option key (Alt-key on PC) down, try dragging the other sliders, splitting them in two, and seeing how they affect your image. There is no right or wrong here – this is art, so wherever you choose to stop is exactly the right place. Move one, move all four, there are no rules – just experiment and see what looks good to you. When you’re done, click OK, and we’ll try adding another image in the next step.
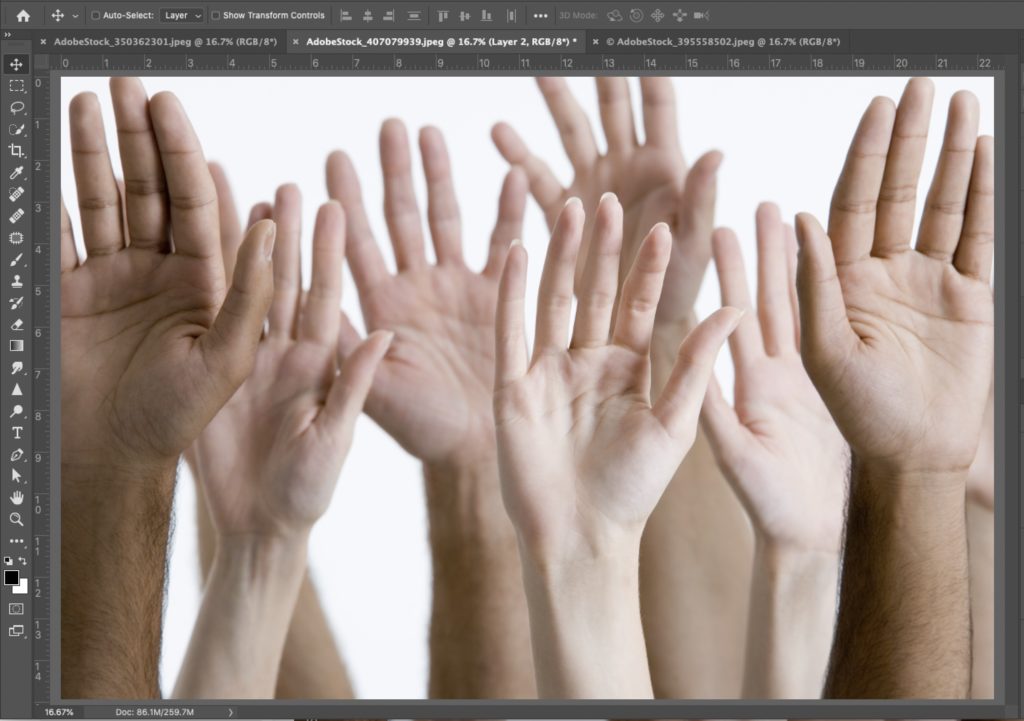
OK, let’s go find another image – this time, it’s some hands showing their palms, which I figured would take the creepy factor up a notch. Remember to Select All first, then copy and paste these hands onto our sad woman with leaves montage, and once it’s there, double-click on its thumbnail in the Layers panel so we can start messing with the Blend if Sliders.
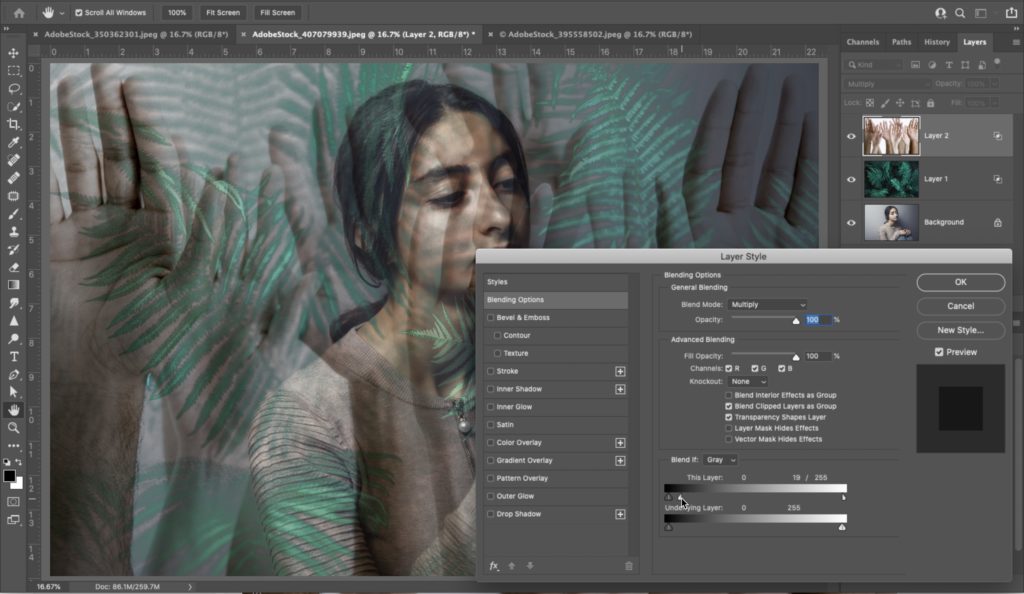
At this point, we’re just experimenting – dragging sliders and seeing what looks good to us. Still, you can start by choosing a Layer Blend mode, as I did here by choosing Multiply mode, which I thought looked kind of cool, and then double-click on the thumbnail and start messing with the sliders from that point. Here, after I switched the blend mode to Multiply (which you can do right here in the Blending Options window up near the top), then I split the top right slider and dragged it almost all the way to the left. OK, this is looking very disturbing.
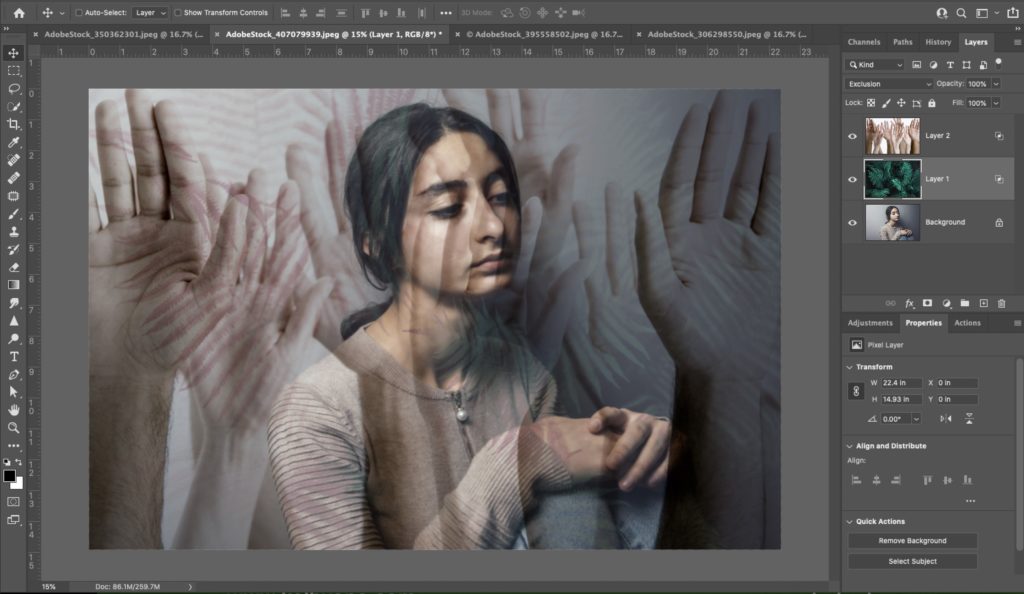
Now that I look at this, I might go and try some different blend modes for that leaf layer, so in the Layers panel, click on the leaves layer and then try out different ones using the Shift-+ shortcut. OK, I think I like the Exclusion layer blend mode better, but you can choose anyone that looks good to you or just leave it set to Normal.
OK, last image to add to our montage: some dirty, rusty flooring texture. Do the whole copy and paste routine to add it on top of your sad woman, leaves, creepy palms document.
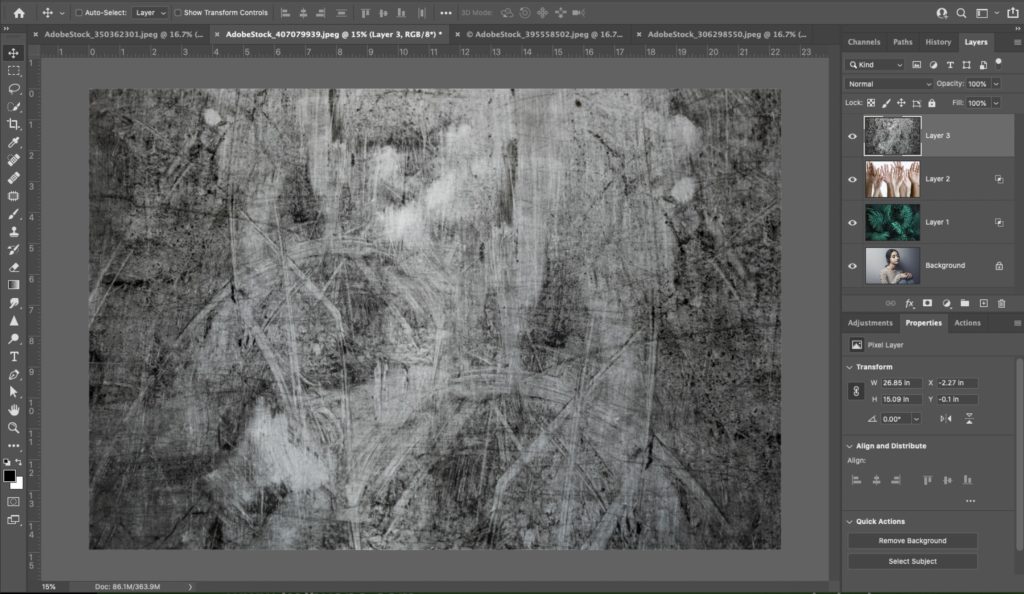
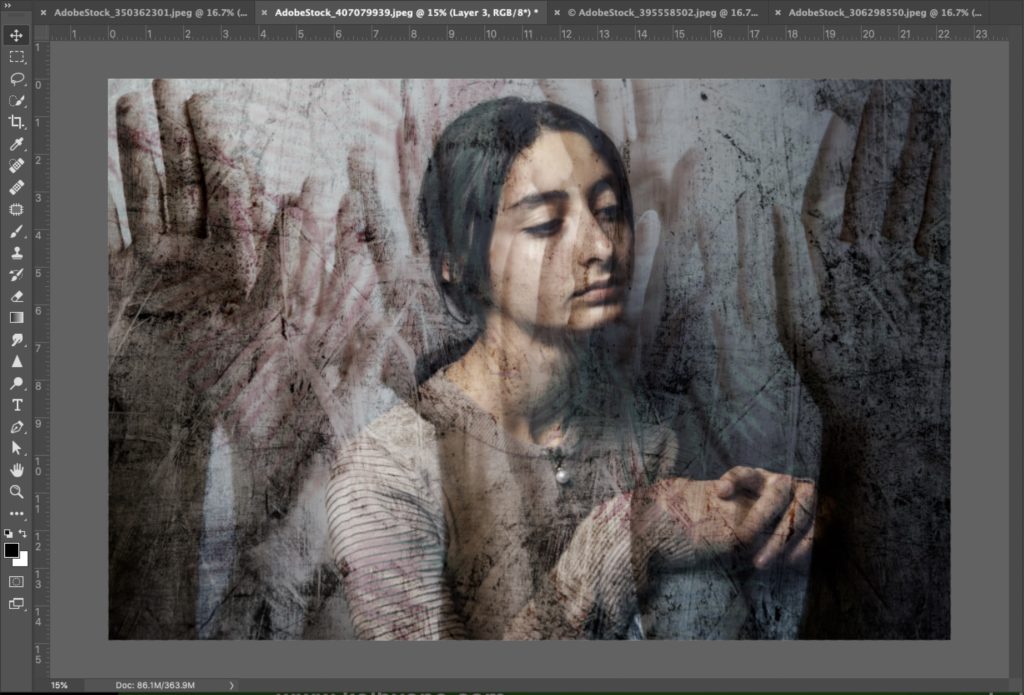
Let’s start by trying the Overlay layer blend mode (that’s my go-to move when I’m adding a texture. If that looks too intense, I try Soft Light mode instead). Overlay actually looks pretty good here, but we can control the blend using the Blend if sliders.
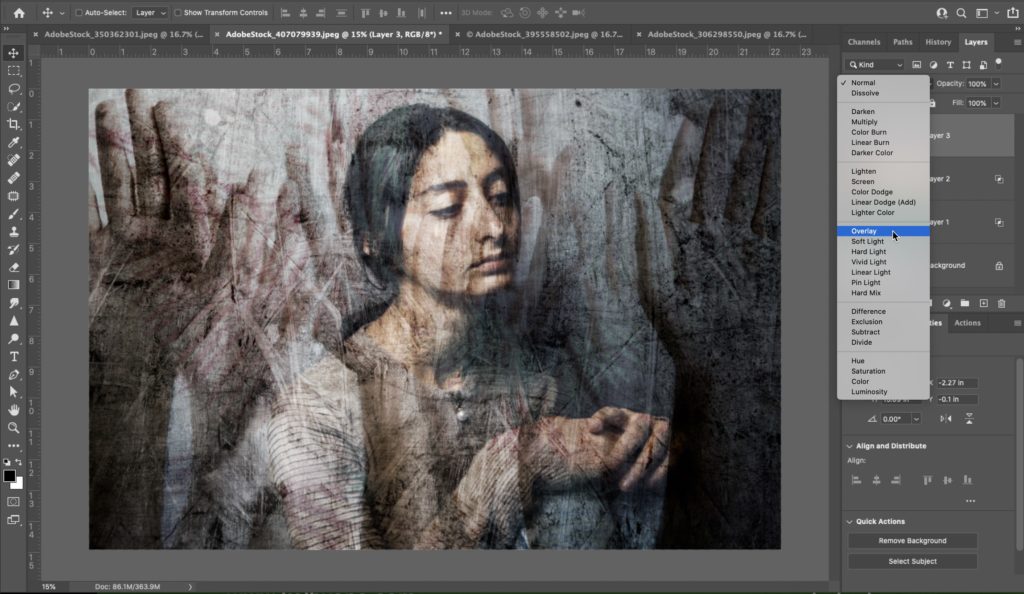
Double-click the layer thumbnail for the texture layer, and let’s start messing with the Blend if sliders and see what looks good (in this case, I split the top right nub and dragged the 1/2 nub nearly all the way to the left).

Here’s our final image – of course, you could add more pictures and continue this process. You’re just a creepy clown image or a large beetle away from taking a really dark turn with this one. LOL!! Anyway, you’ve just opened the door to a whole new world of blending (and of course, it’s not just for creating montages – it’s just a great way to learn how they work).
I hope you found that helpful, and next Tuesday, we’ll continue our learning Photoshop journey.
See you then. 
-Scott
The post Photoshop for Lightroom Users #9: The Awesomeness of the “Blend If” Sliders appeared first on Lightroom Killer Tips.