
Last Tuesday, (in Part 2), we talked about one of the biggest reasons that I jump over to Photoshop from Lightroom in the first place, which is to remove unwanted “stuff” in my photo, and we went over the Healing Brush and Patch tools. This issue, we’re going to cover a feature that’s been in Photoshop for more than 30 years (yes, it was in Photoshop 1.0, and it’s so good I still use it daily). It’s the Clone Stamp tool, and it’s awesome for removing stuff you don’t want by covering it with something that’s similar nearby. When you use the Clone Stamp tool in conjunction with the tools we learned the last issue, there’s just about nothing you can’t remove without a trace.
The Clone Stamp tool is well-named because it makes a clone copy of an area you choose, and it lets you copy that area right over the thing you want to delete. It works way better than it sounds. Here’s how to get started with this awesome tool:
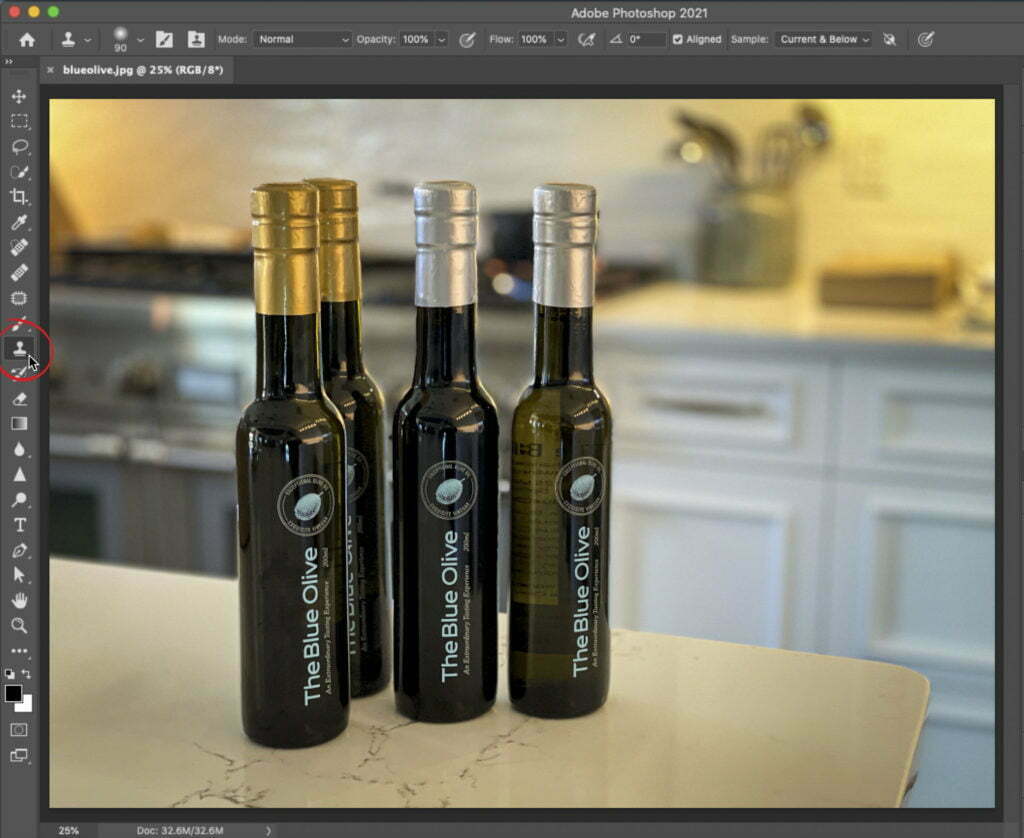
STEP ONE: Get the Clone Stamp Tool from the Toolbar. Its icon looks like a rubber stamp, but if you were born after the year 2000, you probably don’t know what a rubber stamp is since we stopped using them even before 2000, so I know, and your parents remember, but that’s about it. I circled it above in red just in case (it’s probably time for Adobe to choose a new icon, but I digress). For now, let’s get that Clone Stamp tool. You can also press the letter S on your keyboard to activate it.
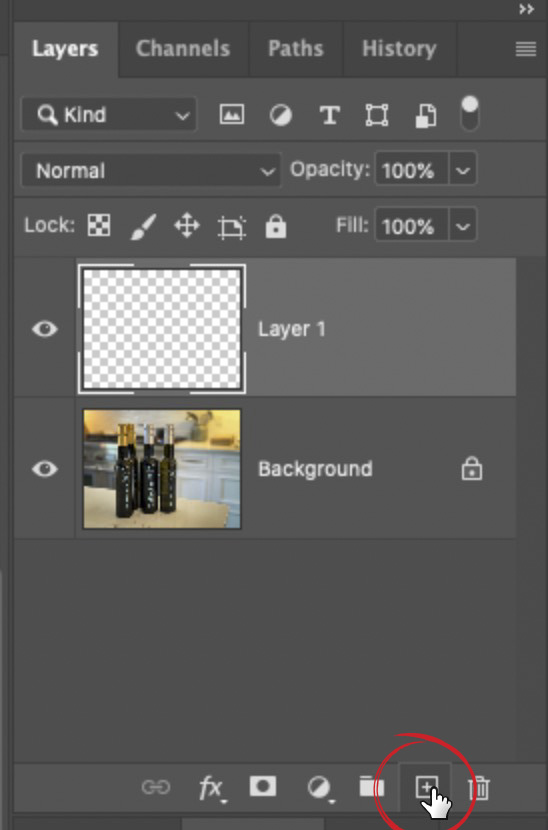
STEP TWO: Now this step isn’t 100% necessary, but it will help make life easier for what we’re going to do in this project, which is to clone an extra bottle of olive oil over on the right side of the counter. Even though we haven’t talked about layers yet (and we will, in-depth soon, but not today), just know that by creating a layer, the clone bottle we create will actually float above our image, so we can move it, resize it, and stuff like that without messing with the original image below it. More importantly for this project, if we make a mistake and “paint outside the lines,” we can easily erase it, so that’s the main reason we’re doing it here. Go to the Layers panel and click the Create a New Layer icon at the bottom of the panel (circled here in red).

There’s an important setting up in the Options Bar at the top of the Photoshop interface, and that’s the Sample drop-down menu. Make sure it’s set to Current & Below. If it’s set to Current Layer, when you go to clone in the following steps, nothing will happen because you’re working on an empty layer. There’s nothing there to clone.
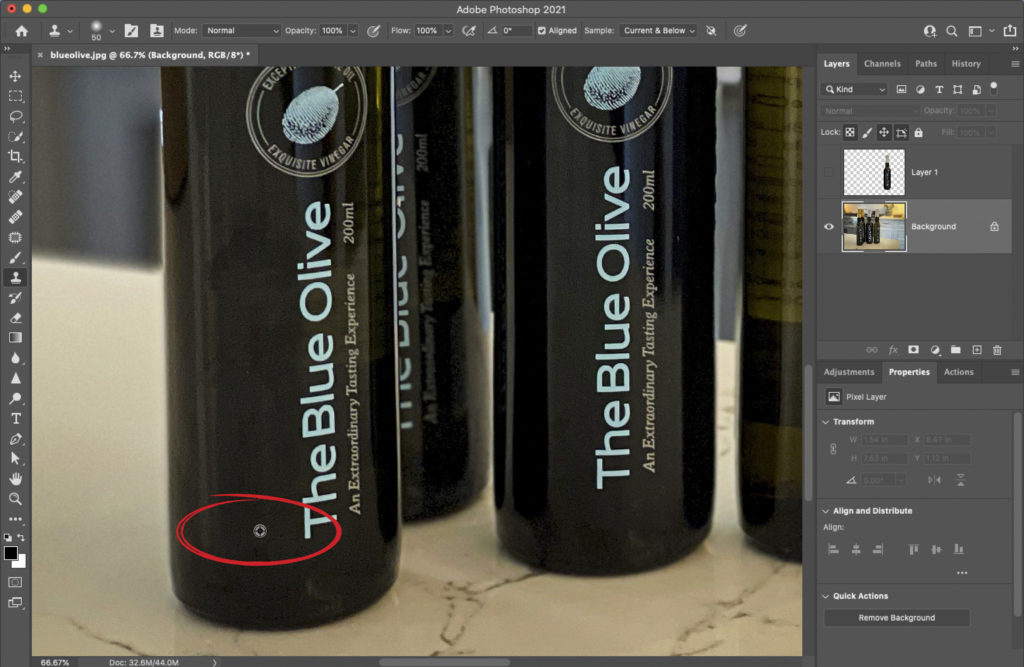
STEP THREE: The way the Clone Stamp tool works is like this: You hold down the Option (PC: Alt) key and click once on the thing you want to clone. In this case, we’re going to make a clone of the third bottle from the left. When you hold the Option (PC: Alt) key, you’ll see your cursor change into kind of a target-looking icon. That lets you know it’s ready to “sample” an area for cloning. In this example, we’re going to click the tool once on the neck of the bottle to let Photoshop know that’s the thing we want to clone (I circled where I clicked here in red; apparently, I like circling things in red).
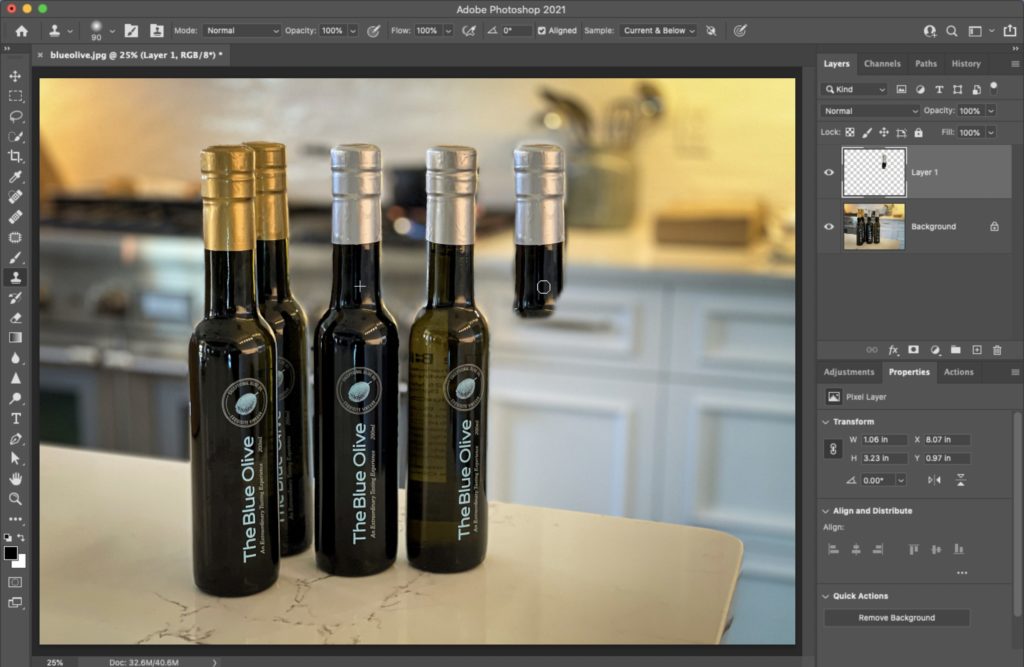
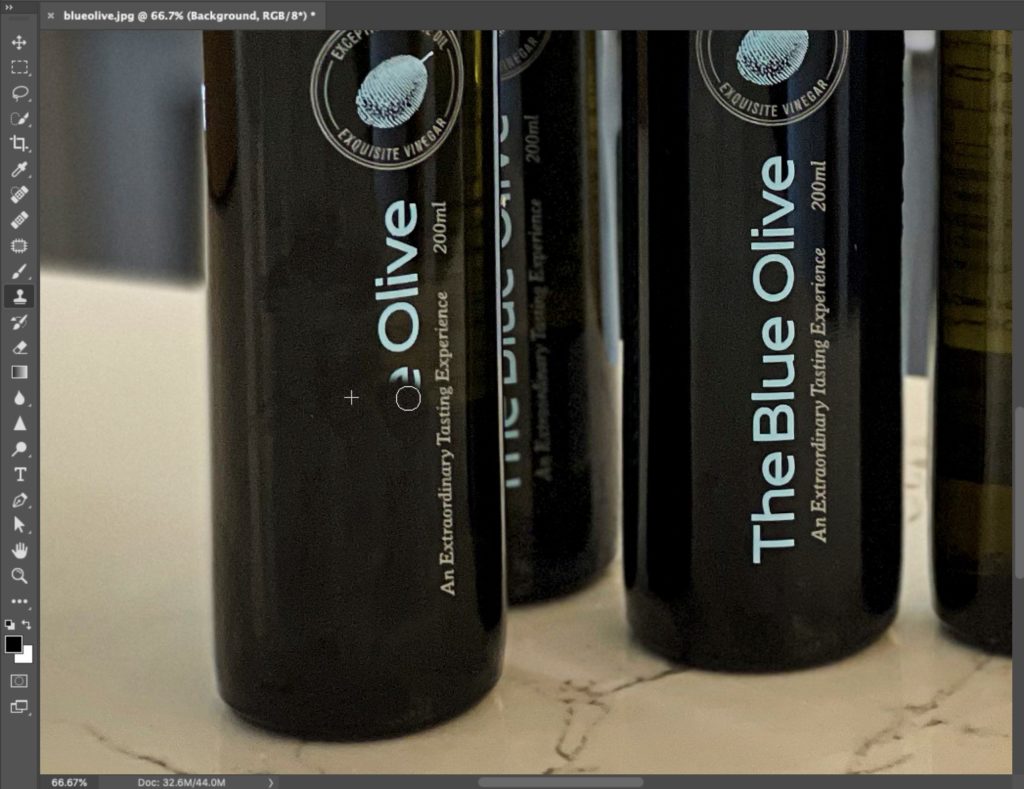
STEP FOUR: Now move your cursor over the area where you want the clone to appear (in our case, to the right of the existing four bottles) and start painting it in. You can see here the bottle is starting to come in, and you can also see that there are two cursors: (1) the + cursor on the left shows the area from which I’m cloning (also known as “sampling”), and (2) the round brush tip cursor on the right shows where I’m cloning to. Also, you can change the size of your brush by using the Left and Right Bracket keys ([ ]) on your keyboard (they’re to the right of the letter P on a standard US keyboard).
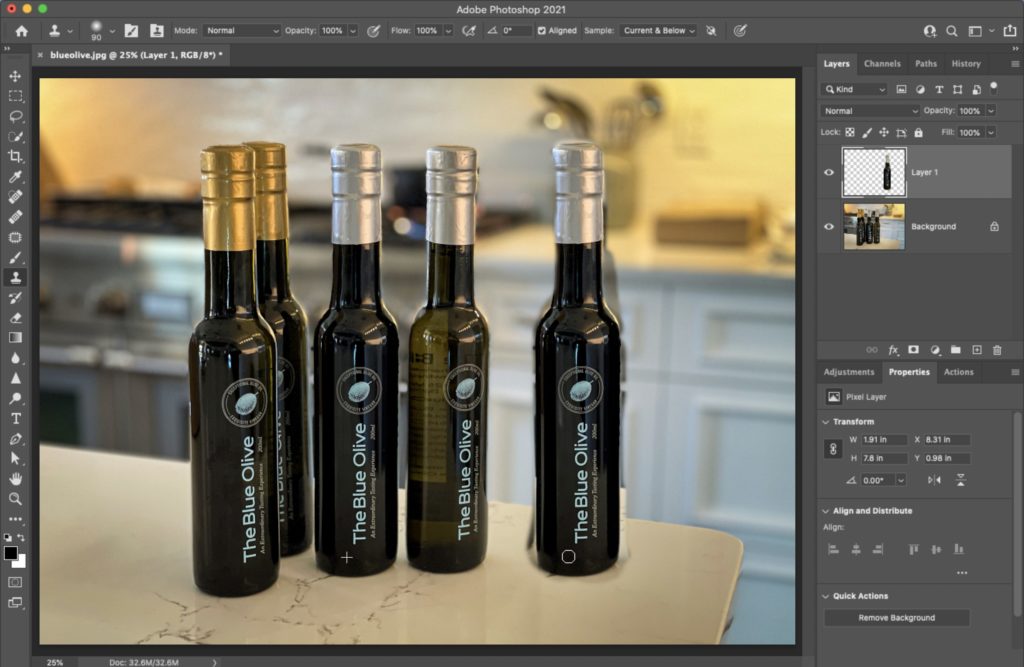
STEP FIVE: Keep painting with the Clone Stamp tool until your clone is fully painted in (as shown here with the “new” bottle). Yeah, there’s some spillover where you’re seeing the cloned background on either side and top of the bottle. That’s called “a hack job” in the biz, but that’s why we put it on its own separate layer, so we could erase those spillover areas after the fact so it doesn’t look like a hack job.

STEP SIX: Now switch to the Eraser tool. Its icon looks like (wait for it…wait for it…) an eraser. You can press the letter E on your keyboard to activate it. In the Options Bar at the top of the Photoshop interface, select Brush in the Mode drop-down menu, and carefully erase those spillover areas outside the bottle (remember to use the Bracket keys on your keyboard to resize the brush as needed). Here are two tips that might help: (1) Go slowly because you’ll be much more accurate in your erasing, and (2) you can erase in a straight line if you click the cursor where you want the line to start, hold the Shift key, and click the cursor one more time where you want the line to end. It will erase in a straight line between those two points you clicked.
STEP SEVEN: Okay, so now you have the basic idea of cloning: It makes copies (clones) of stuff. But how do we use it to remove distracting stuff? Let’s zoom in on one of the bottles (as shown here), and let’s say you want to remove the text on the front of the bottle. You’d start by sampling an area nearby, so it kind of has the same lighting, texture, and stuff like that. Here I held the Option (PC: Alt) key and clicked just to the left of the text. You don’t want to get too close, however, because if you do and that little + sign crosses over onto where you’re cloning, it will start to reclone the text, which you don’t want (this will become clear the first time you try cloning and get that + sign cursor too close to what you’re cloning).
STEP EIGHT: Now move your cursor over the area you want to clone over and start painting (as shown here with the text) and, as you paint, it will make a copy (clone) of the area where you Option-clicked (PC: Alt-clicked) and paint that right over the text. This is why it’s so important to clone nearby, so you get the same lighting and texture, but not too near that it starts to copy over itself. It’s a balancing act, and one thing that can help if it starts to clone over itself is to make your brush size smaller; the bigger the brush size, the more chance you’ll wind up having it clone over itself.
Okay, there’s your start into the world of cloning. Next issue, we’ll look at when to use the Healing Brush and when you should use the Clone Stamp tool instead.
I hope you found this helpful, and we’ll catch you again next Tuesday.
-Scott
The post Photoshop For Lightroom Users – Part 3: The Clone Stamp Tool appeared first on Lightroom Killer Tips.