
If you haven’t checked out the cloud-based version of Lightroom for Mac and Windows recently, it might be worth taking another look. Before going any further, you may want to read through my blog post on the May 2019 updates to Lightroom to better understand the most recent name change Adobe has made to its Lightroom family of applications (short version, they dropped the “CC” from all Lightroom product names).
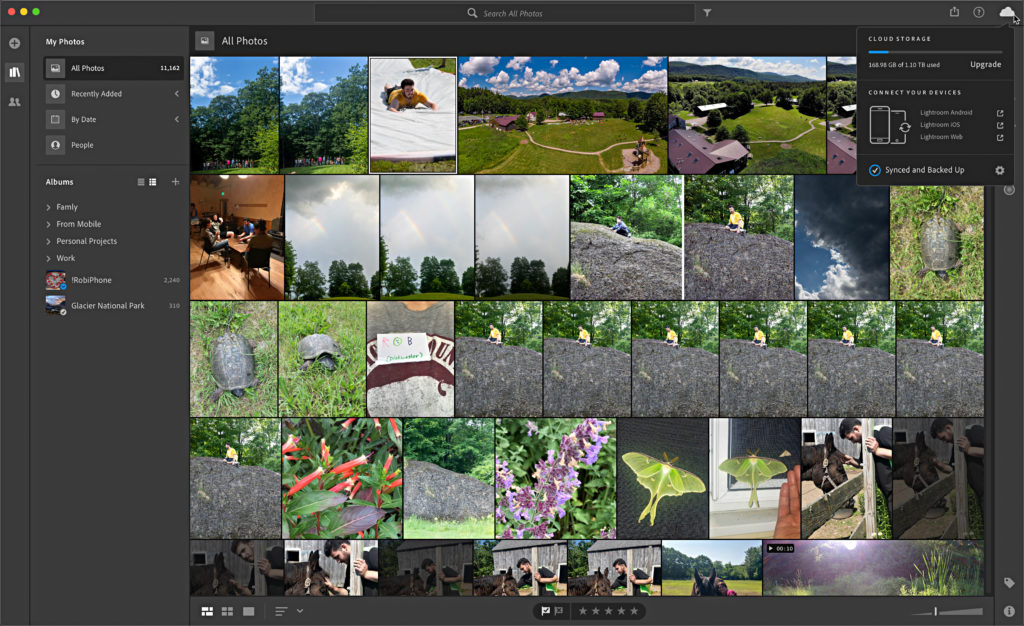
When I say the cloud-based version of Lightroom, I am referring to that Lightroom ecosystem of apps for Mac, Windows, iOS, Android, ChromeOS, Apple TV, and even lightroom.adobe.com. Lightroom for desktop shown below.
Each of these applications refers to the centrally located pool of photos and edits stored in the “cloud” (Adobe’s Creative Cloud storage). Since the release of this “ecosystem” across all platforms Adobe has steadily released new features to bring it closer in functionality to its big brother, Lightroom Classic. Now, I don’t expect we’ll ever see one for one feature parity between the cloud-based Lightroom apps and everything in Lightroom Classic, but with each new feature Lightroom gets closer to becoming a viable solution for more and more people.
Lightroom
Classic is still my go-to application for managing my entire library of
photography, but I am increasingly finding myself attracted to the primary benefit
offered by the Lightroom ecosystem, which is access to the full resolution
versions of all of my imported photos from any device I happen to have in my hand
at the time. That said, the more I use the desktop version of Lightroom the
more impressed I am with its performance and ease of use. Adobe has taken the opportunity
to build this new desktop version of Lightroom from the ground up, and in so
doing have diverged in some places from Lightroom Classic to make things more
intuitive for the user (for example, pressing “C” opens your photo into the
Crop tool, as opposed to remembering that “R” is the shortcut in Lightroom
Classic). In this same vein, there is no switching between modules in the
cloud-based Lightroom. Instead, you just open the panel for the tools you want
to use and away you go. Let’s take a closer look.
The Interface
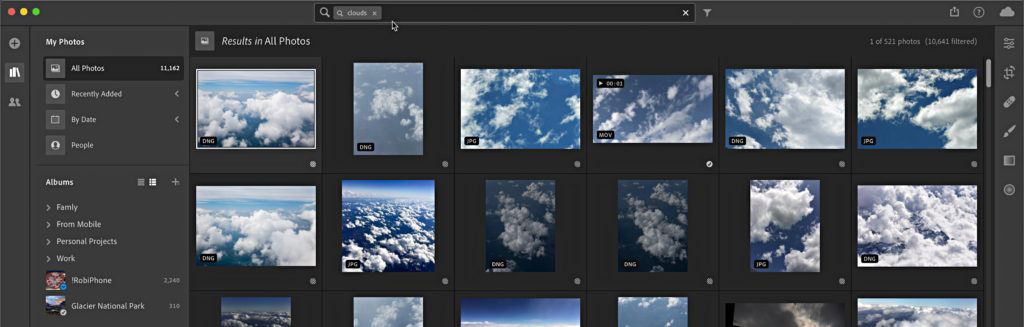
As in Lightroom Classic, there is a grid for viewing, finding, and organizing your photo library. Actually, there are two grid views, one called the Photo Grid (as shown in the previous figure) and one called the Square Grid (shown here).
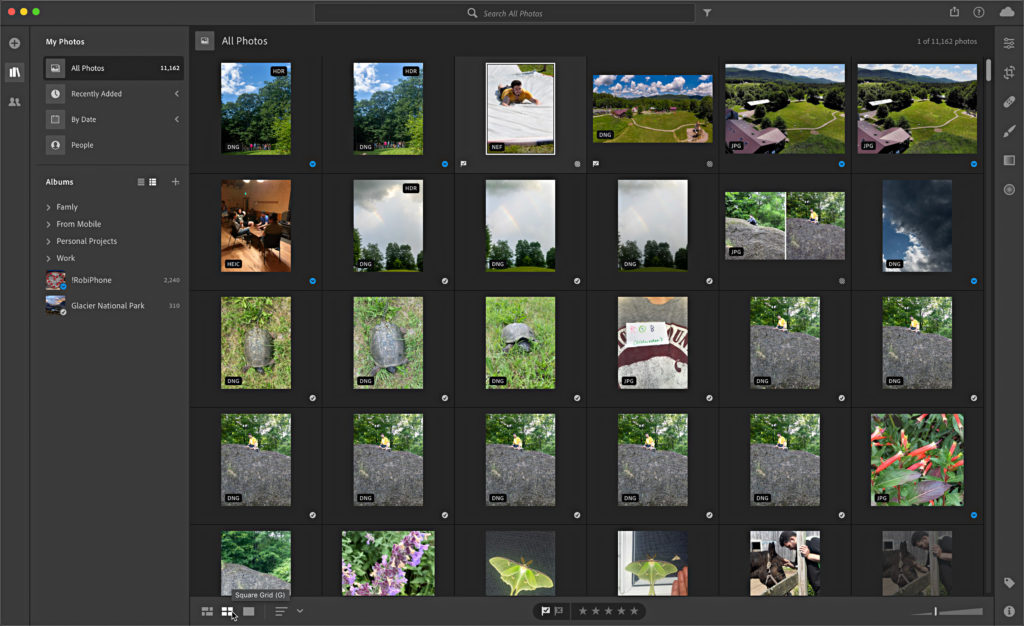
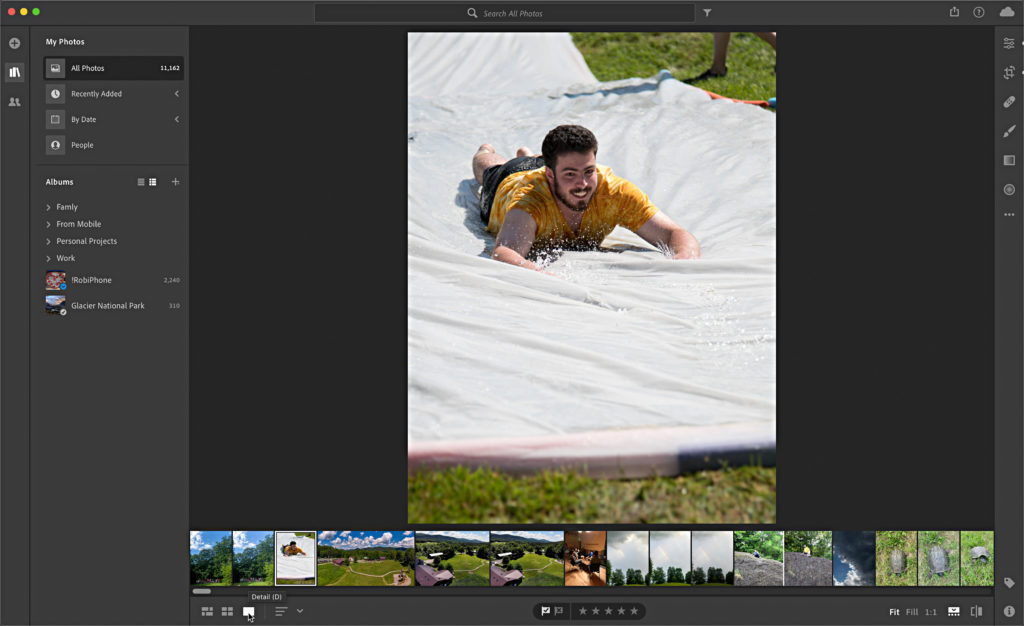
The main difference between the two grid views is that in Square Grid you can see some additional information about the photos, such as its sync status and file type. Press the G key to switch between these two views, or if you are in what is called Detail view, where you view a single photo at a time you can press G to jump back to the grid. Pressing D takes you to Detail view.
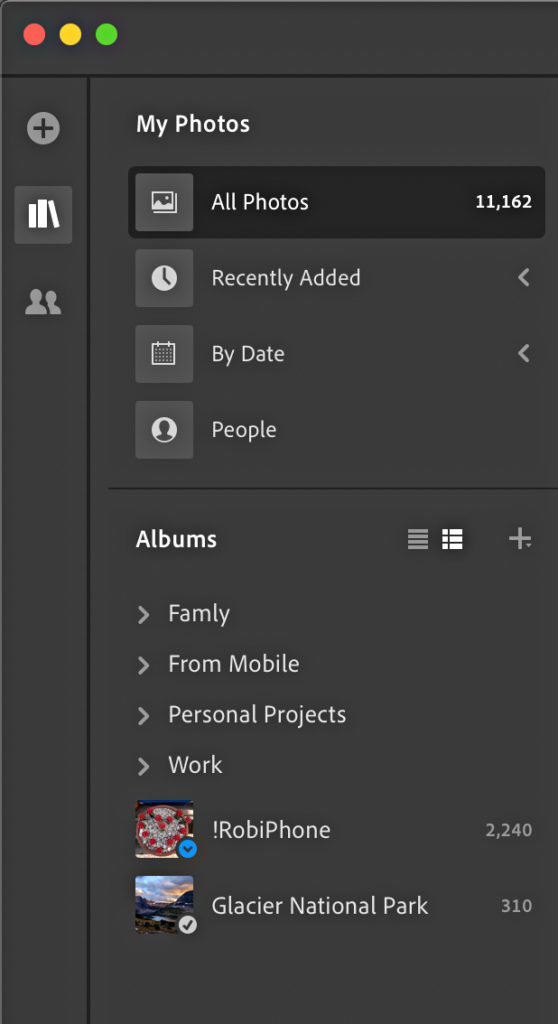
You can access your photos via the panels on the left side of the interface. Pressing P shows and hides the panel containing My Photos, which can also be achieved by clicking the My Photos icon (looks like three books) on the far-left edge. At the top, My Photos provides quick access to your entire library, recently added photos, All your photos organized by capture date, and the People view that uses facial recognition to group the people in your photos together for easy naming. Below that is the Albums section where you can organize your photos into Albums based on your needs, and then group the Albums together into Folders.
Although the cloud-based Lightroom does not use color labels, it does allow for assigning ratings and flags. While you can apply keywords (in a flat list only), it does have a major advantage over Lightroom Classic in that all imported photos are automatically analyzed and tagged for the content they contain, which allows you to perform searches on your library using Adobe Sensei (located at the top of the interface) to find photos quickly and easily.
Adding Photos
You can add new photos to Lightroom by clicking the Add Photos icon at the top of the left edge of the interface (plus sign).
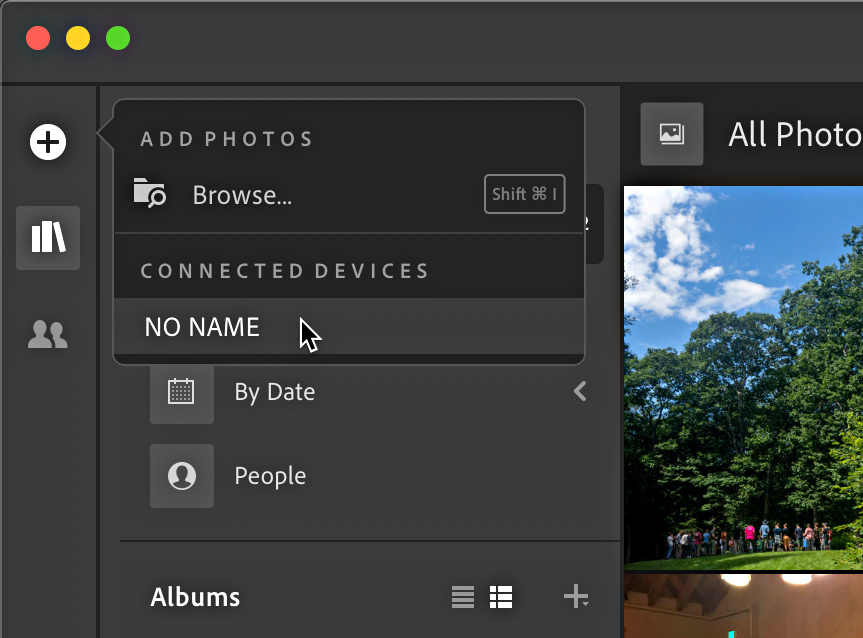
After choosing your source, you’ll be presented with the thumbnails for the photos and videos at that location. You can choose which files to add, and choose (or create) an album to include them in as part of the process.
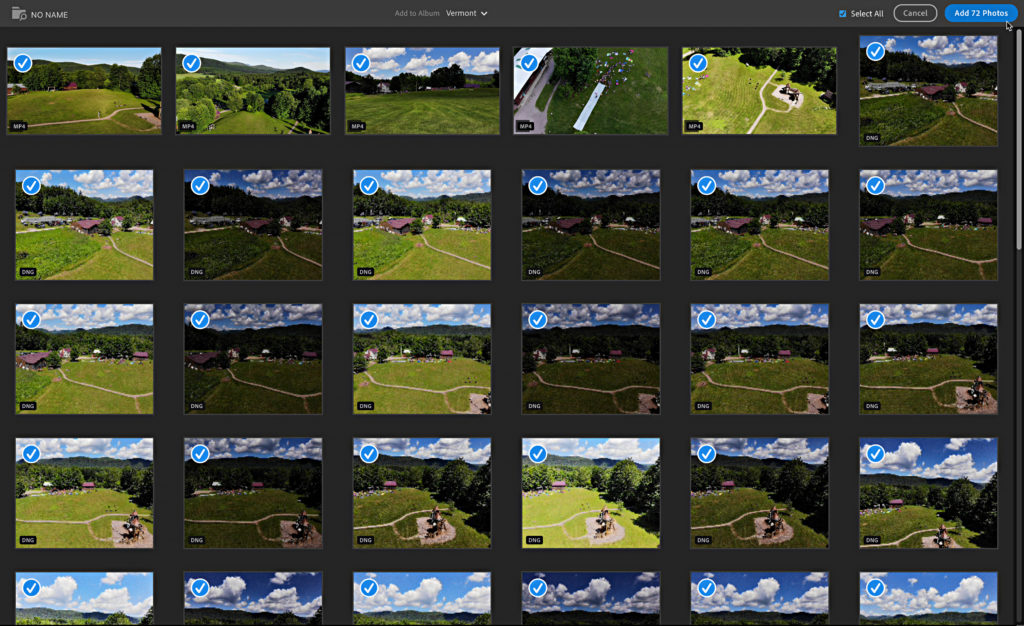
The photos are quickly added to Lightroom, and once you are connected to the Internet, they will begin uploading the full resolution copies to the cloud. Obviously, you’ll need an adequate amount of cloud storage for your needs to make this work. There is a Lightroom (only) plan that includes 1TB of storage and all of the cloud-based Lightroom apps (Mac, Windows, iOS, Android, ChromeOS) for all of your devices. You can add more cloud storage at an additional $9.99/month per TB.
My son’s prom was this past May and I was asked to take some pre-prom photos of the couple. I thought this would be a good test for the Lightroom app. We went down to the center of our town for the shoot, and then sat in a coffee shop for a break before going to the prom. While everyone ordered their drinks, I pulled out my laptop, popped in the memory card from my Nikon D850, and added the 300+ photos to Lightroom. The photos were ready to view by the time everyone sat down. I was not online, so the photos remained stored locally while we went through them flagging the ones they liked the best. I even did a couple of quick edits as we went along. When I returned home I just opened my laptop and the upload process began automatically. I put the picks in an album of their own and shared that via text message to my son while they were still at the prom. All in all, I was very impressed with how smoothly that process had gone.
Join me next week and we’ll take a closer look at the editing experience in the Lightroom for desktop app and how similar, yet different it is from Lightroom Classic.
The post Taking a Closer Look at the Cloud-based Lightroom for Desktop App appeared first on Lightroom Killer Tips.