
1. Using advanced Blending: Blend if.. in Photoshop
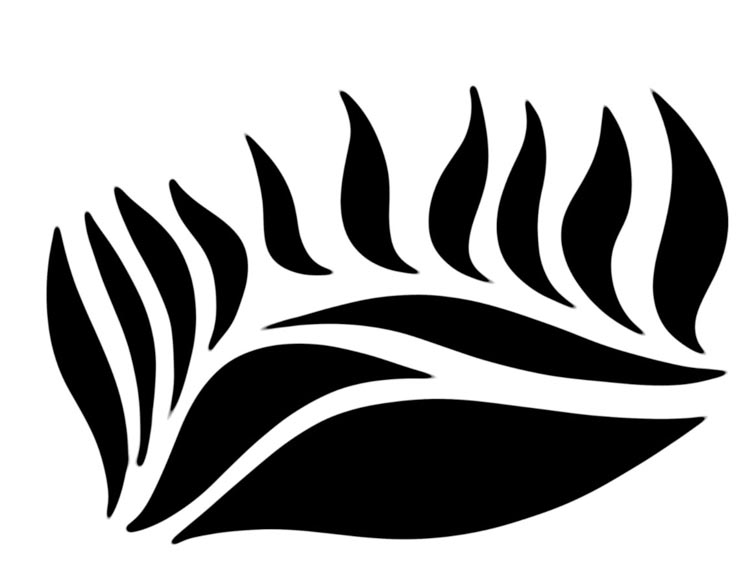
If you are working against a clean shape with a solid background, this method is the fastest. Here is a shape I drew, black against white.
Step 2.
Place the photo above the shape on a new layer. (How to combine images in Photoshop)

Step 3.
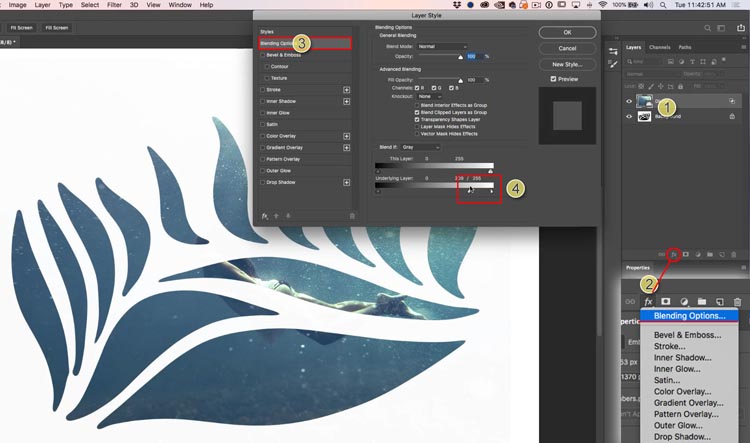
With your image layer selected (1)…
Click of the fx (2) in the Layer panel and choose Blending Options from the drop down up menu.
Drag the triangle on the bottom bar (4) to the left.
The edges will look jaggy. Hold Alt/Option and drag the right side of the triangle to the right. The edges will now be smooth
Click ok
Method #2: Paste Into. Photoshop Layer Mask technique
Works well for a flattened shape with background showing.
Step 1.
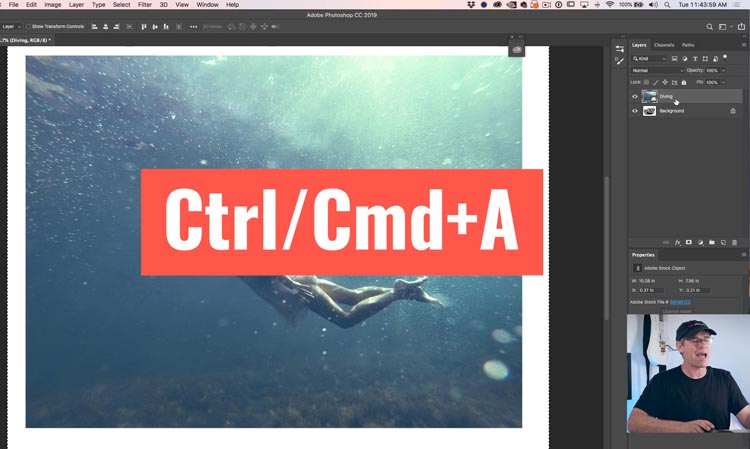
With the photo on the layer above the shape, Press Cmd/Ctrl+A to select all
Press Cmd/Ctrl+C to copy the photo to the clipboard.
Step 2.
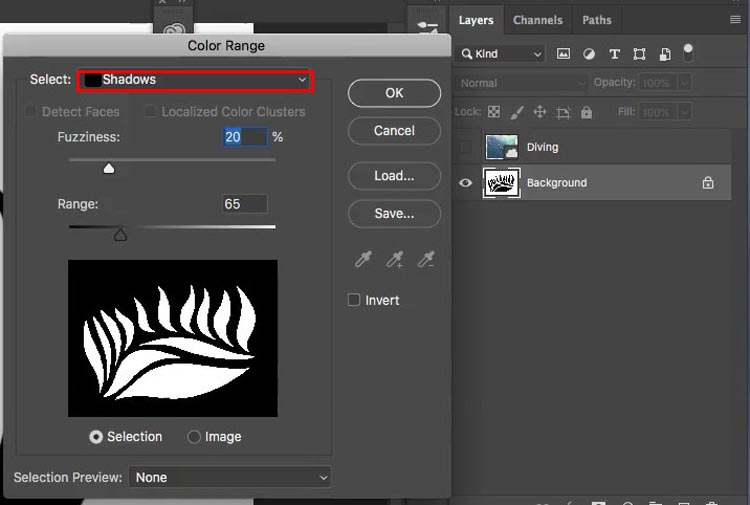
Hide the image layer and select the shape on the background
Choose Select>Color Range
Grab the Shadows option to just select the black
Step 3
Click ok and the shape is now selected
Choose Edit>Paste Special>Paste into
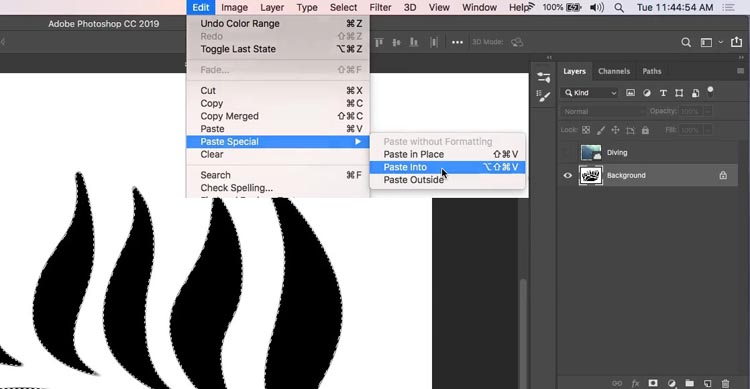
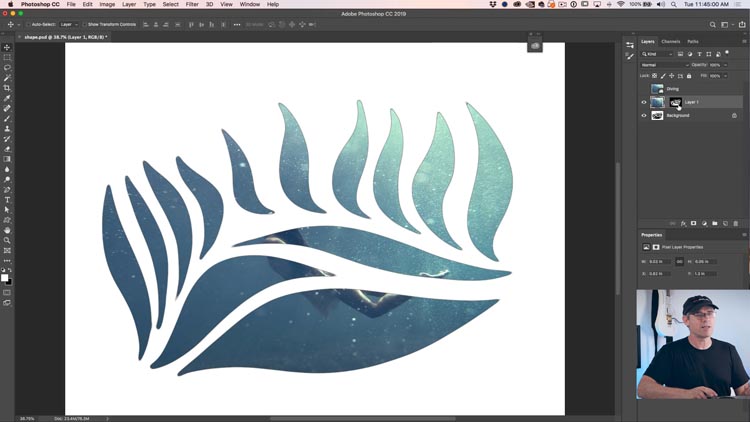
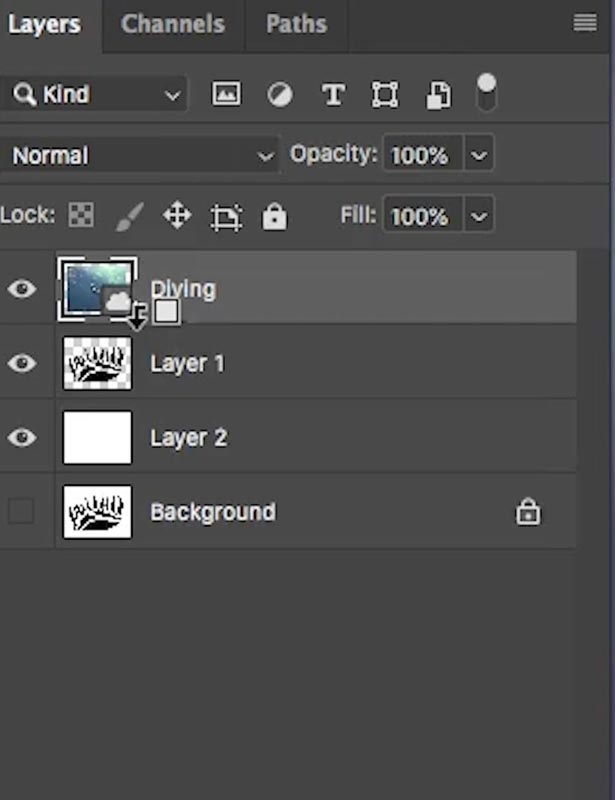
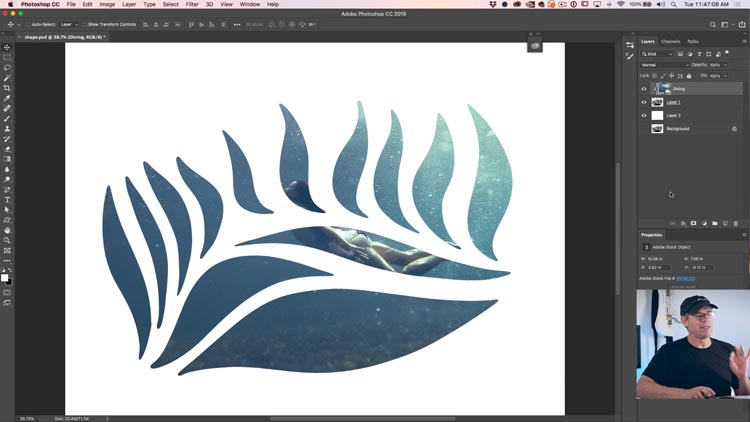
You will now see the image in the shape.
The shape is actually on a layer mask. If you drag on the image you can move it around within the shape.
Method #3. Clipping Groups in Photoshop
This next method is the one that I use the most often. However, you need to have the shape cut out with transparent around it. This is how any of the custom shapes work in Photoshop. You can also cut it out yourself, see the video above for instructions on doing this.
Step 1.
Make sure you have the shape with transparency.
Place the photo on the layer above the shape. (Here it is hidden, so you can see the shape)

Step 2.
Make the image visible, you won’t see the shape on the canvas at the moment.
Place you curser between the photo and the shape layer in the layers panel.
Hold down/Alt/Option and the cursor will turn into a square arrow.
Click to apply
You can now drag on the top layer to resize or reposition it within the shape.
This is called a clipping group and it’s something you should try to use often.
Here i have added a textured background and a little inner shadow to add a little depth to our effect. It makes it look like a cut matte.
In the video tutorial at the top I walk through this step by step.

I hope you enjoyed this tutorial, is so, share it with your friends. (There are buttons to share on social media, or just cut and paste the address on top of the page).
Thanks,
Colin
PS Don’t forget to join our mailing list and follow me on Social Media>
(Ive been posting some fun Instagram and Facebook Stories lately)
You can get my free Layer Blending modes ebook here
The post How to Fill a shape with a photo in Photoshop, 3 ways. appeared first on PhotoshopCAFE.