
Here are a few quick shortcuts for using the Brush tool inside LIghtroom’s masking feature for those of you just getting into Lightroom (or if you’ve been using Lightroom for a while, maybe you forgot about these, or never knew these existed, or just wanted a refresher).
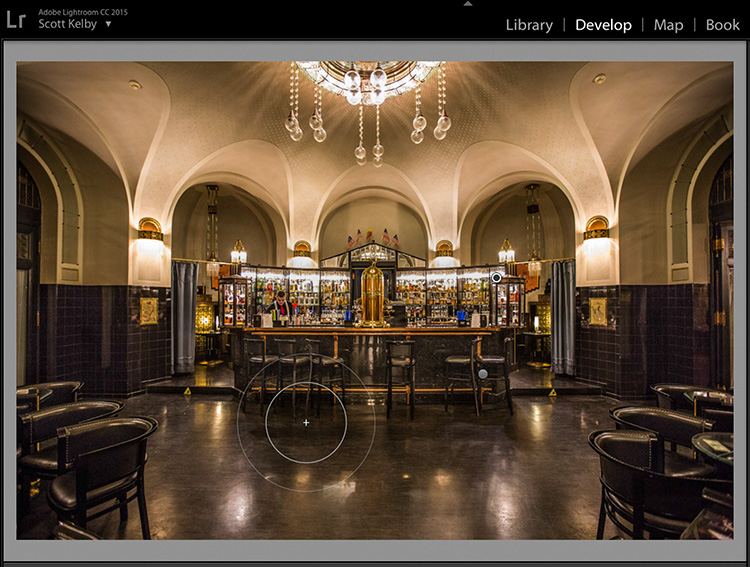
Once you choose the Brush tool (click the Masking icon, and from the pop-down list of tools, click on ‘Brush’), the Brush cursor (as seen above) shows you the actual size of the brush (the smaller circle inside). The larger outer circle shows the amount of feathering [edge softening] applied to your brush. When you see a big gap between the larger outer and inner circles, you have a lot of feathering applied (it’s a soft-edged brush). If the two circles are very close together, it’s a harder-edged brush.
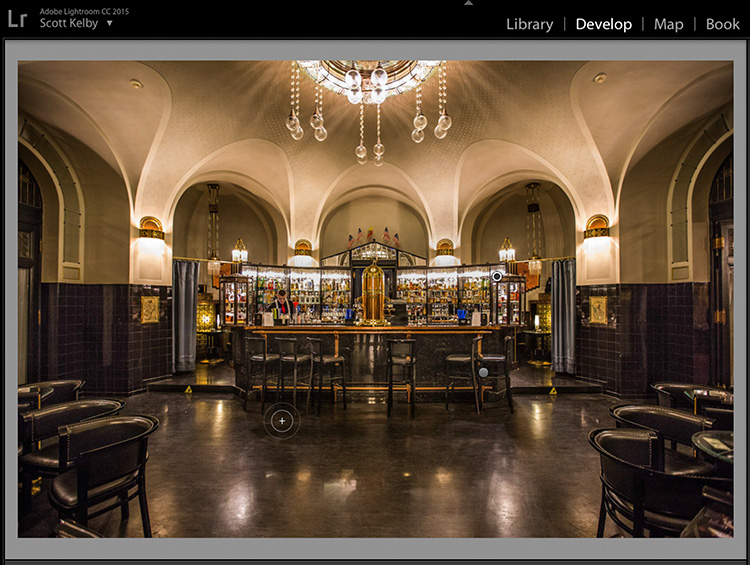
Above: To shrink the size of the brush (the feathering amount moves in tandem with it), press the left bracket key on your keyboard ( [ ) to shrink the brush size and the right bracket key ( ] ) to make the brush size larger (these keys are just to the right of the letter “P” on a standard QWERTY keyboard).
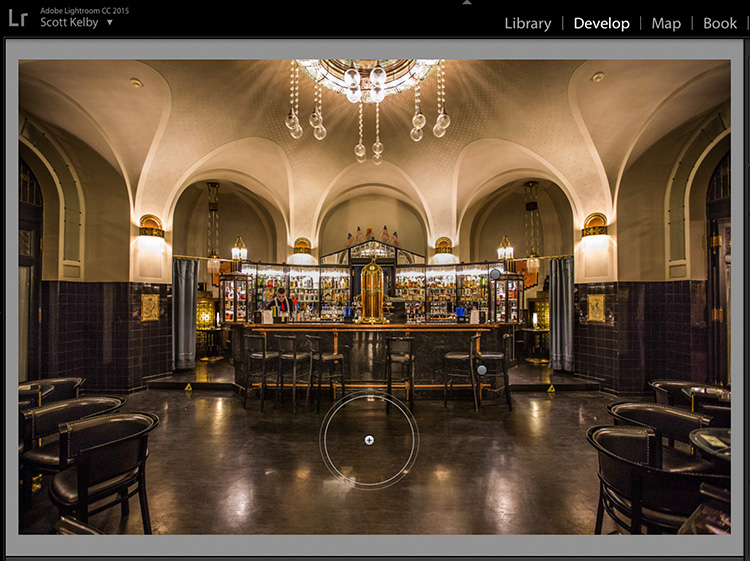
Above: If you want to leave the brush size as is but change the amount of feathering (as seen above), hold the Shift key and use the same left and right bracket keys.
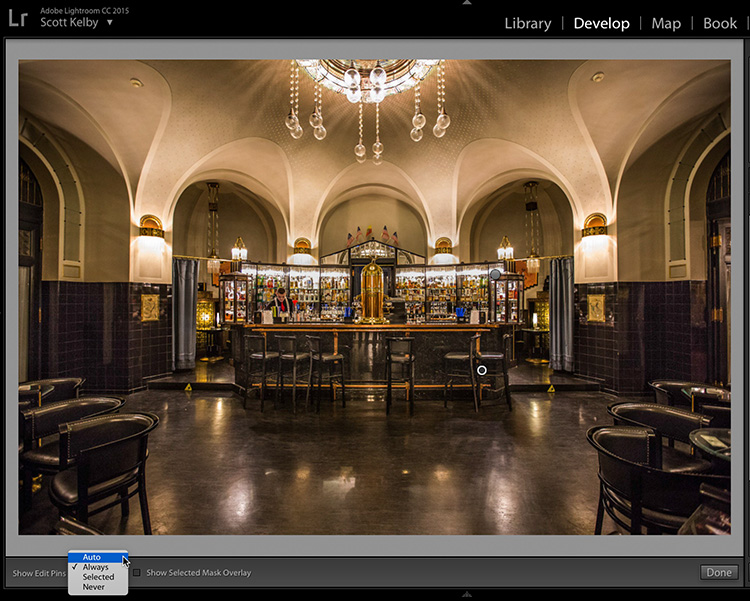
Above: You know that Edit Pins that appear on screen when you paint over an area? Well, you have some options over how they appear.
First, you can show/hide them by pressing Command-H (on Mac) or Ctrl-H on Windows. Next, in the left corner of the options bar along the bottom of your image, there’s an option which lets you choose when the edit pins appear.
Always: (the one with the checkbox, shown here) means the pins are always visible, even when your cursor isn’t over the image.
Auto: your Edit Pins automatically hide when your cursors moves away from the image area, so if you move your cursor over to move any of the Adjustment Brush sliders, they auto-hide.
Selected: It only shows the pin you’re currently working on and hides the others. This is a pretty decent choice because once you’re working on a different pin, why do you need to see the others all the time? Sometimes, you might, but not usually.
Never: This one is kinda obvious. It never shows the Edit pins.
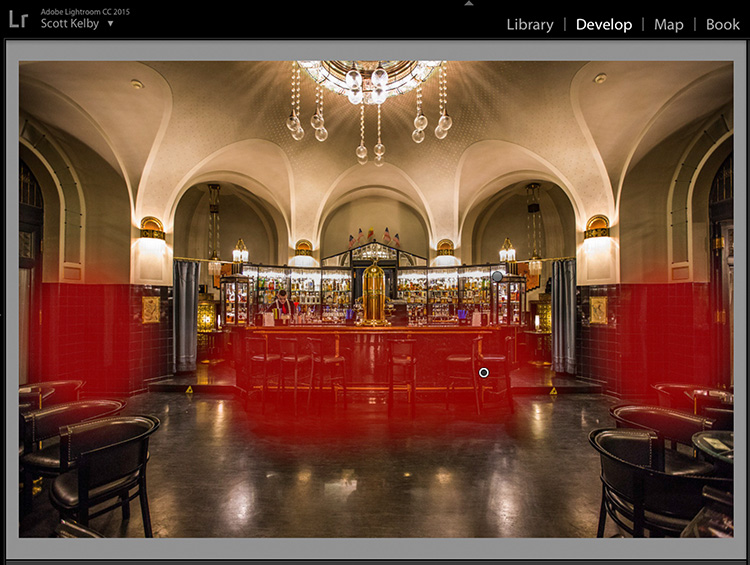
Above: One more — if you want to see the area you painted over (the mask), you can either:
(a) Move your cursor over the active pin, and it will display the mask as a red tint, as seen above.
(b) Press the letter “O” on your keyboard, and it keeps the mask turned on (like you see above) so you can see the mask as you paint.
Here’s a helpful little one-minute video I did a while back (when the Brush tool was still called “The Adjustment Brush”), where you’ll get to see some of the tips you just learned here in action, but there’s also a tip in there for folks using Lightroom on a laptop that is really helpful. Check it out below:
OK, I hope you find one or more of those helpful. Have a great Monday, everybody!
–Scott
P.S. BONUS TIP: If you’re using Lightroom Classic and you hold the Option Key (on Mac or the Alt key on PC), it switches you to the Erase brush, which is handy if you’re painting and you spill over onto an area you didn’t mean to paint on – you can just brush that spill away while holding that key down.
The post Tips For Using Lightroom’s Masking Brush appeared first on Lightroom Killer Tips.