
Most important Lightroom settings
This tutorial focuses on the Tone adjustments in Lightroom and ACR. These are the most important settings to begin editing your images.
This simple tutorial shows you an effective way to prepare your photos for further enhancement. It gives you a solid base of quality image details. (In many cases this is all you will need).
This tutorial works with Lightroom Classic, Lightroom and Adobe Camera RAW

A quick tip to start.
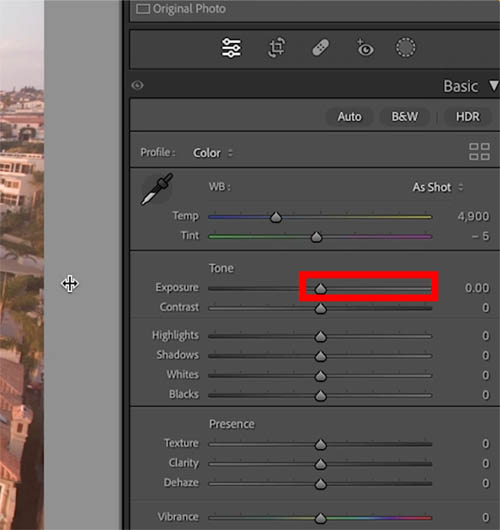
If you are using Lightroom, drag the develop panel to the left to widern the panel and elongate the sliders. See the red )original length) thia gives u almost 2x the amount of control.
Recover details
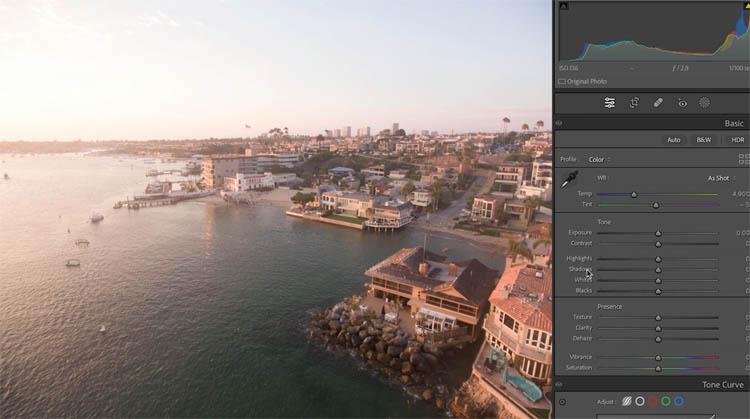
Here is the original image showing a loss of detail in the bight areas in the sky and on the left of the image.
We will use the Tone panel and this is the order I use it.
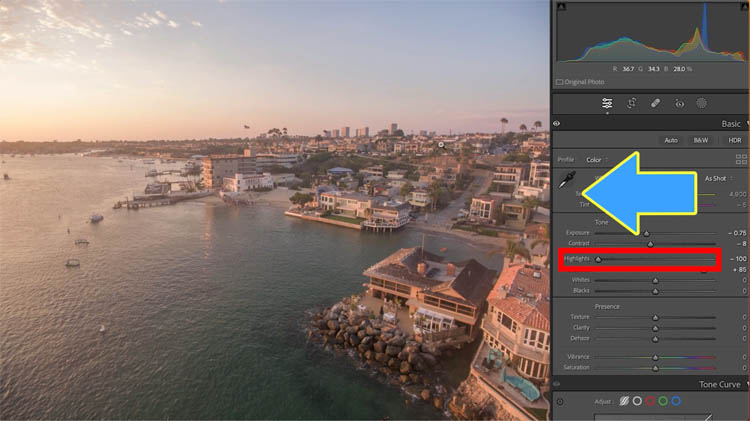
First, we want to reveal as much detail in the highlights and shadows as we need.
Drag the highlight slider to the left to reveal details in the sky. (Dehaze also reveals the details, but it also increases contrast, so it shouldn’t be used yet.)
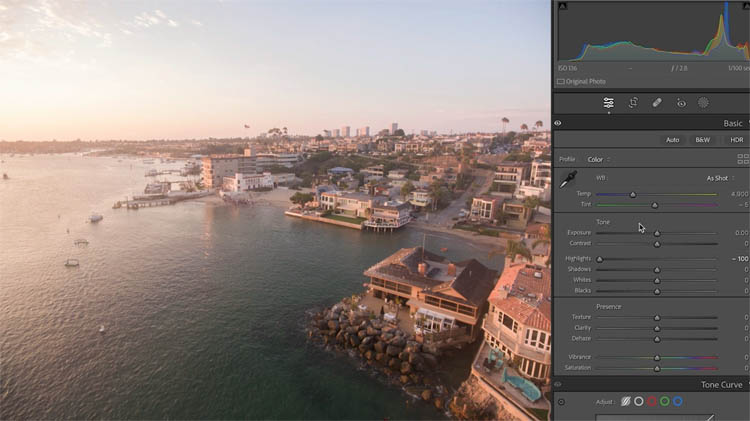
If you still need more details, (depends on the image) reduce the exposure slightly.
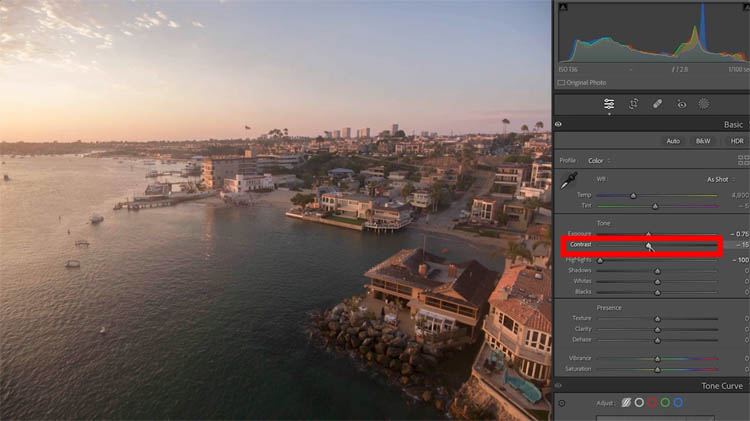
I like to slightly reduce the contrast slider to open up more detail (See this tutorial on Contrast to see why)
Lets reveal detail in the shadows (lower right of the image)
Slide the Shadow slider to the right.
Use the Shadow and the highlight sliders as recovery sliders. Always more the Shadows to the right
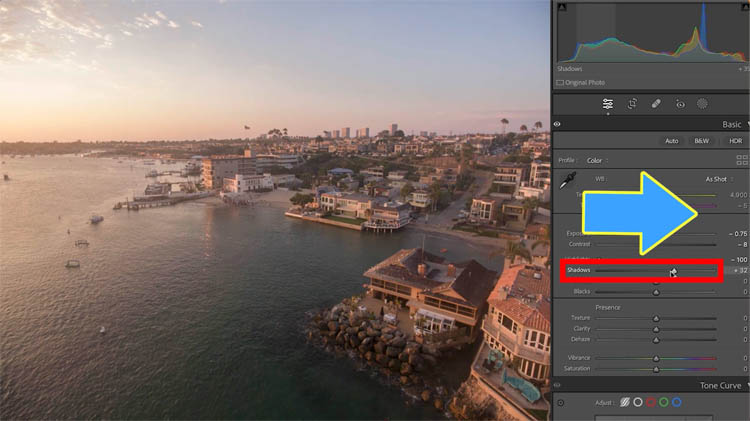
And always push the highlights to the left.
Note: The amount you move these will vary from image to image and from camera to camera. These are shot on a drone with low dynamic range files, so they are pushed more aggressively that I would need to move them on camera like the Sony A1 for example.
Now we have opened up the details in the image. Next we want to add some punch.
The Whites and Blacks are used to add the contrast back into the image with minimum loss of details.
Lets do the whites first.
Hold down the Alt/Option key as you move the whites. You will see clipping indications on the screen. This lets us know if we have gone too far and lost highlight details.
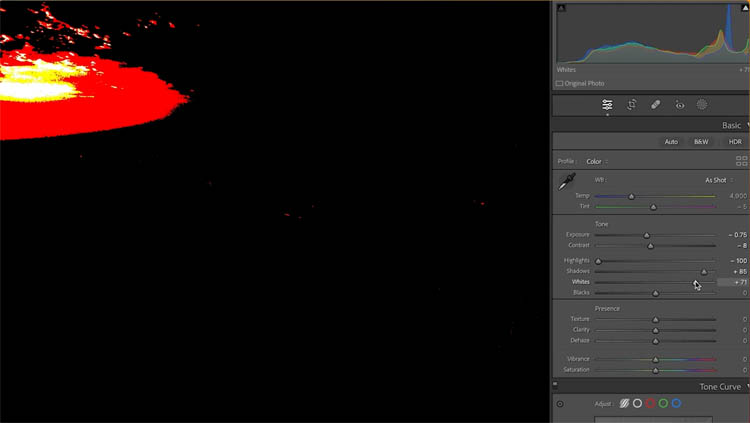
Move the whites to the right to clean up milky areas in the highlights. This image is already bright, so it doesn’t need much.
Move the blacks to the left to add punch to the shadows. (Hold down alt/Option to see clipping too).
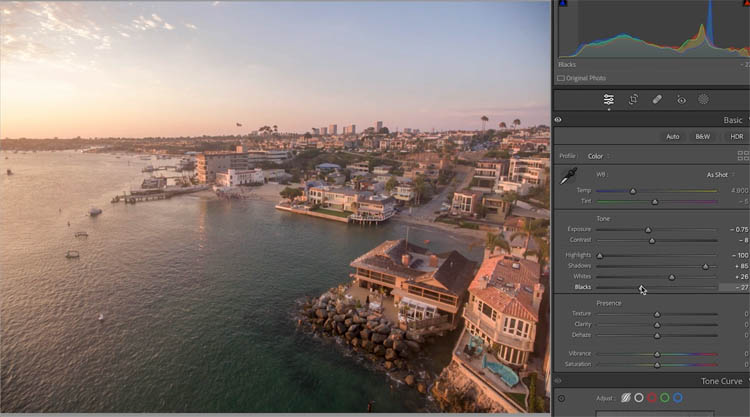
At this point, you can go on and use other tools including curves and Presence. This tutorial is focusing on the tone adjustments and I hope this helps you get to a good start point in getting better edits!
Check out this companion tutorial on Contrast vs Whites/Blacks that fits right in with this tutorial.
Great to see you at the CAFE
Colin
The post Tone Panel, most important settings in Lightroom and Adobe Camera RAW appeared first on PhotoshopCAFE.