
You can extend Lightroom Classic’s usefulness by installing plug-ins to assist you in tasks ranging from uploading to photo sharing sites to batch-create snapshots to managing your exported metadata and more.
The Plug-in Manager is what you will use to enable/disable installed plug-ins, as well as check their status and see if updates are available. You can access the Plug-in Manager by going to File > Plug-in Manager, or by clicking the Plug-in Manager button found on the bottom of the Export dialog.
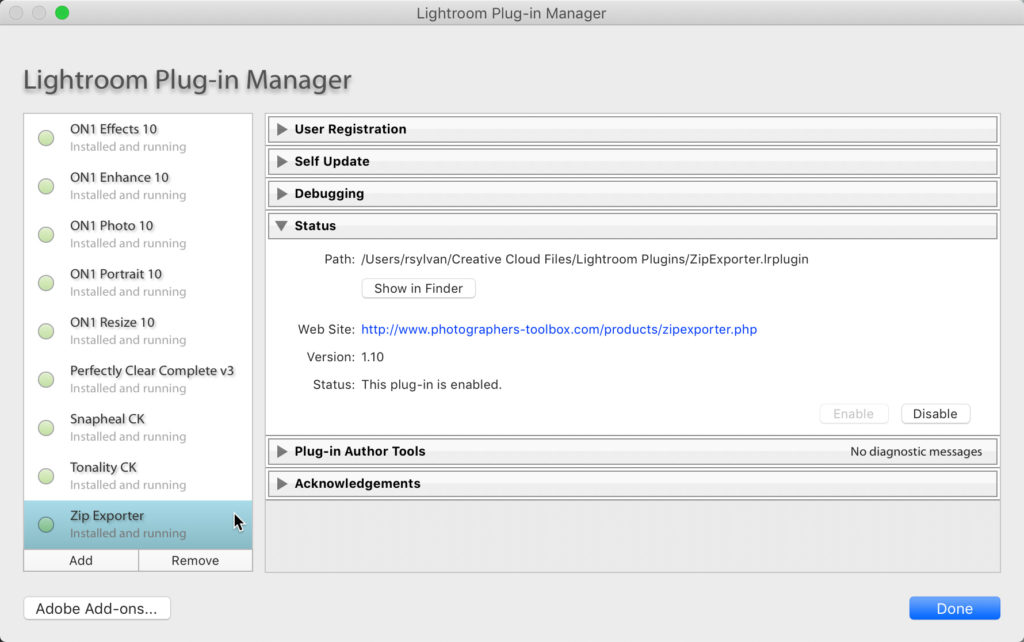
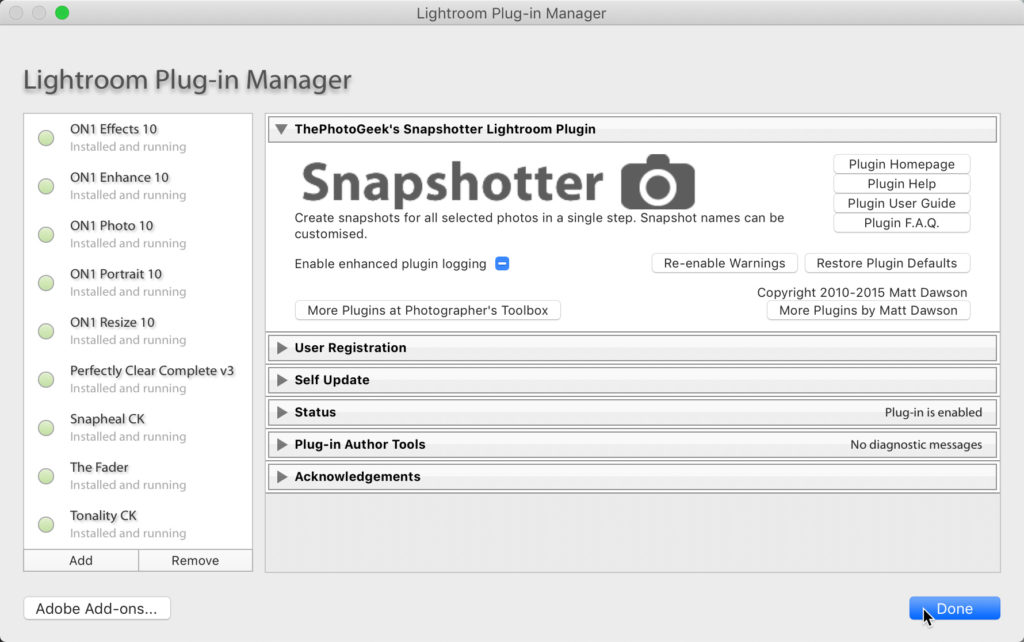
With the Plug-in Manager open you will see all of your installed plug-ins listed on the left side. A green light next to each plug-in tells you that plug-in is enabled and operational. If the light is off then the plug-in is disabled. A yellow light indicates there may be a problem with the plug-in such as an update being required. Click on a plug-in to examine its properties in the right column.
When a plug-in is selected you will see its information displayed on the right side. You can enable/disable a plug-in by expanding the Status panel and clicking the desired button. A plug-in has to be enabled before it can be used. Some plug-ins offer additional panels that provide update options and links to the developer’s website.
The Add and Remove buttons on the Plug-in Manager are not always needed. Lightroom Classic will automatically add your plug-ins when it is launched if you first place your plug-in files in the folder at the following location:
Windows: \Users[user]\AppData\Roaming\Adobe\Lightroom\Modules\
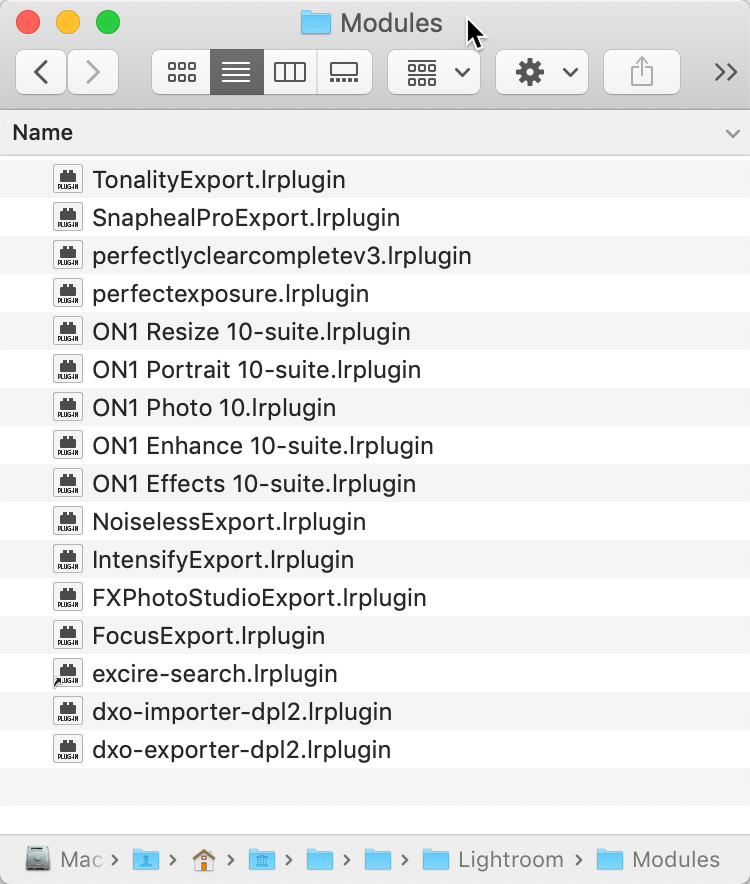
Mac: [user]/Library/Application Support/Adobe/Lightroom/Modules/
Tip: An easy way to find that folder is to open Lightroom Classic’s preferences, click the Presets tab, then click the Show All Other Lightroom Presets button. This will open the Lightroom folder in either Windows Explorer or Finder on Mac, and inside you will find (or create if it is not there) the Modules folder.
To install plug-ins, just place the file with the .lrplugin extension inside the Modules folder and launch Lightroom Classic. When you open the Plug-in Manager you should see each installed plug-in listed on the left. To remove a plug-in you just need to remove the .lrplugin file from the Modules folder and relaunch Lightroom. Note, many third-party image editors will install their plug-in files in this location too.
So, what are the Add and Remove buttons for? They give you the option of putting the .lrplugin files in a different folder of your choosing. If it suits your workflow, skip the Modules folder, create a folder at another location of your choosing, place the .lrplugin files inside it, then click the Add button. You will be prompted to navigate to that folder and select the .lrplugin file. After clicking the Add Plug-in button it will be added to the Plug-in Manager. Repeat for each plug-in. Any plug-in added in this manner can be removed with the Remove button.
One place to find plug-ins is the Adobe Exchange, which is a portal maintained by Adobe where third-party developers can share their work with the world. Click the Adobe Add-ons button at the bottom of the Plug-in Manager to open the Exchange in your browser. In my experience that exchange is largely filled with presets, so you may have better luck going right to a developer of plug-ins. Adobe keeps a partial list here, but my favorite place to go is the Photographer’s Toolbox (I have no affiliation, just a customer).
Once the plug-ins have been installed and enabled you can access them within Lightroom Classic as part of your workflow, such as on the Export dialog for export-type plug-ins or the File > Plug-in Extras menu or the Library > Plug-in Extras menu depending on the nature of the plug-in you are installing. Always consult the documentation for the specific plug-in you are using to learn more. Enjoy!
The post Understanding the Plug-in Manager appeared first on Lightroom Killer Tips.