
PROGRAMMING NOTE: Today I’m kicking off my pre-conference workshop for the Portrait Photography Conference, and if you want to join us (the official conference kicks off tomorrow and runs through Wednesday – two tracks, all online, with a killer roster of instructors), it’s not too late – tickets and more info here. I’ll see a whole bunch of you later today at the pre-con (and make sure you catch the orientation session with Larry Becker today). 
This Depth Range feature, found way down at the bottom of the new Masking Panel, seems like it’s always grayed out (why it’s grayed out for most images is coming up in a moment). Depth Range has actually been in Lightroom since back in 2018 but it was kind of buried so not a lot of people knew about it, but now that it’s so visible in the new Masking panel, lots of folks are asking “What’s it for, why is it always grayed out, and how does it work?”
Well, here ya go:
First off, the reason this feature is usually grayed out and unavailable is because this feature only works with two types of images:
(1) Images taken on a somewhat recent iPhone, taken in its Portrait mode which saves the file in Apple’s HEIC file format because that saves the out of focus area behind your subject as a depth map and embeds it into the file. Lightroom can use that depth map as a mask to help you select and edit the background.
(2) Images you shoot in Lightroom’s own built-in camera with the Depth Capture feature turned on (you choose it from the pop-up menu to the left of the shutter button). If you don’t see Depth Capture as an open, you’ll have to turn it on (it’s technically a “technology preview” so on your phone go to Settings/Technology Previews and toggle the feature on). There may be other cameras that embed a depth map into their images, but these are the only two I’m aware of at this point that are supported by Lightroom.
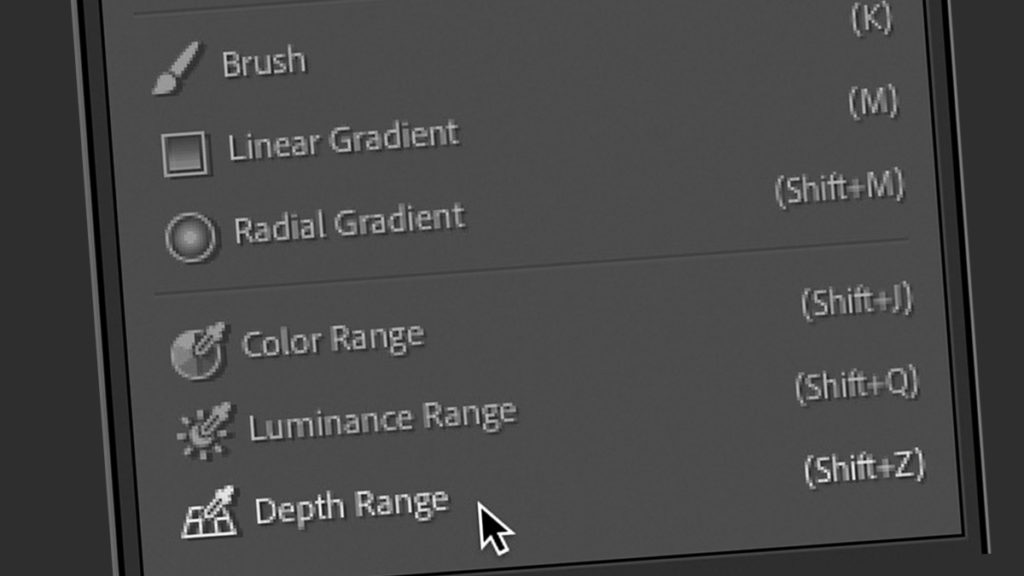
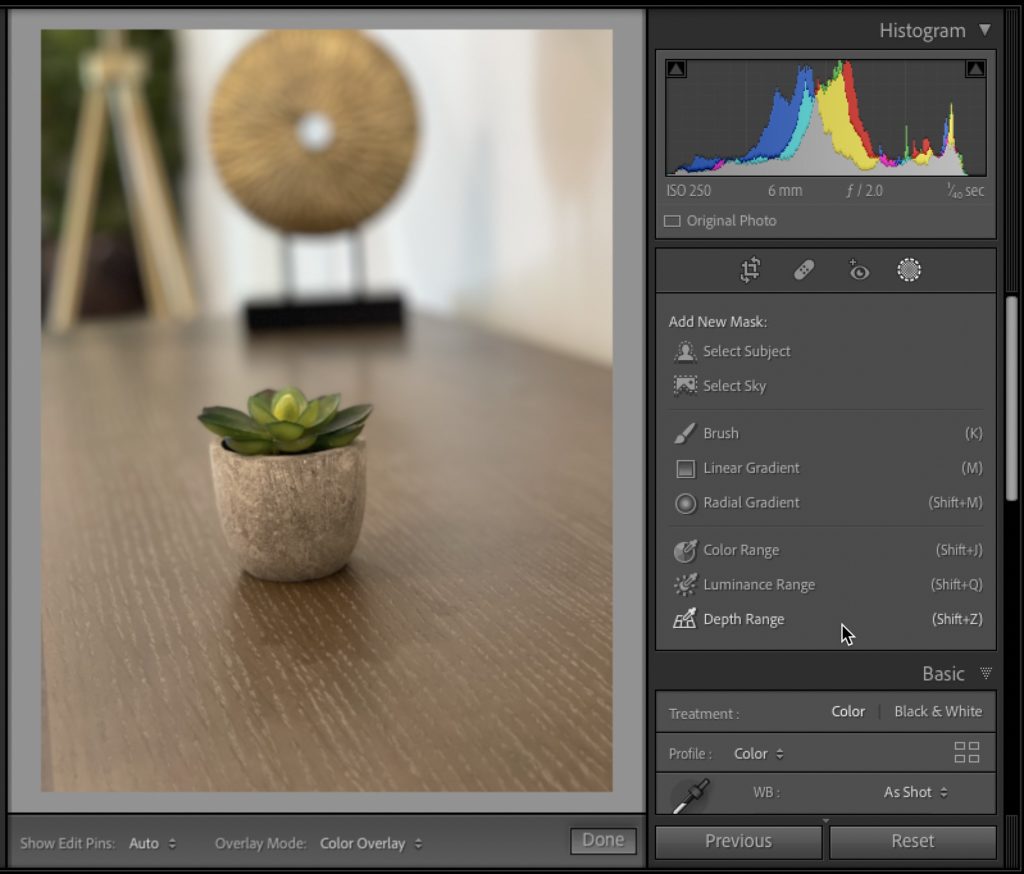
STEP ONE: In Lightroom, choose an image you know has a depth map embedded, then click the Masking button, then choose Depth Range (as shown below).
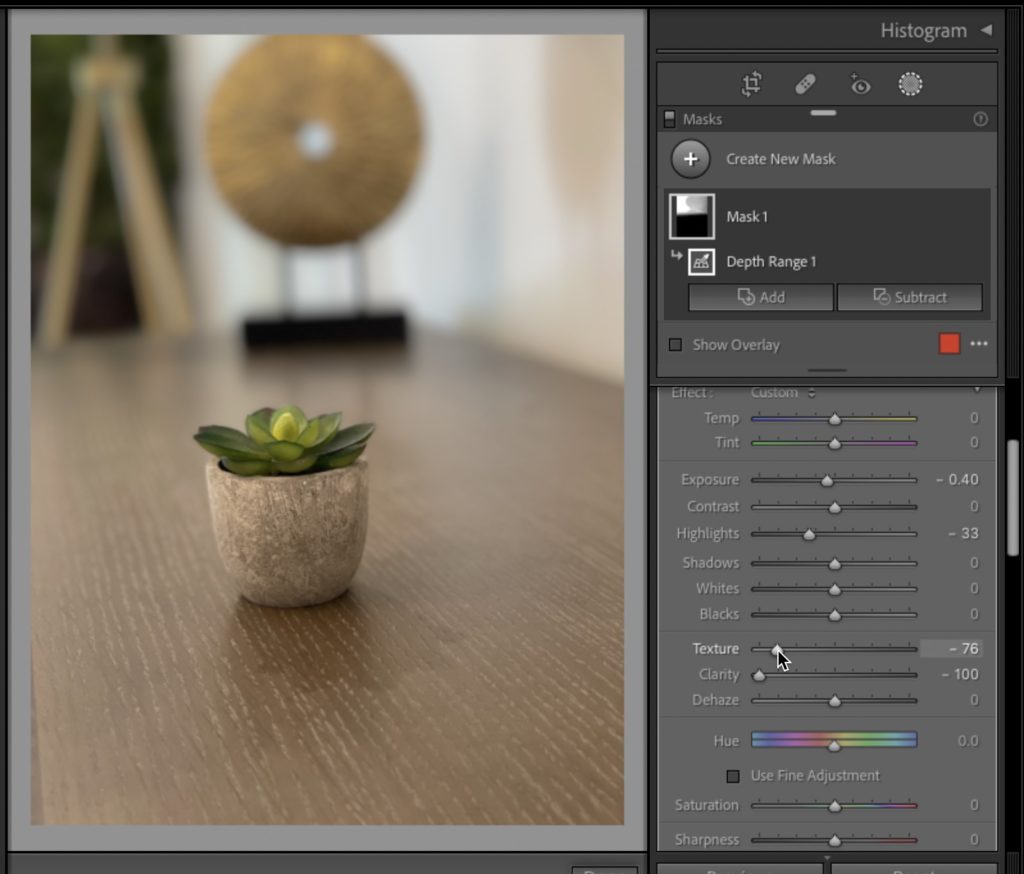
STEP TWO: To choose which part of the depth (the distance between your camera and the background), just move your cursor out over the image and click once and it will select that part of the depth map (as seen below where I clicked on the background way in the back, and that area behind my tiny plant is now masked).
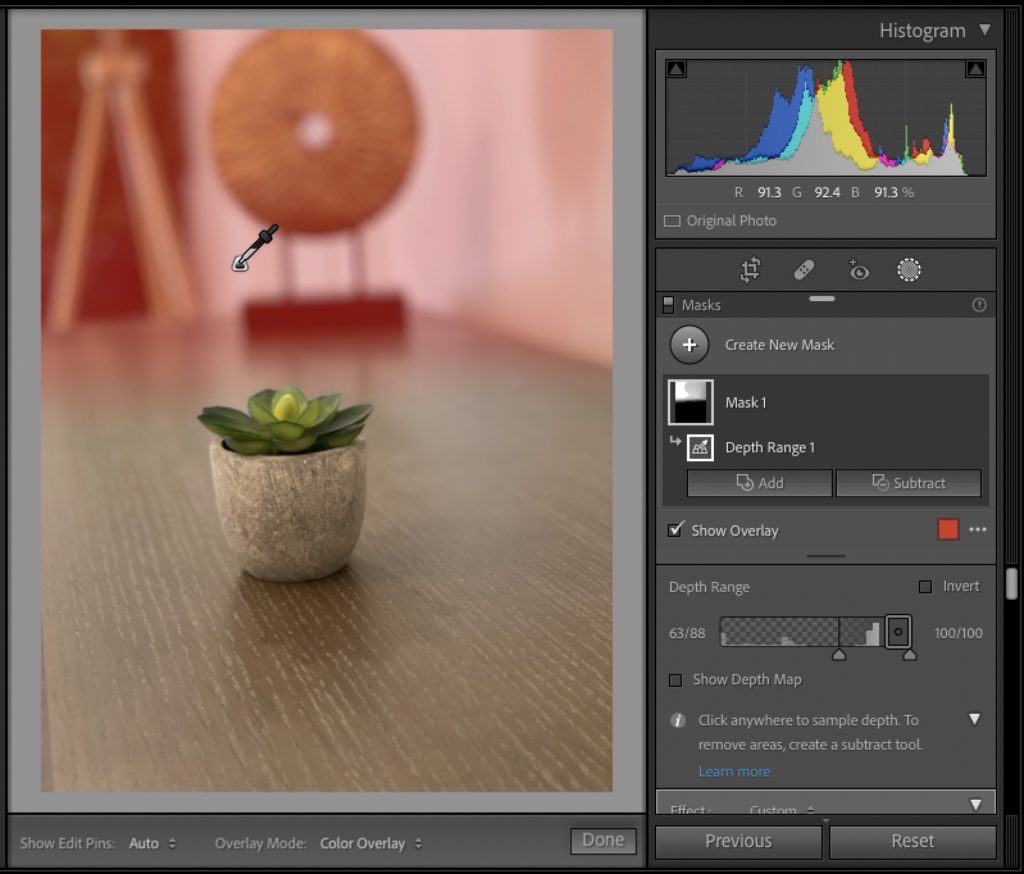
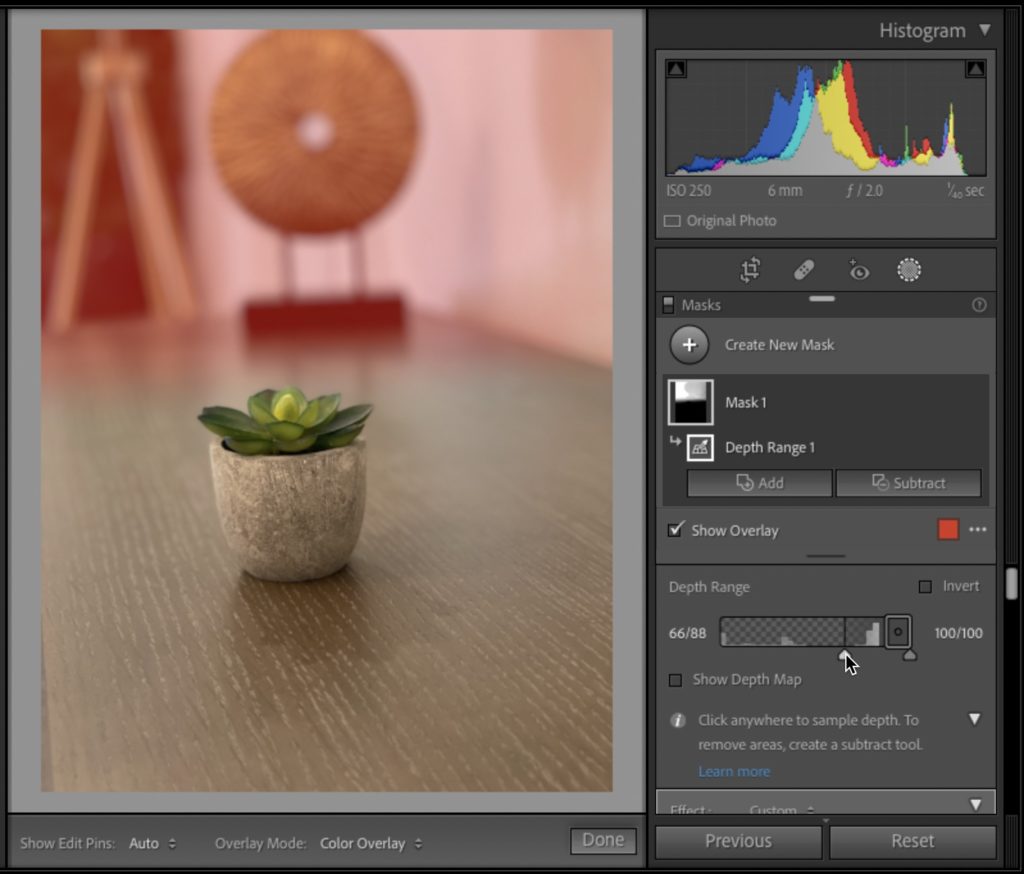
STEP THREE: If you want to fine-tune where that masks starts or ends, you can use the Depth Range sliders (the left slider under the transparency graph determines where the mask ends closest to you, and the one on the far right controls the edge that’s farthest away. Here I dragged the left slider to the right just a bit to move the front edge of the area I’m affect back just a little bit (as seen below – compare it with the mask in the image right before this one above). You can see the red doesn’t extend toward the plant quite as far.
STEP FOUR: Now that the area way in the back is masked, I can make edits to just that area. What I did below is to darken the exposure and highlights of that area way in the back just a little, but then I dragged the Texture and Clarity sliders way over to the left to add more blur to the background (as seen below), just to give you an idea of what you can do once you use a depth mask.
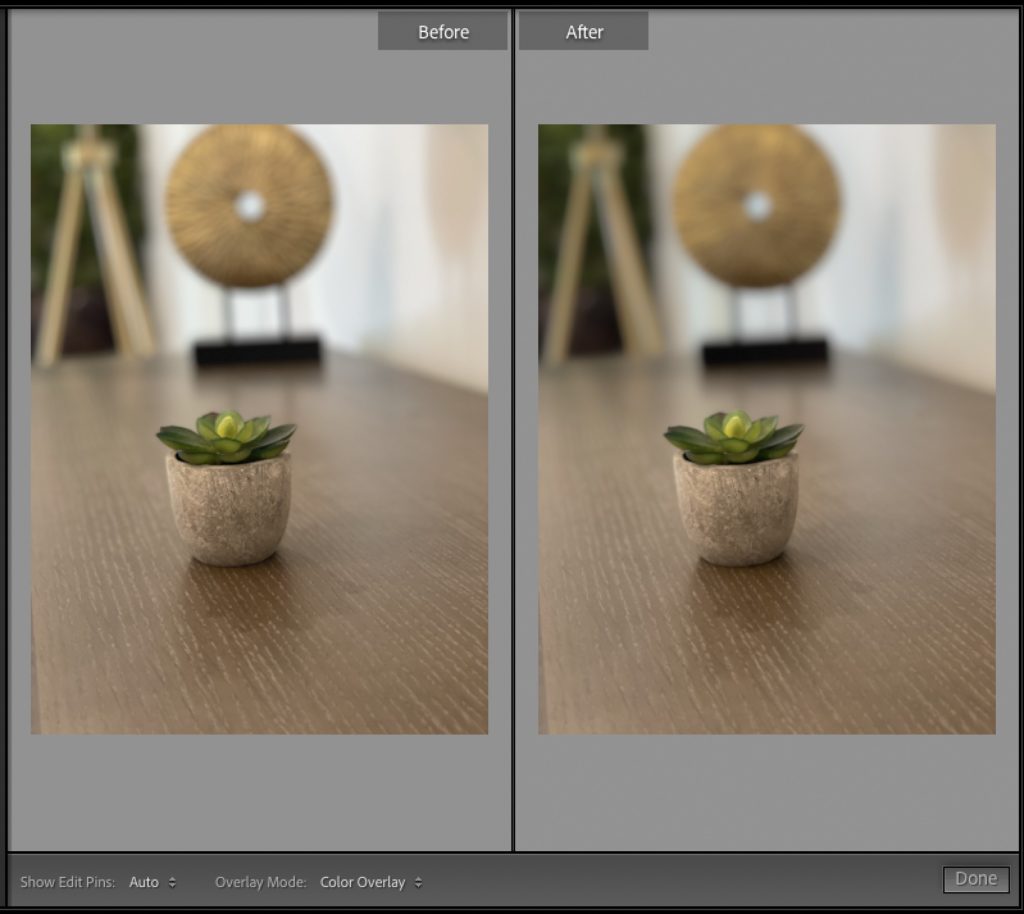
Here’s a before/after (below), and you can see the background farthest away from the camera is a bit darker and a bit more blurry enhancing the out-of-focus background effect.
Note: If you want to see your depth mask like a normal black/white mask (rather than just the red tint), turn on the ‘Show Depth Map” checkbox found just below and to the left the sliders.
Granted, this isn’t the earth-shaking feature the other masking features in Lightroom are, but it’s still handy in those instances where you need it, and now all those folks who were asking about it now know what it does, so it’s all good.
Here’s to a Monday of awesome masking!
-Scott
The post What Lightroom’s “Depth Range” Feature Does (and how it works) appeared first on Lightroom Killer Tips.