Schenectady Photographic Society

Menu

Photoshop

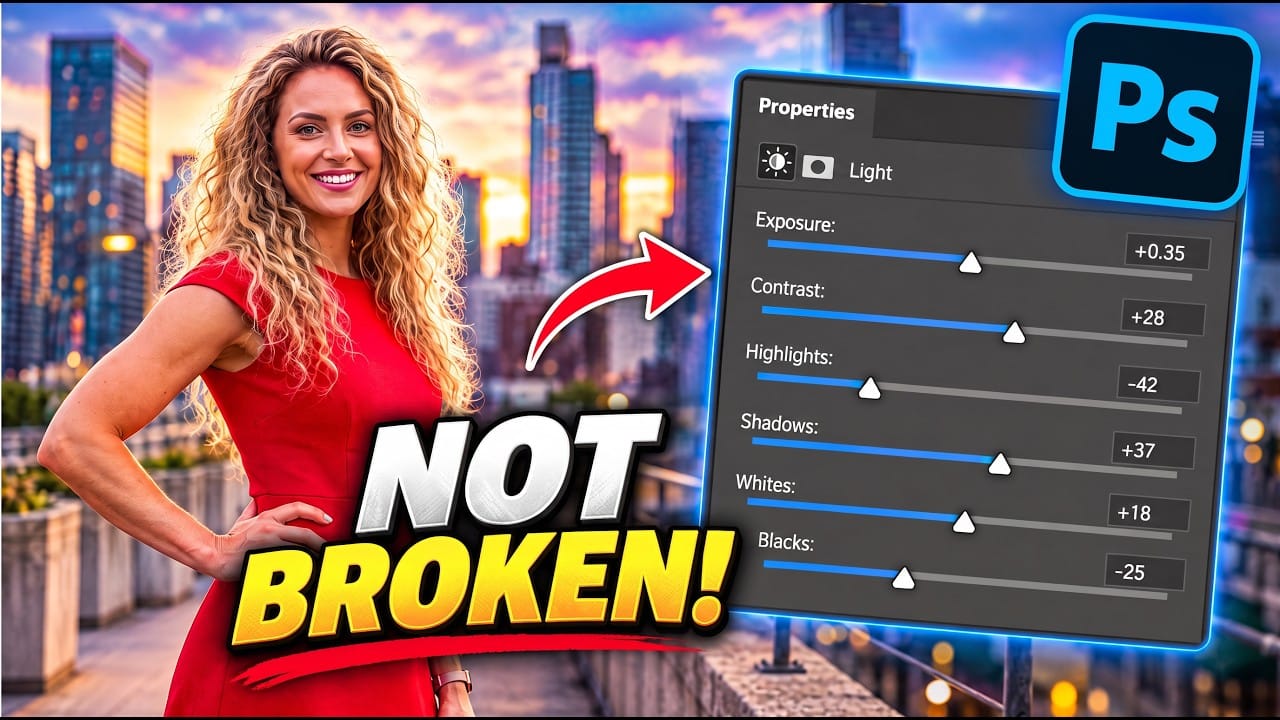
How to Use the Light Adjustment Layer in Photoshop Effectively

How to Use the Light Adjustment Layer in Photoshop Effectively

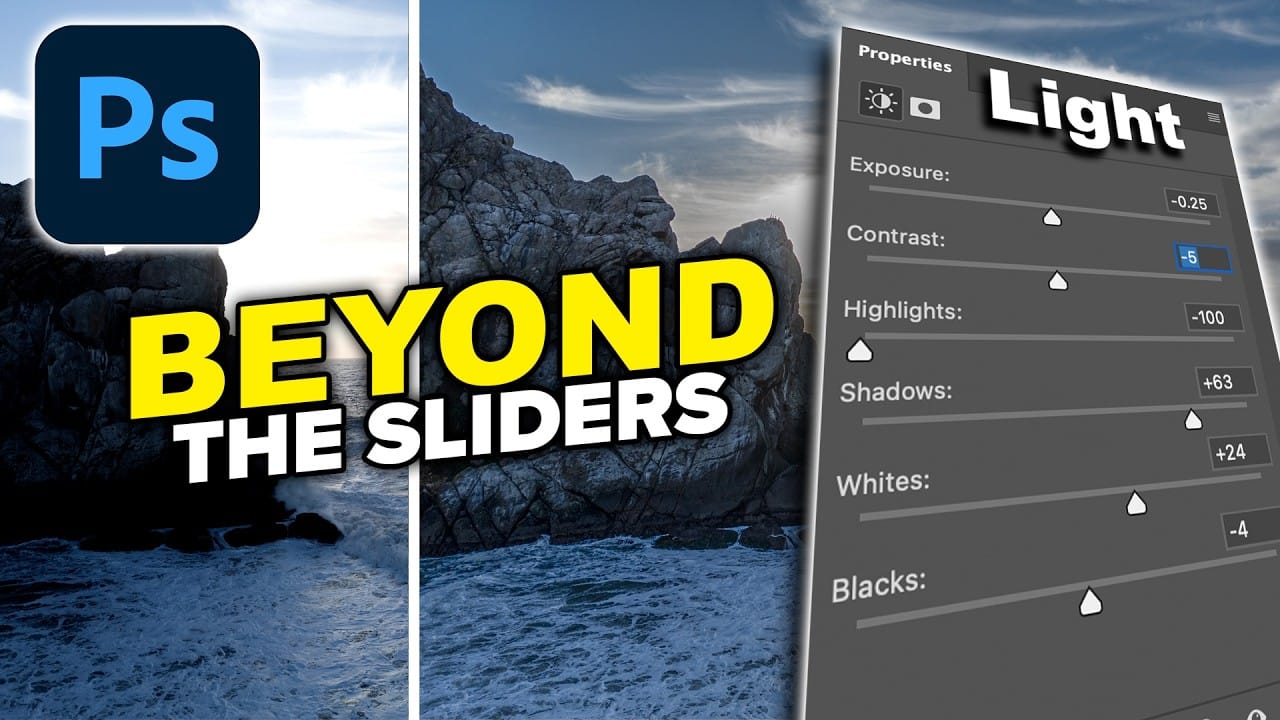
Photoshop's Light adjustment layer brings Camera Raw-style tonal controls — exposure, contrast, highlights, shadows, whites, and blacks — directly into a non-destructive layer workflow. The real value isn't in what the sliders do individually, but in how you sequence them to expand dynamic range and reveal Read the full article here: How to Use the […]


Read more: How to Use the Light Adjustment Layer in Photoshop Effectively
How to Fix Nano Banana Generative Fill Distortion Using a Smart Object Workflow

How to Fix Nano Banana Generative Fill Distortion Using a Smart Object Workflow

Generative Fill with Nano Banana on a large canvas often produces stretched or squashed results with visible selection edges. The problem is a resolution mismatch — the model generates into a small area but gets scaled up to fit a much larger document. A simple Smart Object workaround solves this completely Read the full article […]

Read more: How to Fix Nano Banana Generative Fill Distortion Using a Smart Object Workflow
Photoshop’s Big 5: The Features That Actually Mattered This Year So Far

Photoshop’s Big 5: The Features That Actually Mattered This Year So Far

Photoshop updates land continuously throughout the year, but not every new addition reshapes how we actually work. While some releases bring minor UI polish or experimental tools, a handful of recent additions stand out as genuine upgrades to daily creative production. Rather than sifting through endless release notes, here is Read the full article here: […]

Read more: Photoshop’s Big 5: The Features That Actually Mattered This Year So Far
Using Photoshop's Light Adjustment Layer for Non-Destructive Tonal Control

Using Photoshop's Light Adjustment Layer for Non-Destructive Tonal Control

Photoshop's Light adjustment layer brings Camera Raw's core tonal controls — exposure, contrast, highlights, shadows, whites, and blacks — directly into the layers panel as a fully non-destructive, maskable layer. This makes it possible to apply precise tonal corrections to specific areas of an image without ever Read the full article here: Using Photoshop's Light […]

Read more: Using Photoshop's Light Adjustment Layer for Non-Destructive Tonal Control
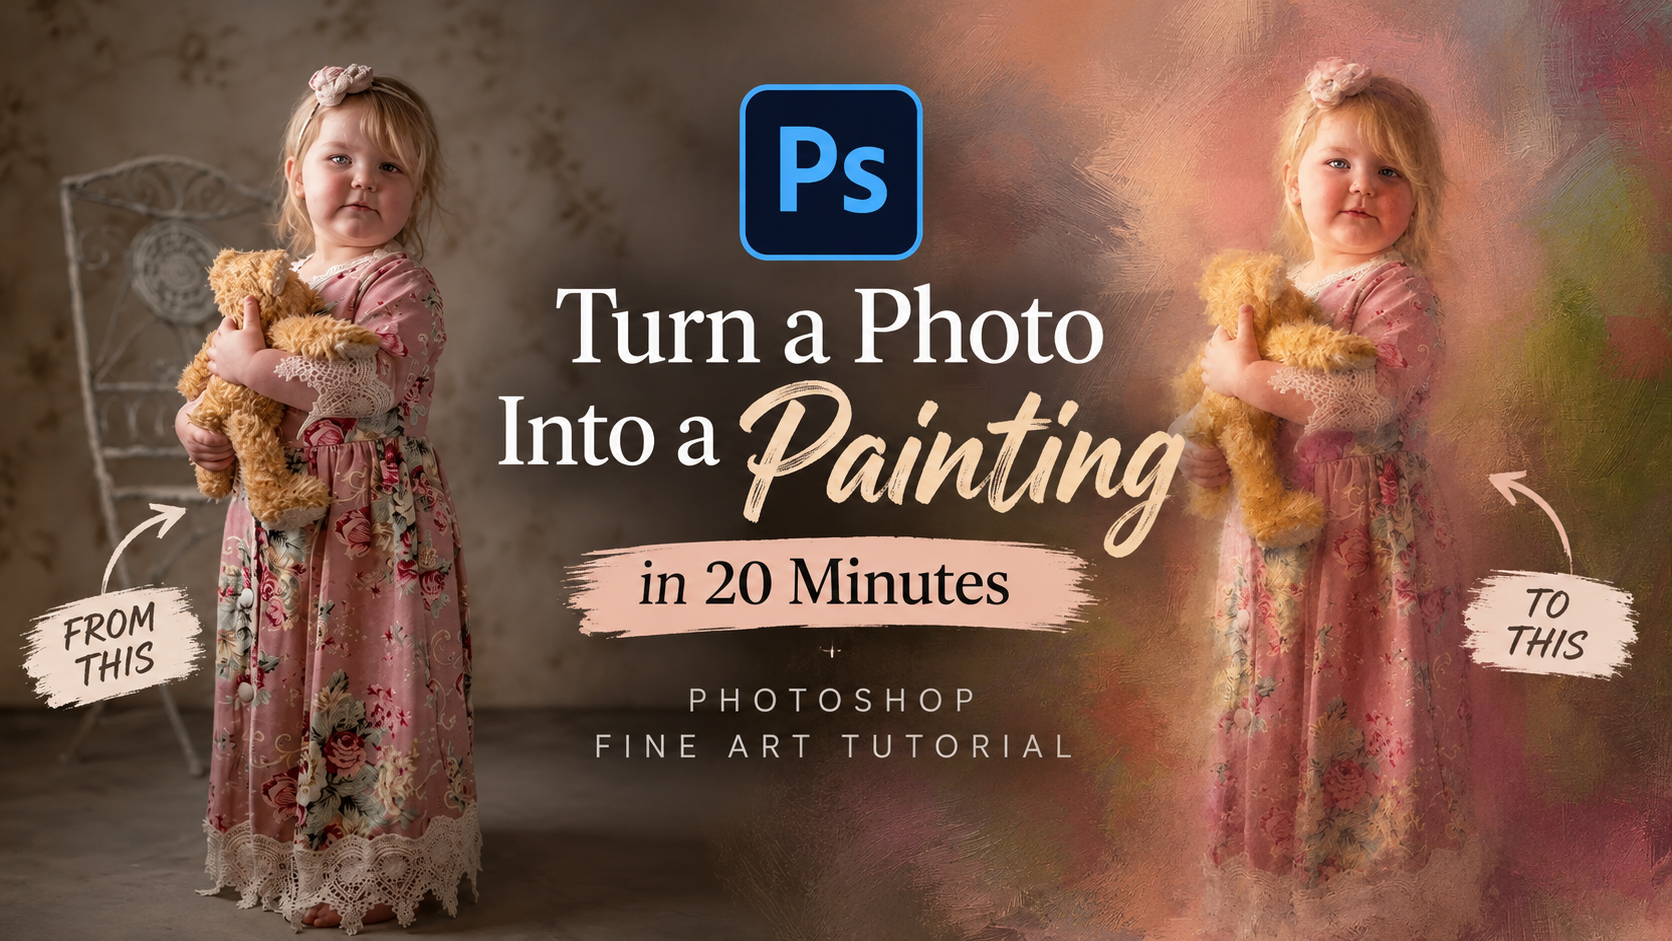
How to Turn a Photo Into a Fine Art Painting in Photoshop

How to Turn a Photo Into a Fine Art Painting in Photoshop

A photograph carries detail that a painting would simplify, and that gap is exactly where this technique operates. By working through a structured layer-based workflow in Photoshop, you can reduce photographic sharpness, introduce painterly texture, and guide the eye the way a traditional artist would — all without picking up Read the full article here: […]

Read more: How to Turn a Photo Into a Fine Art Painting in Photoshop
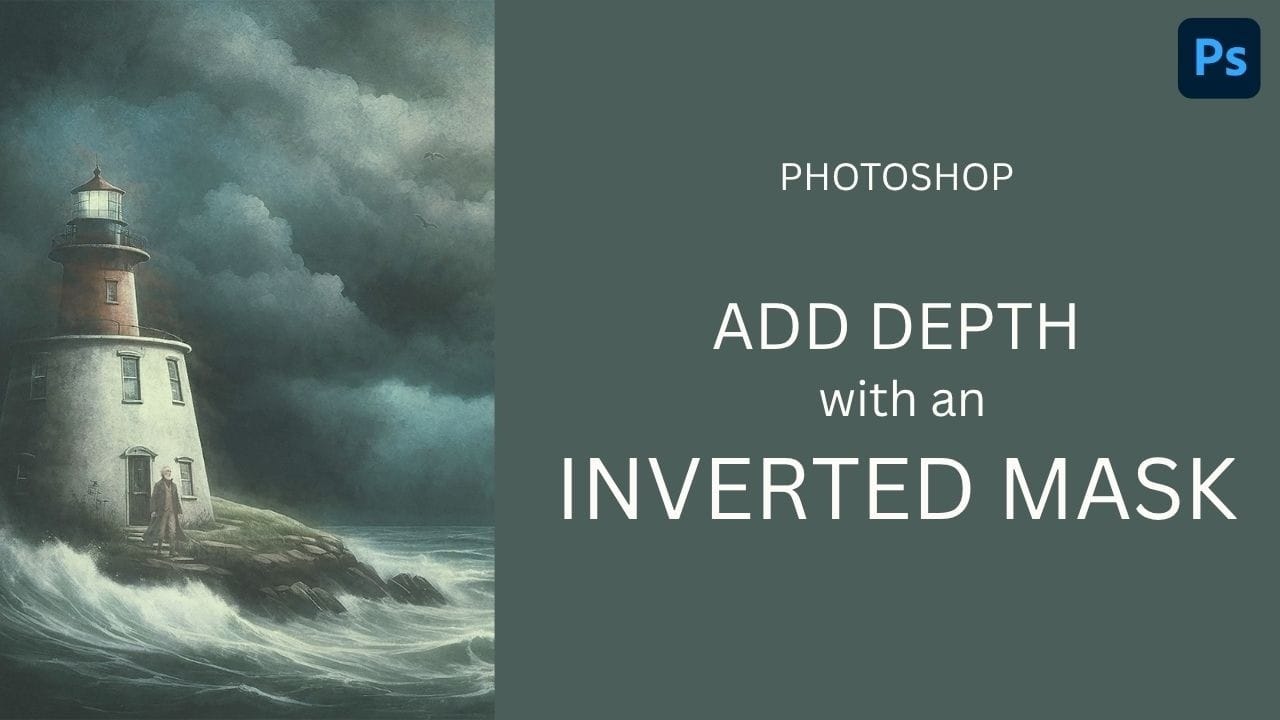
How to Use an Inverted Mask to Add Water Texture and Depth to Digital Art in Photoshop

How to Use an Inverted Mask to Add Water Texture and Depth to Digital Art in Photoshop

A single water photo, combined with an inverted mask and a blend mode, can add convincing foreground depth to digital art without disrupting the rest of the composition. This technique gives precise control over where the water texture appears, how strongly it shows, and how it interacts with underlying color. Read the full article here: […]

Read more: How to Use an Inverted Mask to Add Water Texture and Depth to Digital Art in Photoshop
How to Fix Edge Fringing in Photoshop: Enhance Edge vs. the Free Manual Method

How to Fix Edge Fringing in Photoshop: Enhance Edge vs. the Free Manual Method

Fringing is a common problem when cutting out subjects in Photoshop — the edges pick up color from the original background, making composites look unfinished. Photoshop Beta's new Enhance Edge tool fixes this with one click, but it costs 20 generative credits every time you use it. This tutorial Read the full article here: How […]

Read more: How to Fix Edge Fringing in Photoshop: Enhance Edge vs. the Free Manual Method