In this tutorial, I’m going to simplify cropping, whether you want to crop to an aspect ratio or you want to crop to a specific size for printing, you don’t have to do any math, Photoshop will do it all for you. I’ll show you how. Hey, everyone, Colin Smith here from photoshopCAFE.com, let’s jump in and look at cropping.
First thing, grab the crop tool, which you’ll see in the toolbar on the left.
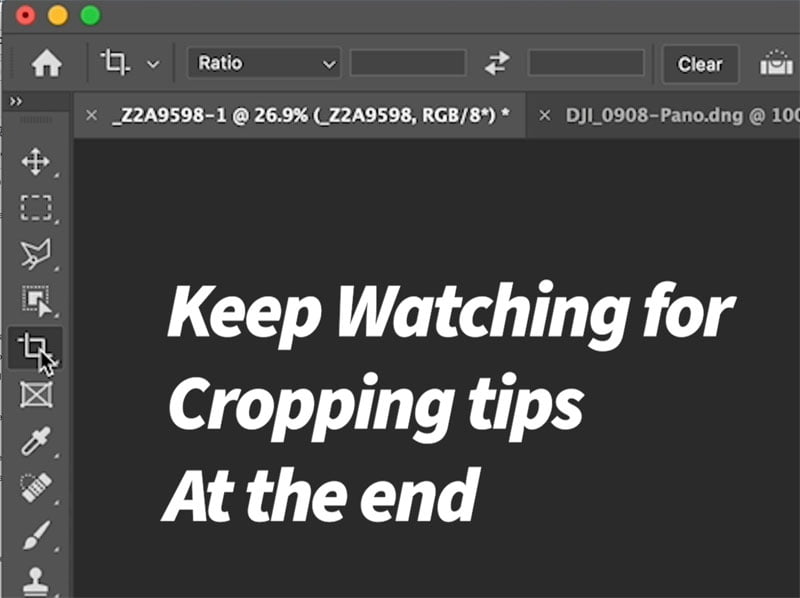
There are two different ways of working.
First is aspect ratio and one is resize.
Cropping to an Aspect Ratio
Aspect ratio doesn’t care about the size, just the shape.
Think of this as a pizza and we’re going to cut it into a different shape. It doesn’t cause the pizza to change size, we are just cutting off a smaller slice.
To demonstrate, let’s make a square crop. Choose 1×1 aspect ratio. It doesn’t matter if it’s a 2×2, 4×4, these are all square and will produce the same result, because its only the shape we are concerned about for aspect ratio.

Tip: If you hold the alt/option, you can drag from the center, rather than the edge.
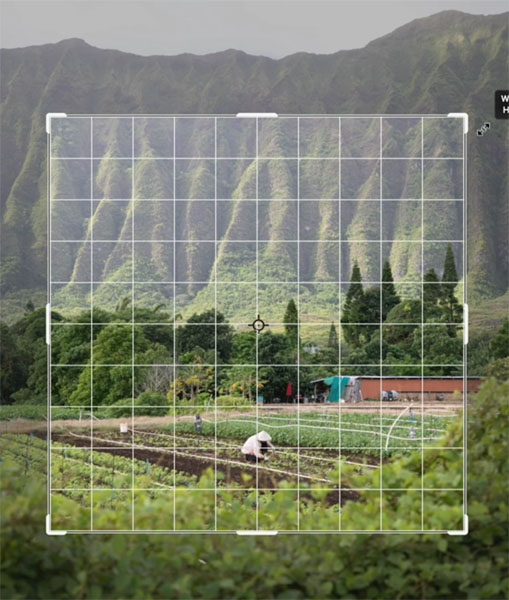
When you apply the crop (Enter key, or click the checkbox) It’s not going to resize anything, all it’s going to do, is simply crop it into that shape.

Maybe, you want a 4×5 crop for Instagram? (The first number on the left is always the width and the second number is always the height.) As you resize the crop, this is like cutting off a slice of pizza, it will cut off the area you choose without resizing anything.

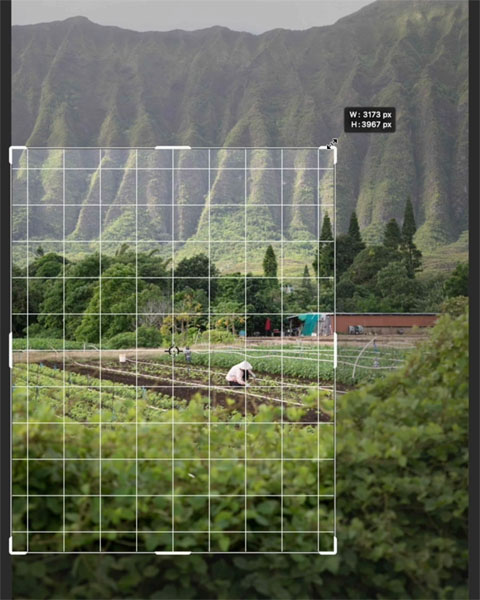

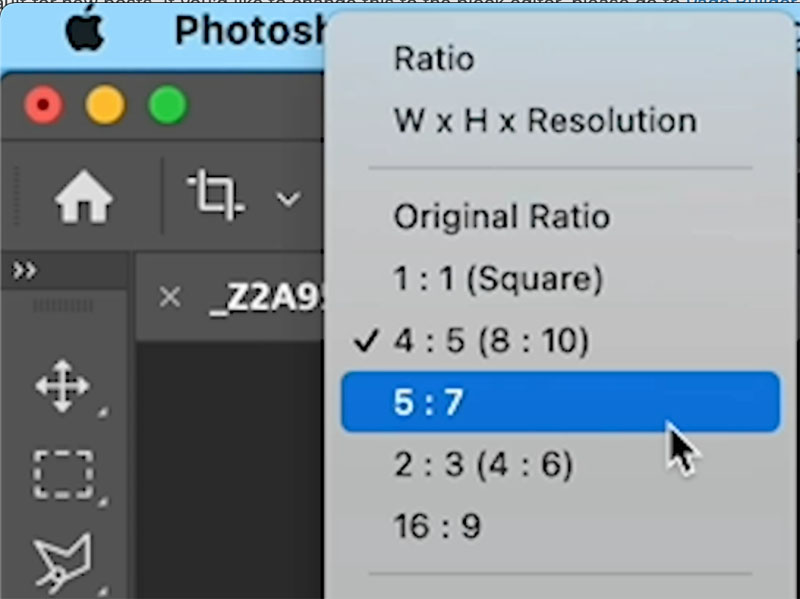
Common aspect ratios are:
- 4×5 for Instagram,
- 8×10 for print
- 1×1 square
- 16×9, which is used for HD video sizes for title screens etc.
In fact, you’ll see these under the Presets.
Crop a photo to a specific size
The next option is to crop an image to a specific size for screen resolution or print. So here’s the important thing. We no longer want to use ratio. We want to do W x H X Resolution. (Width, height and resolution.)
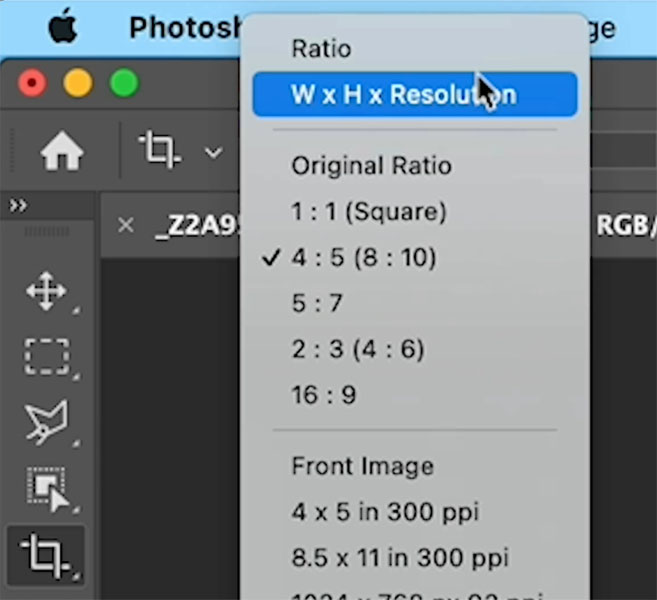
You’re now going to see an additional box for your target resolution. This is VERY important, if you want to crop to certain size. Without adding resolution, it won’t know what size to make it.

Unless you are working in pixels, then it will use the entered pixel sizes.
But say you tell it 5 inches by 5 inches and don’t enter a resolution, it doesn’t know if those are screen sized inches or print, that’s why you need to enter something into the resolution field. You enter your target resolution. If you don’t know, a general rule of thumb is 72 for screen and 300 for print.
If you specifically know the resolution, use 360ppi for Epson Printers, 219 for retina etc. But this could easily make this simple explanation complex, which is NOT my goal.
(See explanation of Resolution here).
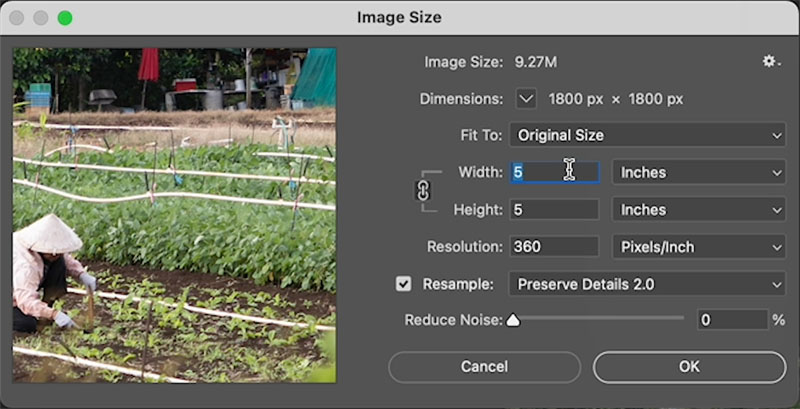
Enter 5×5, notice it uses pixels by default (The default unit of measurement, that can easily be changed from the rules). All we need to do is just type “in” to change the measurement to inches. You can enter (cm) centimeters, (mm) millimeters, whatever you want. For resolution, enter 360.

Photoshop creates a crop window. We can resize this window to the crop you want. When you apply it, the image will crop to that shape AND resize the cropped area to the Width, Height and Resolution you have chosen. In this case, it will become 5 inches by 5 inches and 300ppi.
Photoshop Cropping Tips
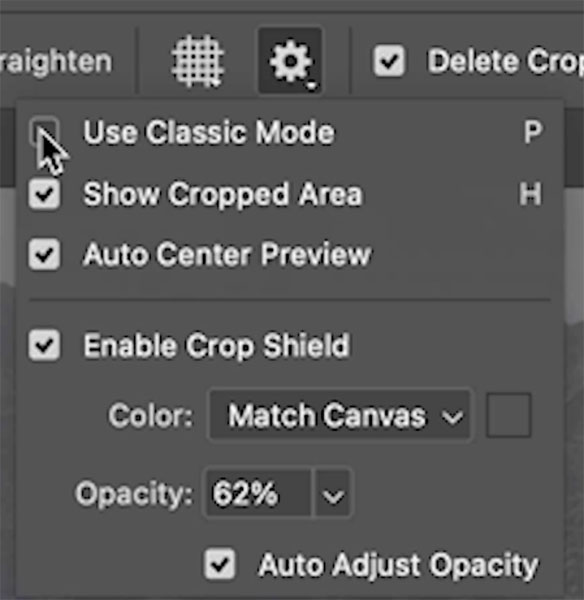
If you prefer, the old behavior just hit this little gear and choose classic mode. In Classic mode you move the crop area, the new way, you move the image.
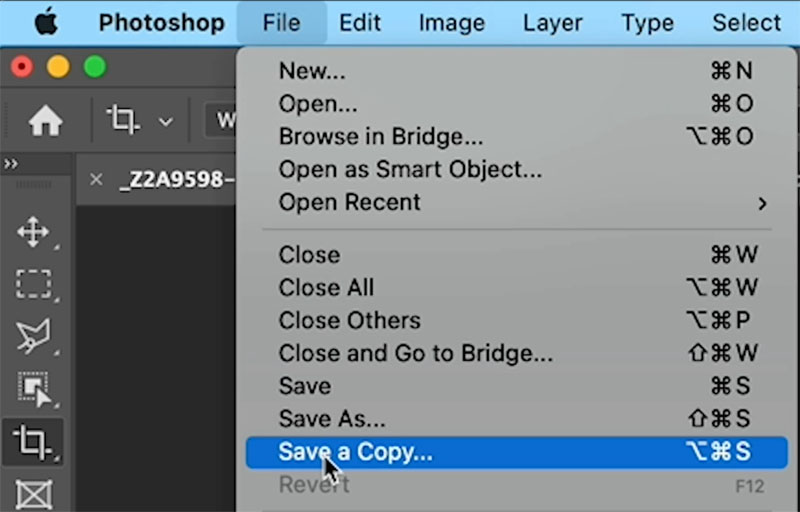
When you want to output the new sized image and don’t want to change your original image, file>save a copy and make a copy so you don’t overwrite the original. I really recommend doing that.
Tap the X key, to change the aspect ratio from portrait to landscape.
There is an overlay guide to help you crop: we can change it. Tap the O key. Each time you tap it, it goes through a different type of overlay.
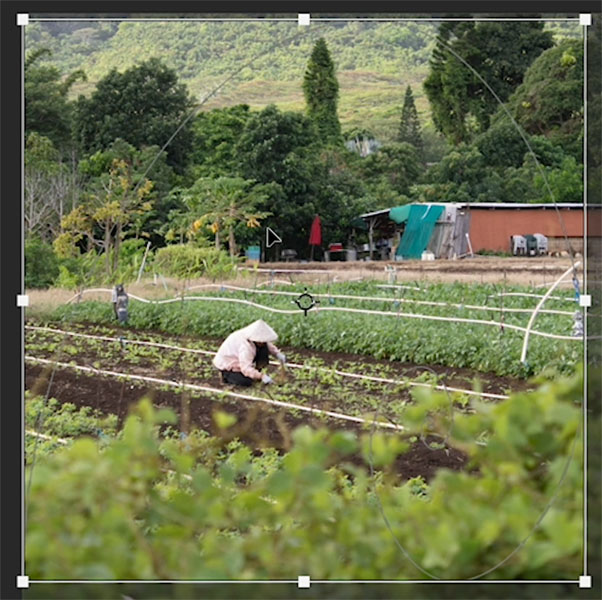
If you want to enlarge the crop larger than the image, we’ll usually get a transparent area. Turn on Content Aware and when you apply the crop, Photoshop will synthesize the pixels and fill the transparent areas with Content Aware Fill.


Delete pixels. If we turn on delete cropped pixels and apply a crop, it will crop it to that size, which means that those pixels are now removed. If you turn the Delete Cropped Pixels off, nothing is deleted. A window is created at out crop size, but we can reposition the image underneath using the move tool. (V key).

I attempted to make the crop tool easy for you. Let me know in the comments underneath if you learned anything new and what was the most useful part of this tutorial.
And by the way, if you’re your new, welcome to photoshopCAFE.com. Great to have you with us. Consider joining our mailing list, and you won’t miss any tutorials from me.
And until next time, I’ll see you at the cafe.
(Ive been posting some fun Instagram and Facebook Stories lately)
Colin
PS, you can grab free goodies here, including Photoshop brushes, actions, presets, sky images, ebooks and a whole bunch more.
So anyway, guys, until next time, I’ll see you at the cafe.
The post Crop an image to an exact size in Photoshop, easy to follow Photoshop cropping tutorial and tips appeared first on PhotoshopCAFE.

