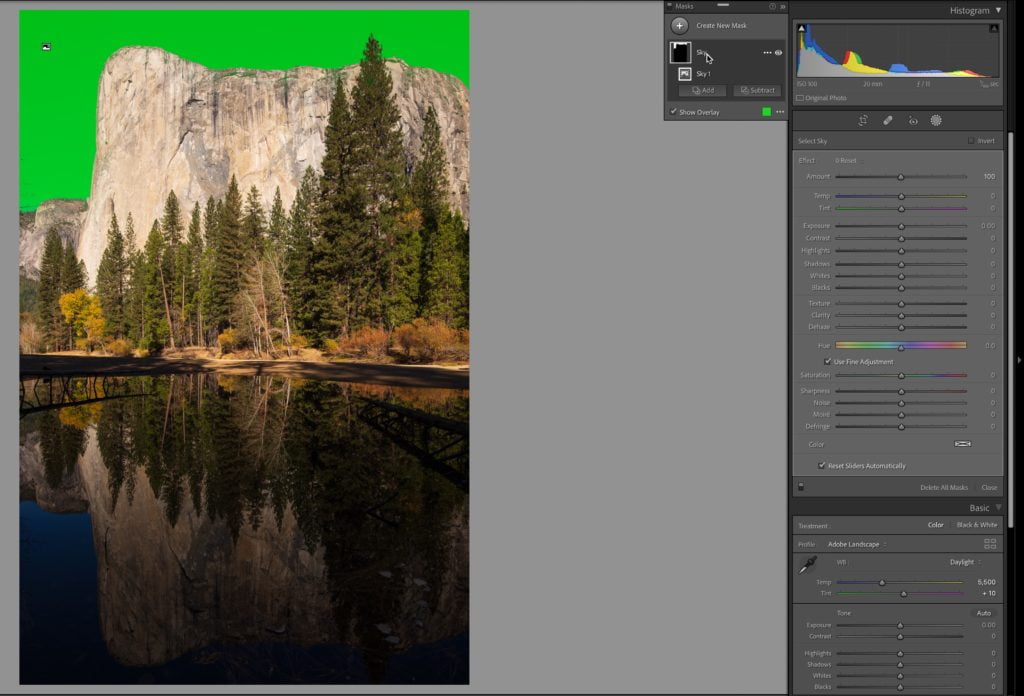
Last month I shared a way to trick the Select Sky function to select the reflection in water using either Camera Raw (ACR) or via sync to the desktop version of Lightroom (Lr) when starting in Lightroom Classic (LrC). I’ve been continuing to explore those options and wanted to share a follow up with some additional notes.
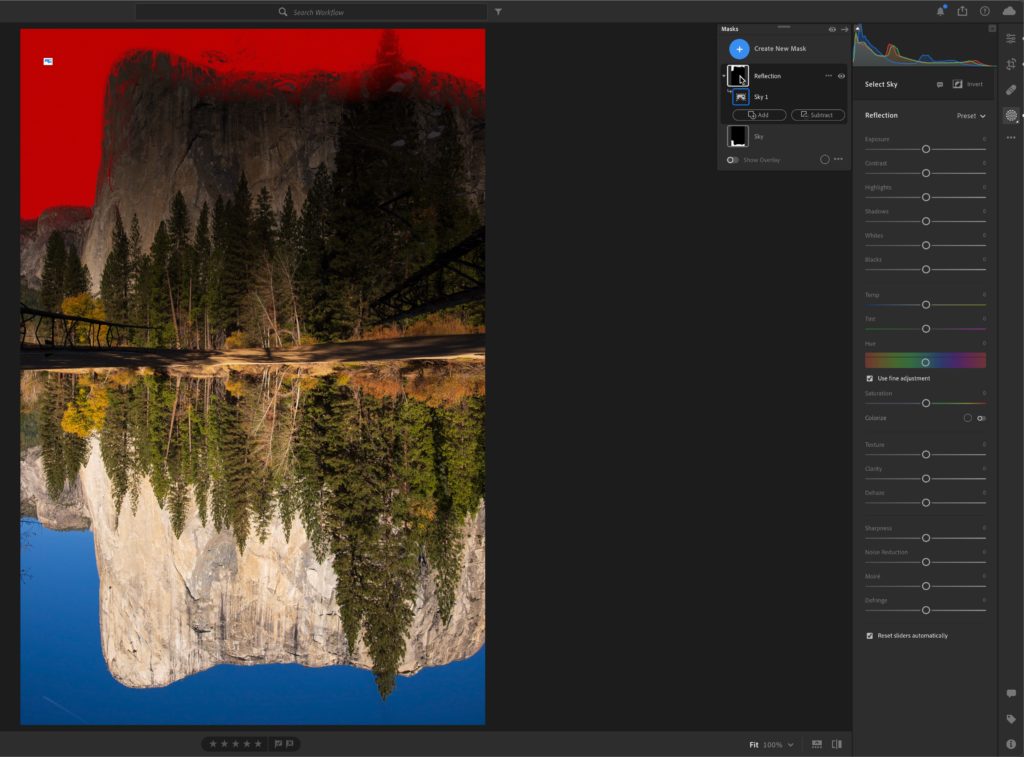
First, I find that the Select Sky function in Lightroom for desktop (Mac/Windows) is more easily fooled into selecting the reflection of the flipped image than the Lightroom app for mobile (iOS/Android). Now, there may be differences with any given photo too, but that has been my experience so far. In other words, when I want to use this hack I find starting in LrC, syncing a smart preview to Lr, flipping the photo, applying Select Sky to the inverted photo, gives me the most consistent useful results.
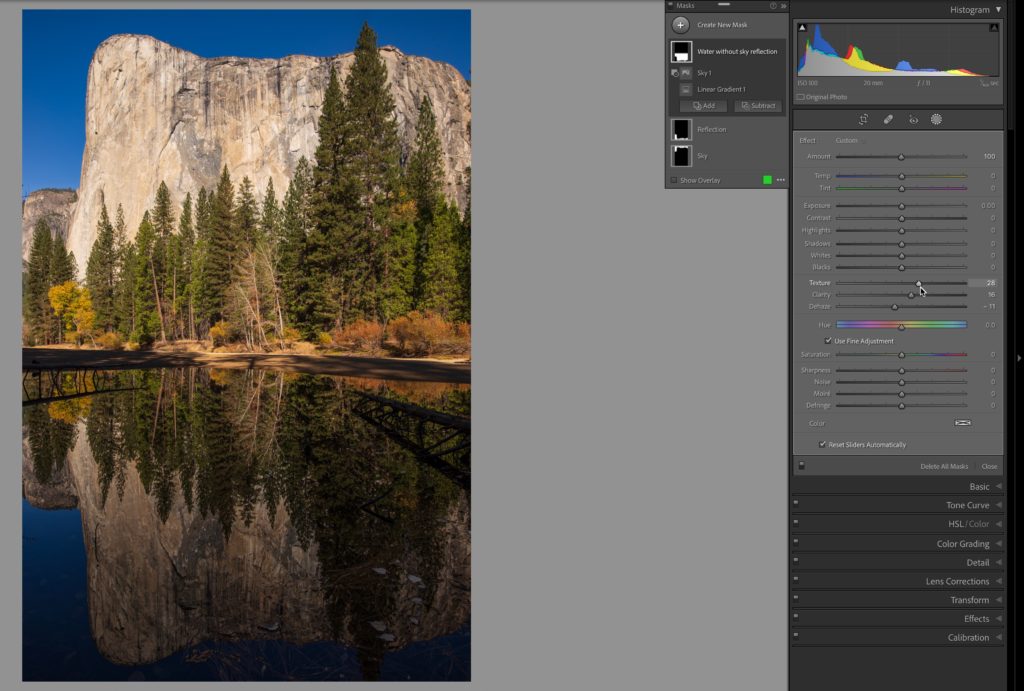
Second, I’ve found it to work just as well on portrait/vertically oriented photos as landscape/horizontally oriented photos.


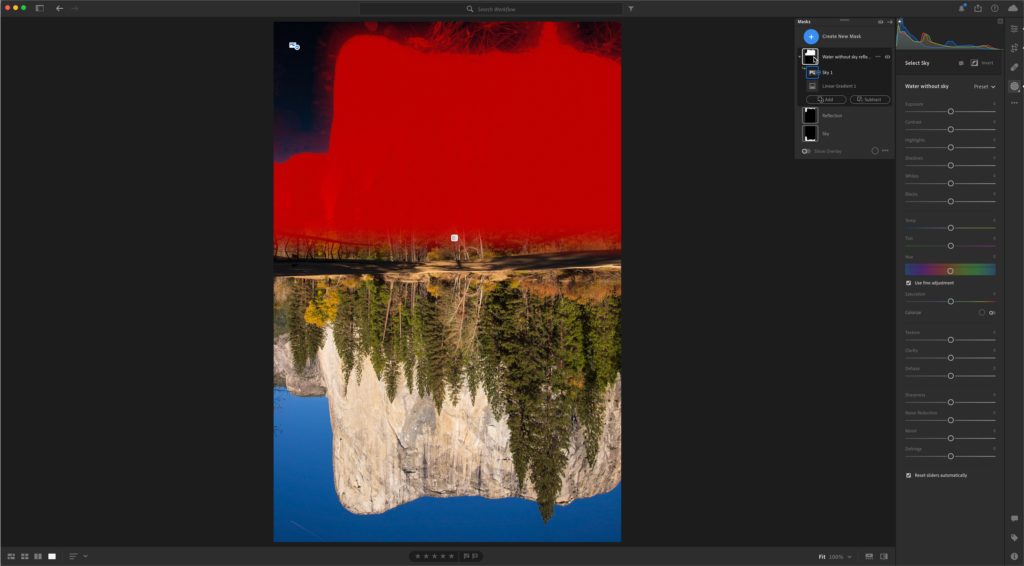
Also, don’t forget that it can be used to subtract from another mask or intersect with another mask. Such as starting with a Linear Gradient and then subtracting using Select Sky.

I hope you find these tips helpful with your photos, and I appreciate those who have been sharing their experiences in the comments.

The post Masking Hack: Part 2 appeared first on Lightroom Killer Tips.
