
How to remove a color cast from a photo in Photoshop.
A color cast happens when the white balance settings on the camera are different than the lighting conditions.
Tungsten lights are warmer than LED, or fluorescent lights.Thus they appear more yellow than regular daylight. Daylight is approx. 5600 Kelvin and tungsten is approx. 3200K.
When colors are more blue, they are called cooler, when thy are more yellow, they are called warmer. You will see white balance settings on your camera, such as daylight, cloudy, flash etc. These settings compensate for different lighting conditions. If they aren’t spot on, then the photo will appear cooler or warmer than it should. Here is how to fix that for different types of photos. This tutorial works in Photoshop CC as well as earlier versions, going quite a way back.
Method #1 In Photoshop with adjustment layers.
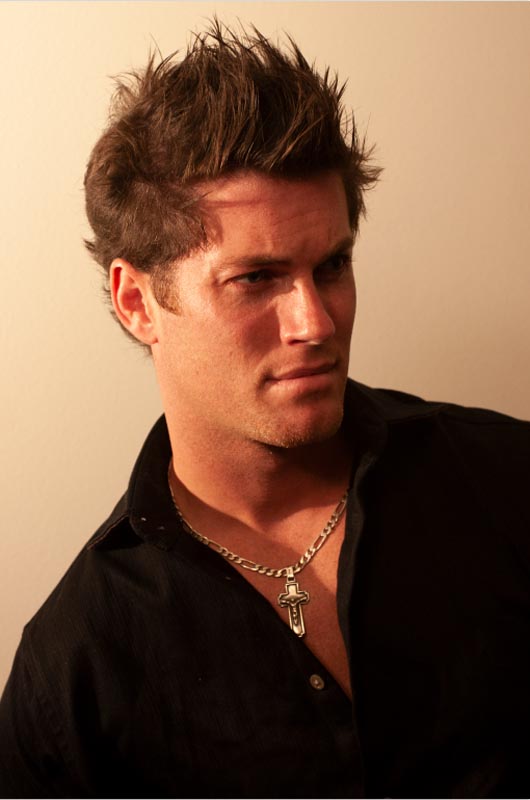
Here we have a photo I shot under tungsten lighting (actually, I shot all examples under tungsten, so we can fix them)
Step 1.
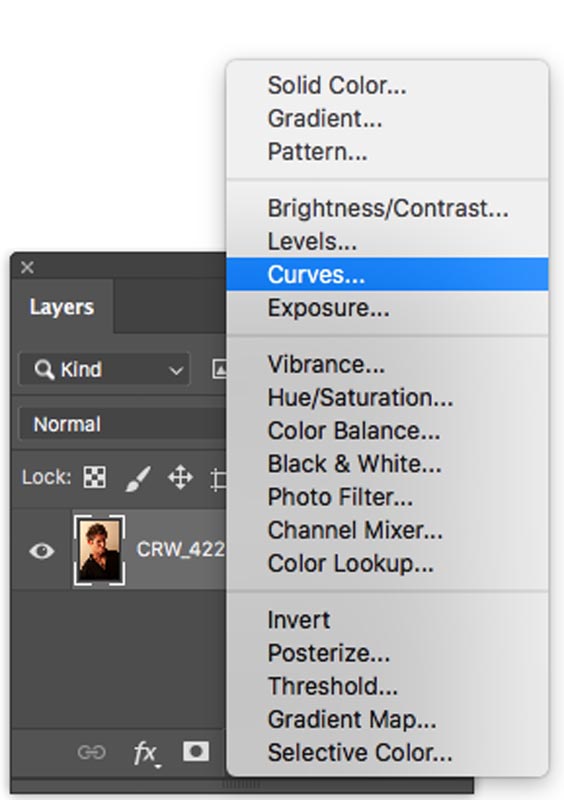
Create a Curves adjustment layer (level will also work)
Step 2.
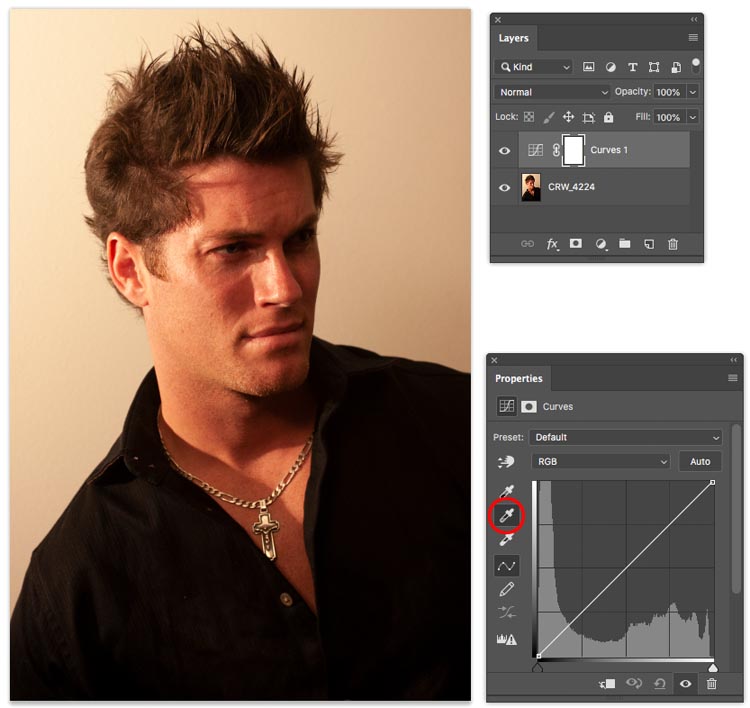
Choose the gray eye dropper,
Step 3,
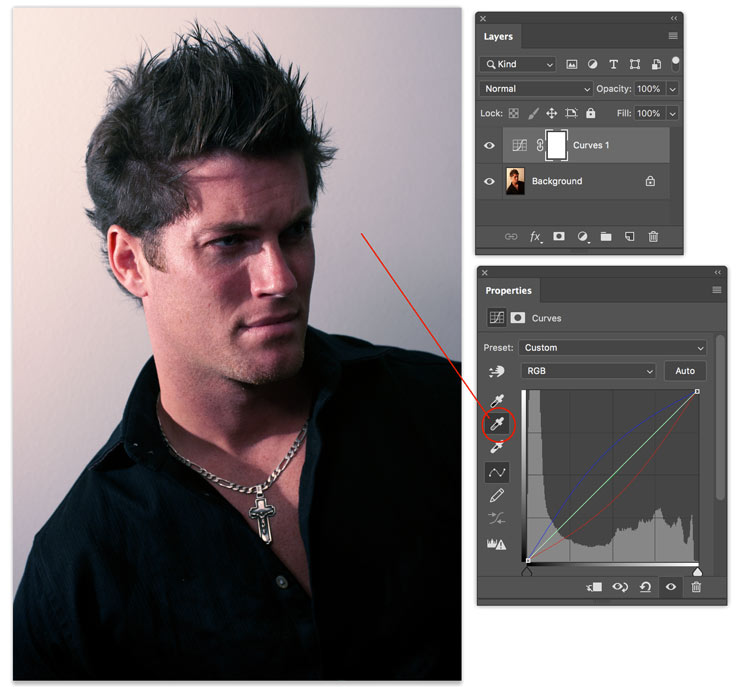
Click on an area that should be gray or white and the color cast goes away. Note, I often shoot with an x-rite color checker to get a good known gray in the shot. (Another topic for another day)
You could make more adjustments to change the brightness of the photo to finish it up, but I want to stay laser focused on color correction in this tutorial.
Method #2 Camera Raw with a Raw file.
If you have a Camera raw file as shot, this method will work best for you.
Step 1.
When you have a RAW file, open in Camera RAW.
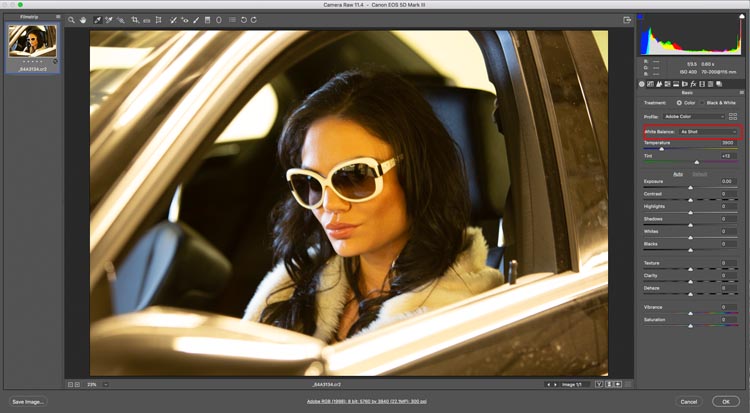
Step 2.
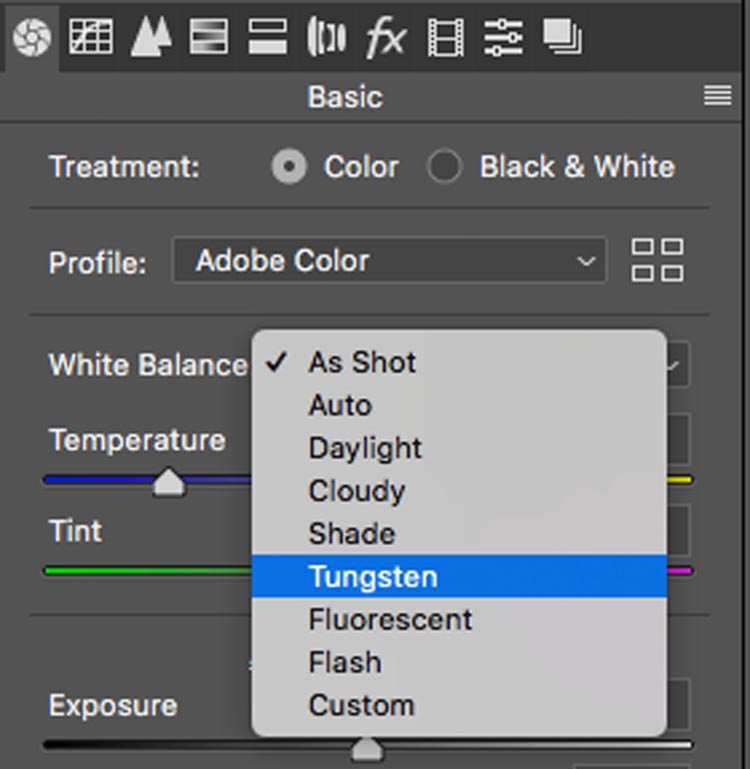
You will see the white balance settings. These are the same as on your camera, and can be changed in ACR as easily as applying them in camera since this is a RAW file.
Change to the correct White Balance setting (or try them all)
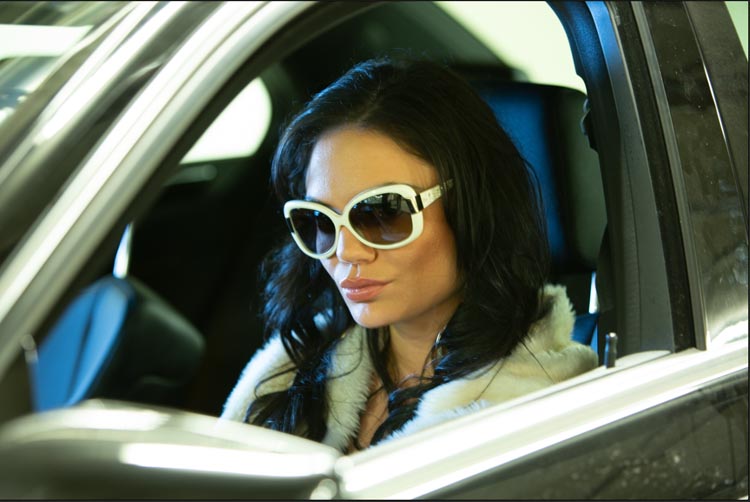
Notice the color cast goes away.
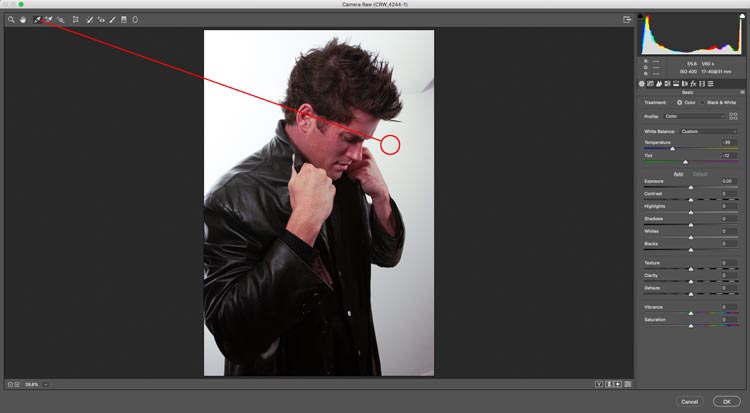
Method #3 in Camera Raw without a RAW file.
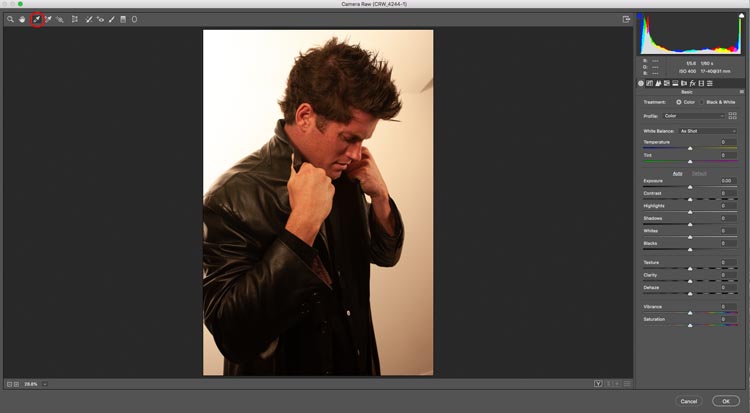
Even if you don’t have a RAW file, you can still use the tools in Camera Raw. This is my favorite method if I don’t have a RAW file.
Step 1.
Choose the Eyedropper from the top toolbar
Step 2.
Click on a an area that should be neutral, ie, white or gray.
The color is fixed.
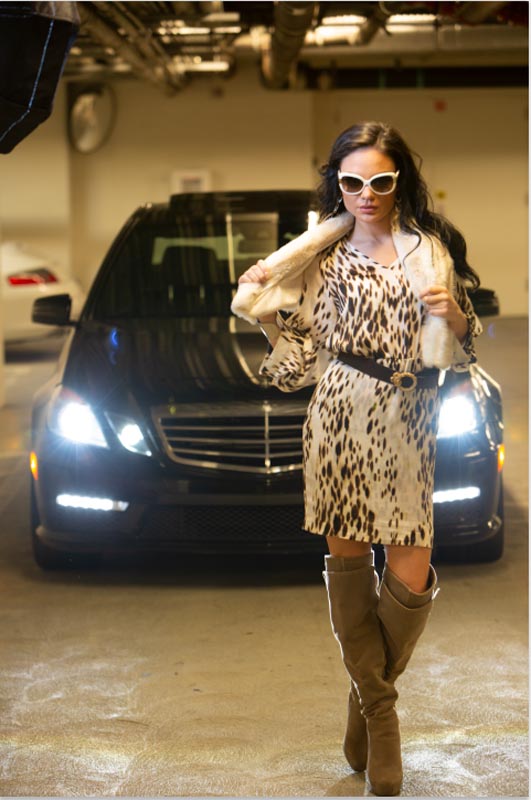
Method #4 Match Color
This method works great if you don’t know what setting to choose, have mixed lighting or don’t have a good white value in the photo. Note, it doesn’t always work on every photo, but when it does, its great!
Start with a photo.
Step 1.
Choose Image>Adjustments>Match Color
This is a tool I use for matching colors on composites, but it works on a single image too.
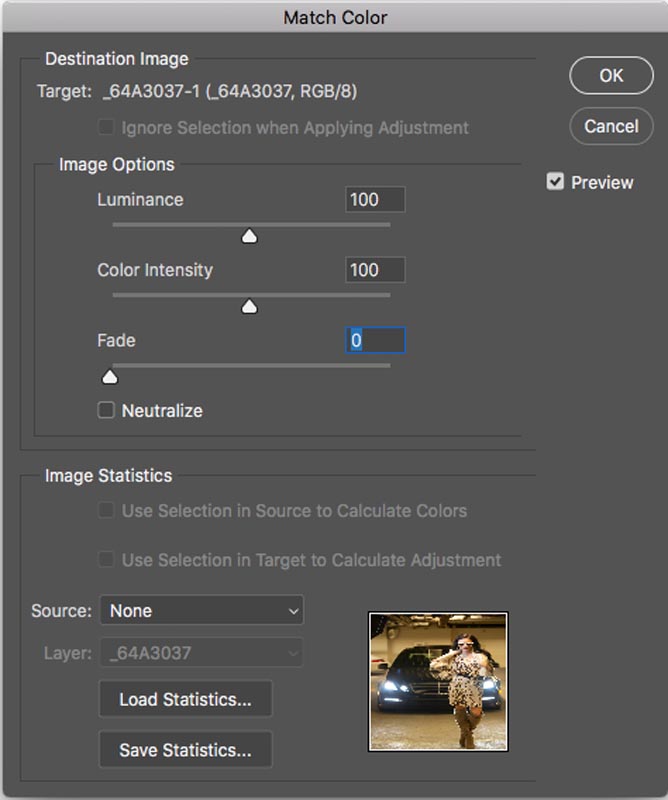
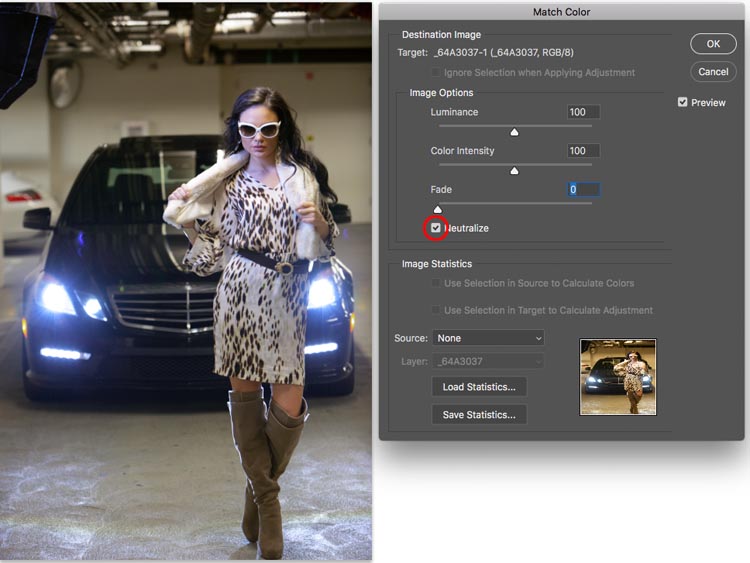
Step 2.
Click on the Neutralize button. All done!
Thanks for checking out this tutorial.
If you liked this tutorial, please tell your friends about the new and updated PhotoshopCAFE. Its the Same PhotoshopCAFE I started in the year 2000, but I have updated almost all the tutorials and add a new one every week.
Colin
PS Don’t forget to join our mailing list and follow me on Social Media>
(Ive been posting some fun Instagram and Facebook Stories lately)
You can get my free Layer Blending modes ebook here
PHOTOSHOP CC SELECTION SECRETS
NEW COURSE BY COLIN SMITH
Stop struggling with selections. Learn how to select and cut out anything from people, hair, trees, complex shapes and even transparency.
Discover how to get perfect edges, without halos and jaggies. Colin shows you exactly how in 18 lessons.
All the images are included for you to follow along.
You will be able to select and cut out anything: faster and cleaner.
MORE INFO HERE
The post 4 ways to fix a color cast in a photo in Photoshop appeared first on PhotoshopCAFE.