
Right now I’m going to show you how to Warp reality by using the puppet Warp tool in photoshop.
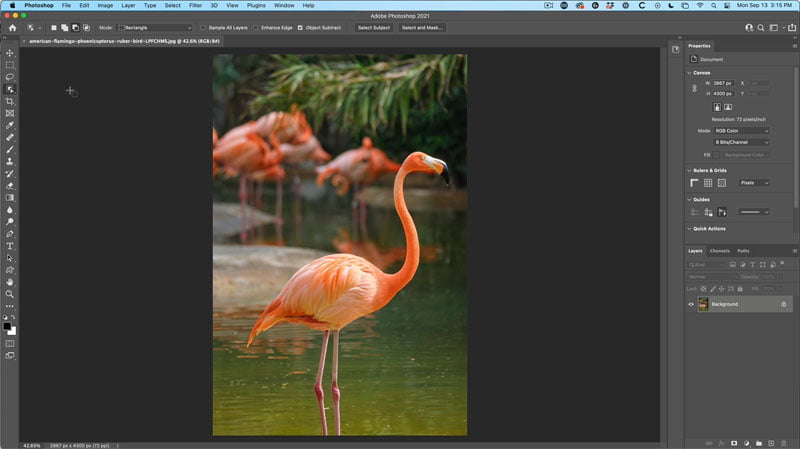
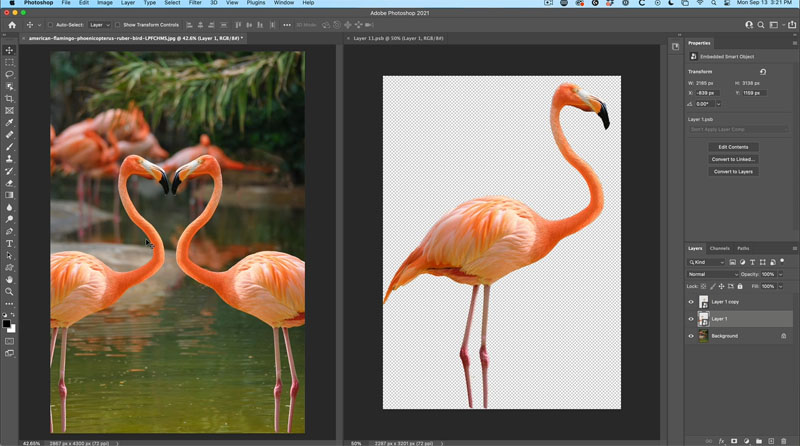
We are going to use this flamingo and bend its head and neck in a natural way.
I got this Photo from Envato Elements, more about them here.
It will be much easier to watch the short video first, it will help the steps, as this is a very visual process.
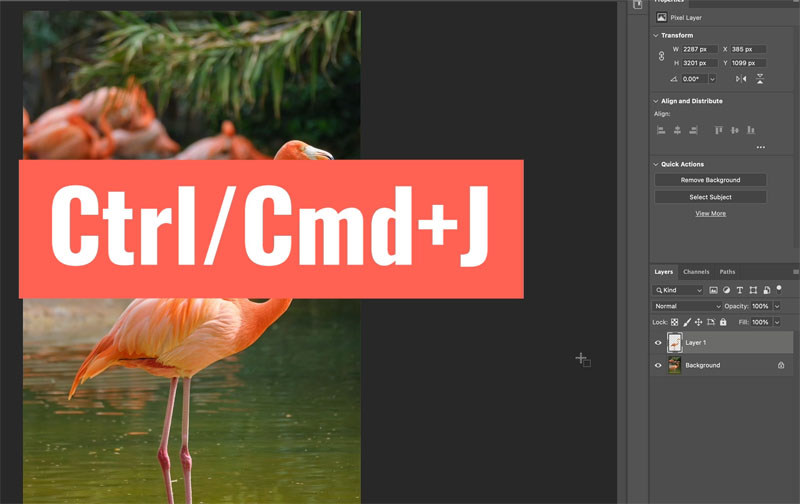
Step 1: Separate the image from the background
Choose the object selection tool from the left toolbar.
Choose Select Subject.

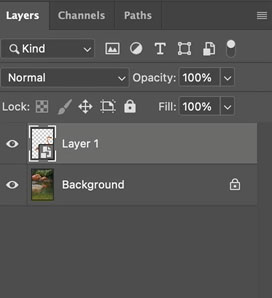
Press Cmd/Ctrl+J t copy the selection to a new layer.
Now we want to fill underneath so we can have a blank slate underneath.
Step 2: Fill the background with Content Aware Fill
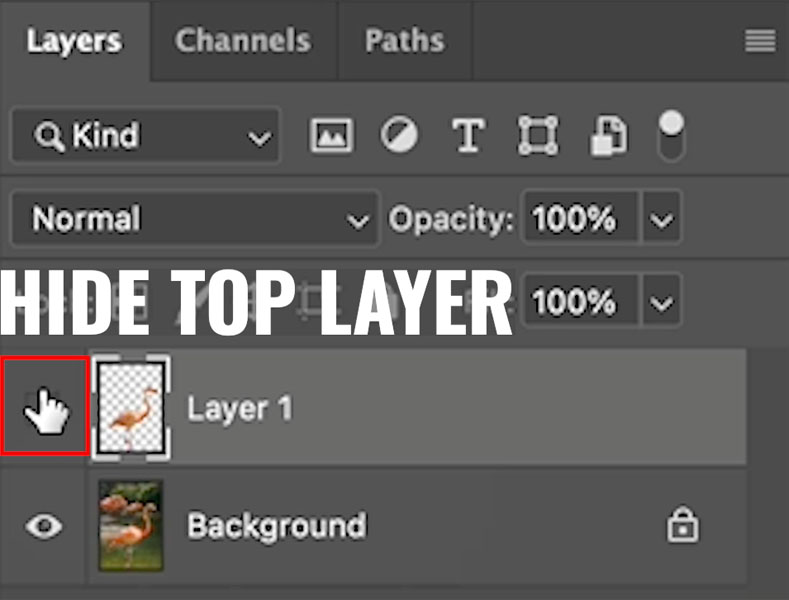
Hide the top layer
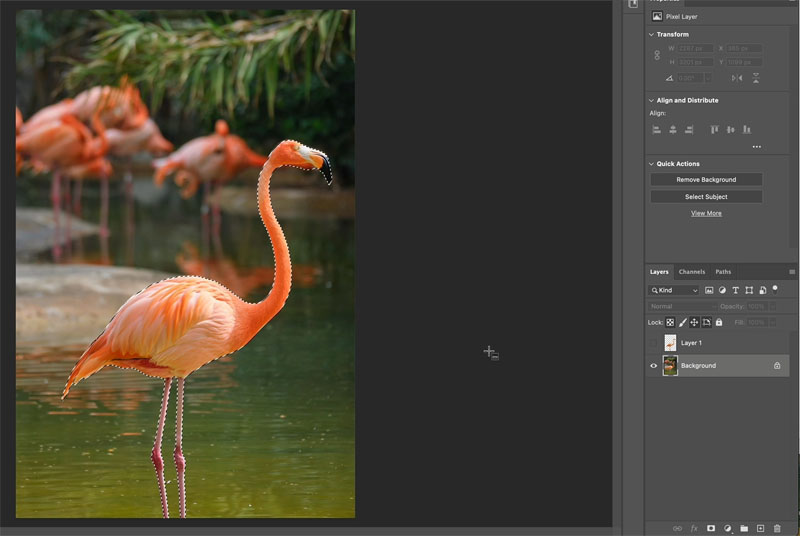
Click on the background layer to select it.
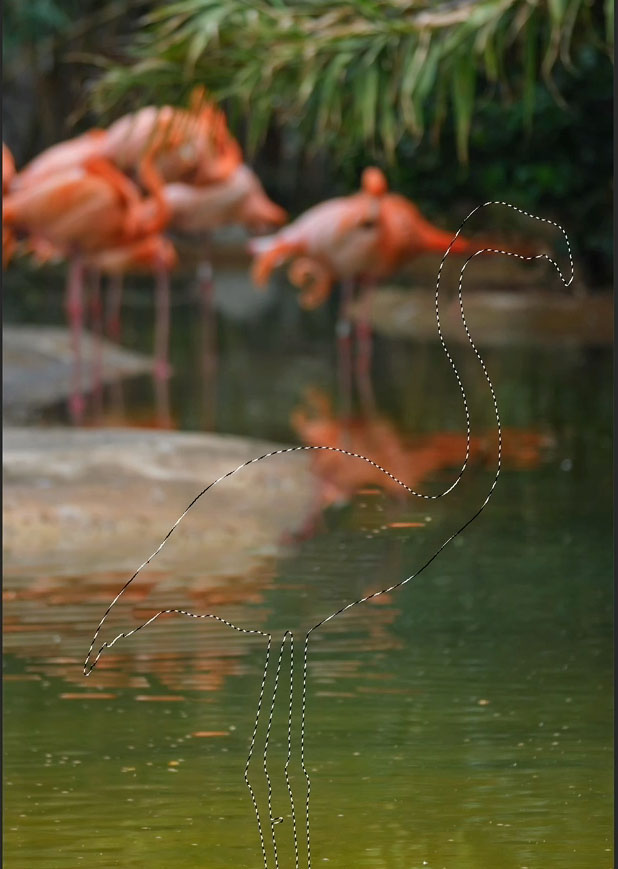
Hold Cmd/Ctrl+Click on Layer 1 Thumbnail. This will load the selection from the top layer.
We are going to fill the background where the bird is. We don’t want a seam, so we need to expand the selection to make it a bit bigger,
choose select>Modify>Expand. 5 pixels will work nicely.
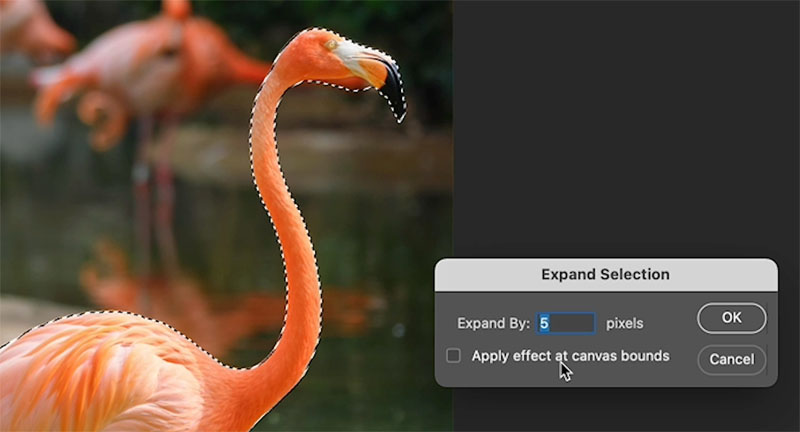
Click. Okay.
So now we’ve got a 5-Pixel selection all the way around here and we want to just basically get rid of the Flamingo.
So we’re gonna hit the shift delete key( shift Backspace on Windows.) to bring up Fill
Under Contents choose Content Aware.
Click ok
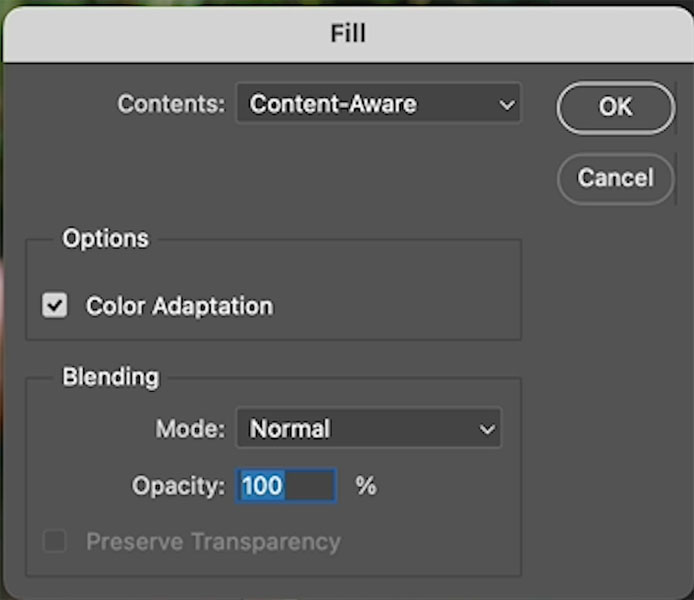
You will see it filled the background.
Press Ctrl/Cmd+D to deselect.
It’s not perfect, but it’s good enough for what we want to do.
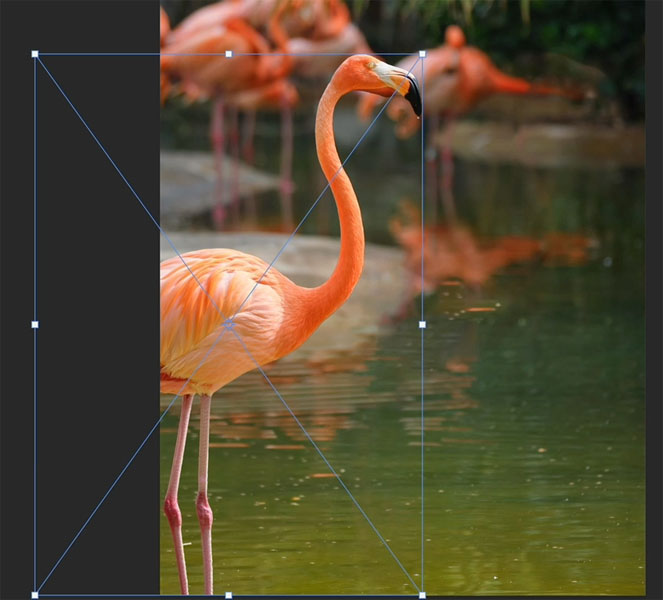
Turn the top Layer back on so you can see it. Slide the bird to the left with the move tool. Because we filled the Background with Content-Aware, you can reposition the flamingo without it leaving a hole.
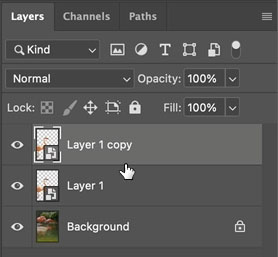
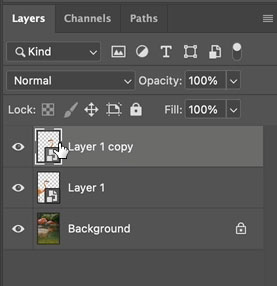
We are about to make a copy, and we want to manipulate both of them the same. The best way to do this is with a Smart Object, you will see why.
3. Making Duplicate Smart Objects
Right-Click on the name of the bird Layer (Layer 1) and choose Convert To Smart Object.
Press Cmd/Ctrl+J to make a copy of the bird layer.
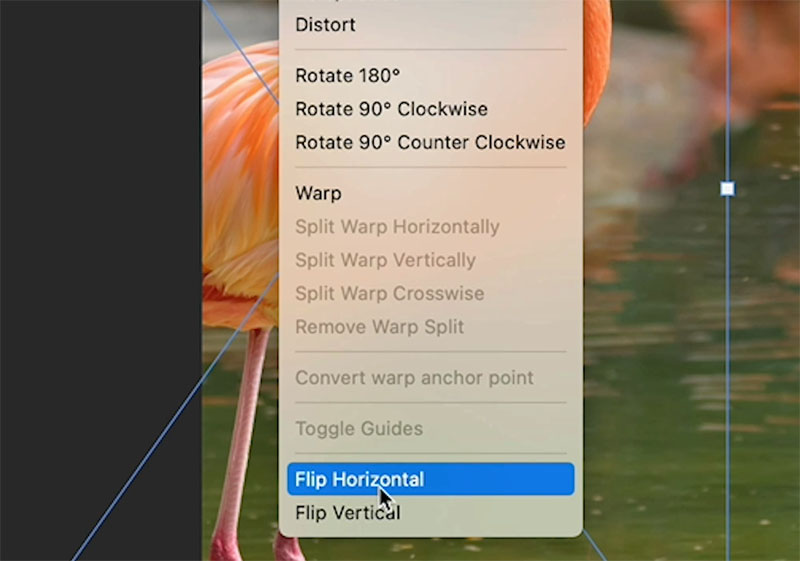
Let’s flip the copy.
Press Ctrl/Cmd+T for free transform.
Right click.
Choose flip horizontal
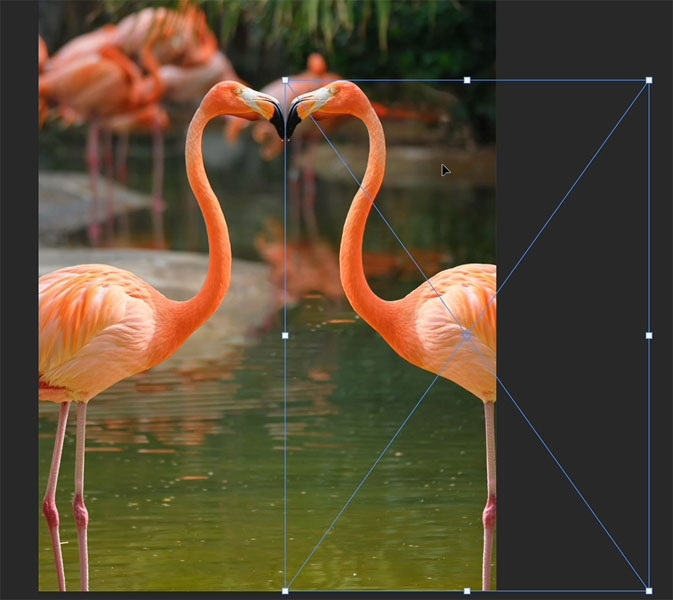
Drag the duplicate layer to the right side of the image. You possibly see where I’m going with this.
Press Enter to apply.
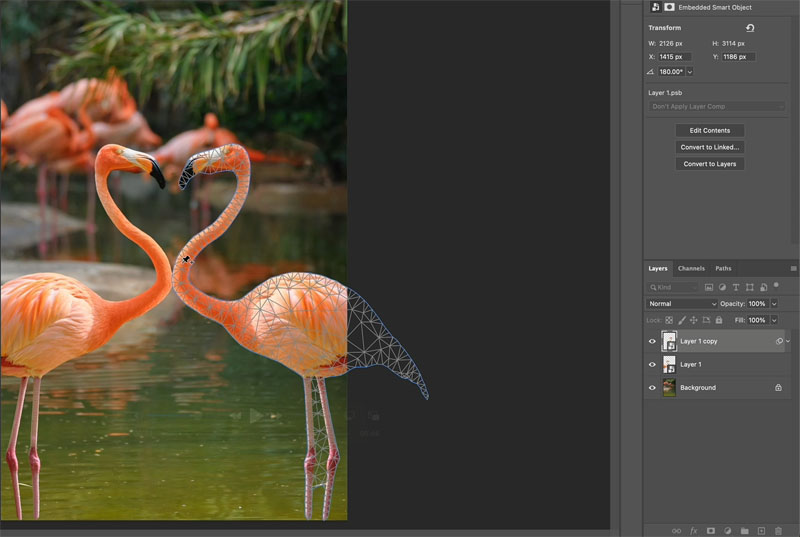
Step 4: Working with multiple Linked Smart Objects
Because of the nature of a smart object, whatever I do to one will happen to the other smart object as well. So let’s double click the smart object. (Learn how Smart Objects work here)
This is going to open this inside a new window.
(Double-clicking a Smart Object will open the contents in a new window where we can edit the contents. When We save, the main image is updated with the new appearance.)
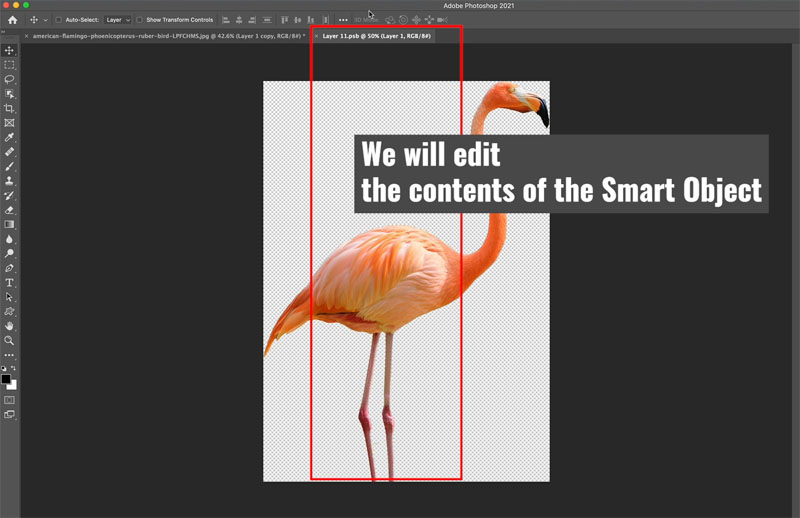
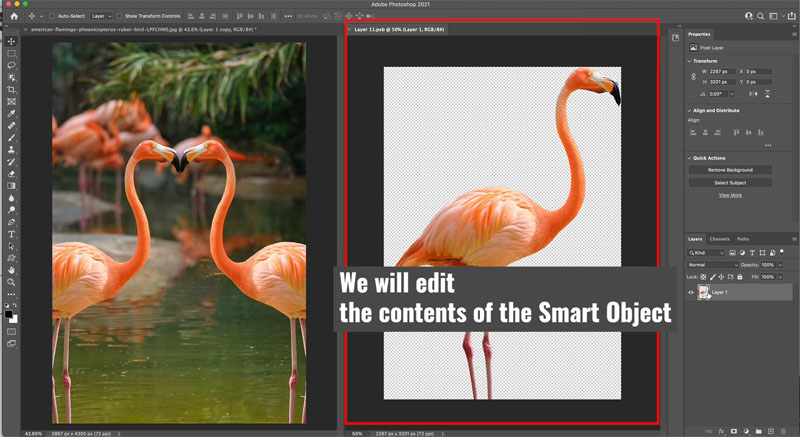
So, let’s view them side by side.
So if we go on the window>arrange>tile vertically, we can see there’s our image on the left. And the Right is the image we will manipulate.
Using Puppet Warp In Photoshop
Click on the image on the right to make sure we are working on it.
Choose Edit>Puppet warp
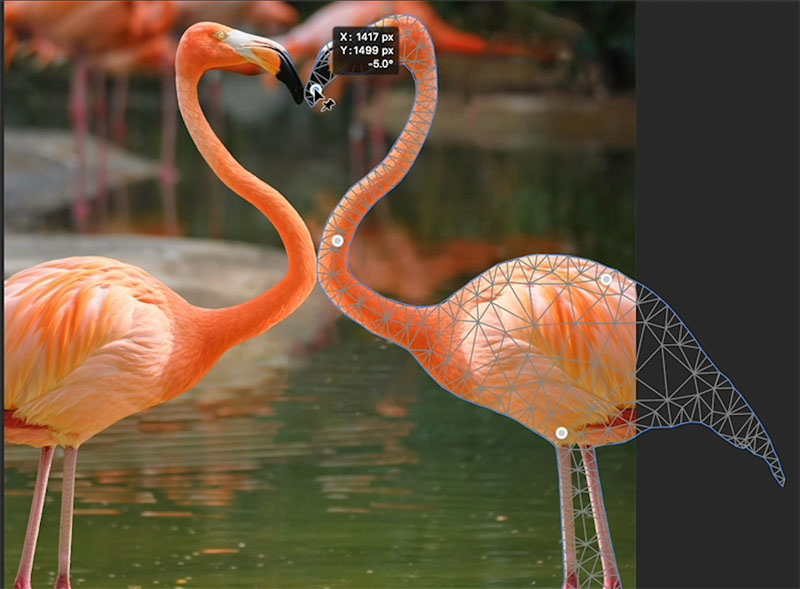
You will see a mesh.
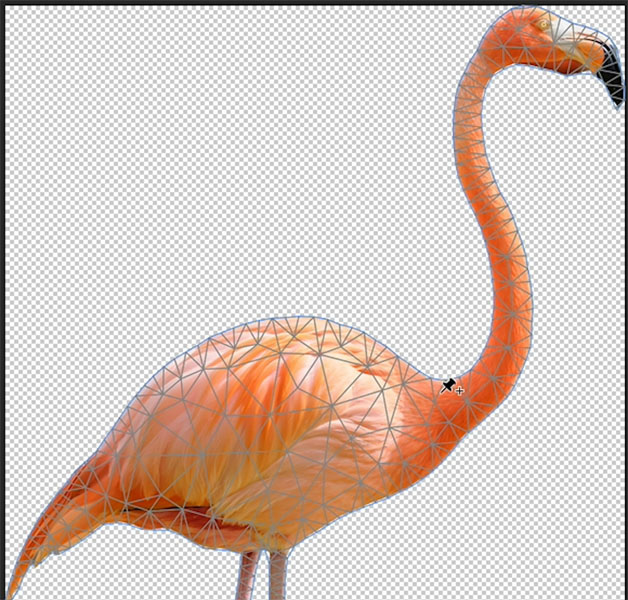
To control the mesh, we click to add pins.
These pins can be used to reshape the object, or to anchor it.
We have anchored the flamingo by adding points on the lower neck and the tail
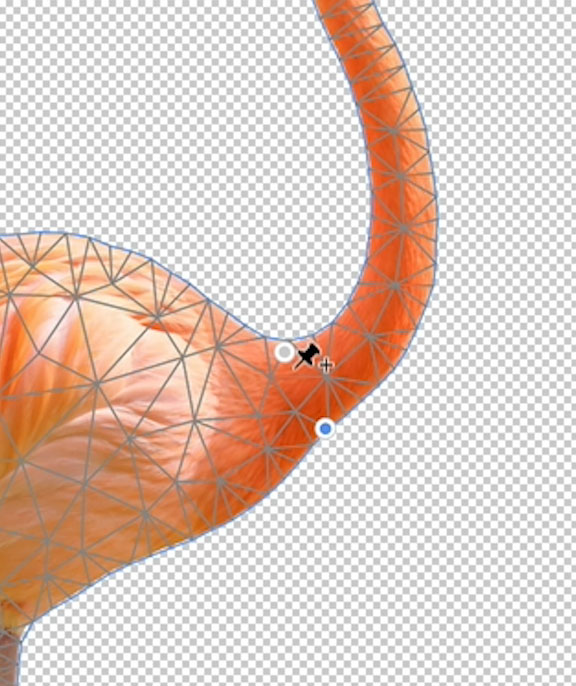
Click on the neck to add a pin
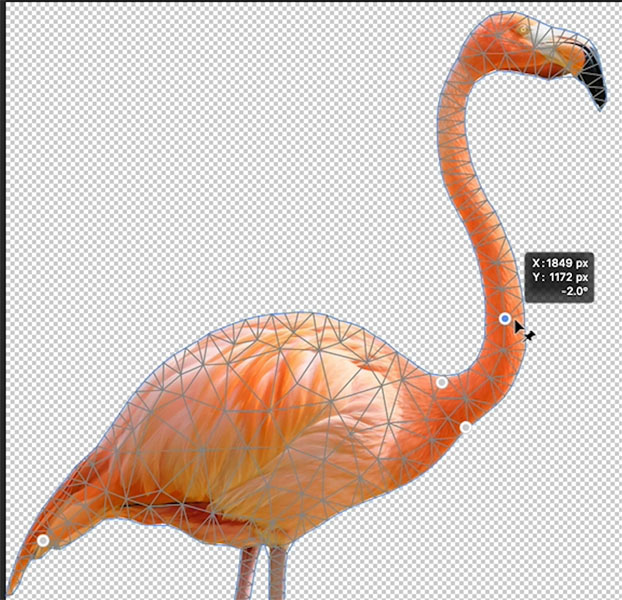
Drag on the pin to see the head move, just like a puppet.
It’s so much fun. S
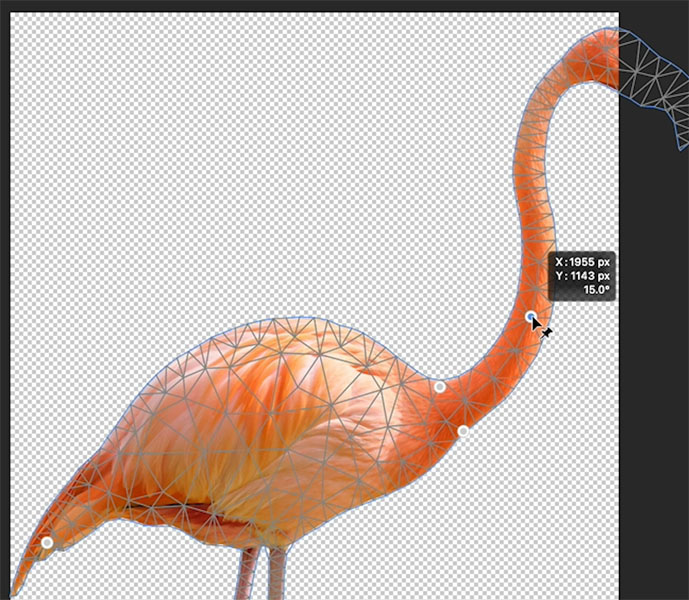
Add another pin on the head, to bring it back up.
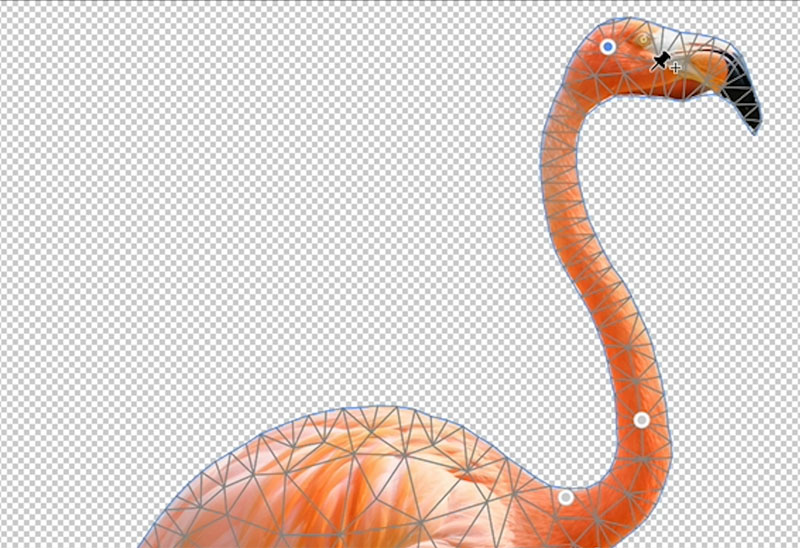
Add an additional pin to the Beak to tilt the head down. You can add pins and drag them to completely re-pose anything in Photoshop. It’s fun!

Remember I told you, the image updates to show the changes on the Smart Objects?
Press Cmd/Ctrl+S to save the changes to our puppet bird.
Notice on the left, both copies of the Smart Object update to reflect the change.
Close the image on the right, we don’t need it anymore.
When you edit INSIDE the Smart Object, all copies are updated. This is why we did it that way, so we wouldn’t have to bend the neck twice.
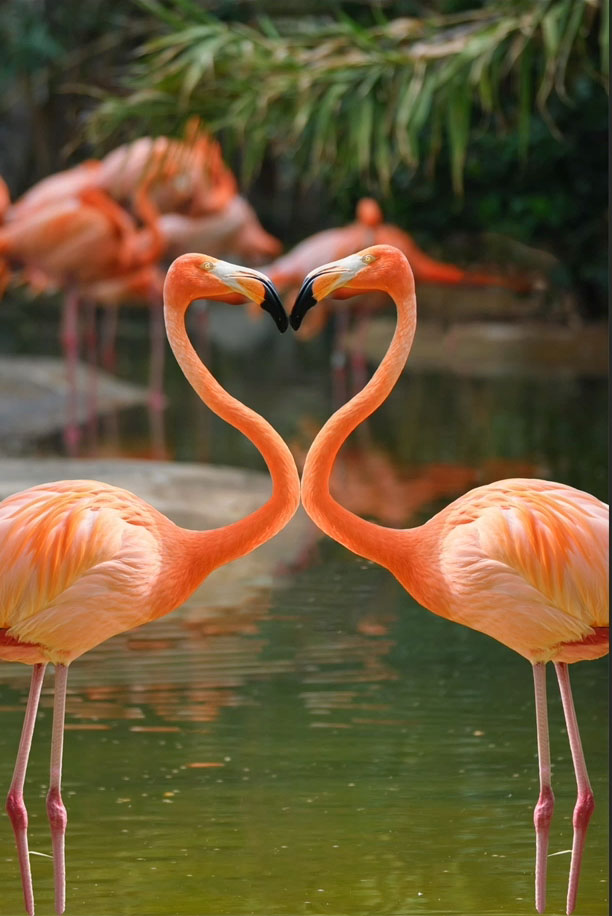
Now, we want to edit just one, to make it slightly different than the other one, so it doesn’t look obviously reflected.
Go to our main image and choose the Left Facing bird layer.
Choose Edit>Puppet Warp
Yes, we can use Puppet warp on a Smart Object.
Add some pins and drag the bird, just like we did before. This time we are doing it directly on the layer and not in the Smart Object.
Hopefully you “love” the result. Ok, sorry for the pun. See the heart?
The puppet Warp is another powerful way of transforming in Photoshop. Check out my recent tutorial where I show you how to use the Split Mesh tool as well.
So I hope you guys enjoyed this. And if you learn anything new, let me know what you think in the comments underneath. And by the way, if you’re new welcome to Photoshop Cafe
See you at the CAFE
Colin
I’ve got a whole bag of goodies you can have for free at the Vault. Grab free goodies here, including Photoshop brushes, actions, presets, sky images, ebooks and a whole bunch more.
Consider Consider joining our mailing list so you don’t miss any of my tutorials.
For more, follow us on Social Media
The post Bend anything in Photoshop with Puppet Warp. Free tutorial appeared first on PhotoshopCAFE.