
A couple of years back Adobe released an update to the Auto settings in all of the Lightroom apps (and Camera Raw too). The new and improved Auto is powered by Adobe Sensei, Adobe’s AI and machine learning platform. When applied to a photo, Auto analyzes the photo and applies a custom adjustment to the following sliders:
- Exposure
- Contrast
- Highlights
- Shadows
- Whites
- Blacks
- Vibrance
- Saturation
Within the cloud-based Lightroom apps there is an easily accessible Auto button and the desktop Lightroom app even has a shortcut, Shift+A, to make it even easier. And while it is possible to create presets in all of the cloud-based Lightroom apps, there is no way to include the Auto function in a preset within those apps (at least none that I’ve found so far).
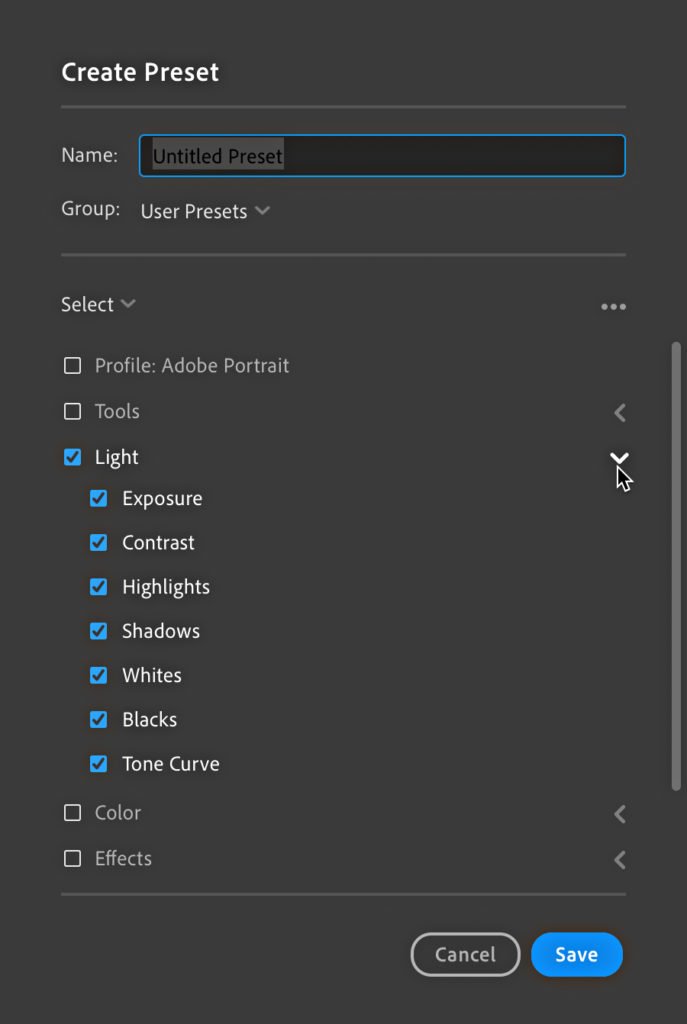
However, this is where Lightroom Classic can come in handy. Lightroom Classic has the same Auto button in the Basic panel, and has a keyboard shortcut, CMD/Ctrl+U, it also has a specific Auto option in the New Develop Preset dialog box that makes it possible to preserve the Auto functionality in a preset.
So, first create the preset in Lightroom Classic, then import the preset into the desktop Lightroom app. Once the preset is imported into the desktop Lightroom app it will be synced across all of the other cloud-based Lightroom apps you are using. Here’s how to do that.
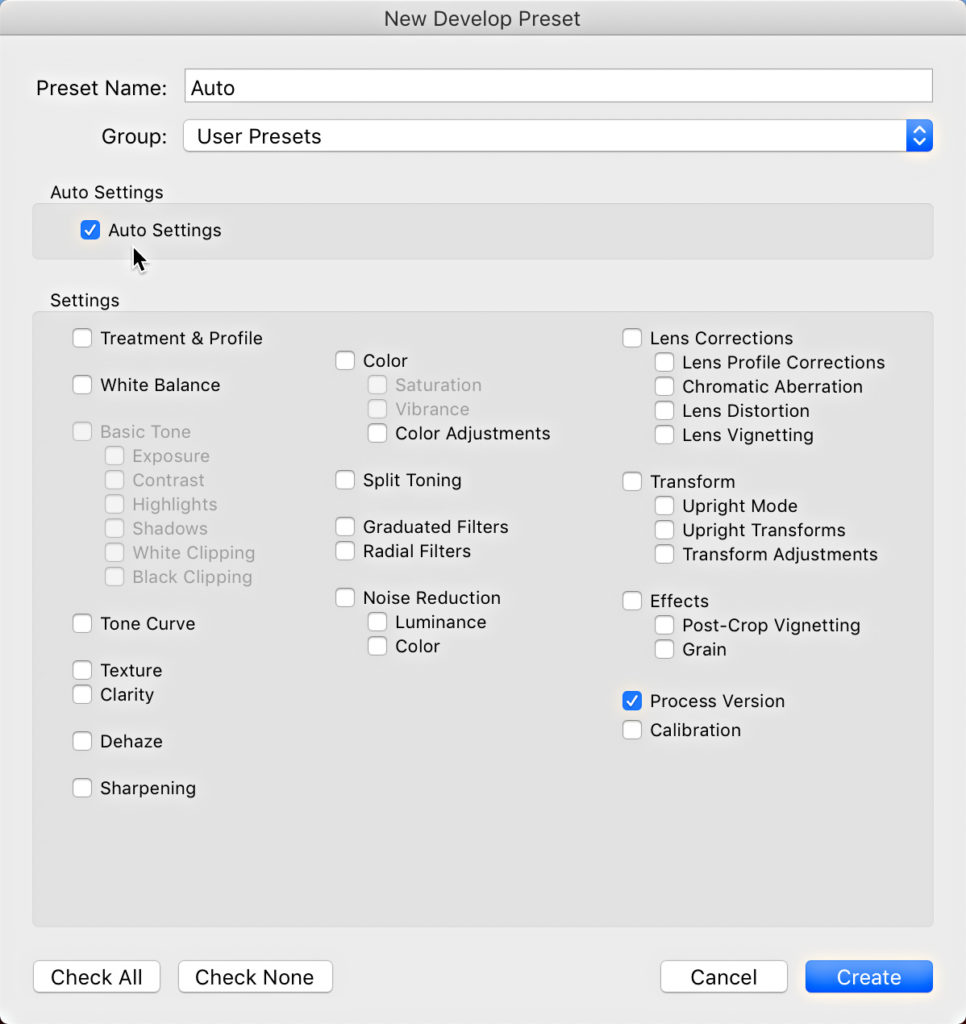
Step One: Open Lightroom Classic, move to Develop, and click the + sign at the top of the Presets panel, and choose Create Preset.
Step Two: In the New Develop Preset dialog box, check the box for Auto (and any other settings you want to include), give the preset a meaningful name, place it in a preset group, and click Create.
Step Three: To make it easier to find this preset for importing into Lightroom cloud, right-click the newly created preset and choose Show in Finder/Explorer to open a file browser window to its location. Place a copy of the preset on your desktop to make it easy to find. Grab copies of any other presets you want to bring to the cloud too.
Step Four: Open the desktop Lightroom app.
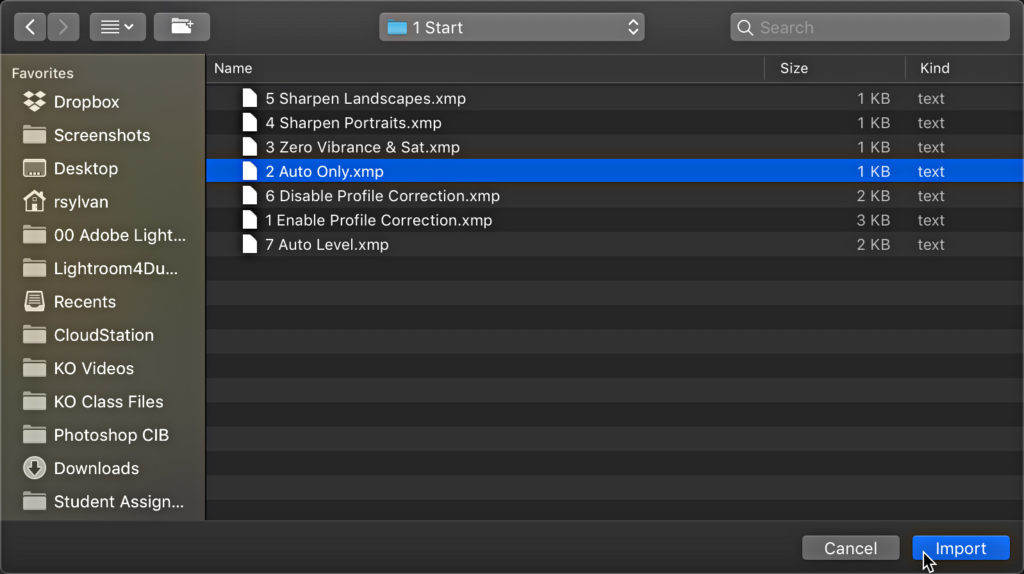
Step Five: Go to File > Import Profiles & Presets, then navigate to the desktop (or wherever you placed the copy of the preset), select it, and click Import to bring it in.
Once the preset(s) have time to sync you will see them appear in the other cloud-based Lightroom apps. I’ve found it handy to also include other settings like enabling a lens profile, turning on removal of chromatic aberration, preferred sharpening settings, or a preferred camera profile. Bundling key settings into a preset just makes it easier and faster to get to a preferred starting point no matter which of the Lightroom apps I am using at the time.
Side note, I’m super excited to have the opportunity to teach at Adobe MAX next week. I’m teaching four labs on using profiles and presets in the cloud-based Lightroom. I’m also excited to see what new things will be released, to learn from other instructors, and see so many of my friends. Please stop me and say hello if you are there!
The post Creating an Auto Preset for use in the Cloud-based Lightroom appeared first on Lightroom Killer Tips.