
In this Tutorial we are going to Edit a landscape photo using Camera Raw or Lightroom (same develop settings).
We are going to use AI mask and create presets. Then we are going to batch process other images using Camera Raw, Bridge and Lightroom. It doesn’t matter if you use Photoshop, Camera Raw or Lightroom, this tutorial will work in all of them. I recently made a tutorial on ai presets on people in Camera Raw, check out the tutorial here.
Lets start with an edit.
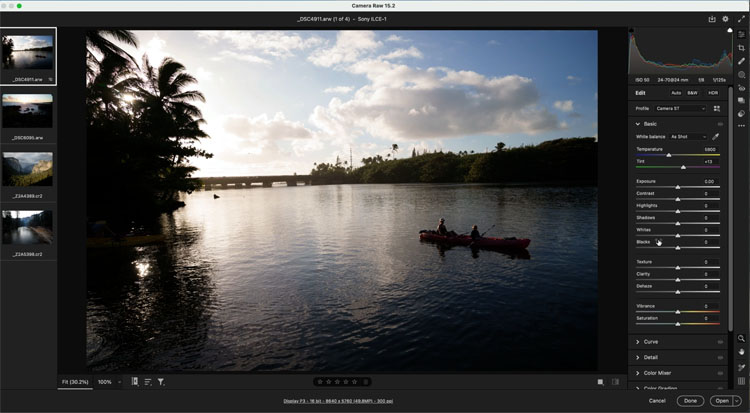
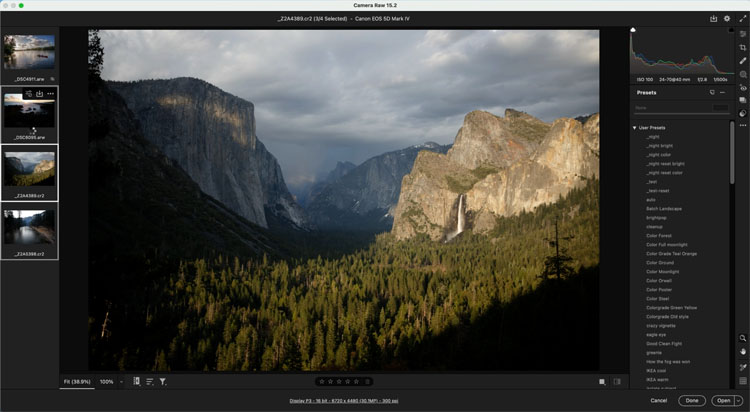
First we will open several images into Camera Raw.
In Adobe Bridge select the images to open and right-click, Choose Open in Camera Raw

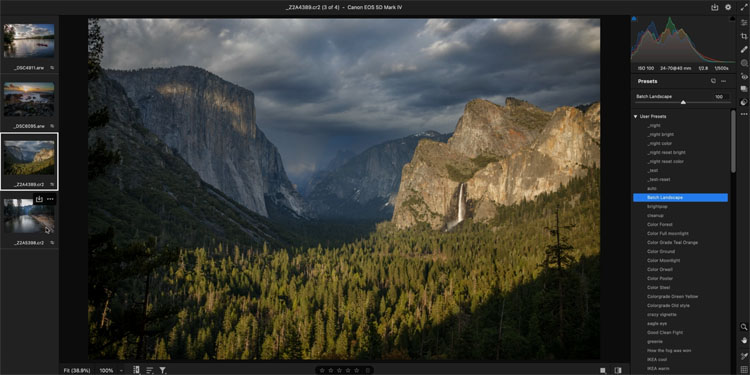
Here you can see 4 images open in the filmstrip on the left.
Lets work on this image of the canoe that I captured in Hawaii.
Disclaimer: I am going to do very heavy handed edits here, so you can clearly see what’s happening. In reality, you would work on a set of very similar images and do more subtle edits that suit the photos you are working on. This will nicely demonstrate how it works and also how the ai masks can adapt to different images.
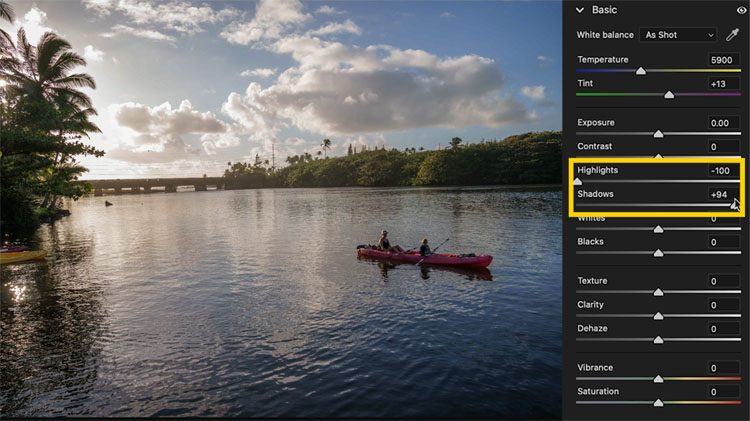
In this case, I pushed the recovery sliders as far as they can go, shadows and highlights. (In reality, I’m aggressive with highlights, but use Shadows with a very light touch.) But, you will also see, we can change these settings later.
Lets add more definition to the sky
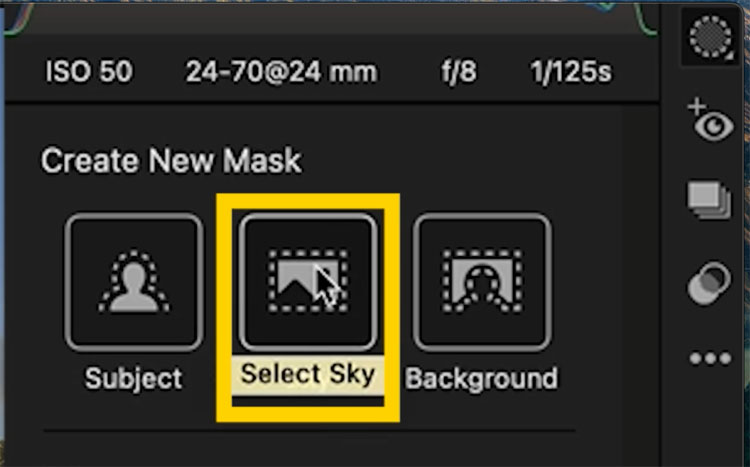
Choose the mask
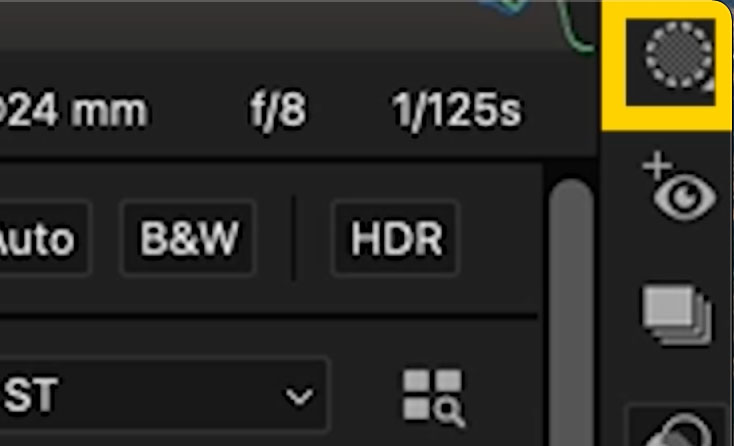
grab Select Sky
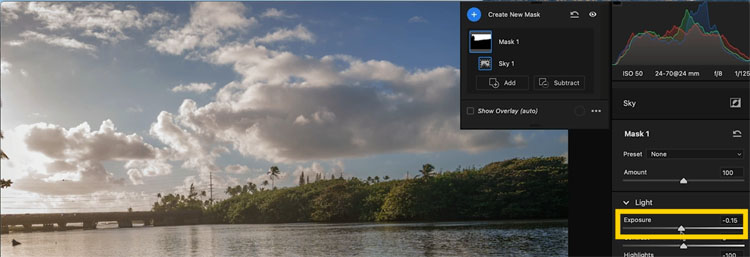
Now you can adjust the sky. Move highlights to the left and lower the exposure slightly.
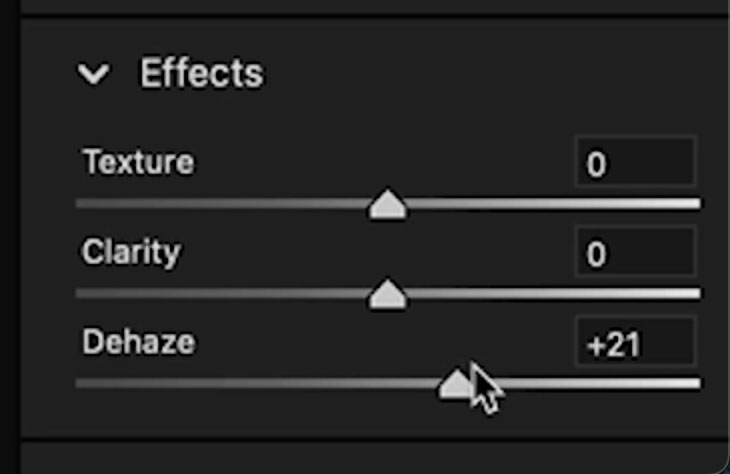
Here is a good tip for clouds. Move the dehaze up a little bit, it really makes clouds pop.
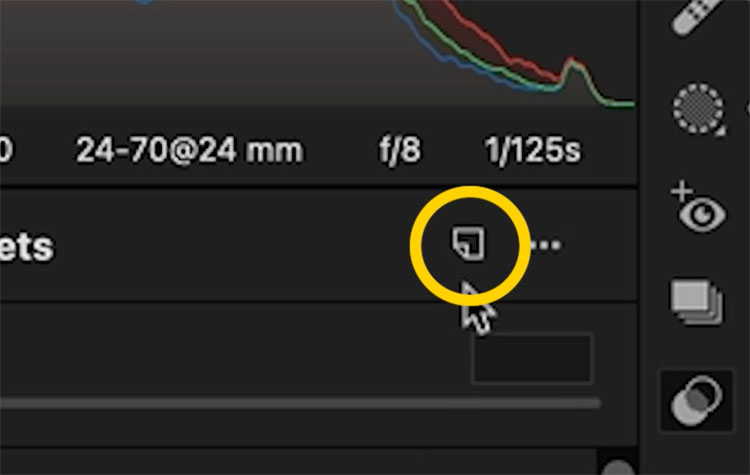
Making a smart preset in Adobe Camera Raw
Click the new preset button under presets
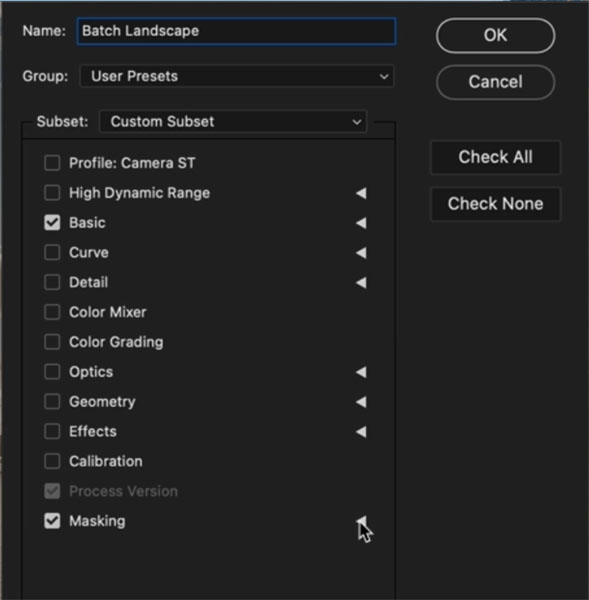
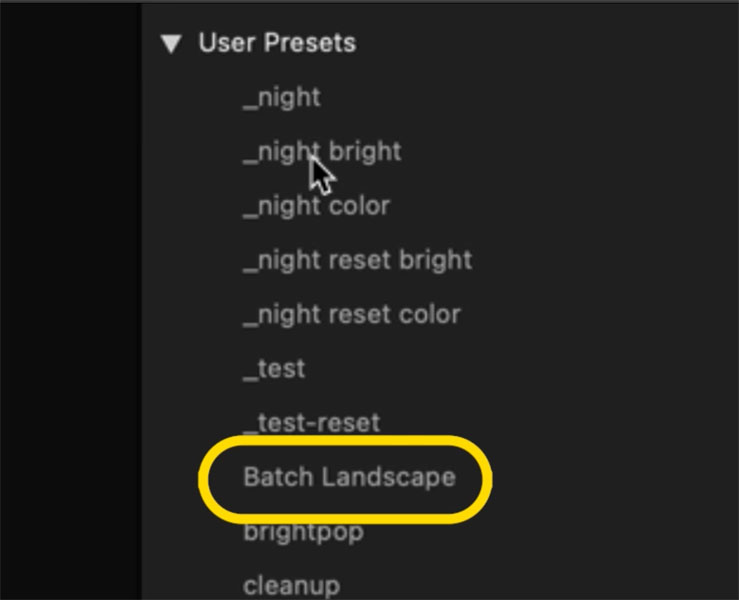
Name the Preset. In this case, I called it “Batch Landscape”
Applying a Smart Preset to Batch Process photos
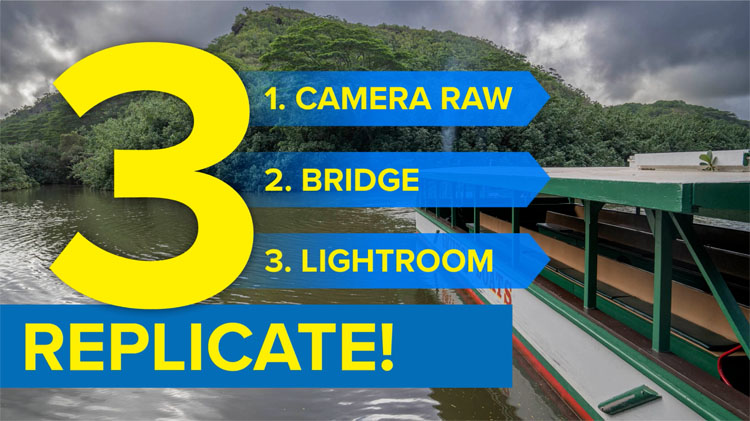
Using Smart Presets in Adobe Camera Raw
Lets start in Camera Raw.
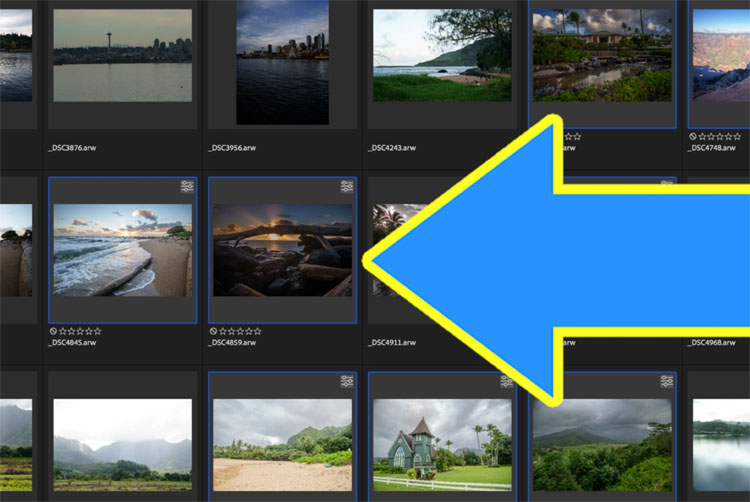
Choose the images in the filmstrip
Choose our preset from the Presets.
And it will apply to all the selected photos.
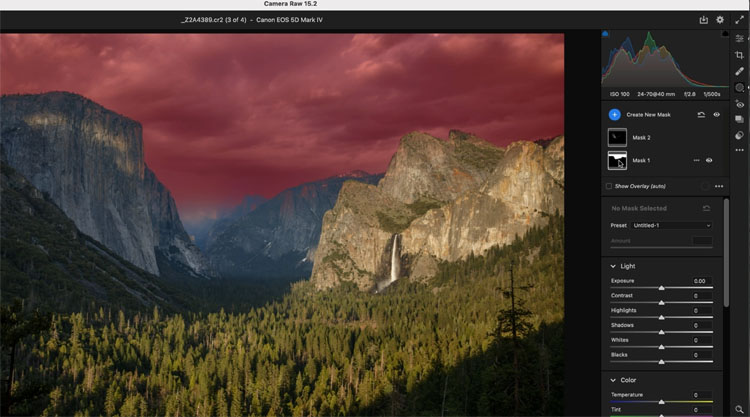
Notice that the masks are added to each image and adapt to each different sky.
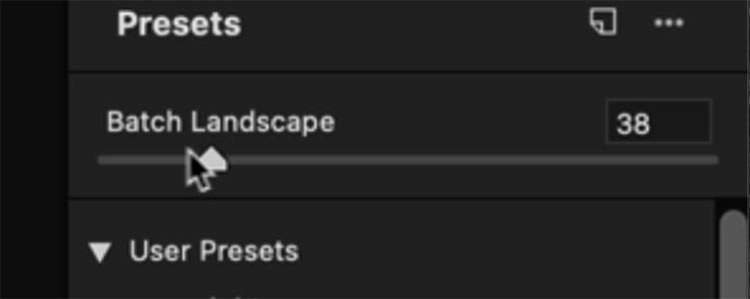
If the effect is too strong, you can lower it at the top of the Presets panel.
Using Smart Presets in Adobe Bridge
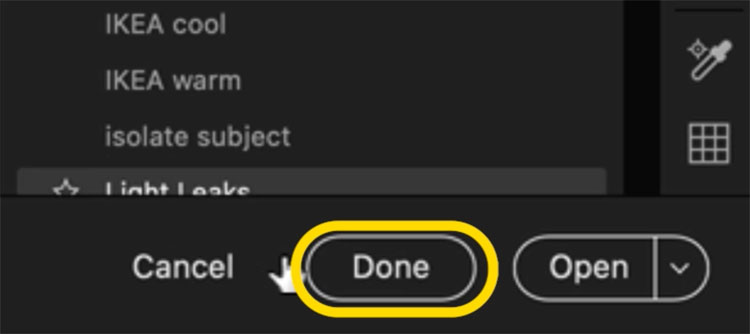
Make sure you first apply the preset to at least 1 image in Camera Raw
Click Done
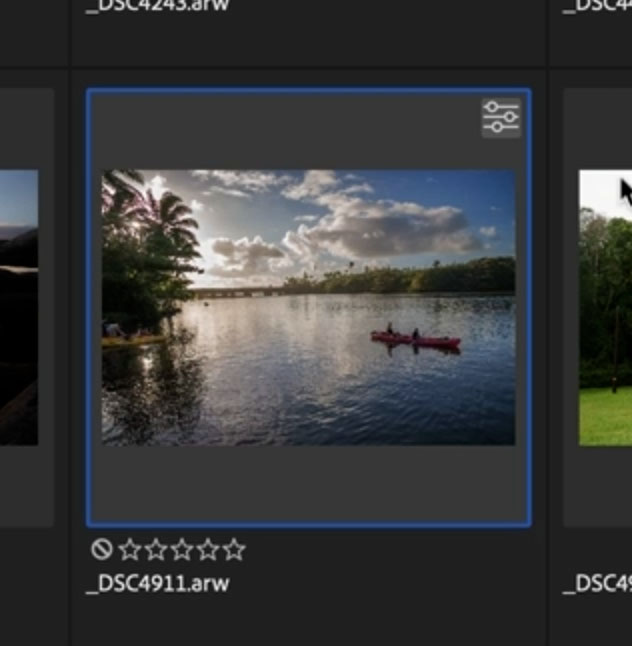
You can see the badge in the top Right that indicates adjustments have been made.
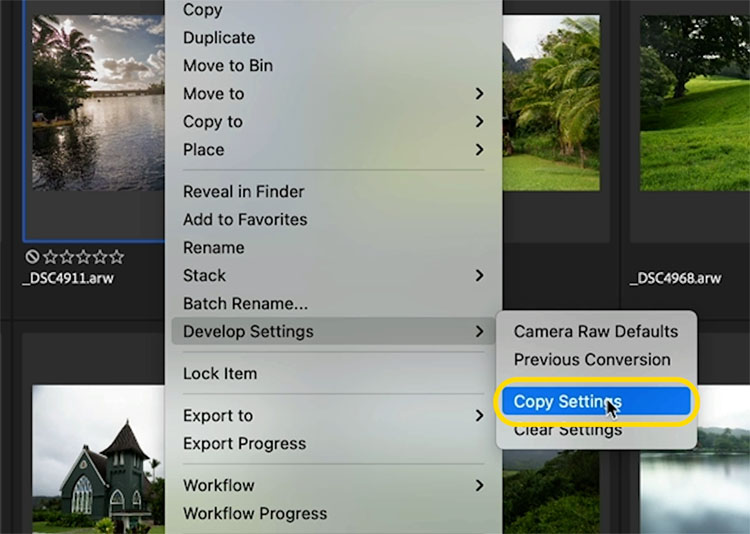
Right clack and choose Develop Settings>Copy Settings
(You can do this without even launching Photoshop or camera raw as long as you have an edited image in Bridge.)
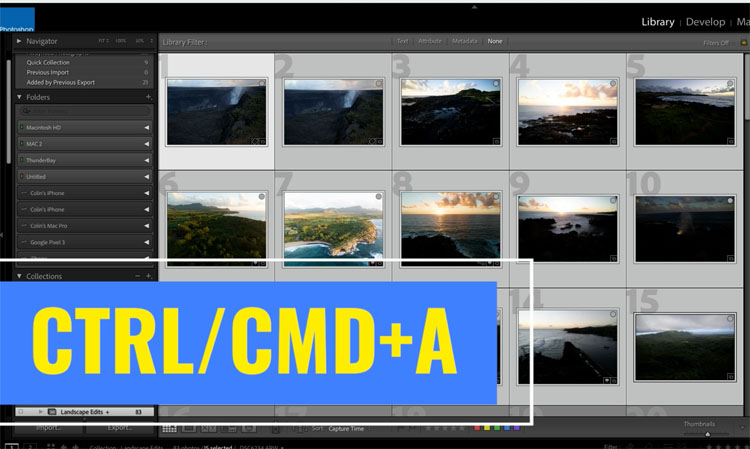
Choose the images you want to apply the settings to
If you want to do them all, press Ctrl/Cmd+A
Right Click and choose Develop Settings>Paste Settings
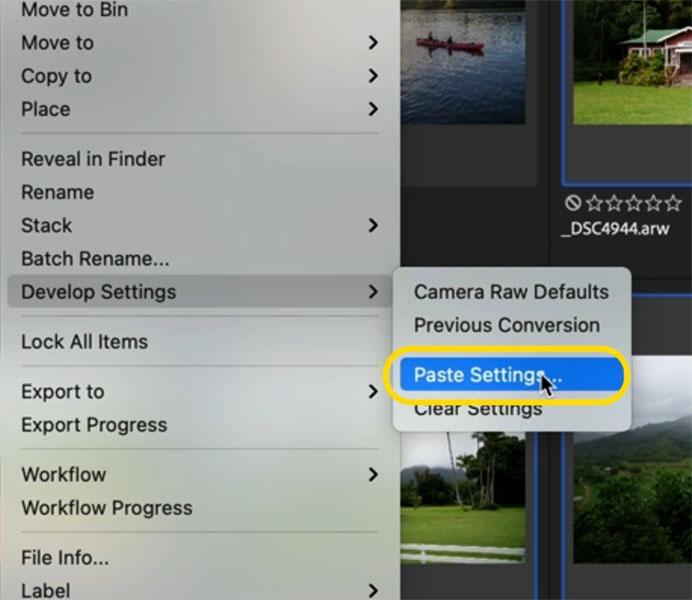
Choose all
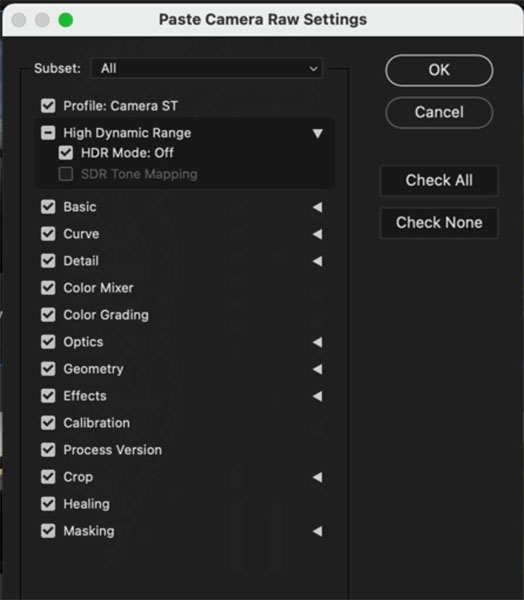
The images will all receive the smart preset that adapts for each image
Using Smart Presets in Lightroom
When you make a Preset in Camera Raw, it automatically appears in Lightroom and vise versa.
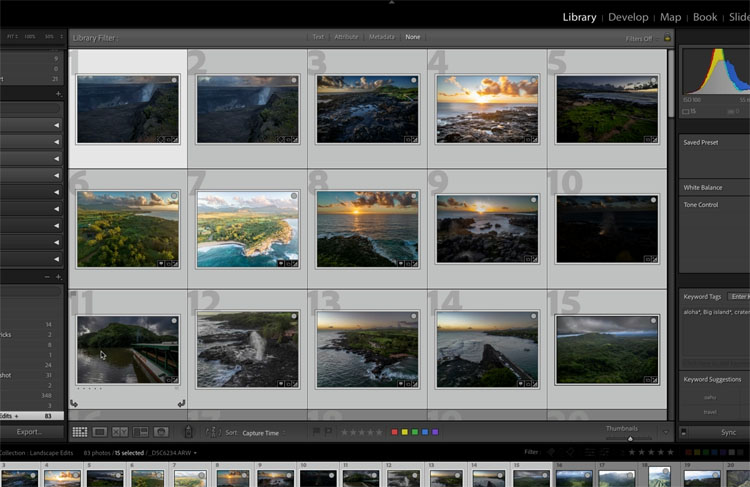
Select the images to edit in Lightroom.
In the Library module, choose Quick Develop and grab the preset from the Drop Down menu
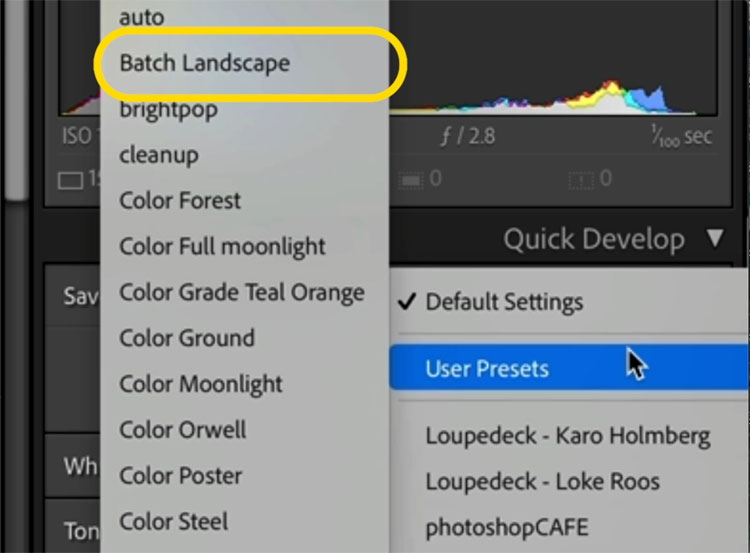
It will apply to every image that you selected.
I hope you found this quick tutorial useful. These Smart Presets are something that can really save you a lot of time.
If you use Lightroom or Camera Raw, check out these 5 tips on Lightroom and these 5 powerful tips for Camera Raw.
Great to see you at the CAFE
Colin
PS if you want to get really good at Lightroom or ACR, check out my latest courses.
Lightroom Classic For Digital Photographers
Adobe Camera Raw for Digital Photographers
The post How to automatically edit Landscape photos in Adobe Camera Raw + Lightroom using Smart Presets appeared first on PhotoshopCAFE.