
How to simulate a shallow depth of field bokeh effect in Photoshop
Blurred background, Bokeh, out of focus background, shallow depth of field, no matter what you call it, this effect creates a nice separation between the object and the background. This look makes a photo look more professional, like it was shot with a high end camera.
These effects are easier to create in camera these days, even with mobile phones in Portrait mode (phones create a depth map and fake the effect of shallow depth of field). To create this effect in camera, open the aperture all the way up. Large apertures such as 2.8 or even 1.4 will show this bokeh effect very nicely and its possible on other settings such as f4. What if you are using a camera that doesn’t support these large apertures or don’t have portrait mode? Or a more common challenge, you already have the photograph and want to blur the background in Photoshop? This tutorial will help you get an ultra realistic result.
Note, this image uses a single subject and single background plane. If you have a more complex image, see my more advanced background blur with depth maps tutorial here.

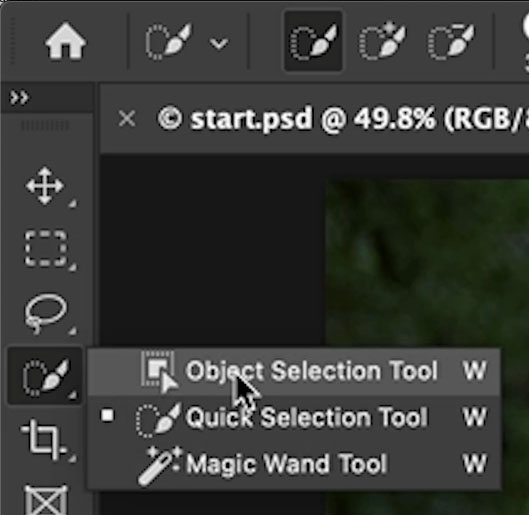
Choose the object selection, or quick selection tool
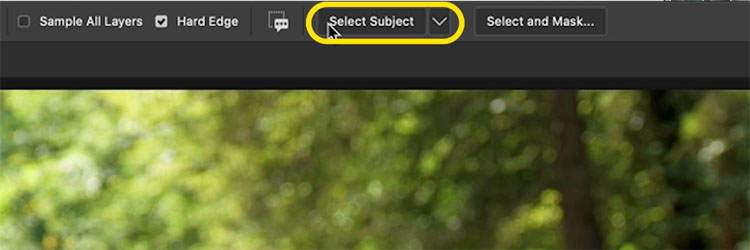
Choose Select Subject (press the disclosure triangle and choose “cloud based” for a better result if available)
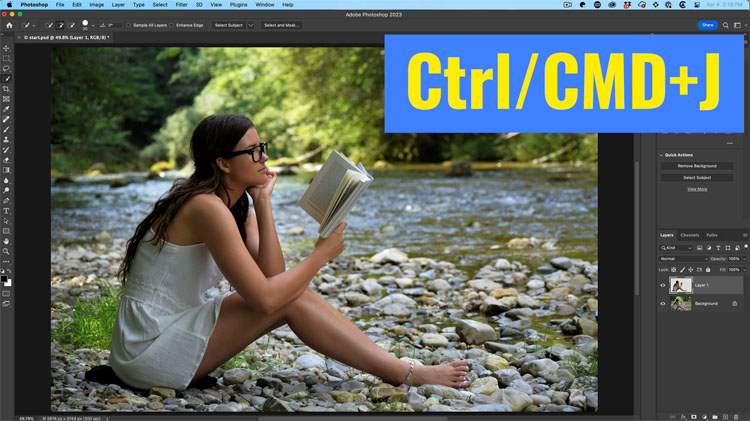
You should now have a “marching ants” selection around your subject.
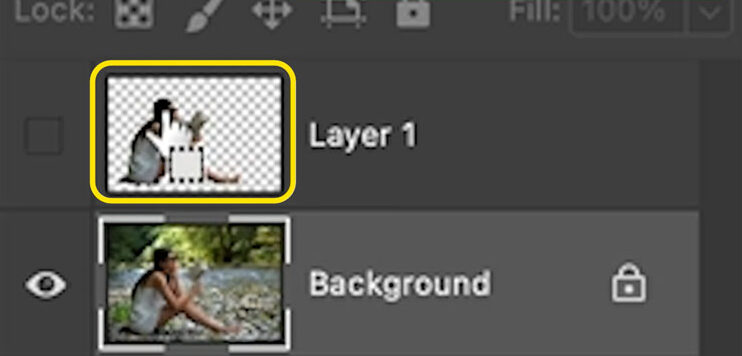
Press Cmd/Ctrl+J to copy the selected subject to a new layer, as shown below.
Do not, just blur the background (as most people will do), or you will end up with weird doubling around the edges (halos).
This is because the edge of the person blurred and is visible.
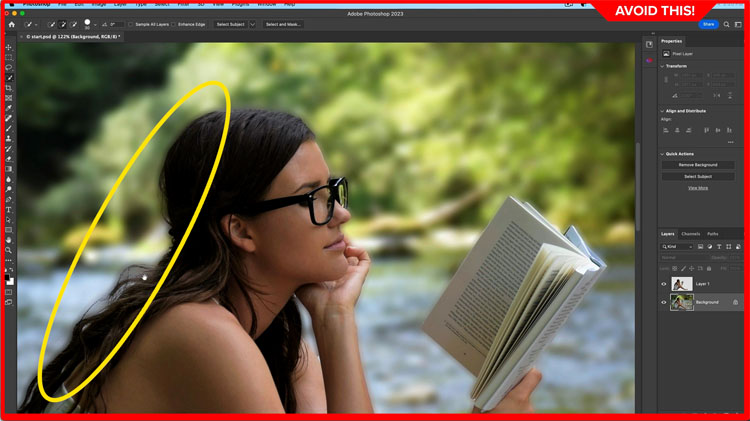
Let me show you a better way

Hide the top layer by clicking the eyeball
Choose the background layer
Hold down Cmd/Ctrl and click on the thumbnail of the top layer. This will load the transparency from that layer.
As you see, you can load the transparency from any layer, even if it’s hidden and you are working on a different layer.
Choose Select>Modify>Expand
Choose 8 pixels (More for higher resolution, less for lower resolution).
Click ok
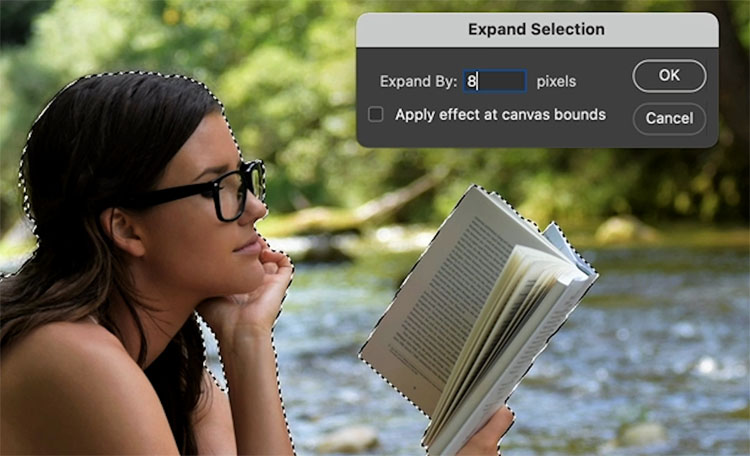
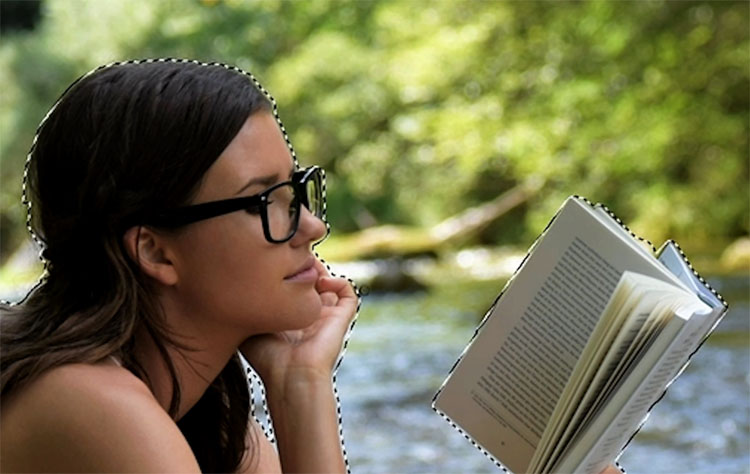
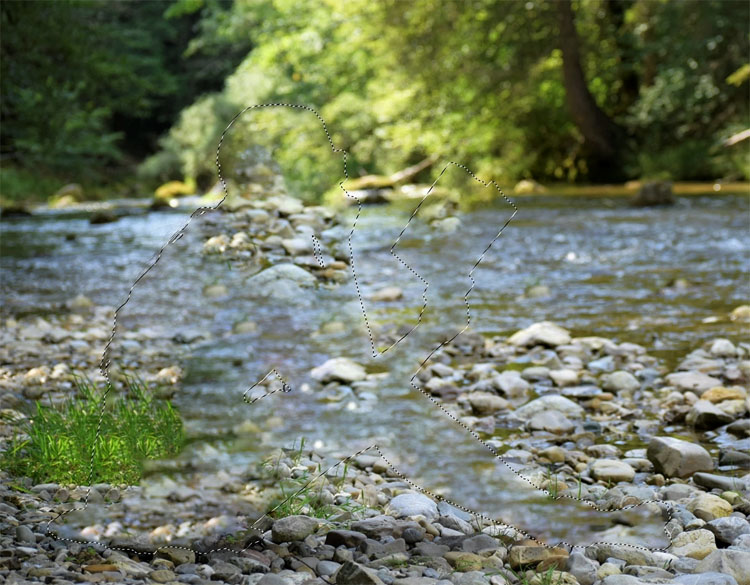
See how we now have a selection slightly larger than our person.
Lets fill the selection
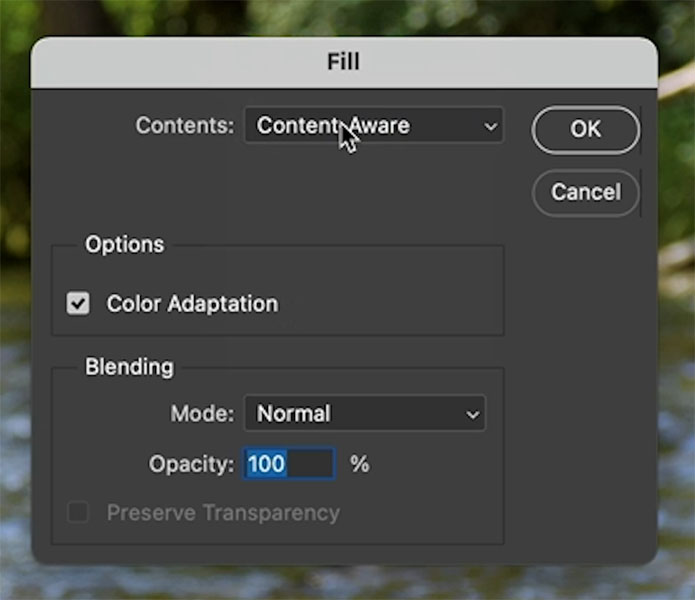
Choose Edit>Fill (or press Shift+Delete / Shift+Backspace on Windows
Choose Content aware from Contents
Click ok)
Notice the are is filled with surrounding pixels. It doesn’t have to be perfect, we just need to make sure the edges blend in.
Press Ctrl/Cmd+D to deselect
Lets blur the background now, but realistically, we won’t just apply a gaussian blur.

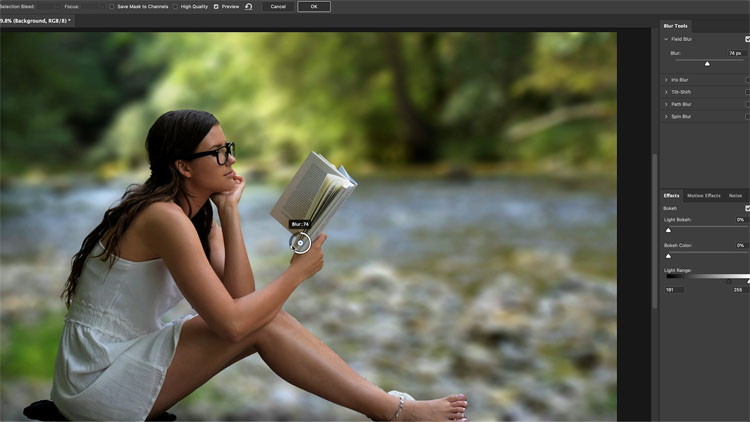
Choose Filter>Blur Gallery>Field Blur
Notice the pin that appears. You can drag on the circle to change the amount of blur. Notice the bottom looks fake, we need to blend in the blur. This is where field blur shines!
Click directly underneath the pin to add a second pin.
Field blur will seamlessly blend the blur amount between the 2 pins. This is quicker than creating a layer mask.
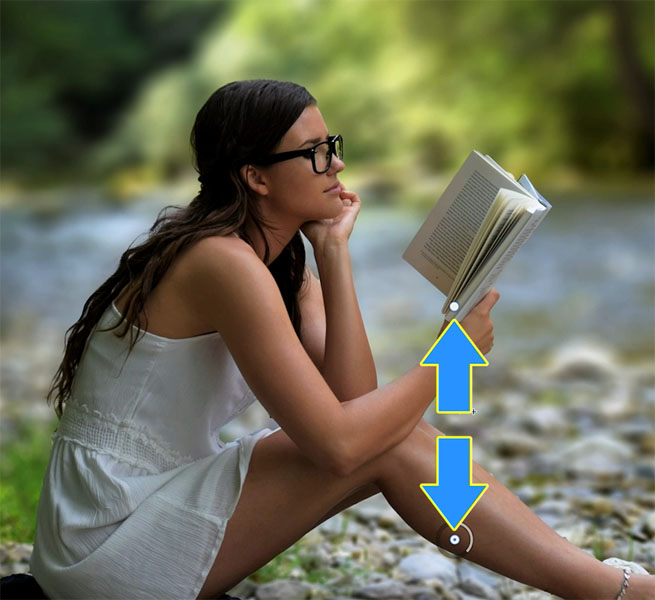
Set the blur amount to zero on the bottom pin. Tip: Hold down Ctrl/Cmd+Double click the pin to set the blur amount to 0.

Here is the image before the blur, it has a little already, but we will add more. (The point here is to use it on your own images).

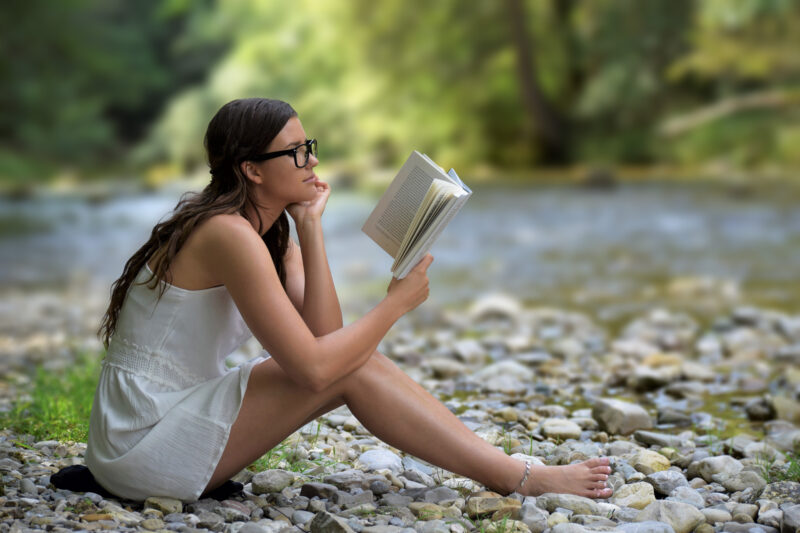
After, with the Blurred background. Notice, the blur blends.
I have used a very high setting, so you can easily see the result. I usually use a little less blur than I have in this tutorial, but these are your photos and feel free to edit them any way you like.
Great to see you here at the CAFE
Colin
The post How to blur the background of a photo in Photoshop, the pro way appeared first on PhotoshopCAFE.