
I’m working at Shutterfest this week in St. Louis, and had some time to explore the capabilities of the latest feature added via Firmware to the R5. Now, this mode is not for everyone or for every shooting situation, but when the conditions are suitable, it is an interesting addition to this camera’s capabilities. It works by using the camera’s in-body image stabilization to move the sensor while taking 9 photos and then combining them all together into a single very high-resolution JPG. Yes, JPG, and no, you don’t get the individual frames, just the final image.
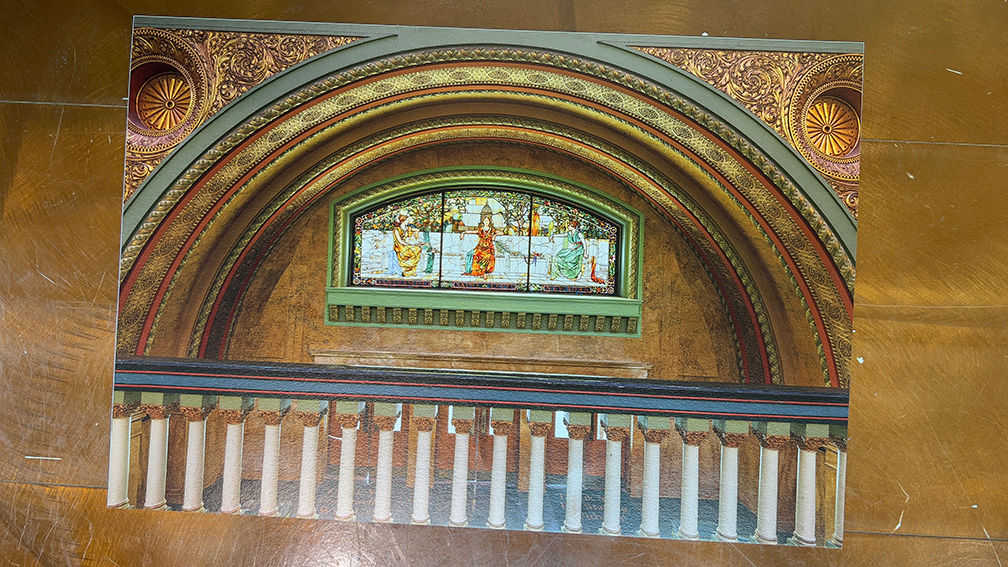
You defintely need to have the camera locked down on a tripod, and just as importantly, your subject must be completely stationary, otherwise the individual frames will not align, and you’ll have a blurry mess. So, the inside of the venue where Shutterfest is happening is an old train station, and there are some really cool stained-glass windows and woodwork. However, it is very low light. I put my R5 on a tripod and did my best to square things up while framing the window and its surrounds. This was a good subject as it had a lot of detail and no moving parts.
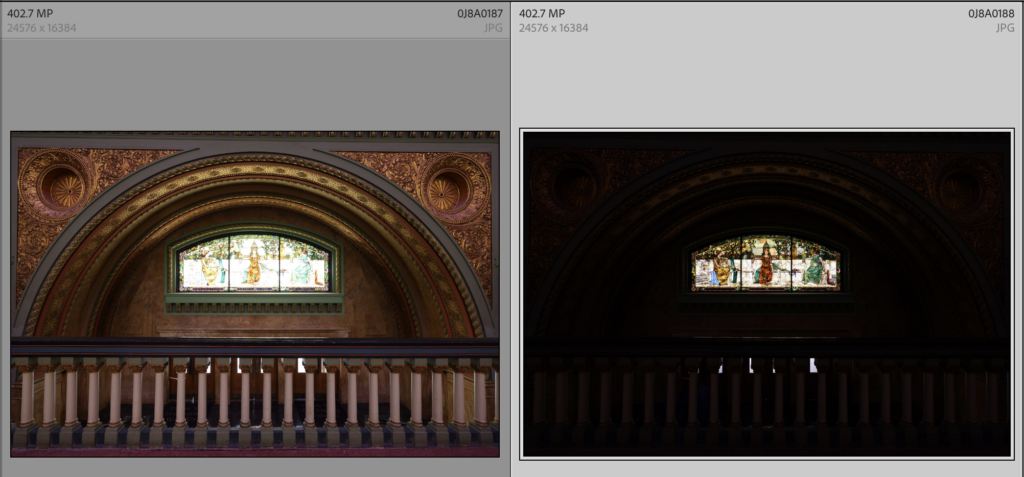
To get detail in both the window and the surrounding woodwork I did a manual exposure bracket and took one photo exposing for the window and a second exposing for the background. The idea being that I could bring both into Photoshop on different layers and use a layer mask to blend them together. Each JPG image produced from this process is a whopping 402.7 Megapixels. The file size of the overexposed image was 132 MB and the underexposed was 71 MB (I assume due to how much was all black). So, these are the biggest out of camera JPGs I’ve ever worked with.
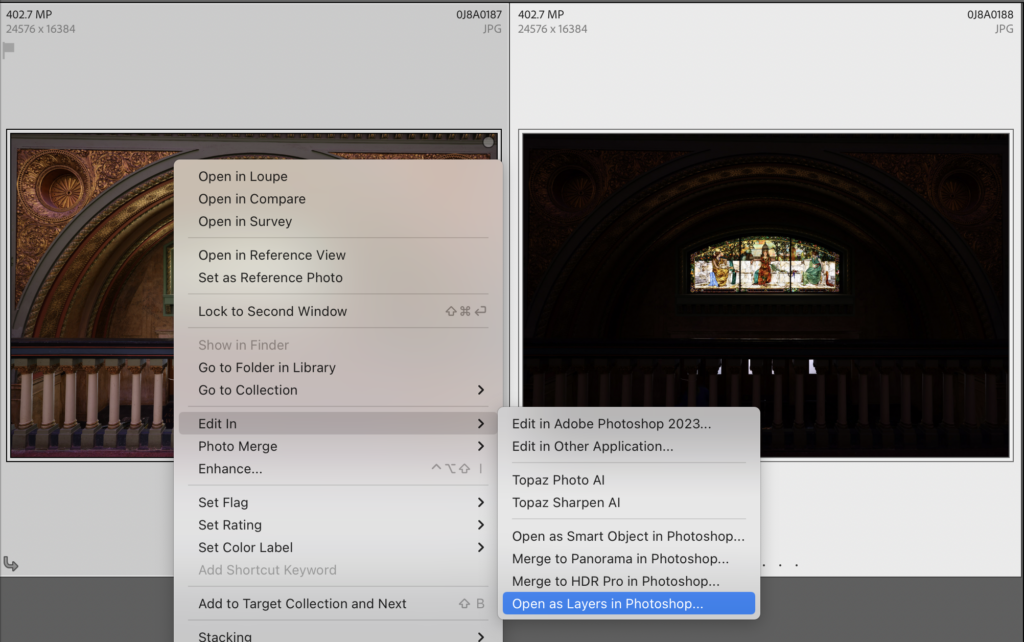
I selected both in Lightroom Classic (since they are JPGs they import just fine), and then used the Photo > Edit In > Open as Layers in Photoshop command to send them to Ps. The speed of this function will depend on your hardware, but it was pretty quick on my M1 MacBook Pro. Each photo will be placed on its own layer in a new Ps document.
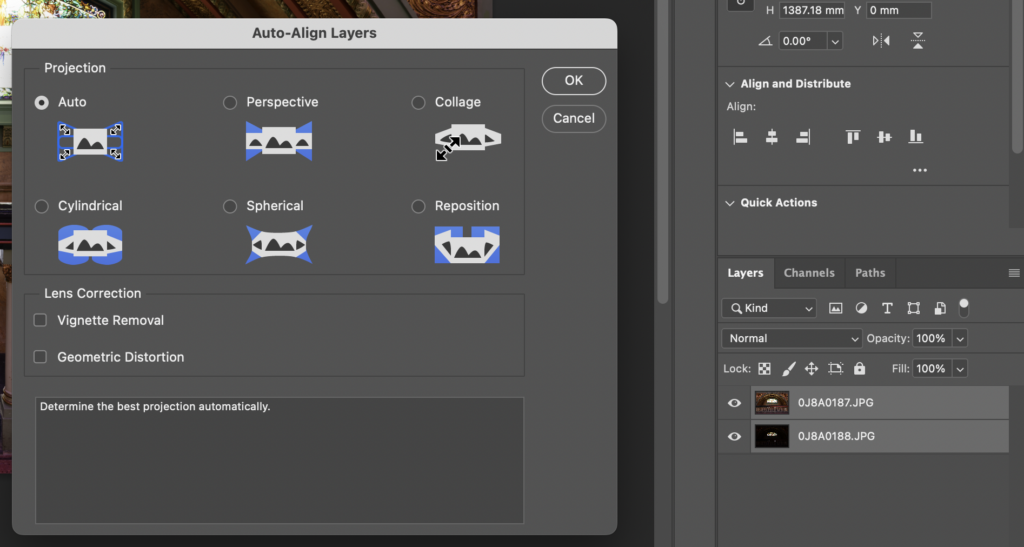
In Photoshop, I selected both layers and used the Edit > Auto Align Layers command to ensure they are pin registered with each other, then used the Pen tool to select the window and mask it out.
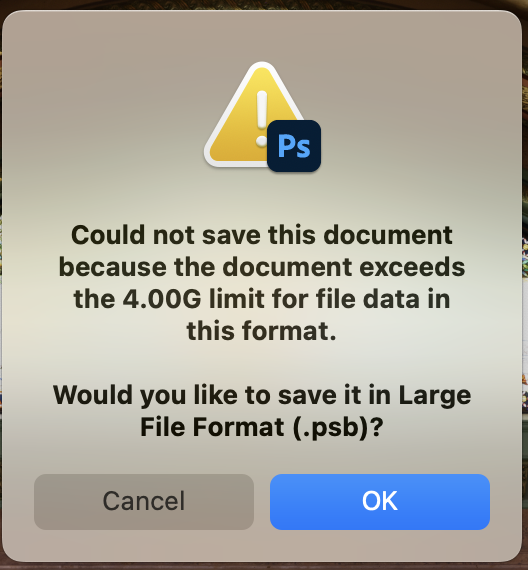
Saving my work so far I was presented with a dialog telling me the file exceeded the 4GB file size limit and gave me the option to save as a PSB, which I did. Be sure to check the box for Maximize Compatibility too so LrC can handle it. The new PSB copy was added to my catalog and the collection the source photos were in when I started. Saving the file took way longer than it did to open them originally.
Once the layers were blended, I flattened the layers, then used the Camera Raw filter to make some adjustments to tonality, texture, and color. I had access to a Canon Pro-300 printer and 13×19 metalic paper from Hahnemule, so I cropped (and did a little straighten) to match that aspect ratio. At this point I could have made a print that was 79.82 inches x 54.613 inches at 300 PPI. Instead, I resized it down to 13 x 19 at 300 PPI and sent it to the printer. The detail in the final print was stunning. This photo doesn’t do it justice, but I was impressed.
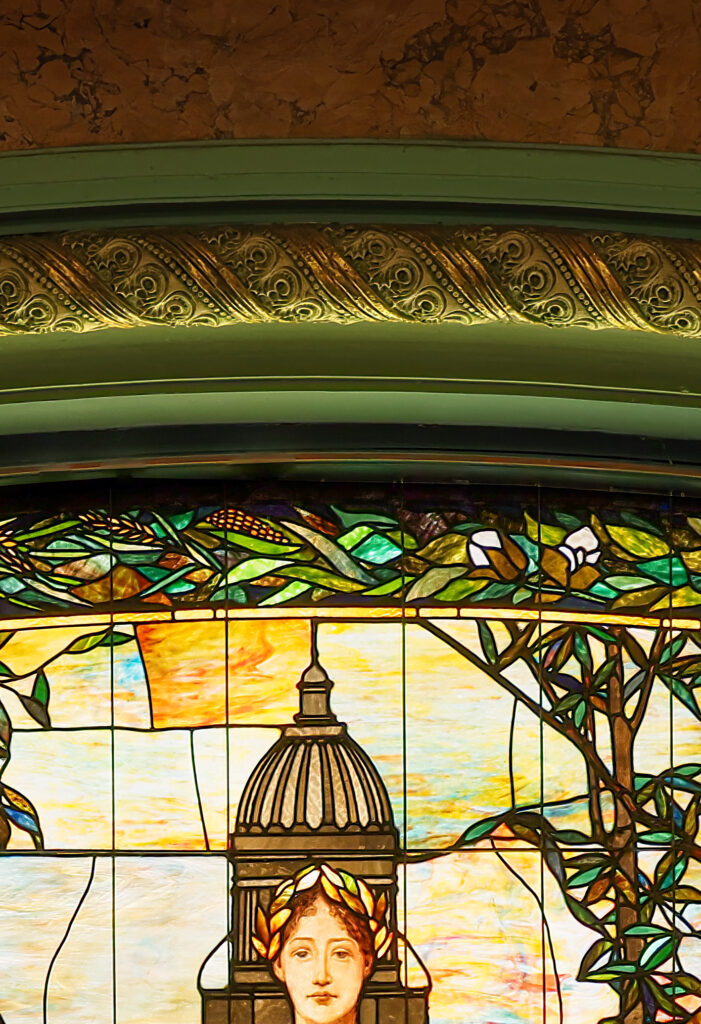
If you own an R5, I’d love to hear your experience of using this feature, and I realize it is really only going to benefit a certain type of situation (where nothing is moving). I love features that really try to leverage the technology to achieve something that wasn’t possible before, and I look forward to seeing how this evolves in the future. Here’s a crop from the center of the photo before I resized it down to print.
The post Playing with Canon R5’s IBIS High-Resolution Shooting Mode appeared first on Lightroom Killer Tips.