How to mask different things in Adobe Camera RAW and Lightroom
Masking has been added to Camera RAW and Lightroom. This tutorial uses Camera Raw, but it’s identical in Lightroom.
In this tutorial Im going to show you how to mask different parts of an image including subject, sky, foreground and a combination mask that adds a gradient to the sky, but the sky only. This might seem obvious, but there are a few tricks you need to know to use the mask tool effectively and this tutorial will make it easy. See my tutorial on basic Masking in Lightroom (The tutorials work on both apps, Camera Raw and Lightroom work exactly the same way).
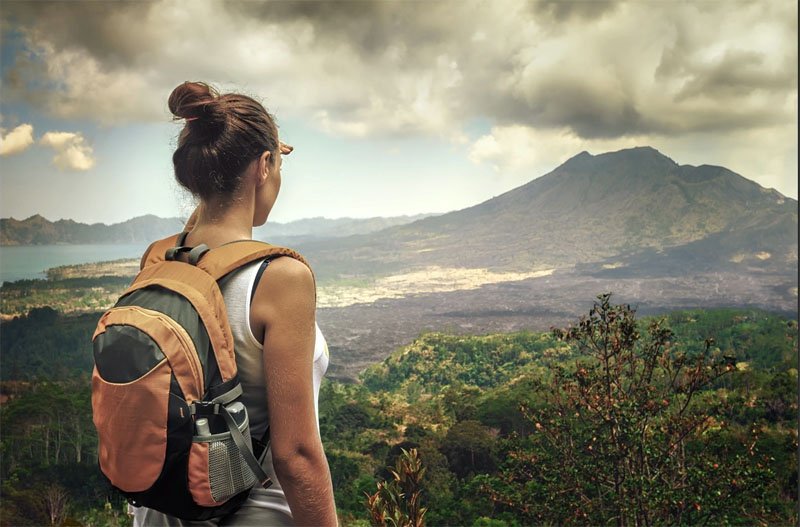
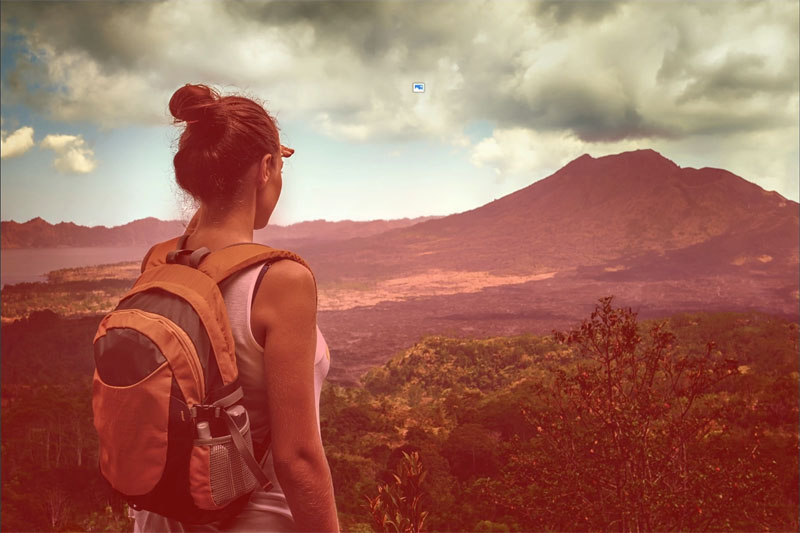
This is the image we will begin with, it contains a hiker (subject) and sky and a foreground. Artificial Intelligence helps us to isolate these areas easily.
If you haven’t, subscribe to our youtube channel by clicking the subscribe button under the video.
How to select subject in Camera Raw
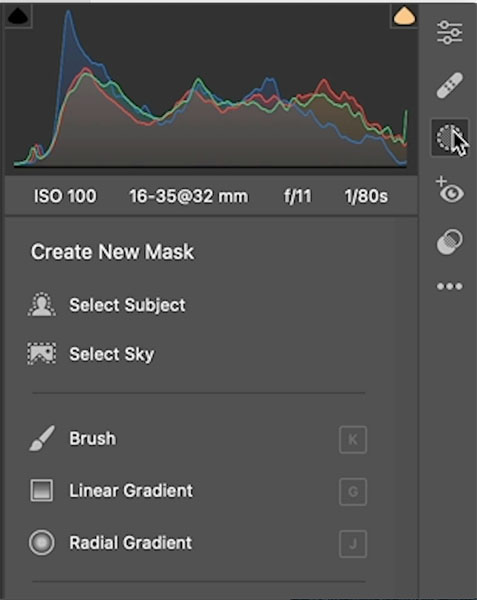
To get into Camera Raw, choose Filter>Camera Raw. You can use Lightroom if you prefer.
Click the mask icon to open the masks options
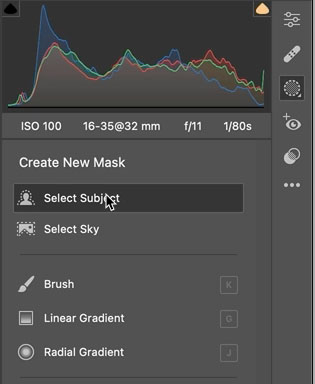
Choose Select Subject
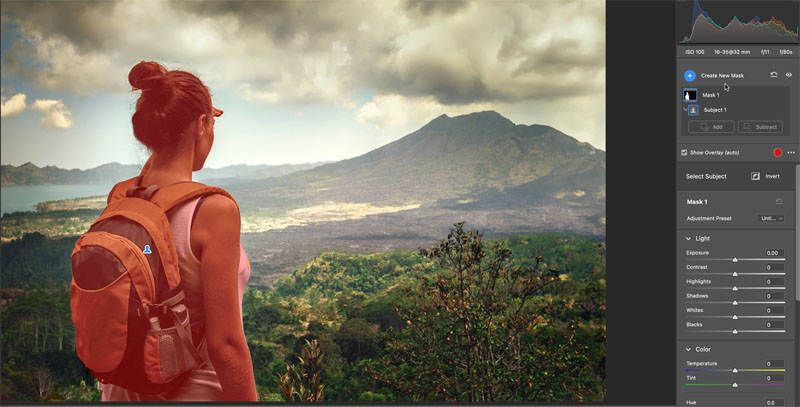
You can see our subject is now masked. Any adjustments will affect the masked area only. Also notice that mask panel now appears.
How to Select the Sky in Camera Raw
When the Mask panel is open and you want a new mask, click Create Mask.
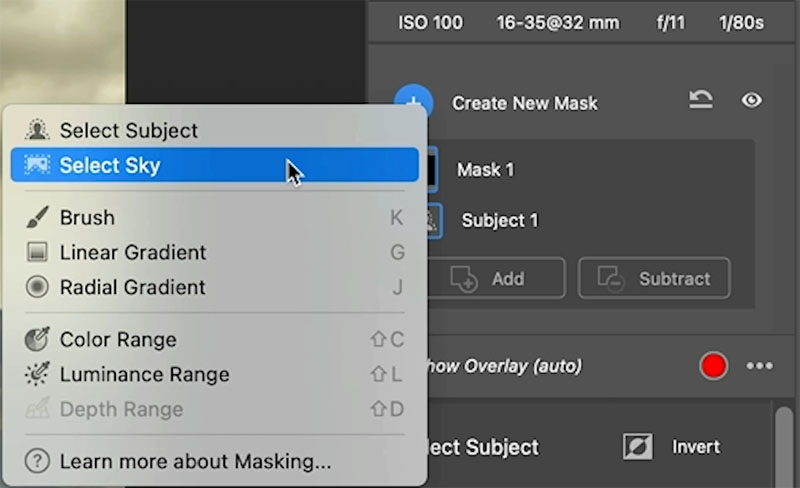
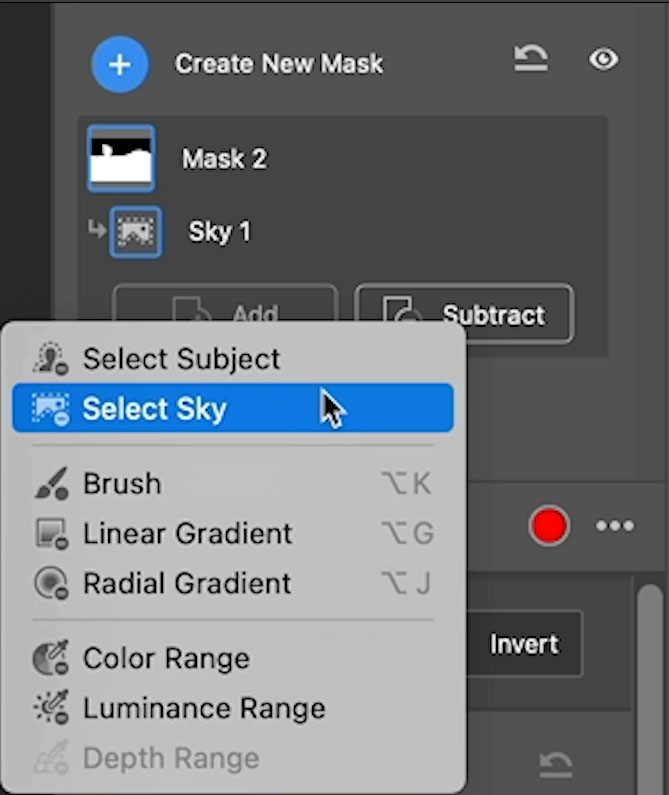
Choose Select Sky.
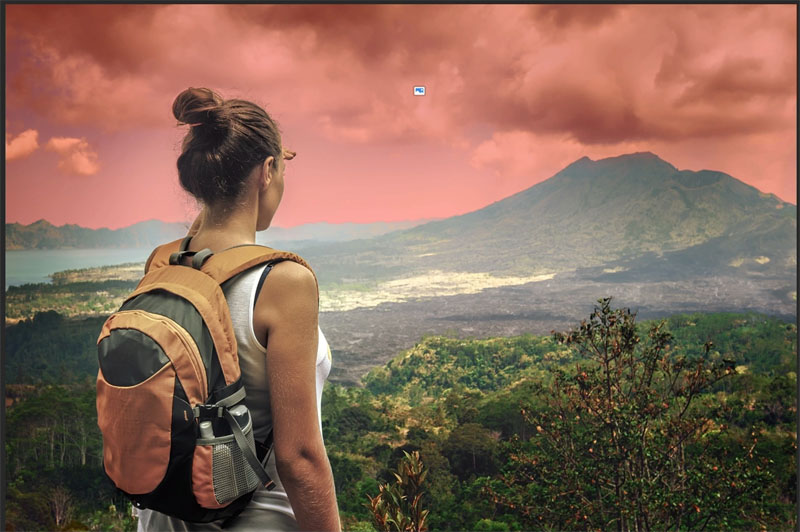
Here you can see the sky is selected. Notice the sky badge in the red area.
How to Select the Background in Camera Raw
This might seem easy, but you have to be a little tricky if you want to select the background, because there is no select background option.
As we did in the previous step, select the sky.
In the Masks panel click the 3 ellipses to the right of sky.
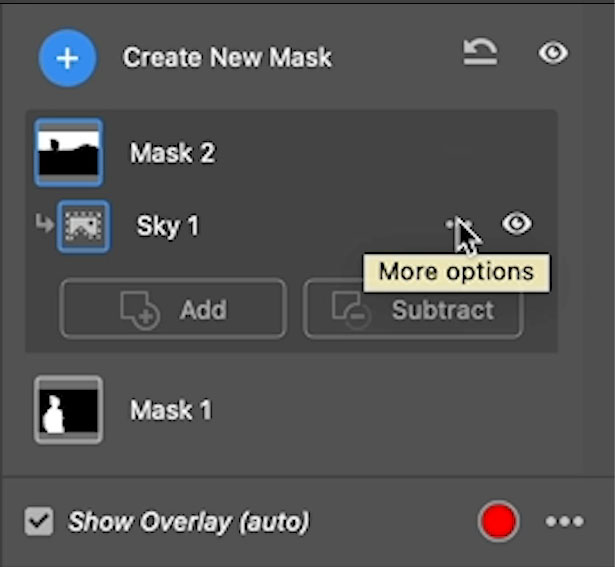
In the options, choose Invert.
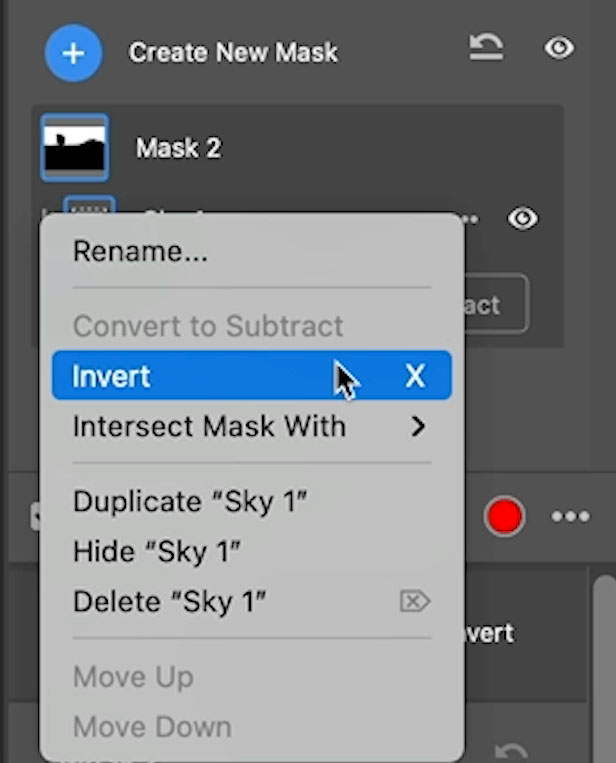
How everything but the sky is inverted.
If we remove the subject from the selection, we will have isolated the background.
Choose Subtract from the Masks Panel and choose select Subject
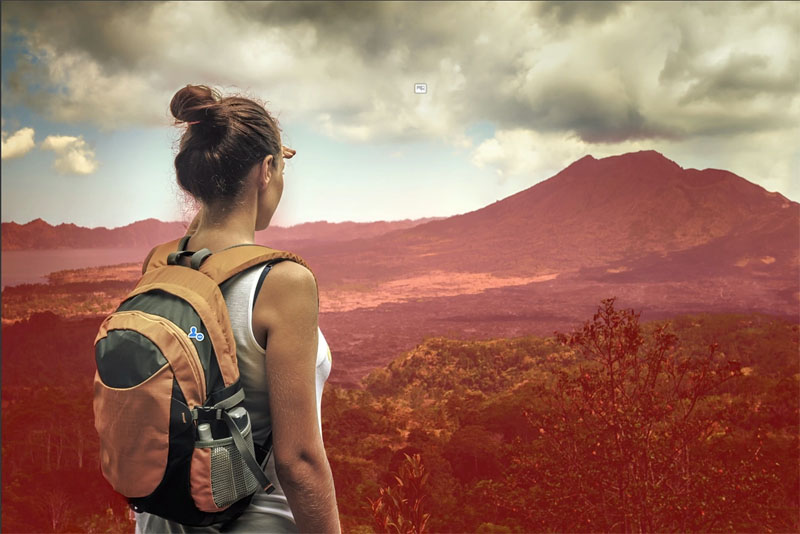
Now we have just the background masked.
Intersecting a gradient mask in Camera RAW
Do you wonder what Intersect does? This will mask only the areas where 2 masks overlap each other and ignore everything else.
Choose new mask and select a gradient
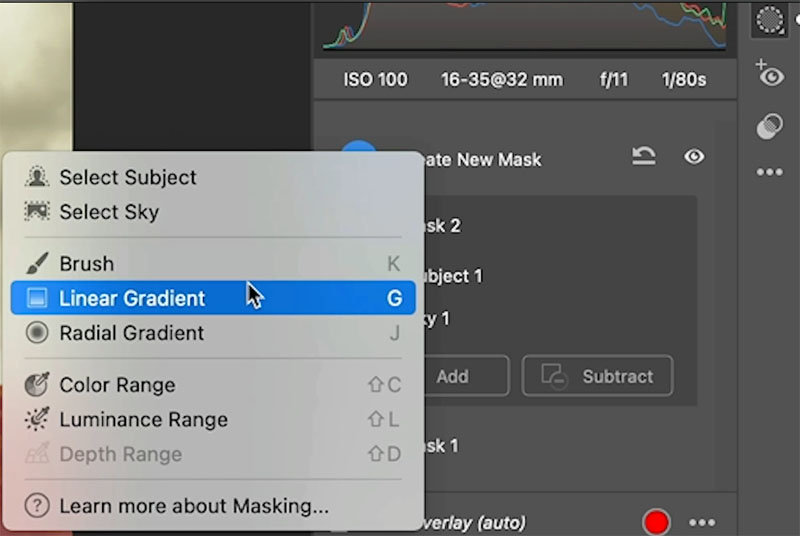
Drag the gradient to select the sky.
Notice that the foreground and the subject are masked.
We could subtract the subject, but how could we also subtract the background?
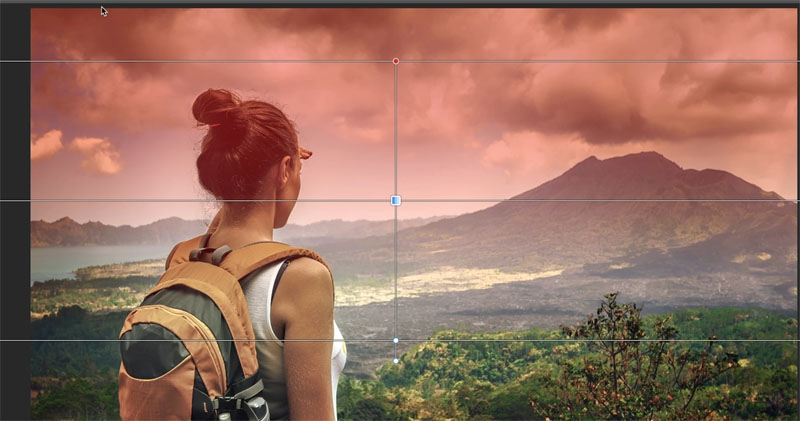
When there are multiple elements to subtract, its better to intersect.
Click the eclipses to the right of gradient and choose Intersect with
Choose sky
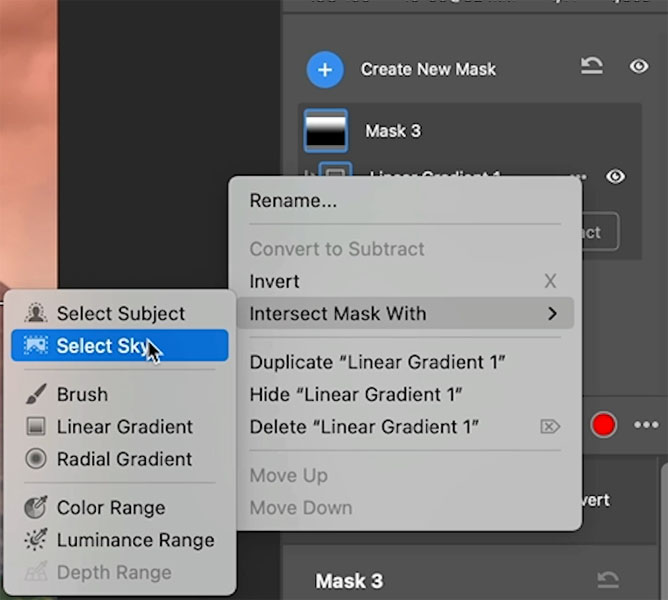
Now the gradient will be constrained to only the sky area.
This gives us a nice gradual blend into the horizon.
Notice the Sky and Gradient badges are visible.
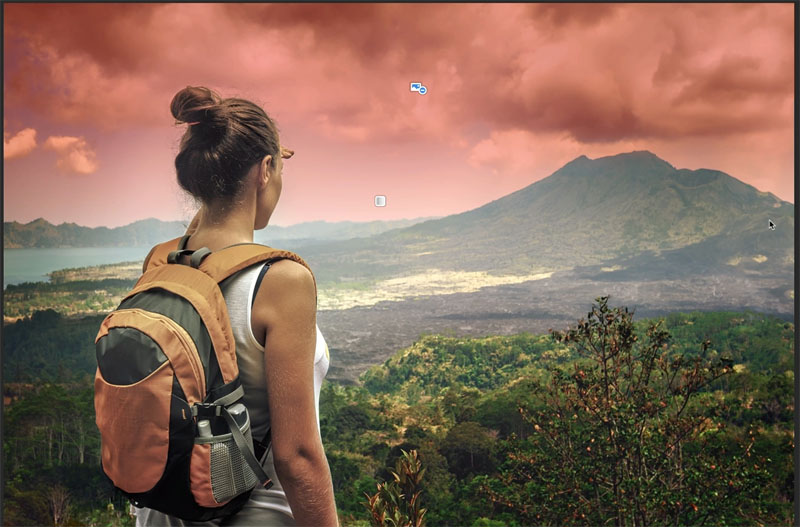
You can select any of the mask and make adjustments to those parts of the image independently.
This is a huge upgrade for Camera RAW!
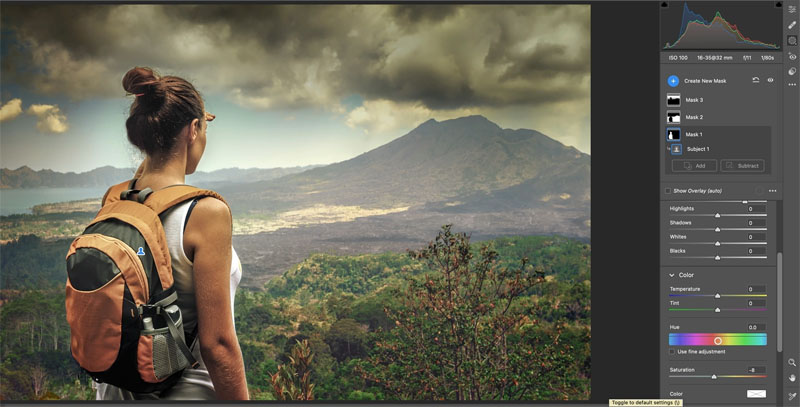
Once again, the before image.

Don’t forget to watch the short video (3 mins) above to see all this in action and gain more insight.
What clever ways do you have of using masks in Camera Raw and Lightroom? Let us know in the comments.
If you haven’t, subscribe to our youtube channel by clicking the subscribe button under the video.
See you next week with another fun tutorial.
I’ve got a whole bag of goodies you can have for free at the Vault. Grab free goodies here, including Photoshop brushes, actions, presets, sky images, ebooks and a whole bunch more.
Consider Consider joining our mailing list so you don’t miss any of my tutorials.
For more, follow us on Social Media
The post How to combine masks in Adobe Camera RAW + Lightroom for advanced masking appeared first on PhotoshopCAFE.

