
Combining photos in Photoshop with Layer Masks
I’m going to show you how to combine different photos to make a creative piece of digital art in Photoshop. The piece we will create here is very simple for the sake of learning. All the principles you will learn, will transfer to almost all images.
This Tutorial is in Photoshop 2021, but this will work the same for all versions of Photoshop as these fundamental tools have been around for years.
You will learn how to:
- Open images into Photoshop
- Combine images in Photoshop
- Use layer Layer Masks
- Layer Blending Modes
- Use masks for selections
- Use a Brush on a layer mask
- control opacity and pen pressure and more
Make sure you watch the short video above for extra tips and also to see how it all comes together.
Open images into Photoshop
To open images into photoshop, choose File open and select the images to open. You can select multiple images at once.
Click ok and the images will open into different tabs in Photoshop.
The butterfly is part of the free collection from Adobe Stock here. You can easily find a face there too.
Combining 2 different images in Photoshop into a single document
Combining images is actually easy, once you know how.
Choose the move tool (V key).
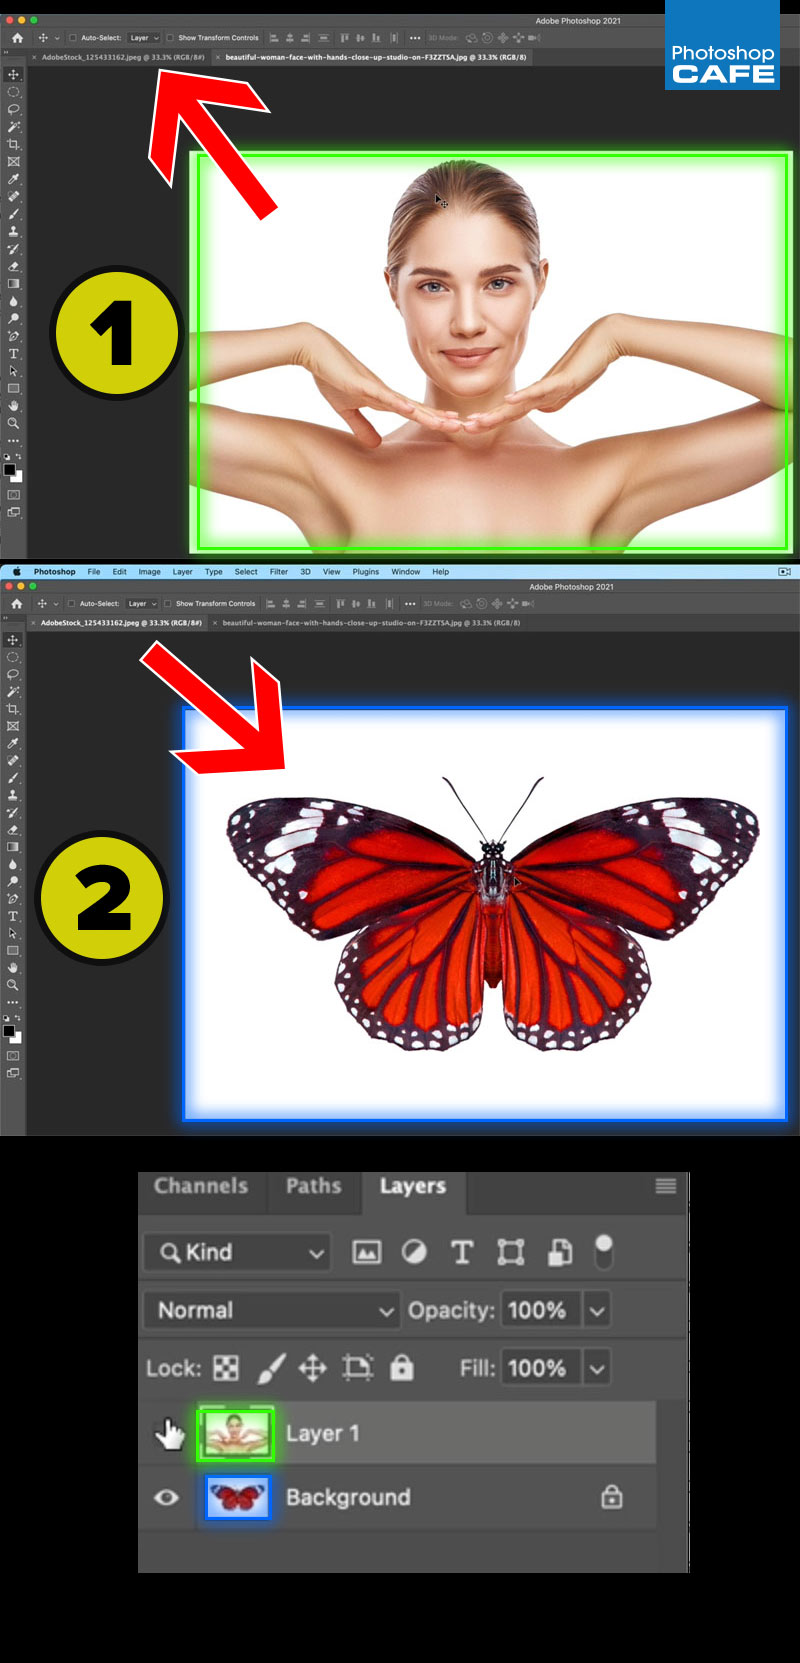
1. Put your cursor in the middle of the image and drag to the the tab of the image you want to copy it into. (Don’t let go of the mouse yet).
2. The tab will active the second image. Drag your cursor into the middle of the image.
Release and the images are now combined into a layered document. Tip: Hold the Shift key as you release, to put the new image in the center.
Blending layers together in photoshop
Lets seamlessness blending the layers together.
Most people lower the opacity of the top layer to see whats happening underneath. Let me show you a much better way.
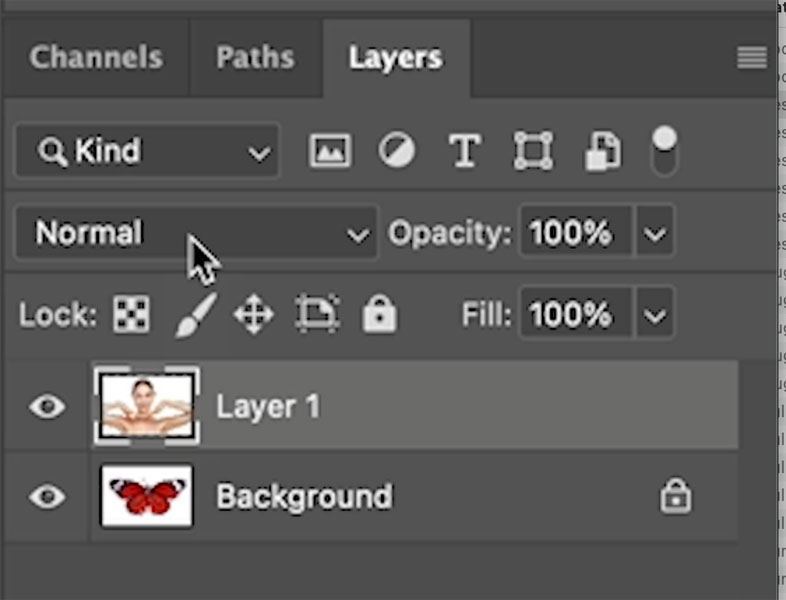
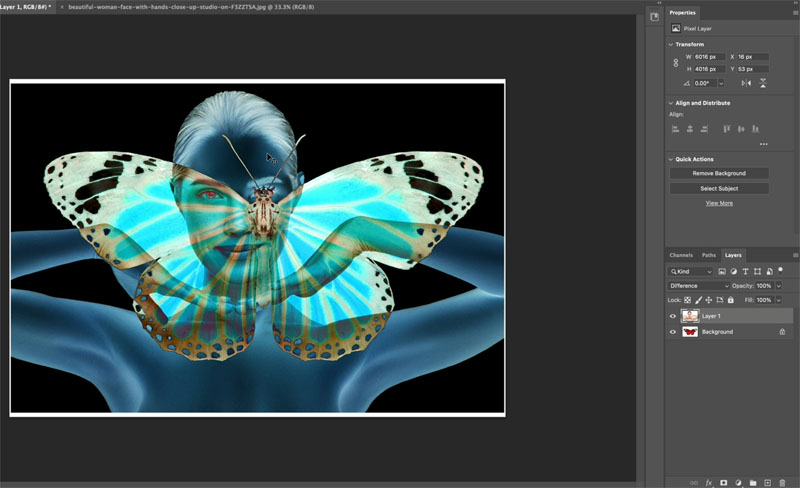
Chose the top layer
Click where it says normal in the Layers Panel.
Change the mode to Difference, by choosing it from the menu
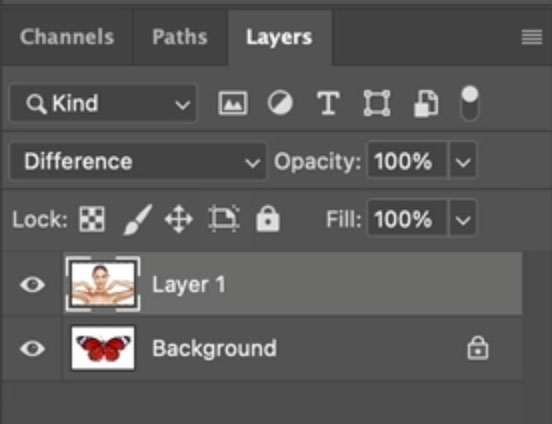
Now in difference blending mode you can easily see the 2 layers positions relative to each other. Didn’t I tell you this was better than changing opacity?
Press Cmd/Ctrl+T for free transform
Position the top layer and change its size by dragging on the corner handle of the transform box.
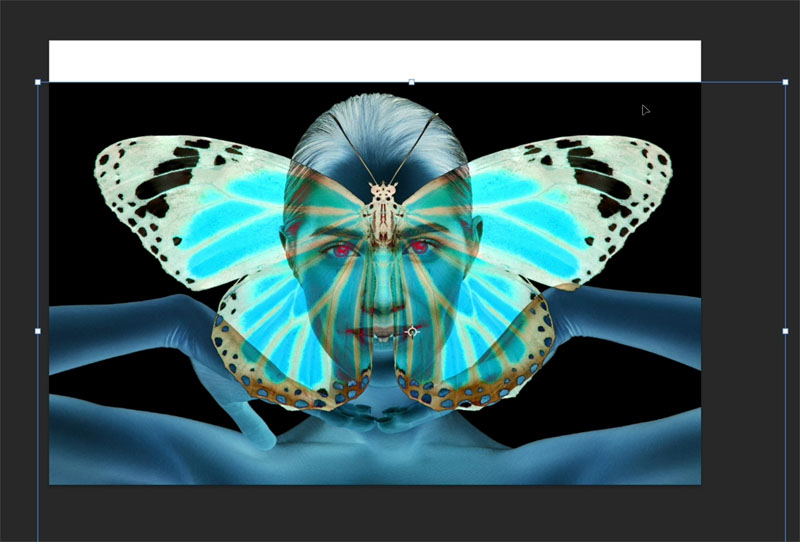
Change back to normal blending mode in the layers panel.
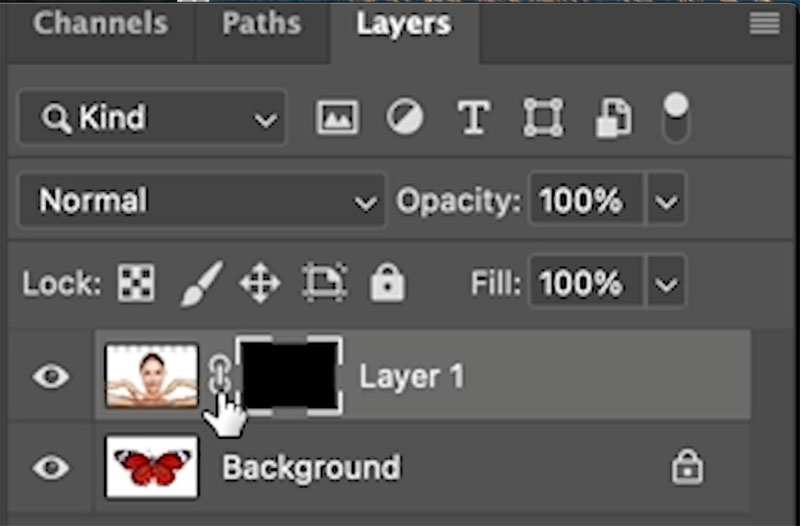
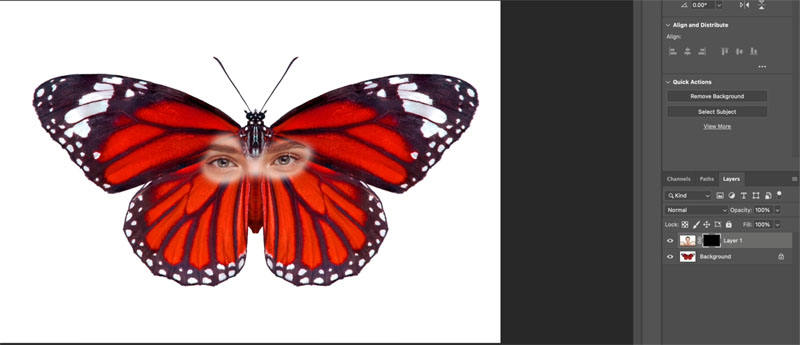
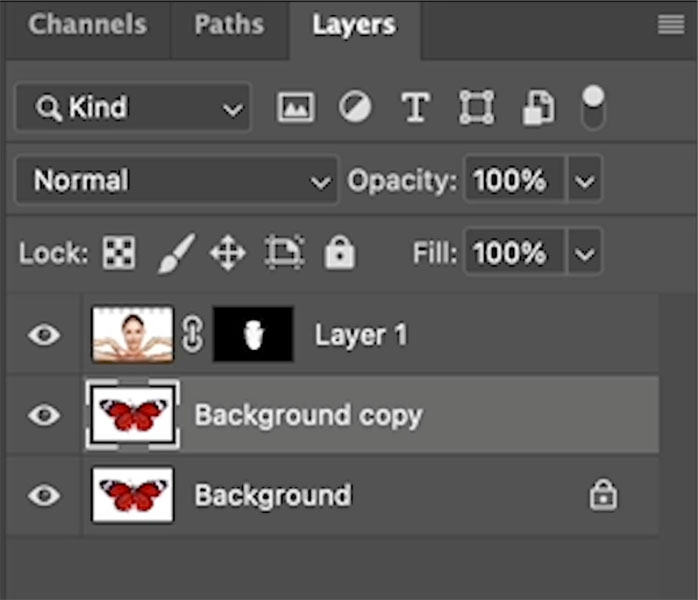
Let’s hide the top layer with a layer mask, so we can paint in just the areas we want to show.
Hold down Alt/Option and click on the layer mask.
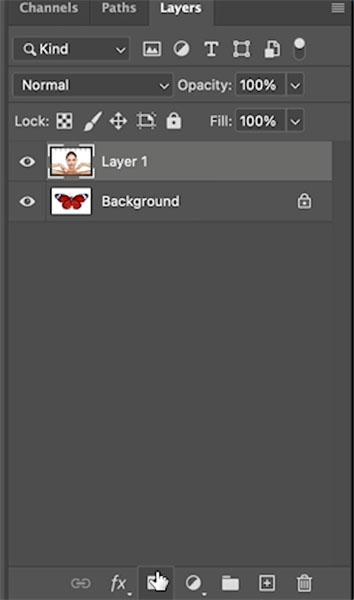
This creates a black mask (inverted) and hides the contents of the layer.
Painting on a layer mask
Choose the brush tool (B key).
Press the D key to set the foreground color to white. (White hides the mask and reveals the layer where we paint).
Make sure you use a soft round brush. Set the opacity and Flow to 100% and blend mode to normal (these are the defaults)

Make sure the Layer mask is selected.
Paint on the image and you will see the mask will show the areas that you paint.
Continue painting to mix the the 2 layers together.
If you want to paint the face away and use the edge of the wings, we can make selections to make it easier.
Blending the layers together smoothly
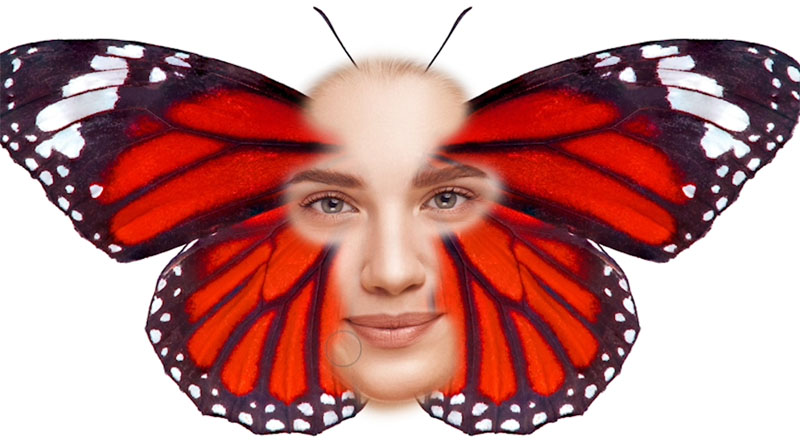
Right now, we have a pretty harsh transition between the woman’s face and the butterfly.
The key to a smooth blend is to use a low opacity and slowly build up the transitions.
With the Brush selected (B) lower the opacity to a lower amount. (When you are more experienced, try using flow, I have a tutorial here on Brush Flow vs Opacity in Photoshop.)

If you are using a pressure sensitive tablet such as a Wacom or Microsoft surface, change pen pressure for opacity.
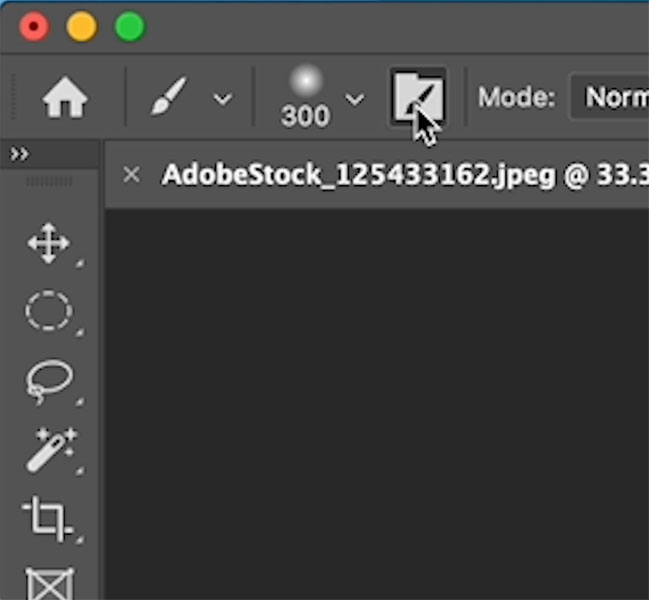
Click the brush options icon
Under Transfer>Opacity>Control choose Pen Pressure.
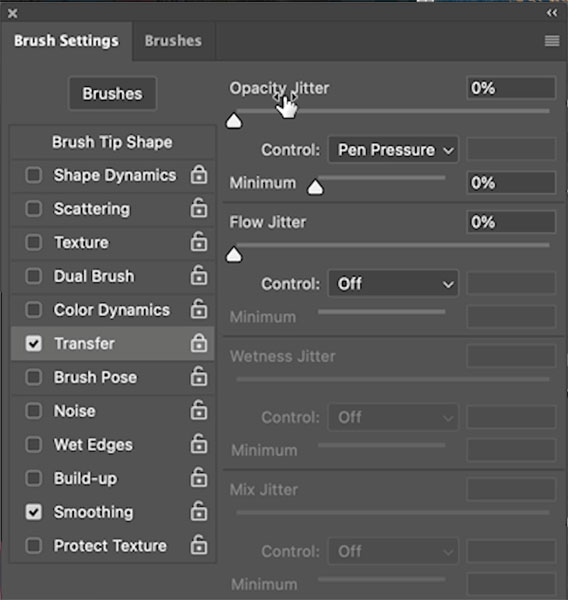
When you press lighter, you will get less strength on the mask, like shading with a pencil.
If you are using a mouse or trackpad, just use a low opacity and build up the paint.
Notice we can now paint over the cheeks and start to see a nice mix between the layers.
Make selections from layer Masks
Let’s make some selections to use as a guide.
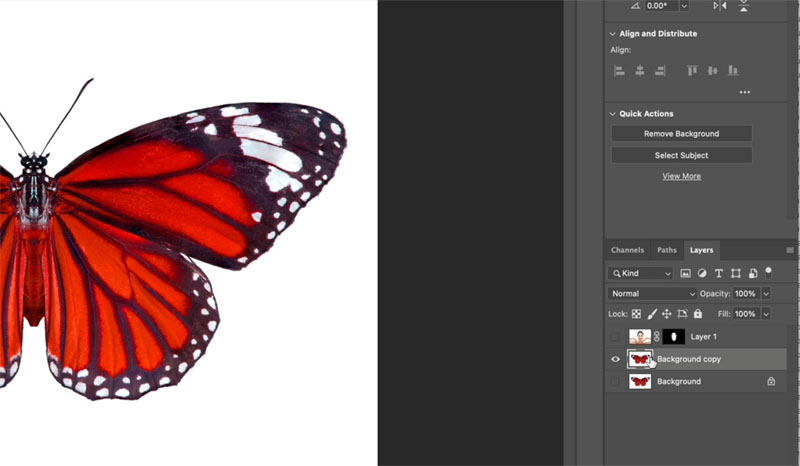
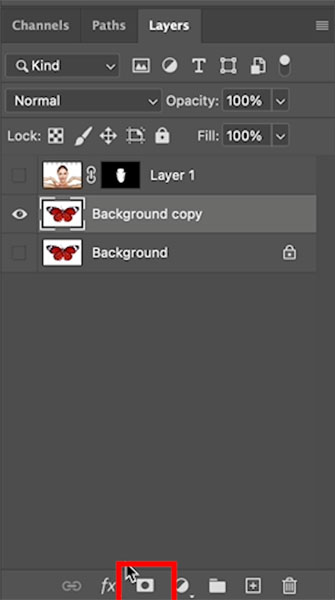
Choose the butterfly layer and Press Ctrl/Cmd+J to duplicate the layer.
Click on the butterfly layer to make it active,
Click the eye to the left of the other 2 layers to hide them for now.
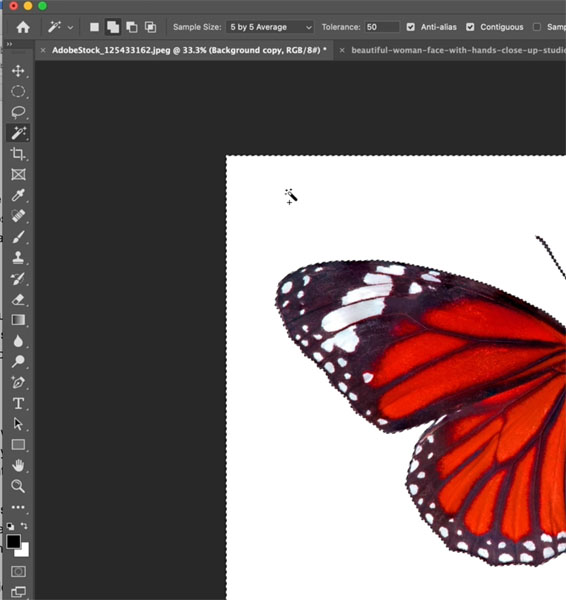
Lets cut out the butterfly
Choose the Magic wand tool
Click on the white to select the background
You could press delete to delete the white area, but layer masks are better because they are non destructive, meaning you can change them at any time.
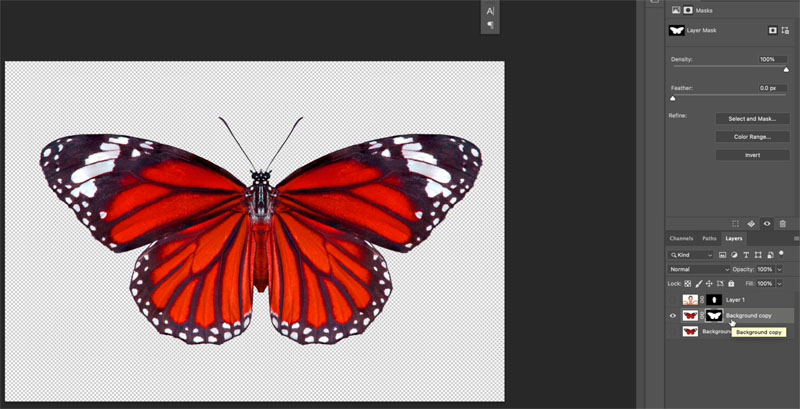
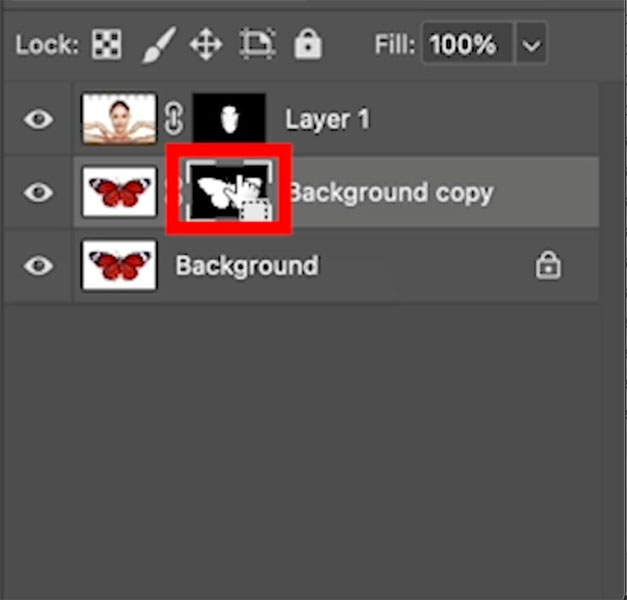
Hold Down the Alt / Option key and click on the Layer mask. (A layer mask normally hides the unselected areas of a selection. Because we selected the background, rather than the butterfly, the alt/option will hide the selected area instead and keep the unselected area).
You should see the background is transparent.
Turn on all the layers by clicking the eye icons.
We want to load the selection of the butterfly, but paint on the top layer.
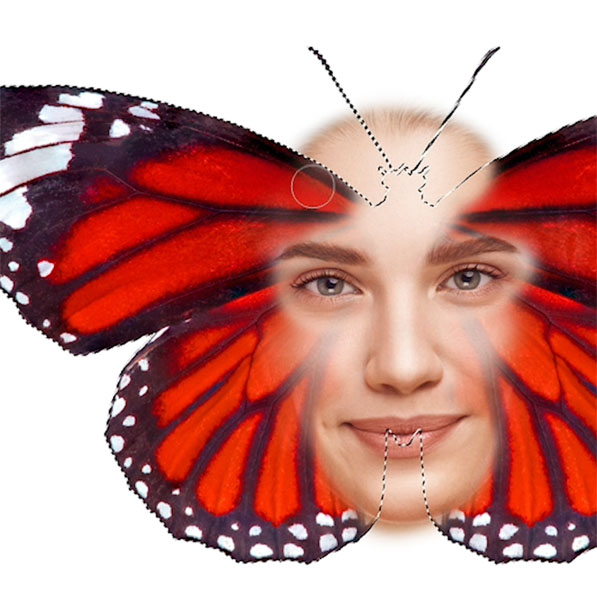
Ctrl/Cmd+Click on the layer mask to activate the marching ants selection
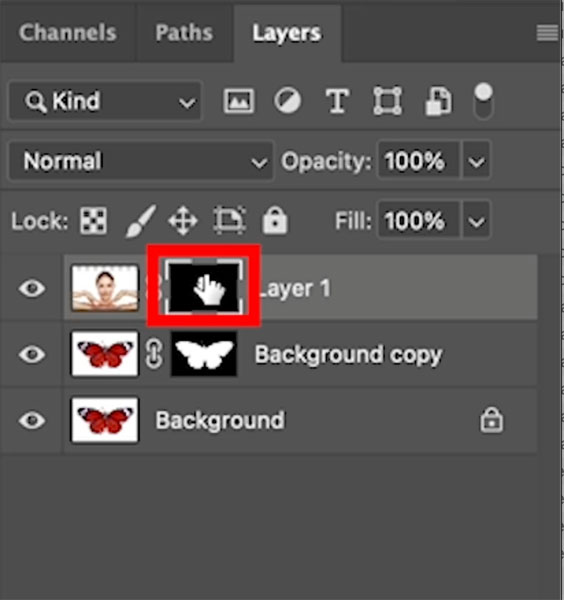
Click on the top layer mask to make it the layer we will paint on.
This selection makes it easy to paint away the face on the edge of the wings, because we can’t paint outside the selection.
Change the foreground color to black to hide the layer we are painting on.
White will show the layer.
Tip: The X key will toggle the foreground and background colors. (Show and hide)
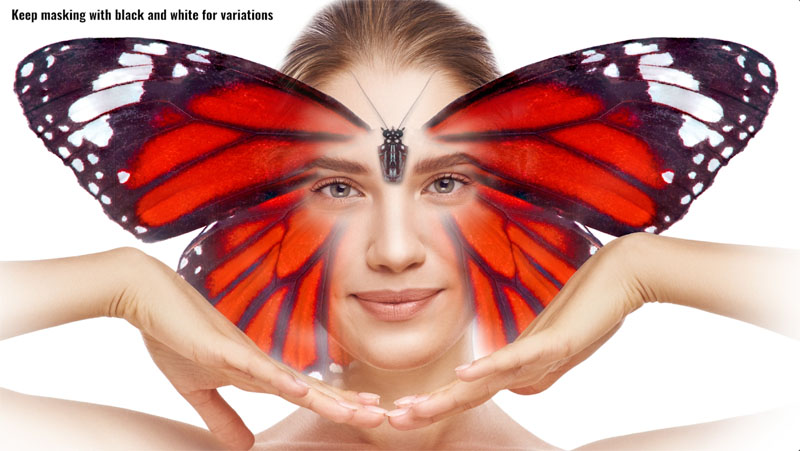
Keep experimenting with the steps above and you will come up with different results.
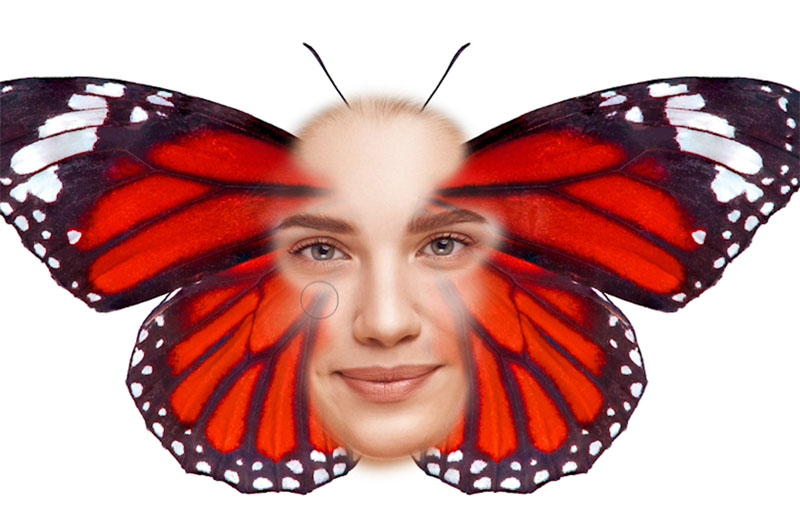
This is my final result, using these exact steps. I made jewelry from the butterfly’s body, using masks.
I hope this has helped you pick up a couple of new tips with layer masks inside a Photoshop.
If you did, let me know in the comments underneath.
If you are new here. Welcome to photoshopCAFE.com. Thanks for joining us. Consider Consider joining our mailing list so you don’t miss any of my tutorials.
For more, follow us on Social Media
See you at the CAFE
Colin
The post How to combine pictures in Photoshop with Layer Masks appeared first on PhotoshopCAFE.